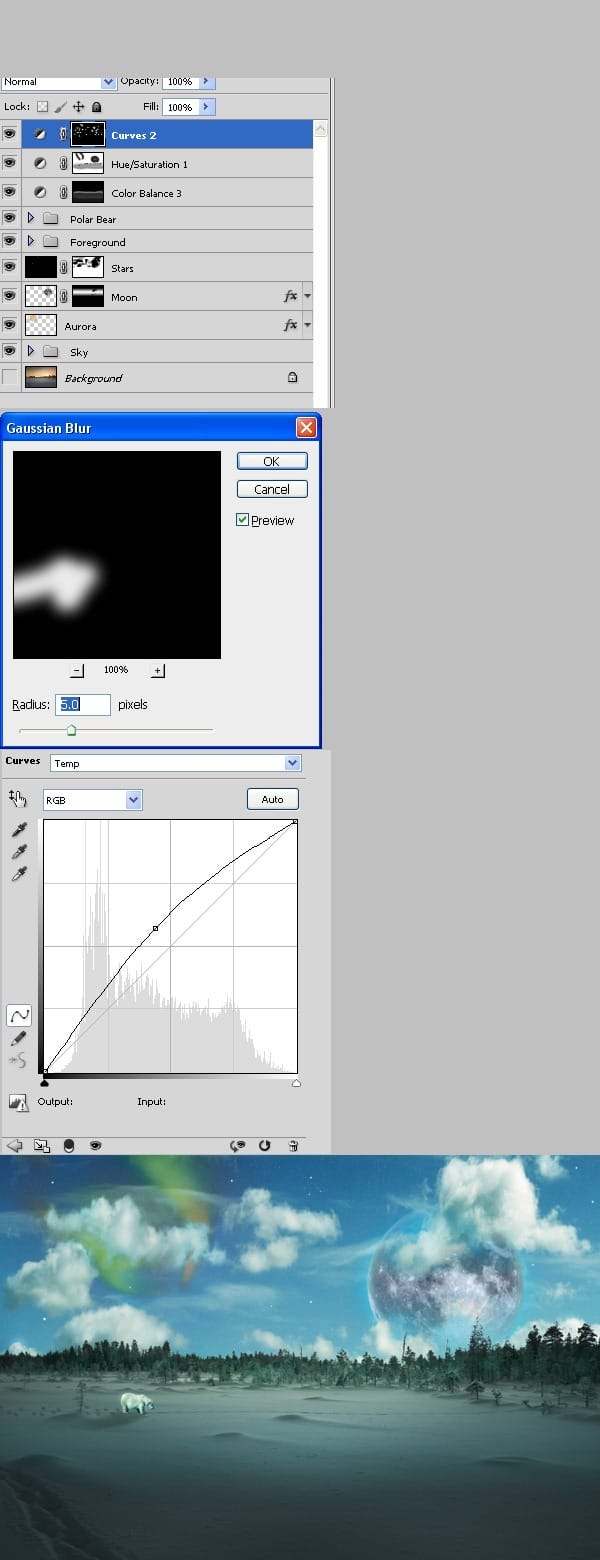
Step 37
Now we will add some color to our image. Create a Color Balance adjustment layer with settings like shown below. Choose a round brush with following settings:
- Size: 60px
- Hardness: 0%
Make sure the layer mask is selected then press D to set default colors. Press ctrl+I to invert mask. Lower the brush opacity to 10% and brush gently a couple of times around the trees area. Leave some trees untouched and try not to color the sky. Increase the brush size to 200 px and brush a couple of times on the snow in front of the trees. Choose Filter > Blur >Gaussian blur and use settings like shown below. Change color balance layer blending mode to Color.

Step 38
We will lower the saturation of the image. Make a new Hue/Saturation layer and place it above our layers. Use the settings like shown bellow. Choose a round soft brush and lower it’s opacity to 90%. Select layer mask , press D to set default colors then pres X to invert them. Tap randomly in the trees area then brush gently over aurora , moon and bear. Lower the brush opacity to 50% and increase brush size to 200 px. Brush once or twice in wide strokes the area in front of the trees but don’t go to far, leave the lower third of our image unchanged. Apply Filter > Blur > Gaussian Blur.

Step 39
Now we will make our image more interesting by adding some light variation. Add a curves adjustment layer and place it above our layers. Use the settings shown below. Click layer mask and press Ctrl+I to invert the mask. Choose white as foreground color and select a soft round brush. Lower it’s opacity to 90% and brush randomly in the trees area. Try to leave the snow and sky unchanged. Also brush gently over the polar bear. Lower the brush opacity to 70% and increase the brush size. Brush randomly over the aurora and the moon. Also brush randomly across the white of the clouds. Try to leave the sky unchanged. Apply Filter > Blur > Gaussian blur.

Step 40
Press ctrl+J to duplicate our curves layer. Make sure you have black as background color and press ctrl+Backspace to fill the mask with black. Choose a soft round brush and choose white as foreground color. Lower the brush opacity to 50% and increase size to 500px. Brush a couple of times gently over the snow. Lower the brush opacity and size and repeat. We basically want to make pools of soft white light over the snow area. Be subtle and don’t overdo. Then apply Filter > Blur > Gaussian Blur. Use whatever settings make your strokes blend seamlessly.


Leave a Reply