Download Lightroom presets and LUTs, absolutely free. Use the presets to add creativity and style to your photos.
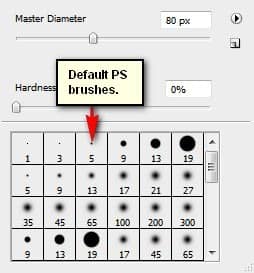
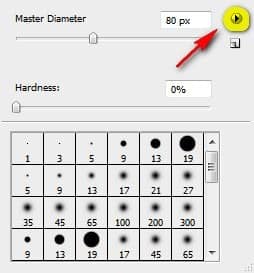
Right click the canvas while a layer is selected and while the Brush tool (B) is activated and then click on the button highlighted below:
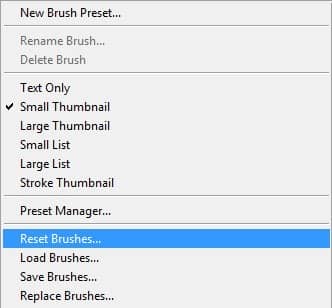
Then click on "Reset Brushes" from the contextual menu.
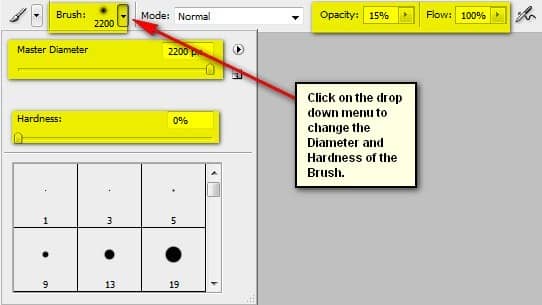
Now, that that is done input the following settings for our Brush tool (B):
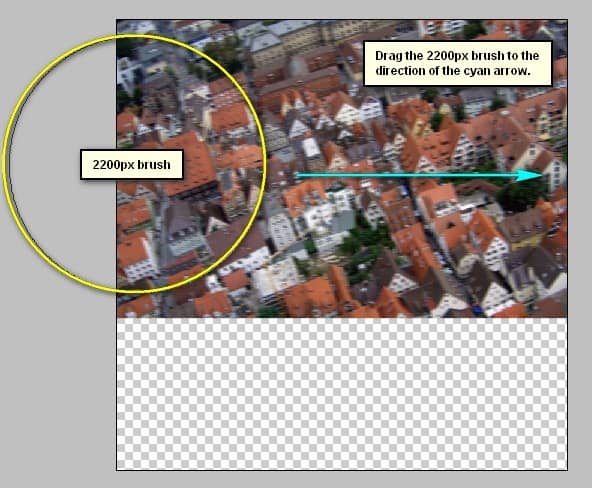
- Brush size: 2200px
- Hardness: 0%
- Opacity: 15%
- Flow: 100%
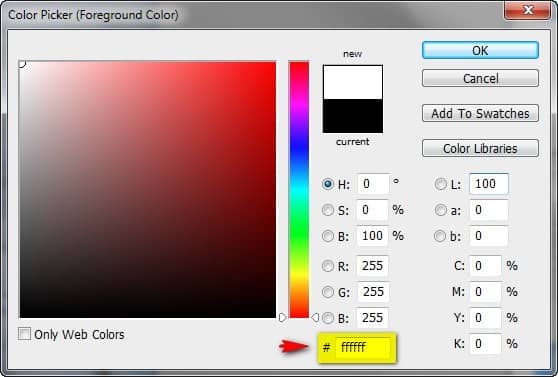
- #: ffffff
Note: The #: ffffff is the color of the brush. To change it to that, simply do the following:
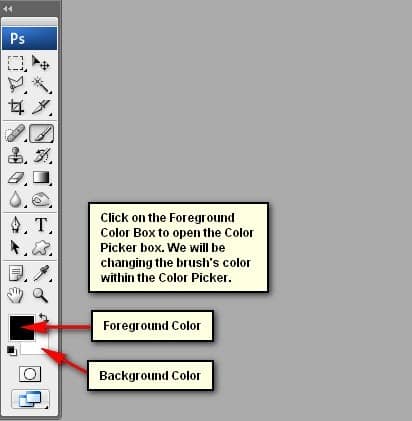
Once the Color Picker box opens, input the following on the # box:
Now, we're all set to paint, use the brush as shown on the image below:
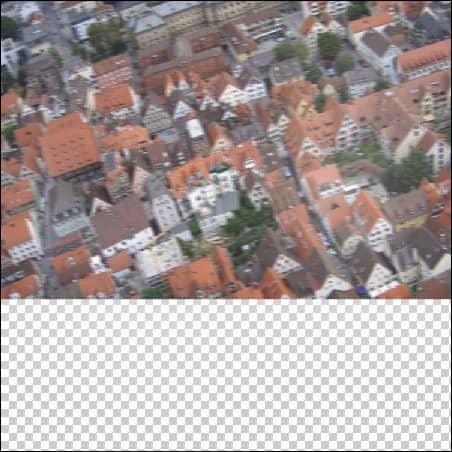
The result should be similar to this:
Step 8
Now that we're done, group all the layers that we've created by selecting all the layers and pressing Ctrl/Cmd + G. Once grouped, rename it to "City from above".
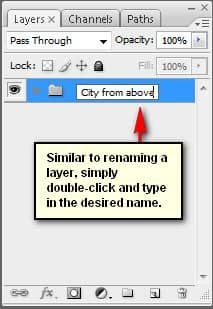
Step 9: Create the Weird Buildings
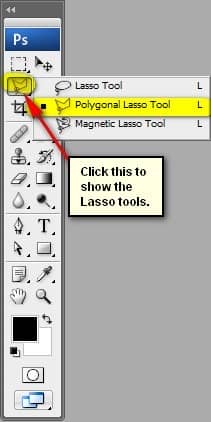
Now, we will be adding the oddly positioned buildings. To start let's open the stock image - "Old buildings with green windows" by lucianont. Once opened, activate the Polygonal Lasso tool by pressing L on your keyboard.
Use the Polygonal Lasso tool (L) to select the outline of the building.
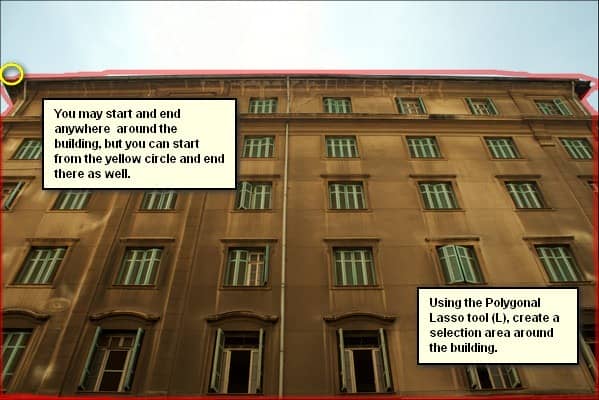
Now, that you've created a selection area around the building. Activate the Move tool (V) and drag the selected building to our canvas. Once on the canvas, rename this layer to "building". Now, position it as shown on the image below:
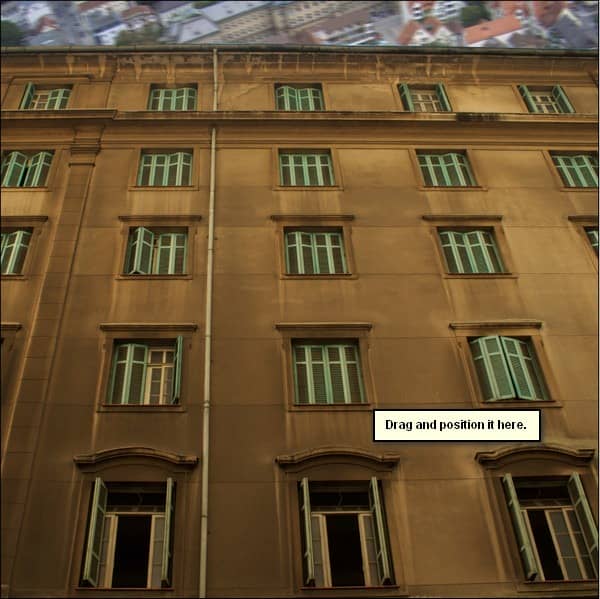
Next, activate the Transform tool (Ctrl/Cmd + T) and then resize it as shown below:
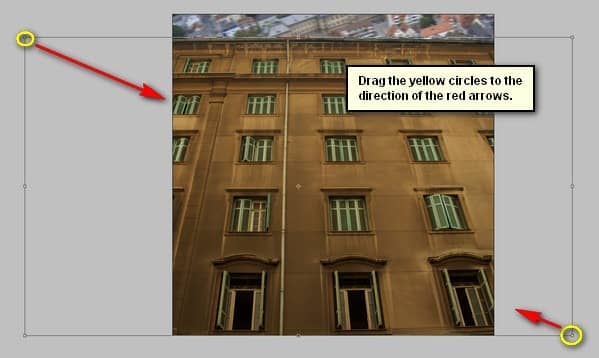
The result:
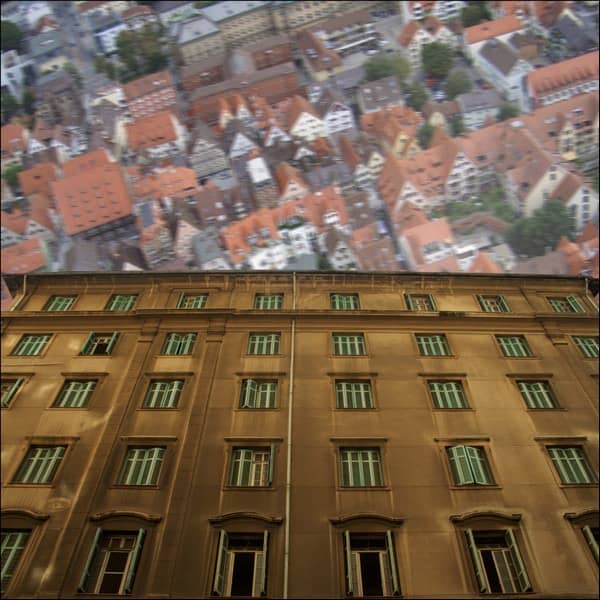
Step 10
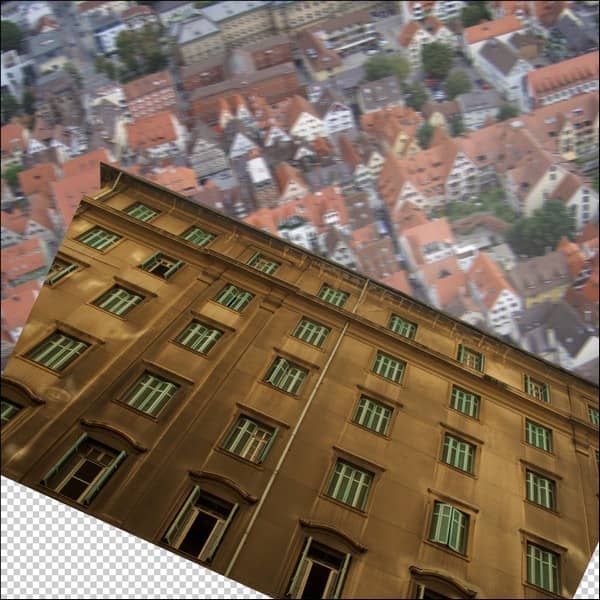
Now, activate the Transform tool (Ctrl/Cmd + T) once again and right click on the canvas to bring up the Transform tool's contextual menu. Once up, click on the following:
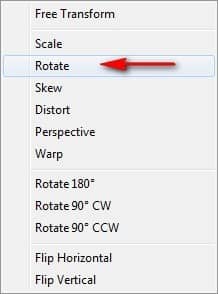
Then, rotate the image as shown below:
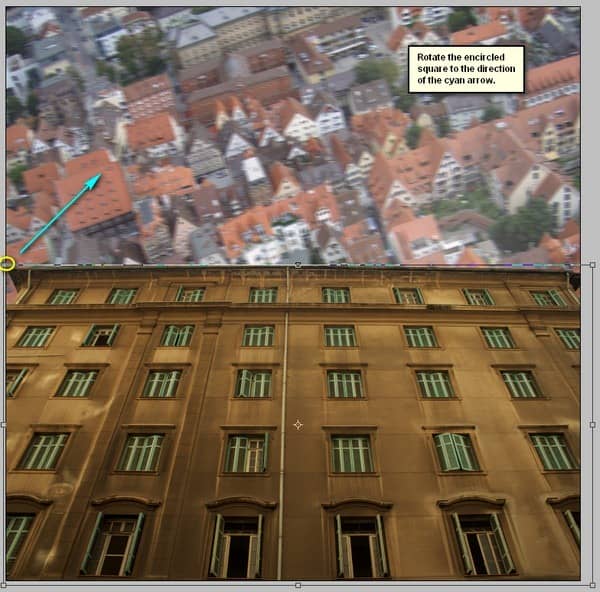
The result:
Step 11
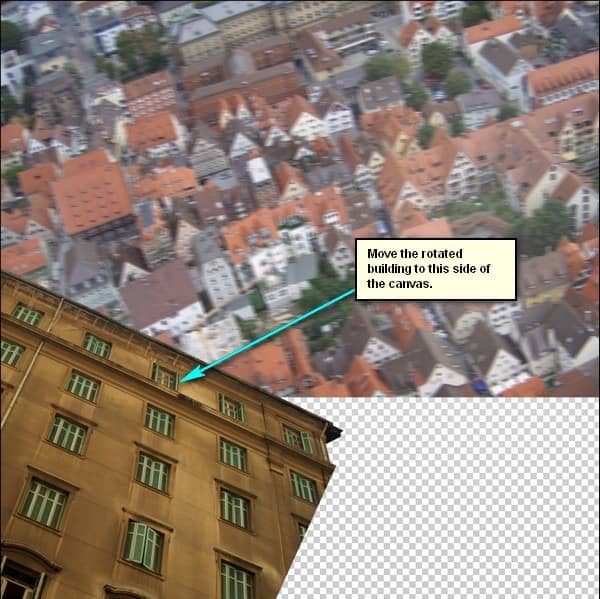
Activate the Move tool (V) and move the image as shown on the image below:
Step 12
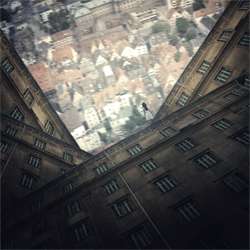
Now, duplicate (Ctrl/Cmd + J) the moved "building" and rename the duplicated layer to "building 2". Once duplicated, activate the Transform tool (Ctrl/Cmd + T) and right click on the canvas again to bring up the contextual menu and then activate Rotate. Now, rotate the image as shown below:
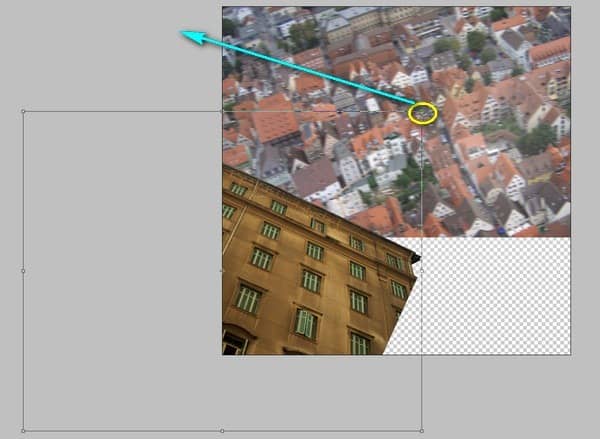
The result:
Step 13
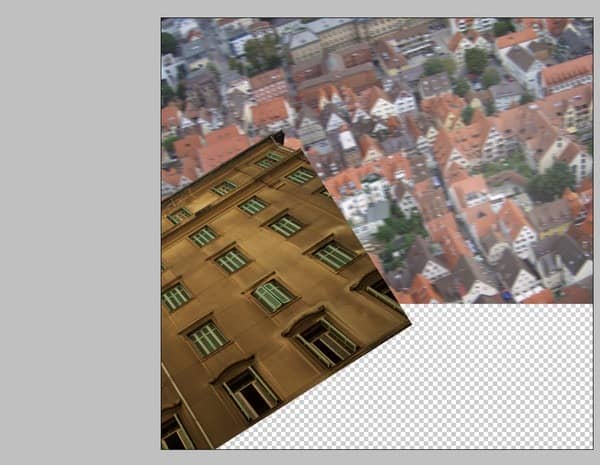
Activate the Move tool (V) once again and move this building as shown on the image below:

3 comments on “How to Create an Odd Looking Cityscape in Photoshop”
Excellent post. Thanks for sharing……….
Very helpful.
thanks, great work, grear art