
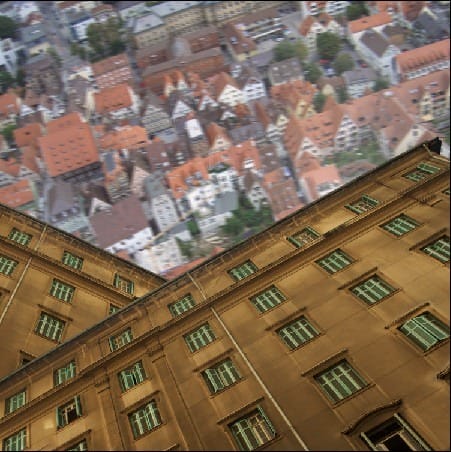
Activate the Transform tool (Ctrl/Cmd + T) once again and resize it as shown below:

The result:
Step 14
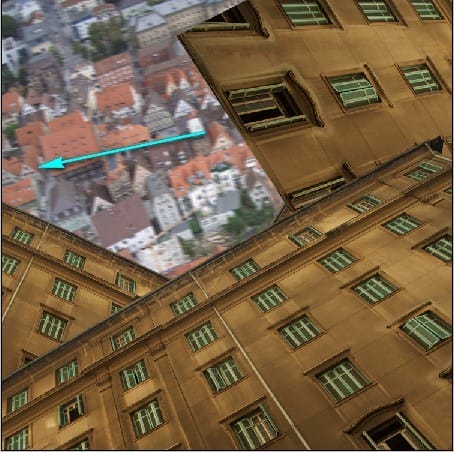
Next, duplicate (Ctrl/Cmd + J) “building 2” and rename it to “building 3”. Move the “building 3” layer down below the layer “building” so it would appear at the back of the buildings we’ve created.
Now, activate the Transform tool (Ctrl/Cmd + T) and right click again on the canvas to open the contextual menu to activate the Rotate option. Now, rotate “building 3” as shown on the image below:

It should appear like this:

Step 15
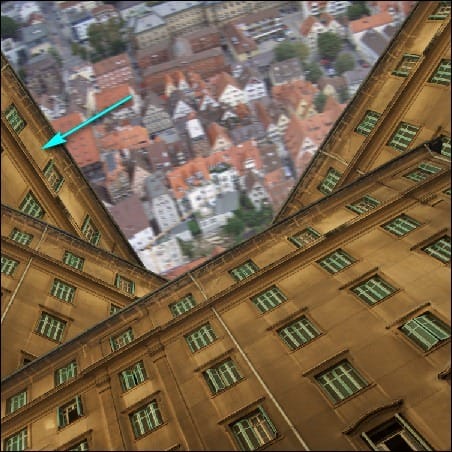
Next, duplicate (Ctrl/Cmd + J) “building 3” and rename it to “building 4”. Once duplicated, activate the Transform tool (Ctrl/Cmd + T) once again and activate the contextual menu, and once active, click on Flip Horizontal.

Once Flipped Horizontally, activate the Move tool (V) and drag the image as shown on the image below:
The result:
Step 16
Now that we’re done with these buildings, select all of the layers we created in this step and then press Ctrl/Cmd + G to group all of them. Name the group to “Buildings”.
Step 17: Create the Lost Girl
Now, we will add the lost girl walking on the building. To start, let’s open the stock image: “Walking” by sweetcaffeine-stocks. Take note that this is a PSD file so when you open it, you can just drag the layer with the girl to our canvas.
Put the girl layer on top of all the layers in our canvas and rename this layer to “girl”. Drag the layer and position the “girl” layer as shown on the image below:
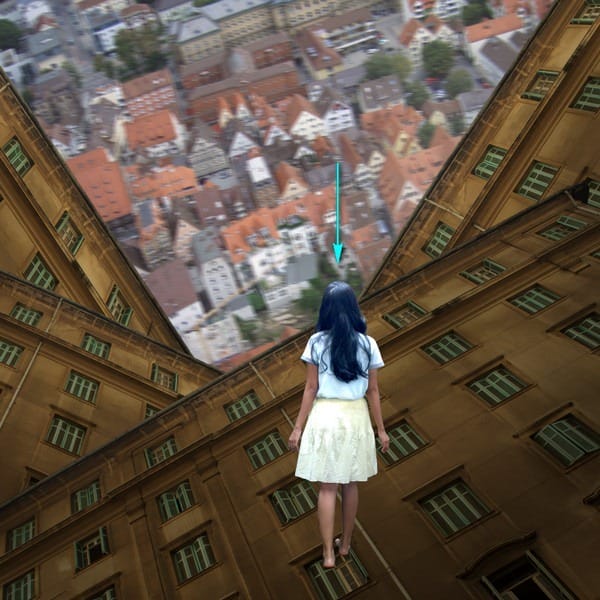
Now, activate the Transform tool (Ctrl/Cmd + T) and resize it as shown below:
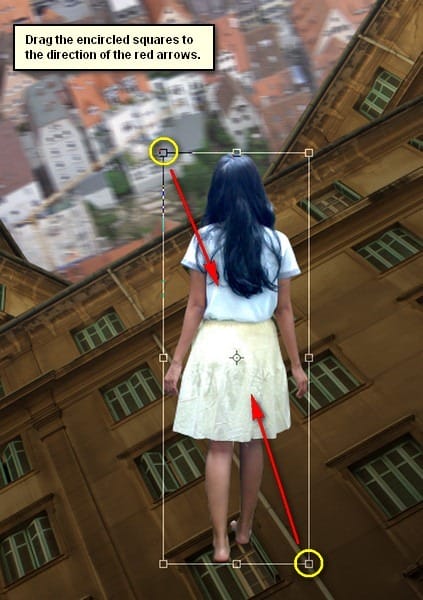
The result:

{en d}
Step 18
Next, activate the Transform tool (Ctrl/Cmd + T) once again and right click once again on the canvas and then click on Rotate from the contextual menu. Now, rotate the “girl” as shown on the image below:
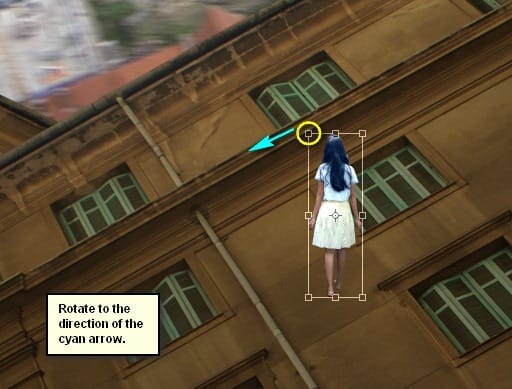
The result:
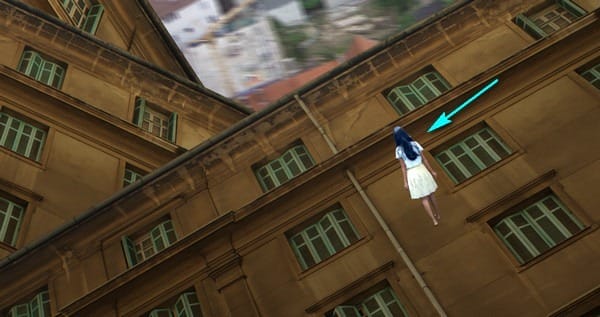
Step 19
Now, activate the Move tool (V) and drag the “girl” as shown on the image below:
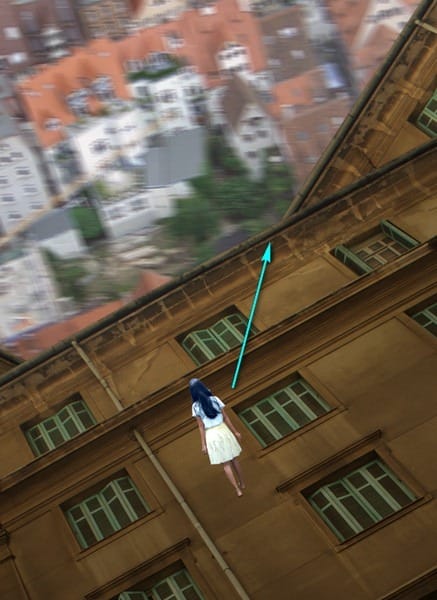
The result:

Step 20
Now, let’s fix the shadows on the girl to make her blend well with the rest of the images. To start, create a new layer (Ctrl/Cmd + Shift + N) on top of the “girl” layer and name it “darken. Once done, right click on the newly created layer to open the contextual menu. Once open, click on Create Clipping Mask.
3 responses to “How to Create an Odd Looking Cityscape in Photoshop”
-
Excellent post. Thanks for sharing……….
-
Very helpful.
-
thanks, great work, grear art


Leave a Reply