Luminar AI lets you turn your ideas into reality with powerful, intelligent AI. Download the photo editor and see how you can completely transform your photos in a few clicks.
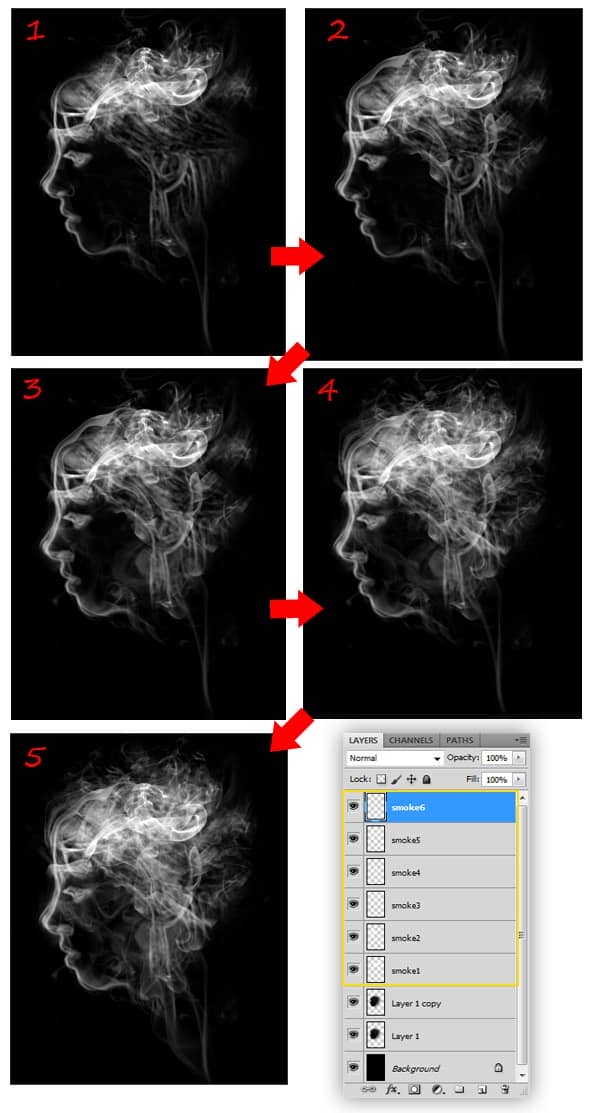
Step 5 - Adding Depth
Create some depth in the illustration by adding extra fumes in the background. To do this, create a new layer between the Background Layer and Layer1. Set the Photoshop default color by pressing D (the foreground color should be set to black and the background color should be white). Go to Filter > Render > Clouds.
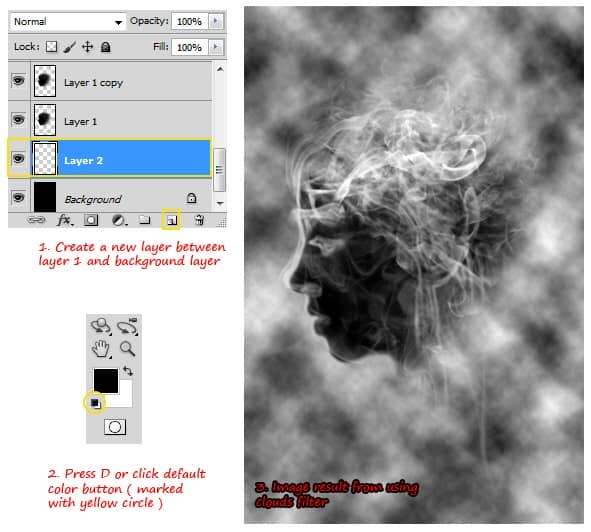
Notice how the black color of the head (Layer 1) is blocking the layers beneath it, which is not the effect we want to achieve. The clouds should be transparent so this will have to be adjusted. Go back to Layer 1 and change the blend mode to Screen. This should fix the problem.
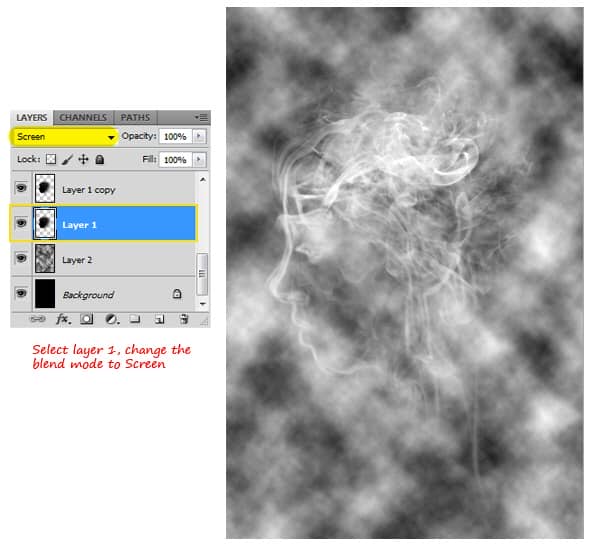
Go back to Layer 2 (the cloud/fume layers) and add a Layer Mask. Use the radialGradient tool to do the masking so that the fumes look like they are fading, as shown in the example below. The smoke art is now complete. If you wish to add some glitter and editable color, keep on reading!
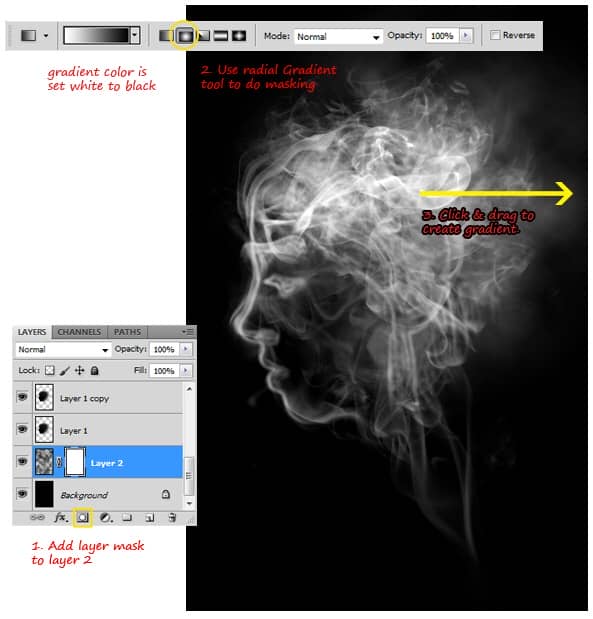
Step 6 - Adding Glitter and Color
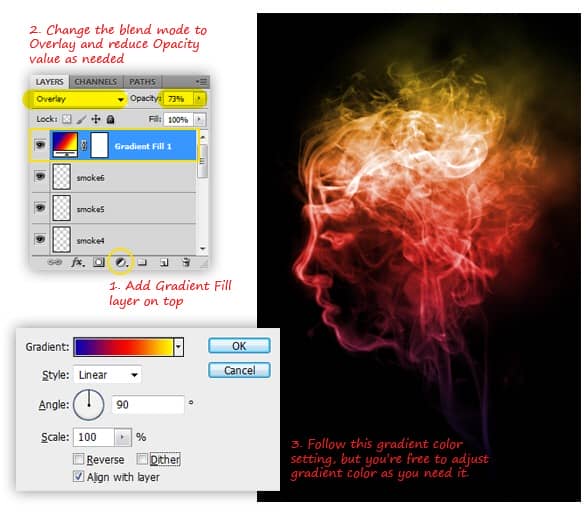
Add a new Gradient Fill layer above all the other layers. In the Gradient Fill dialog, adjust the gradient color, angle, etc. as shown below. Click OK to apply gradient color.
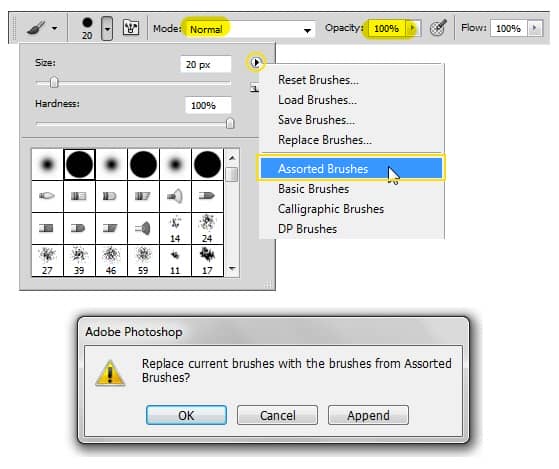
Using the Brush tool, click the menu button from the preset brush picker and choose Assorted Brushes. Photoshop will ask you to replace the current brush, choose Append. This will add the assorted brush to the list.
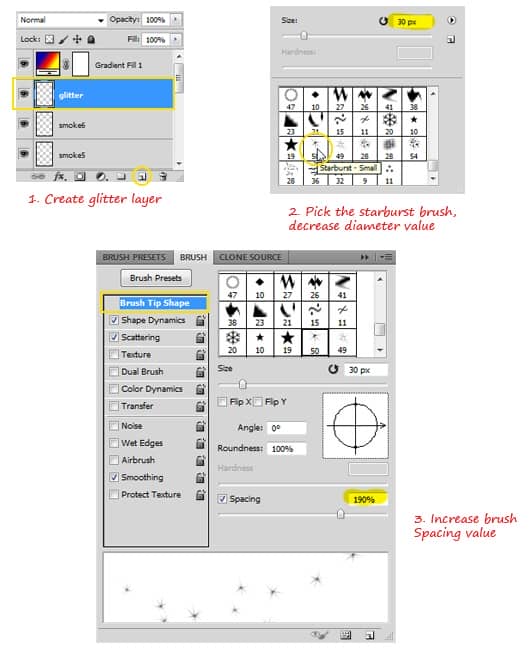
Create a new layer named Glitter and place it below the gradient layers. Still using the Brush tool, select the starburst brush and decrease the Diameter value to around 30px. Show the Brushes panel by pressing F5, and increase the brush spacing value to around 190%.
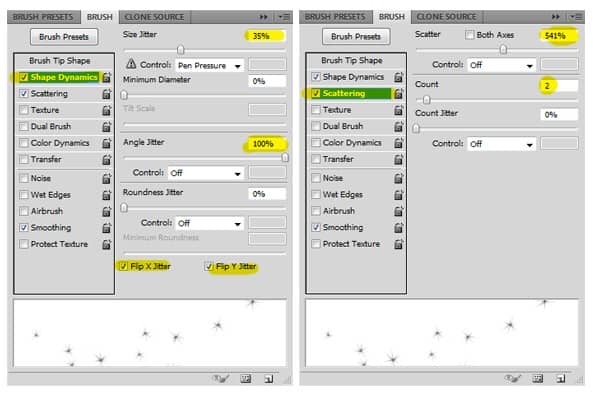
Select the Shape Dynamics option. Increase the Size Jitter and Angle Jitter values. Don't forget to check the Flip X and Y Jitter option. Now go to the Scattering option and increase the Scatter and Count values. Follow the images below for a quick guide to the settings.
Use white as the brush color, and then draw a glitter effect as shown in the example below. Make sure you are still in the Glitter Layer before doing these steps.
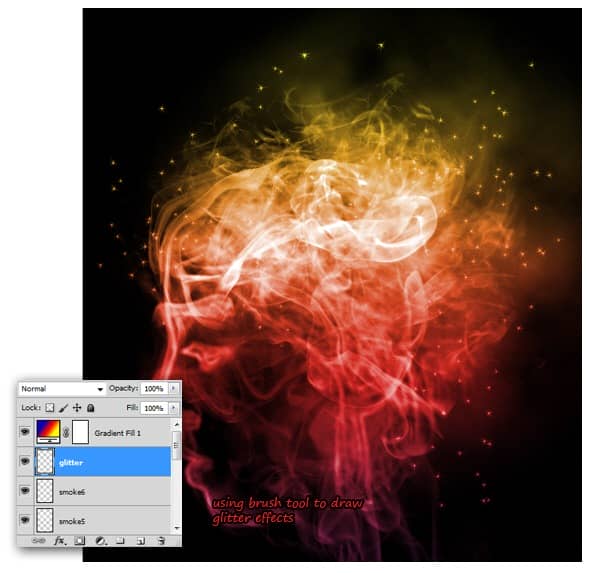
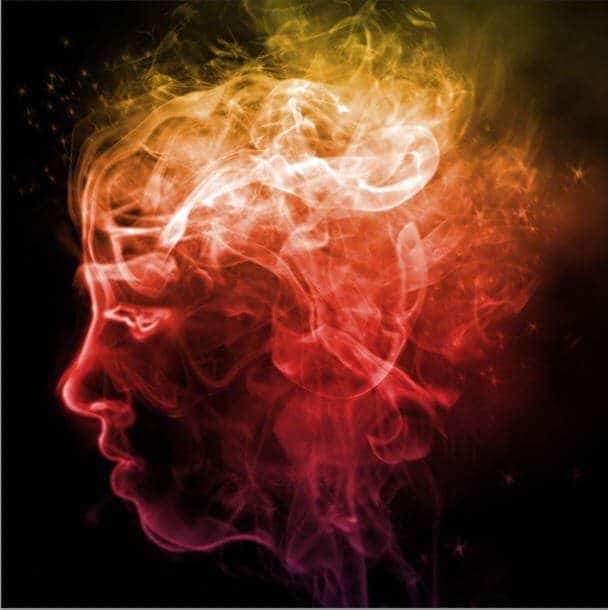
Make the glitter look blurrier. Select Filter > Blur > Gaussian blur with Radius 0.9px. In the final step, reduce the Glitter Layer’s opacity to 38% so it will look see through.


13 comments on “Smoke Portrait”
Can I get a download link?
the brushes can't download for free,how can i get it?
Click on the "Free Download" link
pls finish tut i need no what to do?1!?!
sir, very fine your works...........i like this.
sorif,
Nice work
this is amazing! Thanks so much for sharing
Thanks soo much the wonderful knowledge shared
what is the next step to take bcoz we don't understand
what's the next ??
-_-
go to next page!!
poda pulle
its amazing