Make skin look perfect in one-click with these AI-powered Photoshop actions.
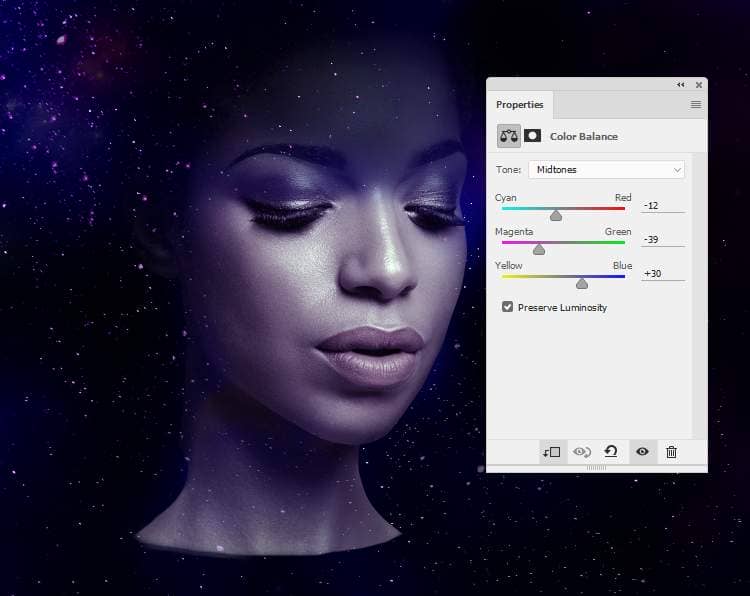
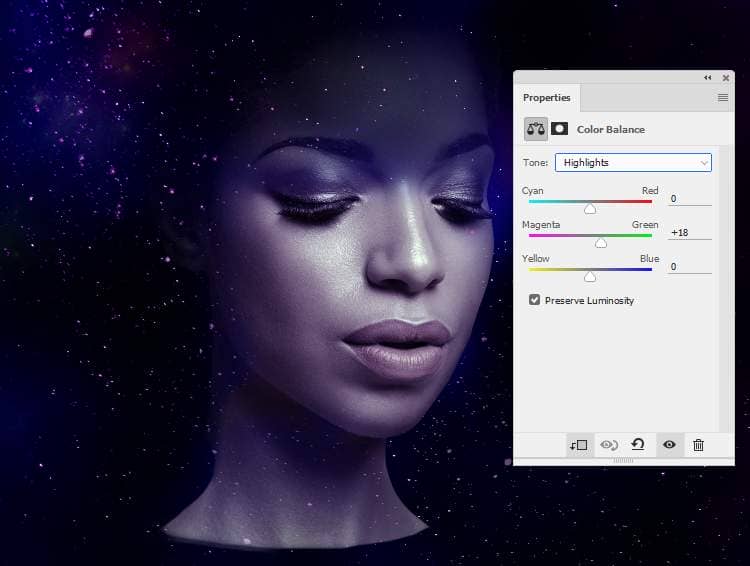
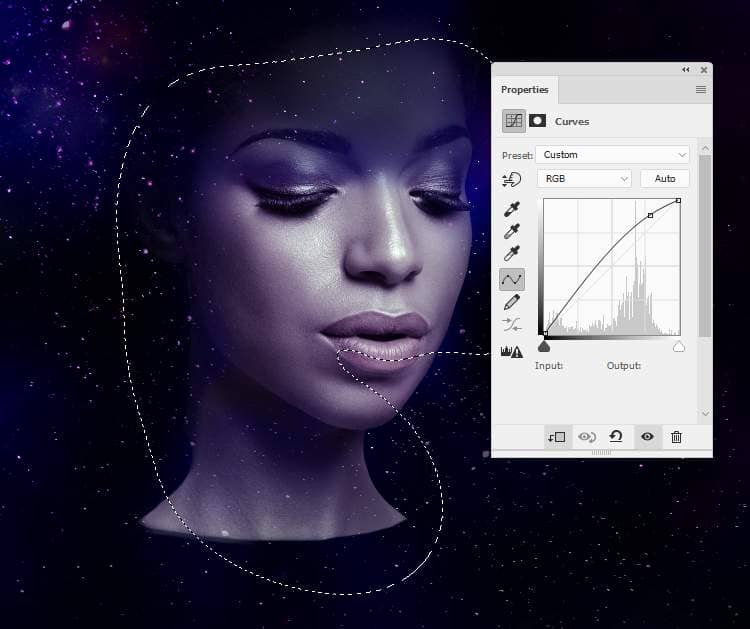
Create a Curvesadjustment layer to bring more light to the chin, cheek and behind the neck. Use a soft black brush with the opacity about 30%to erase the rest and reduce the lightness on some parts which are bright already.
Step 10
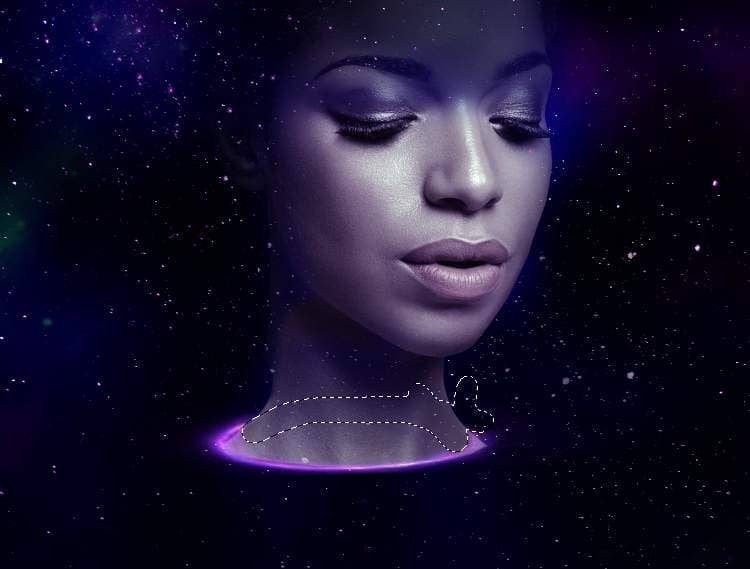
Open the light effects pack and select the image 1. Place it onto the bottom of the neck and the Free Transform Tool (Ctrl+T)with the Warp mode to make the light circle thinner as shown below.
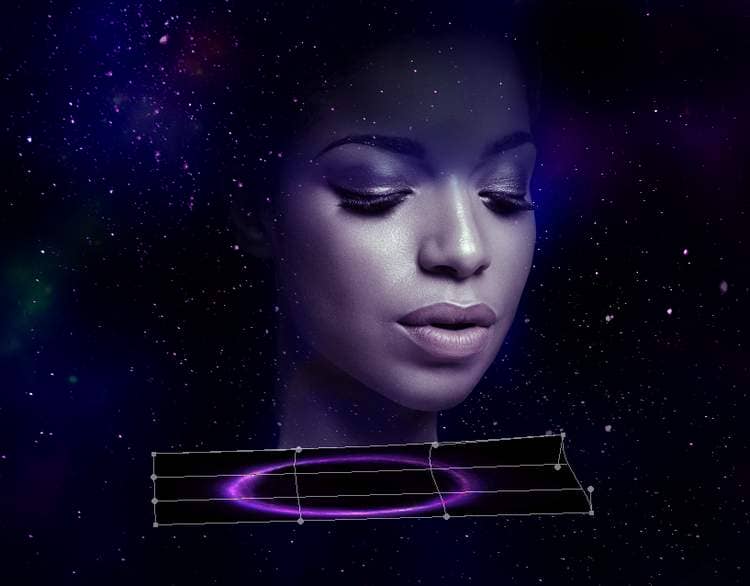
Change this layer mode to Screen 100%and use a layer mask to erase the part behind the neck.
Step 11
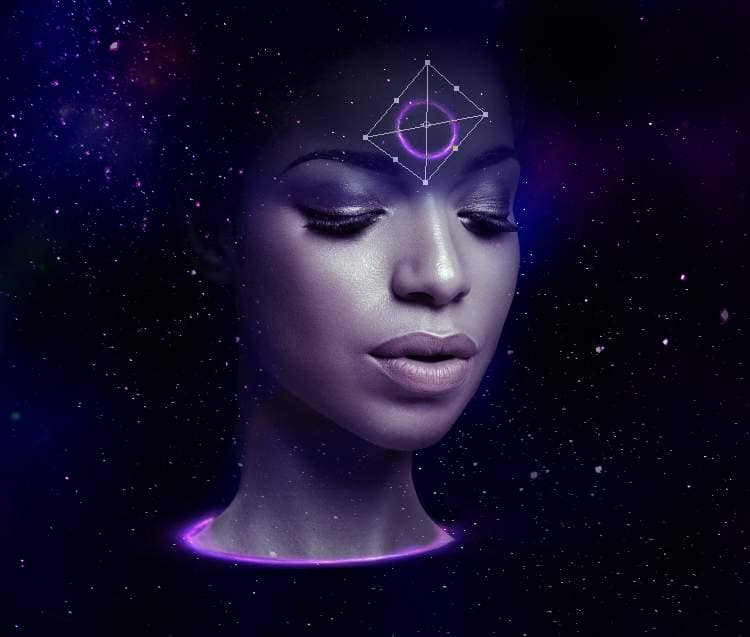
Duplicate this layer and move it to the middle of the forehead. Use Ctrl+Tto reduce its size and distort it a bit to fit the form of the forehead.
Step 12
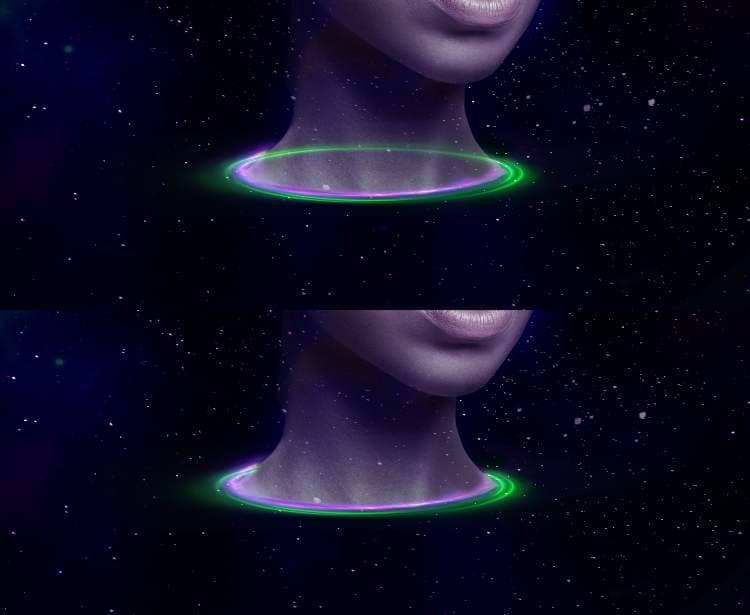
Select the image 2 to add to the neck of the model with the same method. Change this layer mode to Screen 100%and use a layer mask to hide the part covering the neck.
Step 13
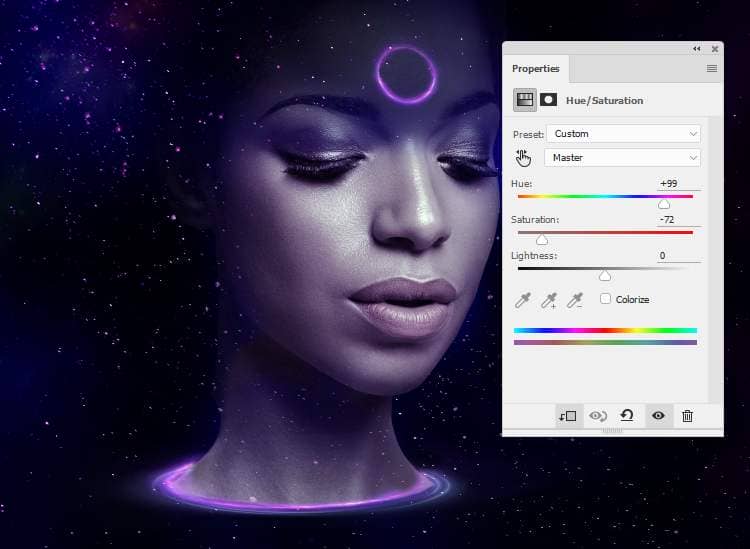
Make a Hue/Saturationadjustment layer to change the color of the light circle:
Step 14
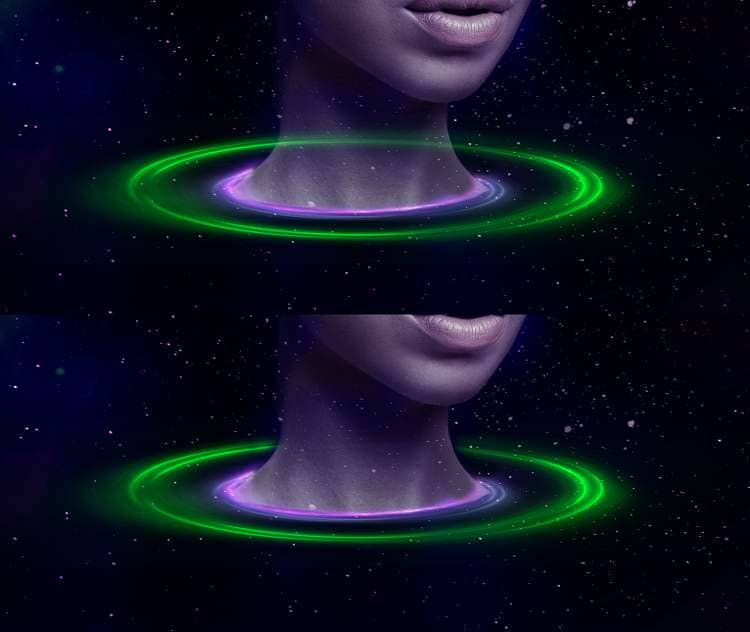
Drag the image 2 to add to the area around the neck and make it larger than the first one. Add a mask to this layer to erase the part covering the neck.
Step 15
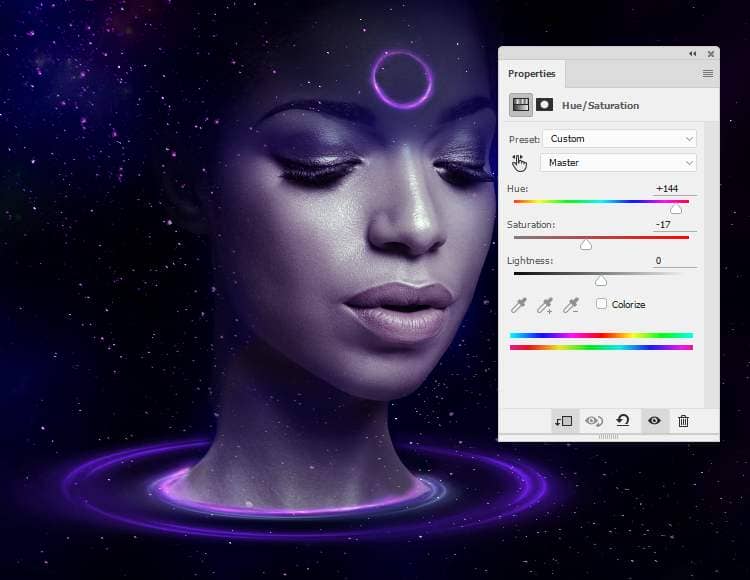
Create a Hue/Saturationadjustment layer to turn the color of the light circle to purple.
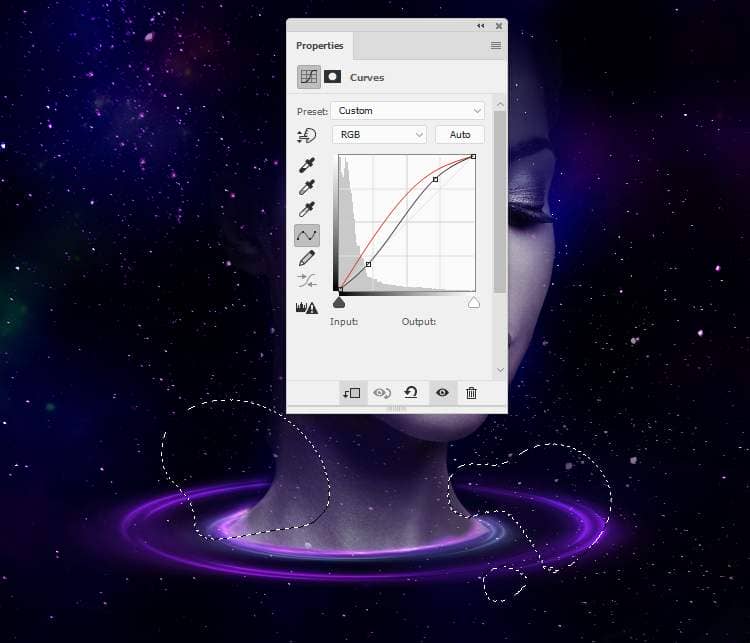
Make a Curves adjustment layer to change the color and contrast of the circle a bit. On this layer mask, paint on some parts of the circle so they won't be affected by this adjustment layer.
Step 16
Drag the light sphere in our main canvas and change the mode toScreen 100%. Flip it horizontally (Edit > Transform > Flip Horizontal) and resize it to be much smaller and place it in the lower of the neck. Use Ctrl+Tto rotate it a bit.

Step 17
Duplicate this layer and enlarge its size and move it to the light circle on the forehead. Use Ctrl+Twith the Warpmode to bend it to make it look like a half of a circle. Use a layer mask to erase the outer part of the top and the inner part of the bottom to make them fade into the black background.
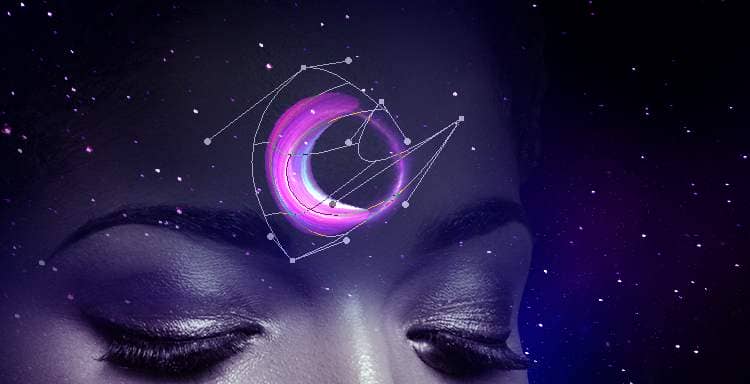

Duplicate this layer and flip it horizontally and move it to another side of the circle. Use its layer mask to erase the bottom of this circle half


One comment on “How to Create a Space Woman Portrait with Adobe Photoshop”
This is lovely