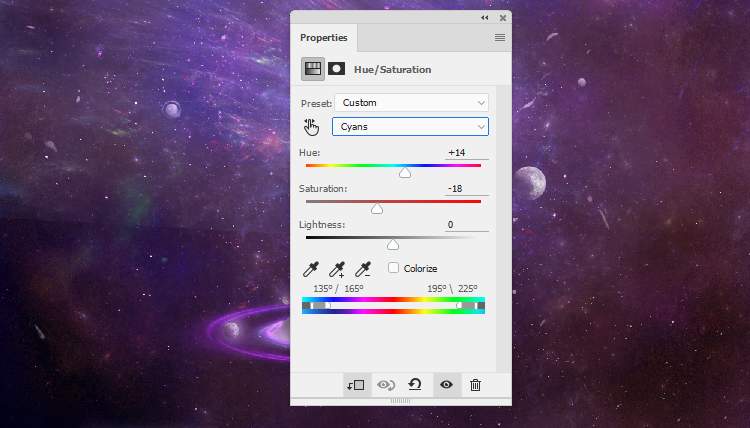
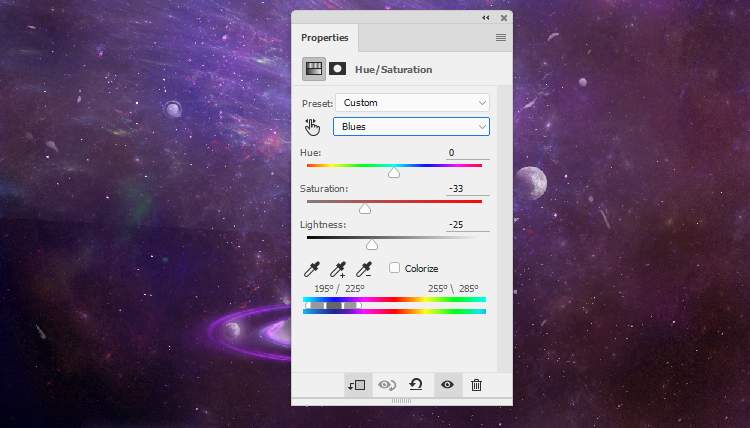
Make a Color Balanceadjustment layer and alter the Midtonesand Highlightssettings:
Add a Levelsadjustment layer to remove the hard edges and reduce the effect’s visibility.
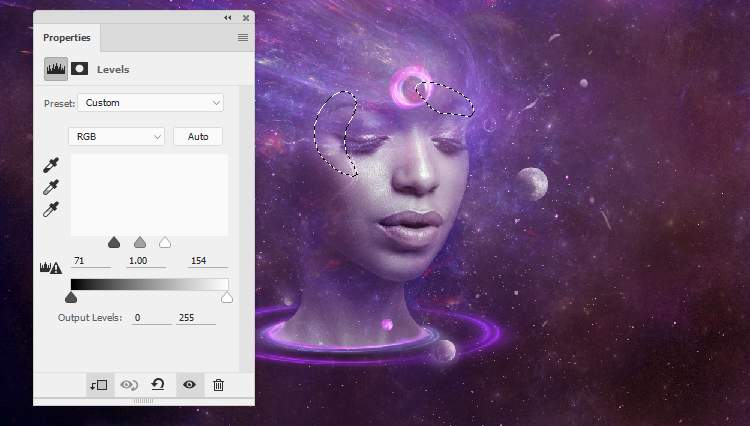
Step 35
Create a new layer on top of the layers and a small brush with the color #a7d7fcto paint some curves besides the face.

Make a new layer and use a soft brush with the color #1d0c00to paint inside the circle of light on the forehead. Change this layer mode to Linear Dodge 100%.

Step 36
Make a new layer and use a soft brush with the color #f1c3dato paint on this circle. Change this layer mode to Overlay 100%and duplicate this layer to increase the highlight inside the circle.
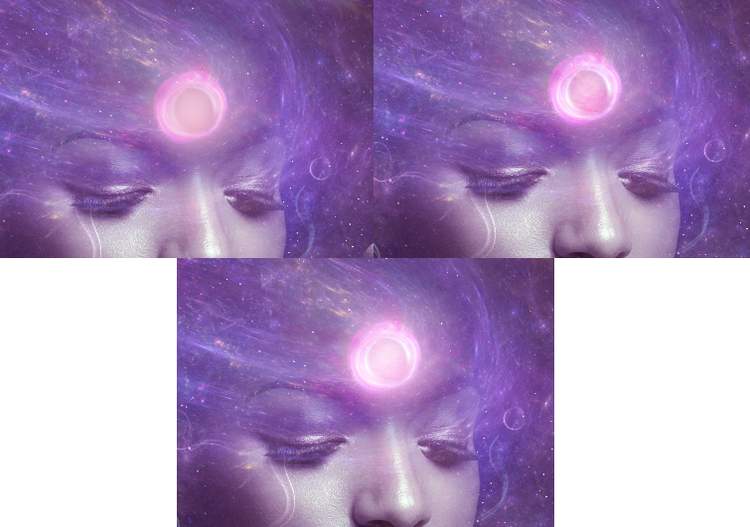
Step 37
Create two layers and a small brush with the colors #df50dfand #fbfbd2to paint some colorful details for the light hair.
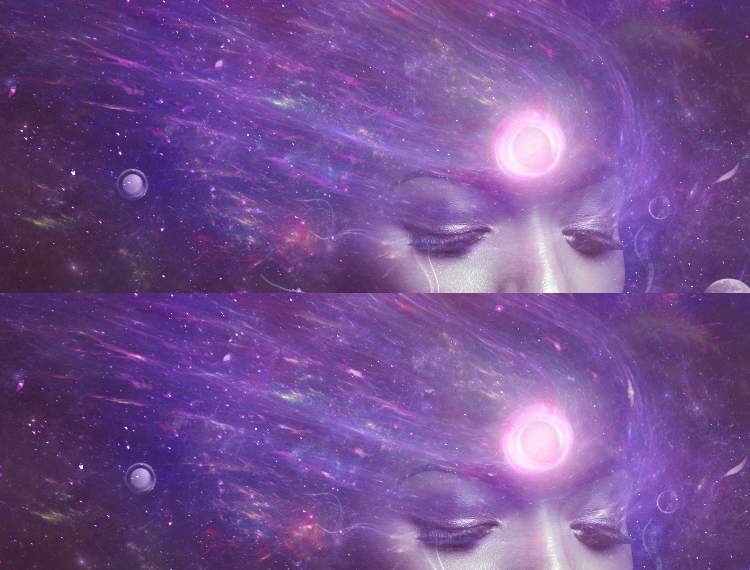
Step 38
Make a Gradient Mapadjustment layer on top of the layers and pick the colors #3a5ba9and #bd57c2. Change this layer mode to Exclusion 20%.
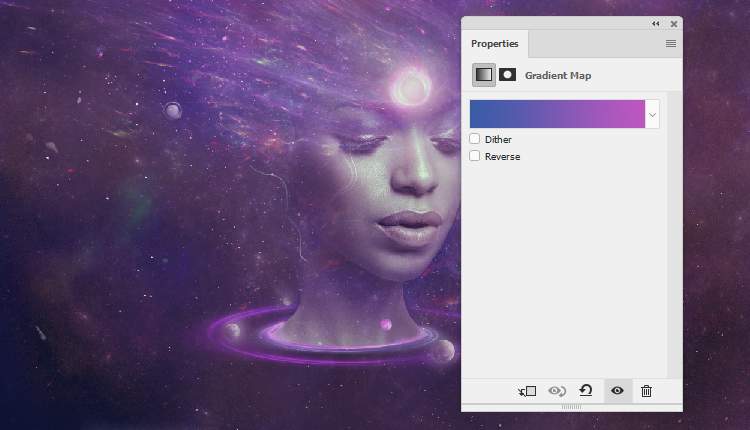
Add a Curvesadjustment layer to increase the contrast of the scene.
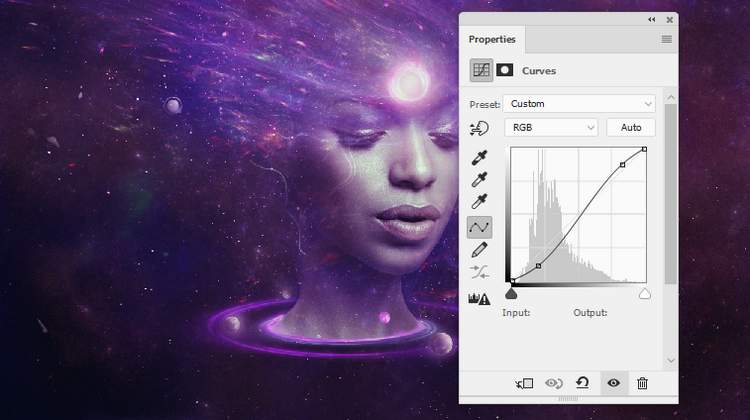
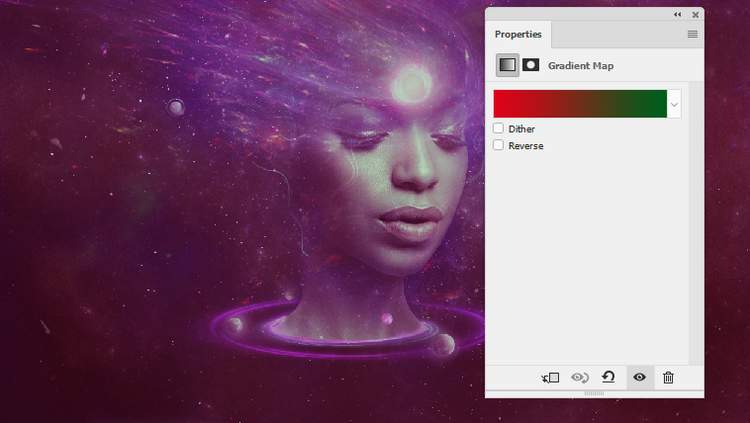
Create another Gradient Mapadjustment layer and pick the colors #e10019and #00601b. Lower the opacity of this layer to 20%.
Step 39
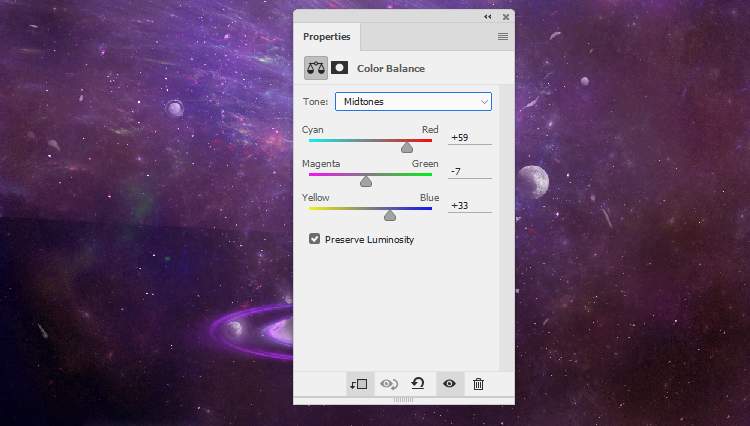
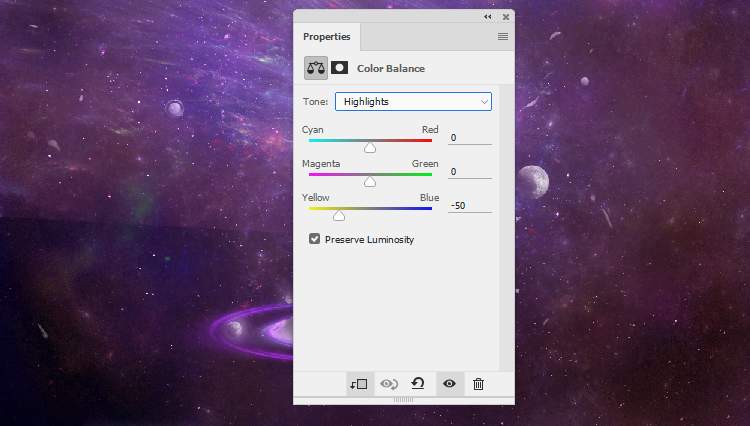
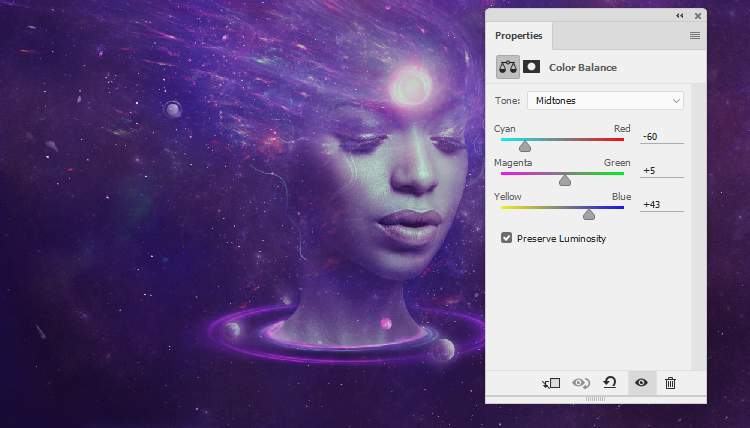
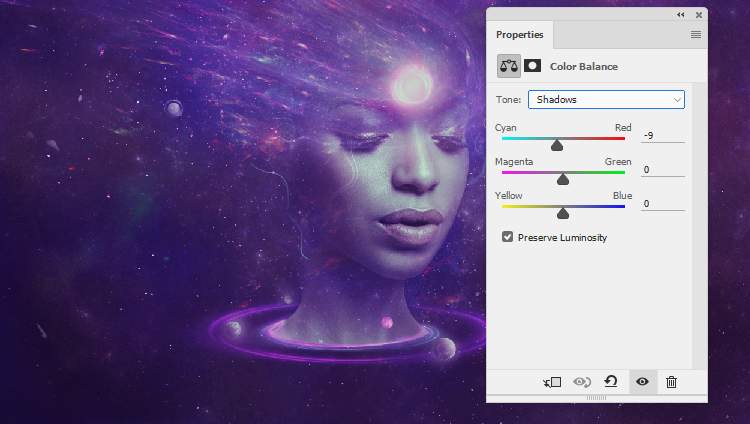
Add a Color Balanceadjustment layer and alter the Midtones, Shadowsand Highlightssettings:
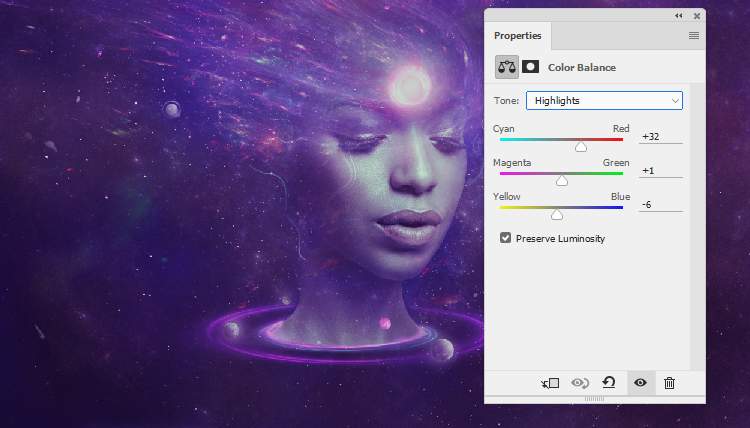
Step 40
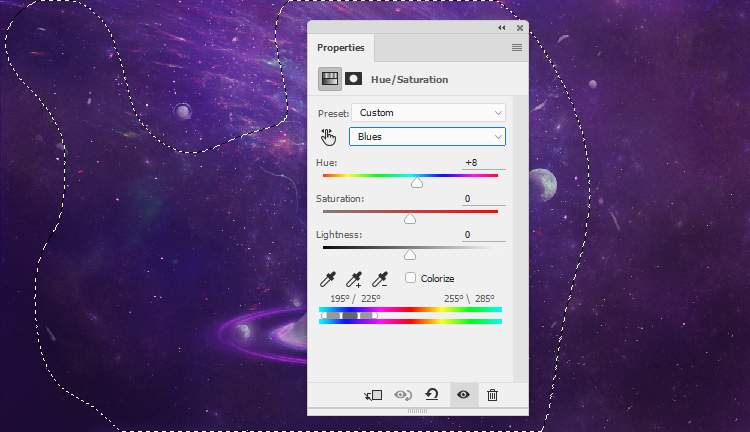
Make a Hue/Saturationadjustment layer to change the color of the bottom of the light hair and both sides a little. The selected area shows where to paint on the layer mask.
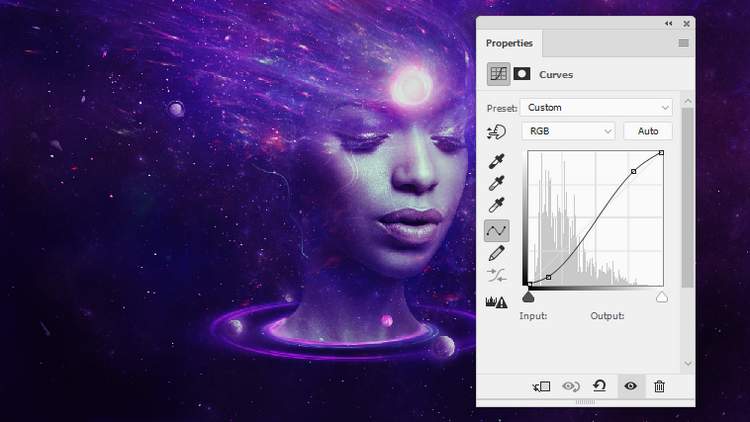
Create a Curvesadjustment to increase the contrast of the whole scene. On this layer mask, use a soft black brush with the opacity about 5-15%to reduce the contrast on the corners and around the model a bit.


Step 41
Make a Vibranceadjustment layer to enhance the color and contrast of the piece. Paint on the model’s face to remove to effect there.
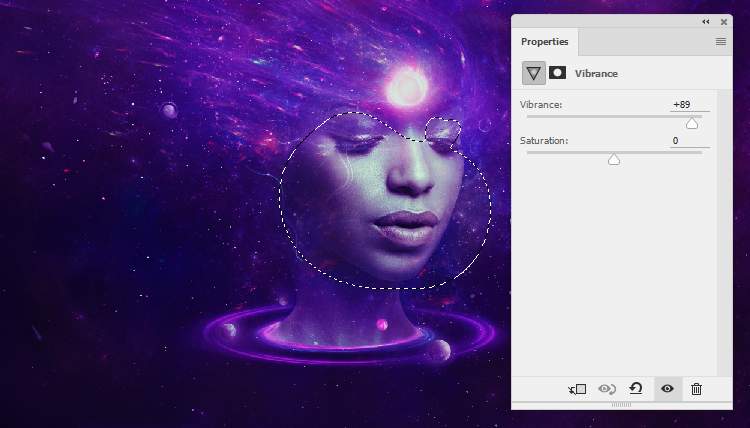
Create a new layer and use a soft brush with the color #745f90to paint on the left side of the canvas to change the color of this area. Alter this layer mode to Color 50%.


Final Result

Download the PSD
One response to “How to Create a Space Woman Portrait with Adobe Photoshop”
-
This is lovely


Leave a Reply