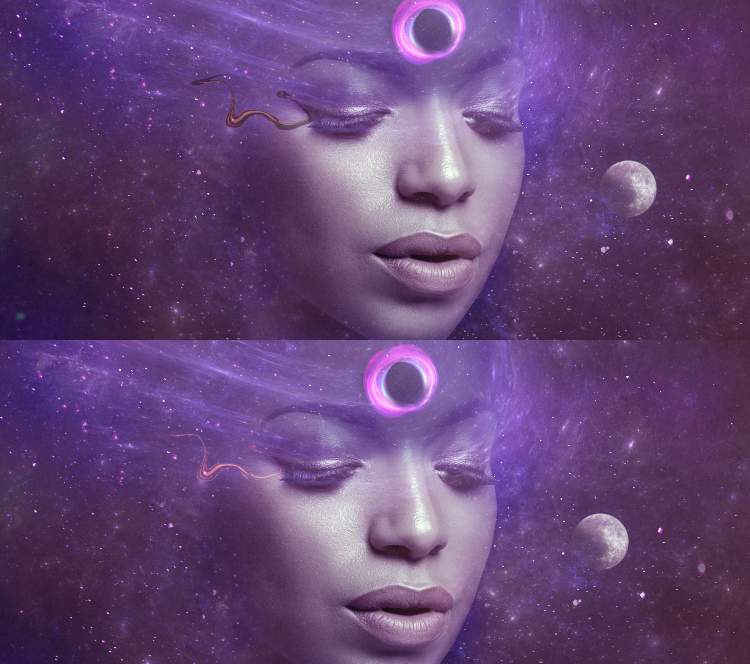
Make a Color Balanceadjustment layer and alter the Midtonessettings:

Create a Levelsadjustment layer to increase the visibility of the effect on both sides of the canvas. Paint on the rest so it won’t be affected by this adjustment layer.

Step 28
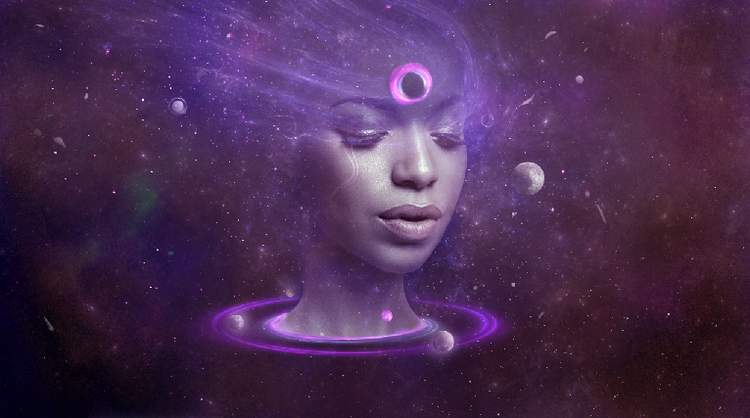
Open the abstract background image and use the Rectangular Marquee Tool to take a part on the right of the image to drag into our working document. Go to Filter > LiquifyTooland select the Forward Warp Toolto bend this abstract part and place it besides the left of the model’s eyes (from the viewer). Change this layer mode to Linear Dodge 100%.


Step 29
Take other parts from the abstract image to add to the background. Use the LiquifyToolto tweak some of them into different forms and change their layer mode to Linear Dodge 100%.

Step 30
Create a group for the abstract layers and change the group’s mode to Linear Dodge 100%. Add a Hue/Saturationadjustment layer to desaturate the abstract details completely.

Add a mask to this group and use a soft black brush with the opacity about 30%to reduce the abstract visibility.

Step 31
Place the nebula texture 1 onto the model and use Ctrl+Twith the Warpmode to tweak it as shown below:

Change this layer mode to Screen 100%and use a layer mask to remove the hard edges and reduce the texture’s visibility on the model’s face.

Step 32
Duplicate this layer twice and arrange around the first one a bit. Use their layer mask to remove the part on the face of the model.


Create a group for these nebula layers and change this group’s mode to Screen 100%. Add a Levelsadjustment layer to remove the hard edges of the effect.

Make a Color Balanceadjustment layer to change the color of the effect.

Step 33
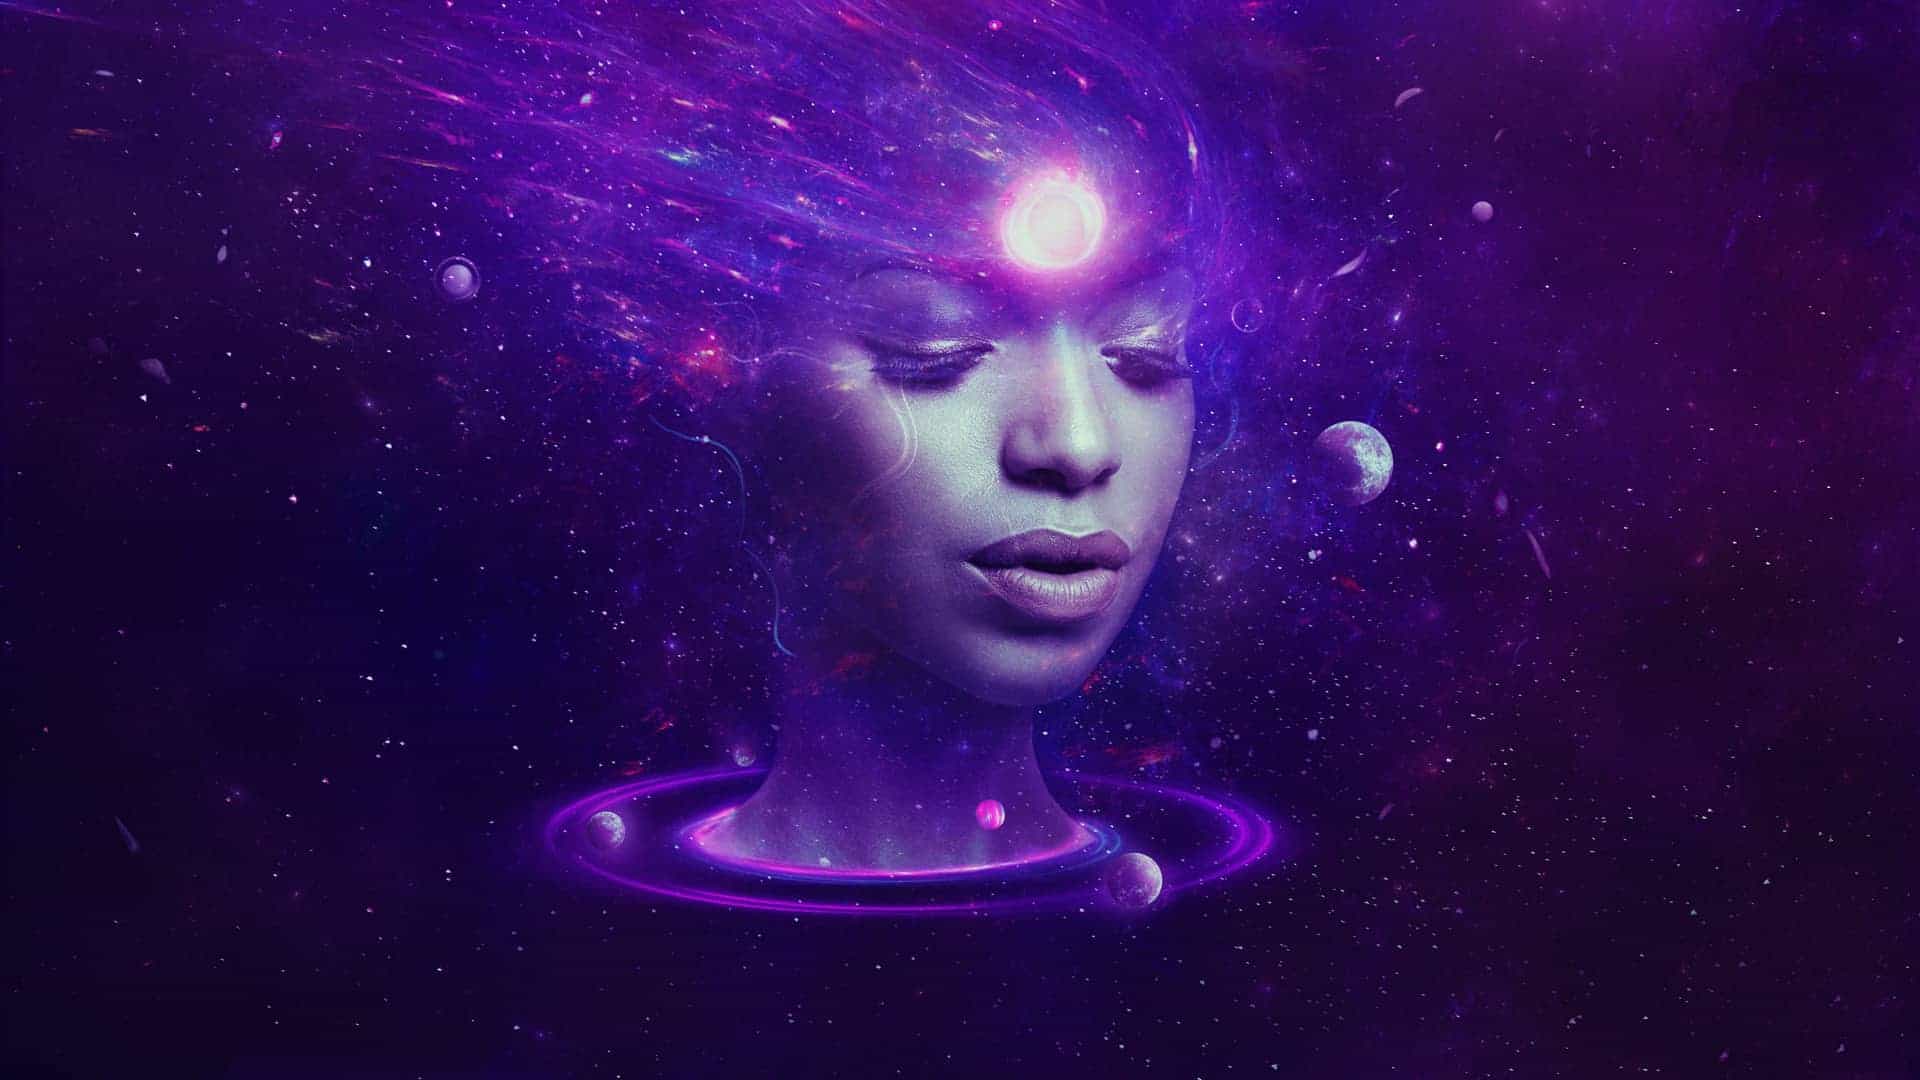
Add the nebula texture 2 to the top left of the canvas. Use Ctrl+Twith the Warpmode to bend the details on the texture to fit the form of the effect on the model’s head.

Change this layer mode to Linear Dodge 100%and use a layer mask to remove the hard edges and the light effect on the head, leaving it visible on the flow of light behind the head.

Step 34
Create a Hue/Saturationadjustment layer to change the color of the effect.
One response to “How to Create a Space Woman Portrait with Adobe Photoshop”
-
This is lovely


Leave a Reply