Turn any photo into a dot grid artwork with these Photoshop actions. You'll get great results with dots that change size. They get larger in brighter areas and smaller in darker areas. Free download available.

Step 19
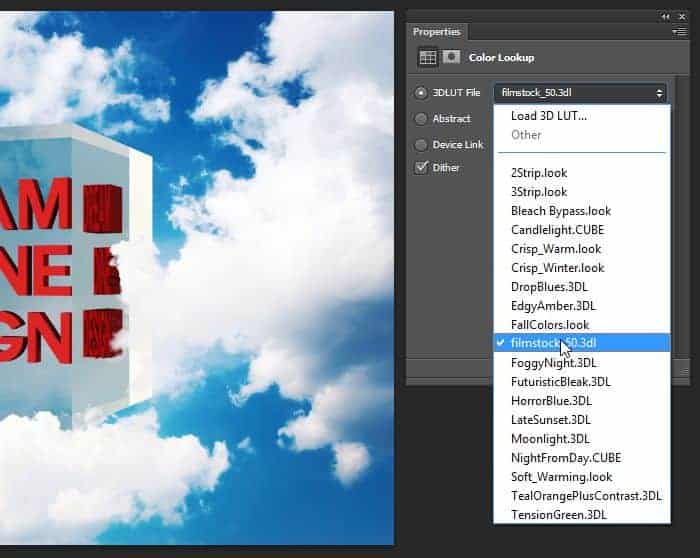
To complete the image, we’re going to boost the contrast of the image. We can do this easily with the Color Lookup adjustment layers that’s new in Photoshop CS6. In your Adjustments panel (Window > Adjustments), click on the Color Lookup adjustment. Select Film Stock from the 3DLUT menu then adjust the layers opacity if needed.

Final Results
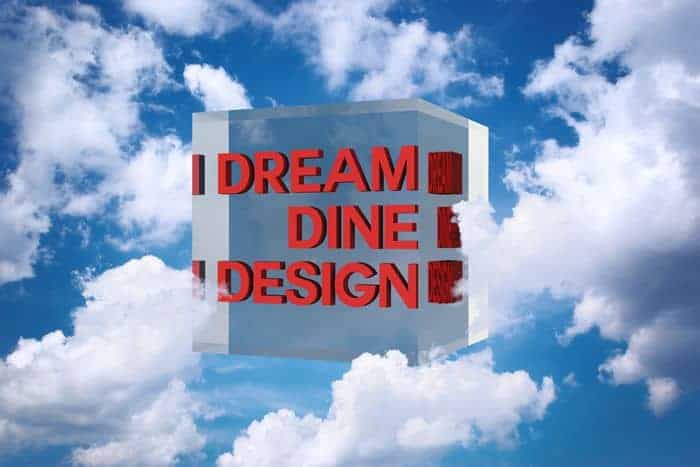
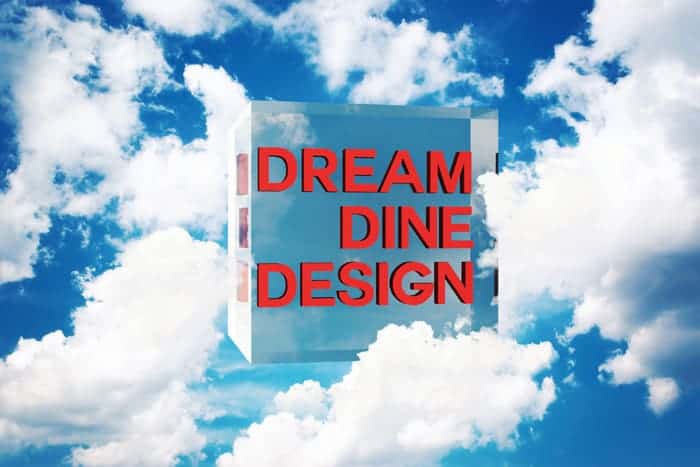
Because everything we did is nondestructive, you can make changes to the image any way you like. For example, I found that the crystals refraction makes the text look like “I Dream, Dine, I Design”. To fix this, I rotated the crystal horizontally by ~45 degrees. I also moved the foreground clouds to the right a bit so that it doesn’t cover the text.


7 comments on “How to Create a Crystal Cube with 3D Text in Photoshop Extended”
I like the idea of this tutorial, it’s very creative and the result looks great.
Impressive! Really impressed at this tutorial.. quality is great
nice tutorial
In the video, you keep clicking and dragging to change the text leading. If you highlight the text first, you will see the changes in realtime. Other than that great video and keep these coming!
Nice and easy
unique n amazing tutorial . .. .
COOL VIDEO!! Who cares about the crystal... teach me how to make the intro!!