Make your artwork look like they're from an alternate universe. These Cyberpunk presets work with Photoshop (via the Camera Raw filter) and Lightroom. Download all 788 presets for 90% off.
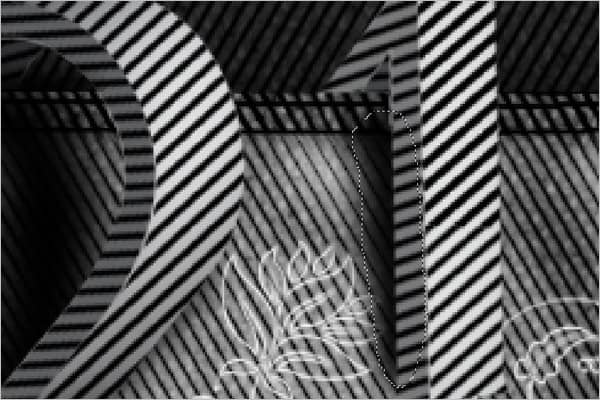
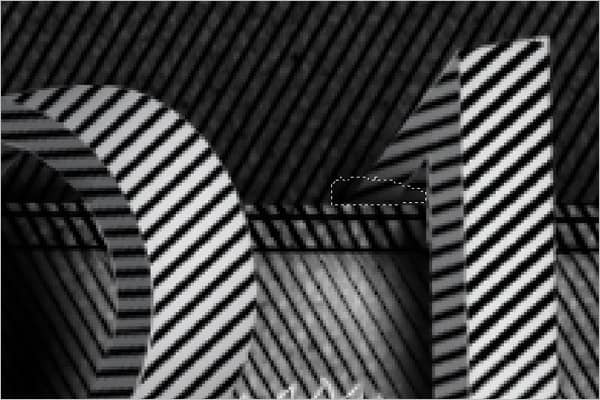
Step 54 – Placing the other text behind the pocket
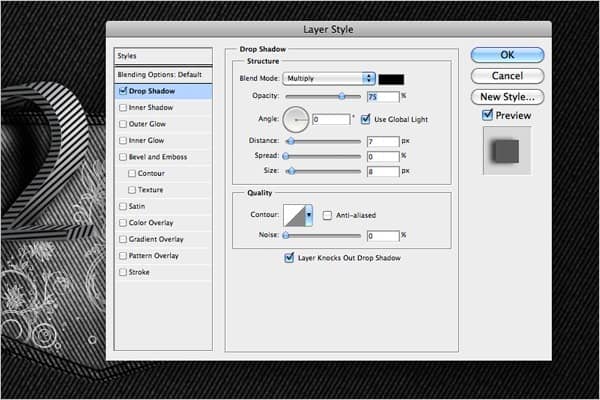
Follow steps 32-46 to add lines to the letters you wish to put behind the pocket. Add a drop shadow to the text using the following settings:
- Blend Mode: Multiply
- Opacity: 75
- Angle: 0, check “Use Global Light”
- Distance: 7
- Spread: 0
- Size: 8
- Contour: (see image below)
- Noise: 0
Check “Layer Knows Out Drop Shadow”
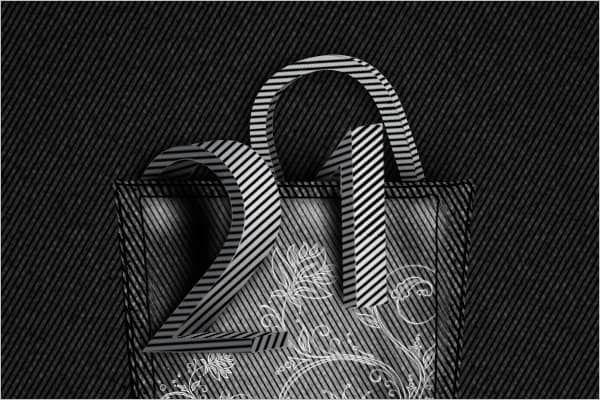
Your image should now look like this:
Step 55 – Duplicating text
If your letters are different, follow the above steps to create the patterns and shadows to the rest of the text and move on to the next step. If your letters are the same continue on this step.
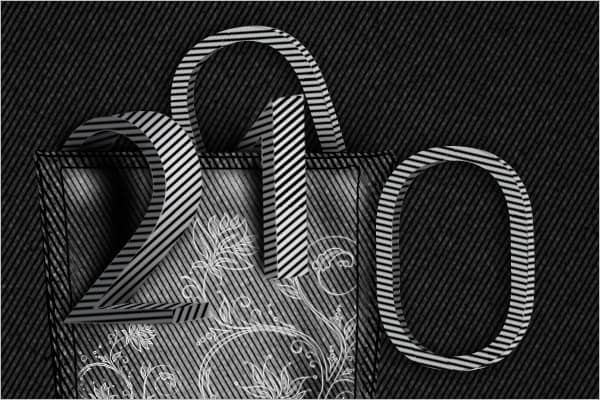
Group the entire layer for the letter you worked on in Step 54 and name it. Duplicate the group and place it outside of the pocket towards the right. Create a new layer behind the letter and create a shadow manually like the copy of the letter behind the main image. Fill the selected area with black and add blur to it.
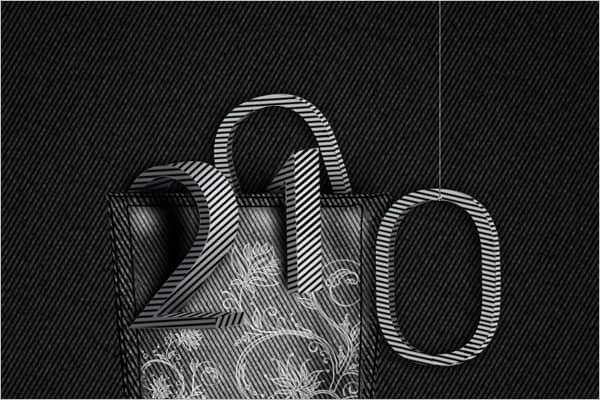
Step 56 – Creating a thread effect
Use the Pen tool (P) and create a 90º line path.
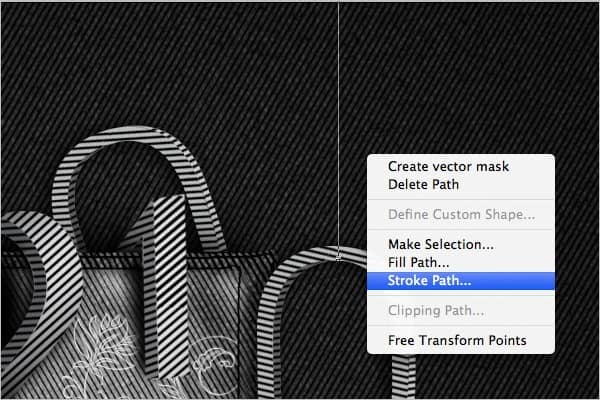
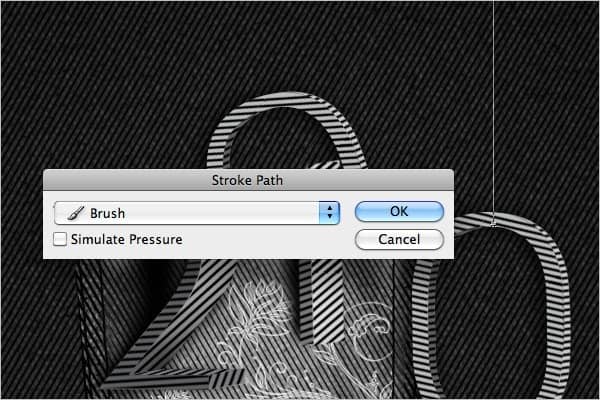
Use the Brush tool and choose the 1 px tip. Use the Pen tool (P) again, right click and choose Stroke Path. When the Stroke Path window comes up, select Brush from the drop down menu.
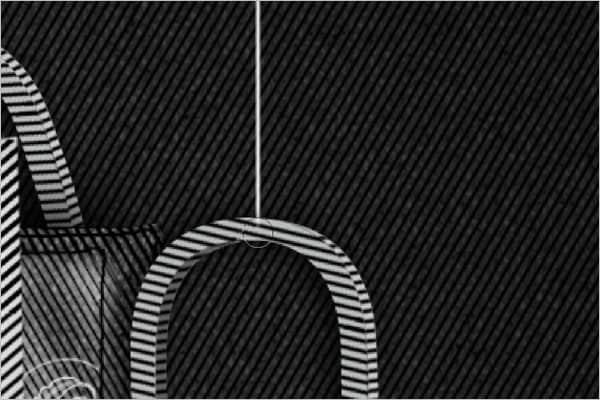
Step 58 – Changing thread color
Change the Foreground color of the thread selection to #ABABAB.
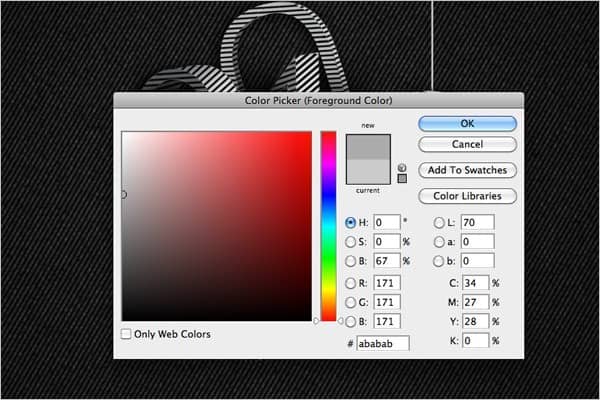
Step 59 – Adding filter effects
Lock the transparent pixels. Apply the Reticulation filter (Filter > Sketch > Reticulation) with the following settings:
- Density: 14
- Foreground Level: 40
- Background Level: 18
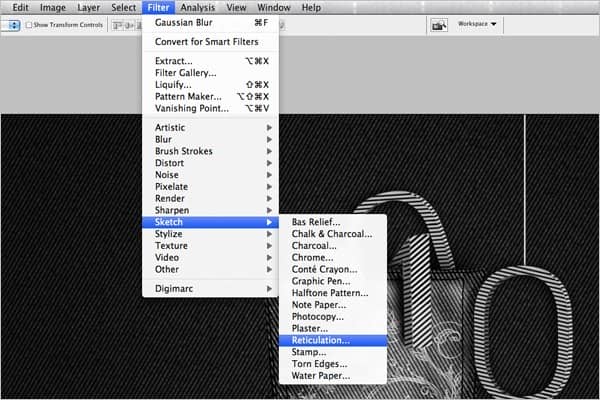
Step 60 – Adding drop shadow
Add a drop shadow to the thread with the following settings:
- Blend Mode: Multiply
- Opacity: 75
- Angle: 0, check “Use Global Light”
- Distance: 5
- Spread: 0
- Size: 5
- Contour: (see image below)
- Noise: 0
Check “Layer Knocks Out Drop Shadow”
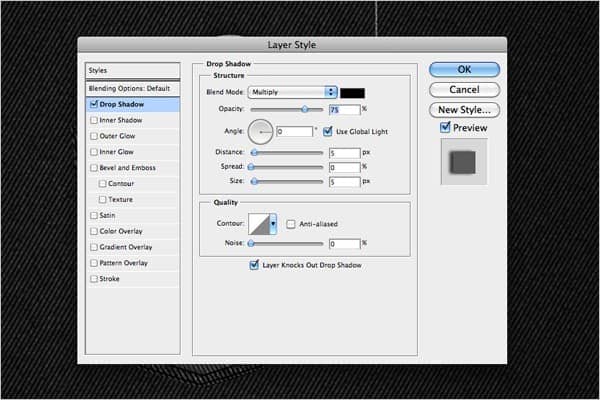
Step 61 – Creating a path
Use the Pen tool to create a path that resembles the thread wrapping under the letter.
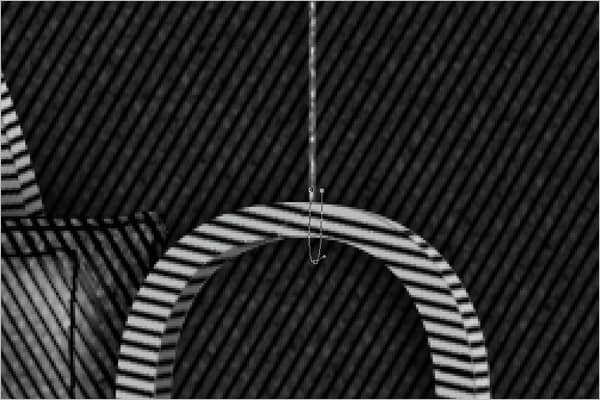
Right click and choose Stroke Path. Select Brush from the drop down menu.
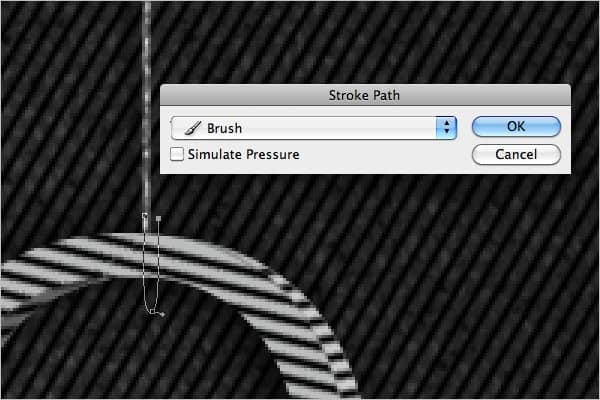
Step 62 – Erasing a part of the stroke
You now have two stroke lines on one side of the text. Use the Eraser tool to erase the stroke on the right side of the thread.
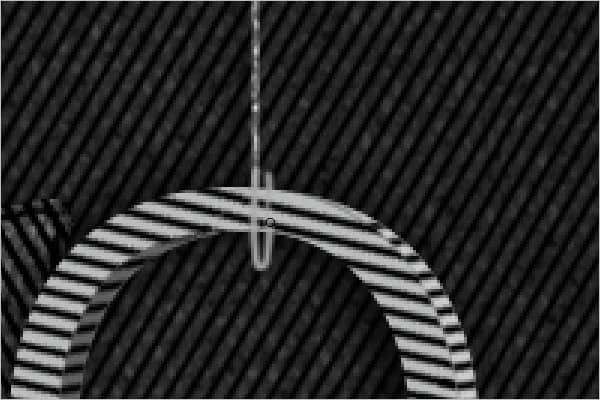
Step 63 – Adding the loose end to the thread
Create a path for the loose end of the thread.
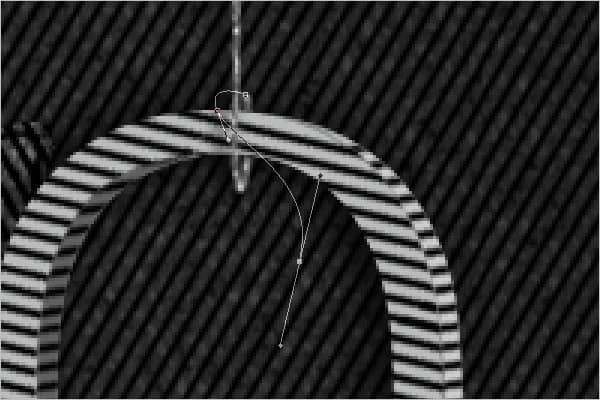
Repeat the second part of step 61.
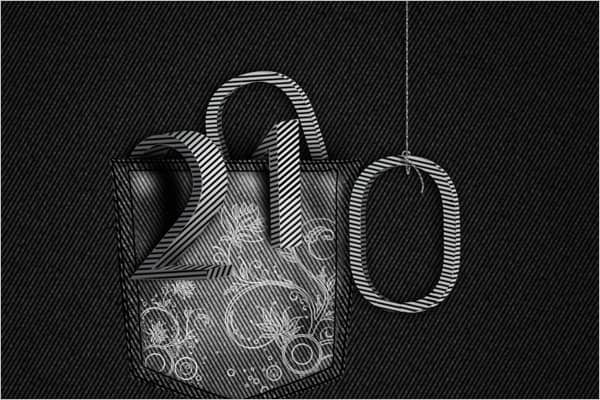
Step 64 – Adding color effects
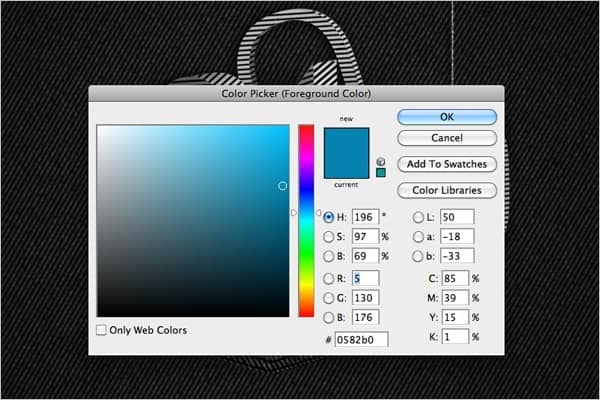
Open the Color Picker for Foreground Color and set the color to #0582B0.
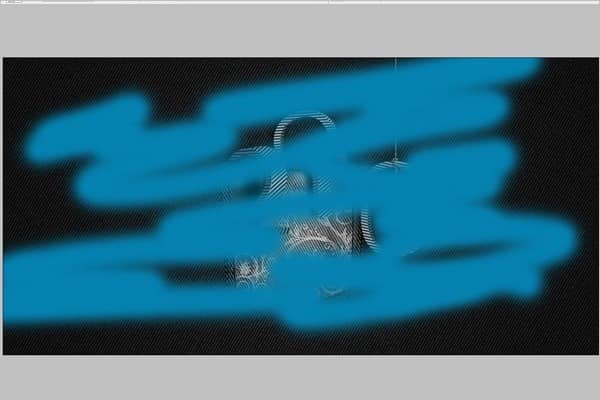
Use the Brush tool and move your brush around the screen randomly.
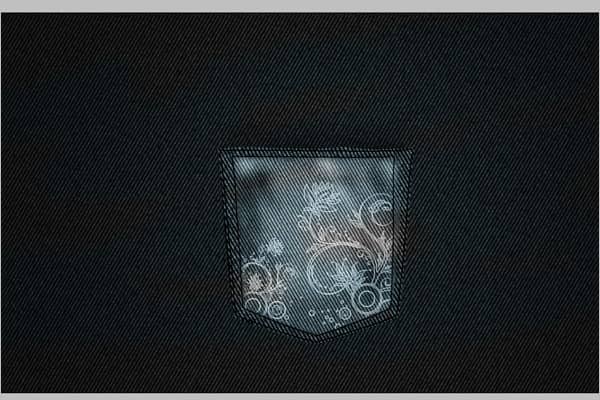
In the Layer Palette, select Color and change the opacity to 20%. Your image should now look like this:
Step 65 – Changing text color to red
Select the text and lines layers (omit the shadow layer) for your first letter and merge them. Repeat for the rest of the text. Select the first letter and change the Saturation (Ctrl+U) to the following setting:

![Step11[1] Step11[1]](https://cdn.photoshoptutorials.ws/images/stories/68698ed7effb_11B53/Step111.jpg?strip=all&lossy=1&quality=70&webp=70&avif=70&resize=600%2C400&ssl=1)

One comment on “Create this 2010 Typographic Wallpaper in Photoshop”
I really liked it Mr.Shiva Kumar sir but it was in long process that is why somewhere I felt bore and hope you will provide some easy method in net episode.