Turn any photo into a dot grid artwork with these Photoshop actions. You'll get great results with dots that change size. They get larger in brighter areas and smaller in darker areas. Free download available.
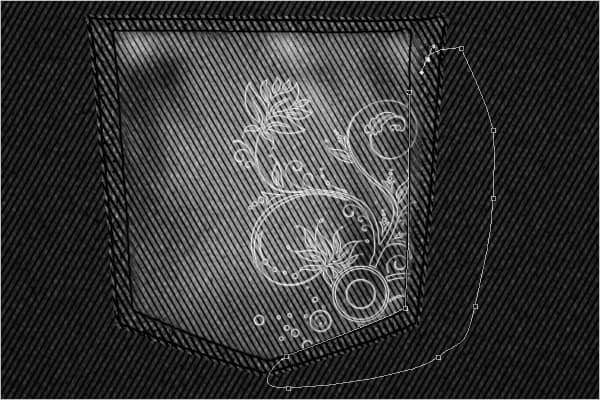
Your image should now look like this:
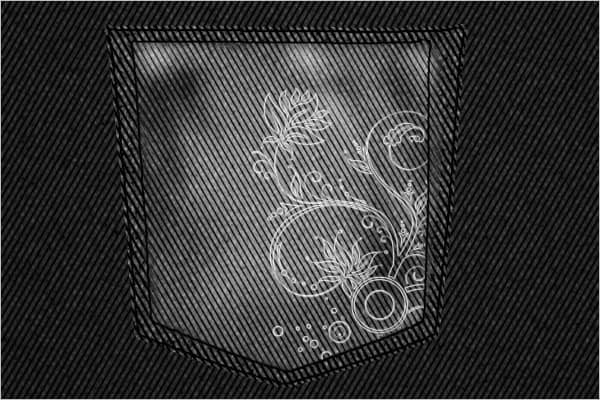
Step 27 - Adding Design
Following steps 23 to 26; select the same floral brush tip and create a new layer again. Paint on your image. Rotate the brush to a different aspect of the floral design. Reduce the size of the floral design and move it to the opposite side of the pocket.
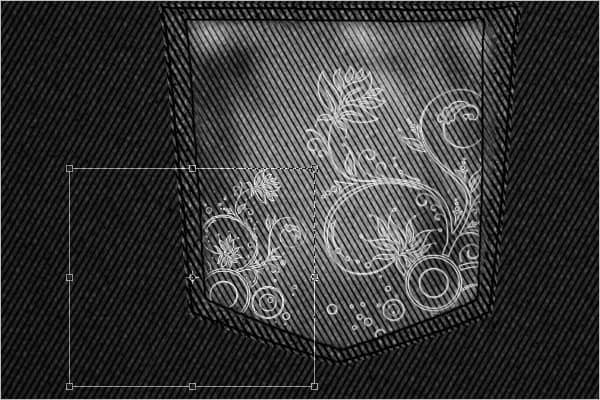
Your image should now look like this:
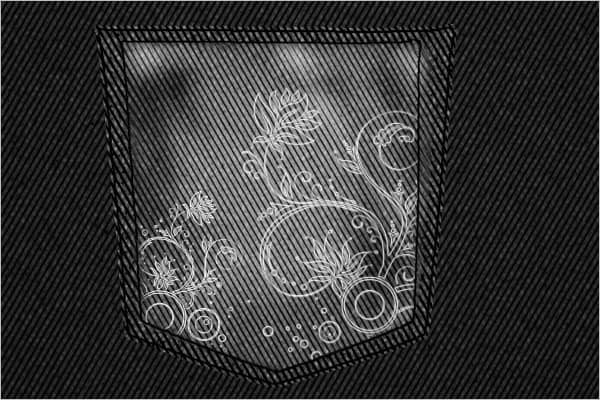
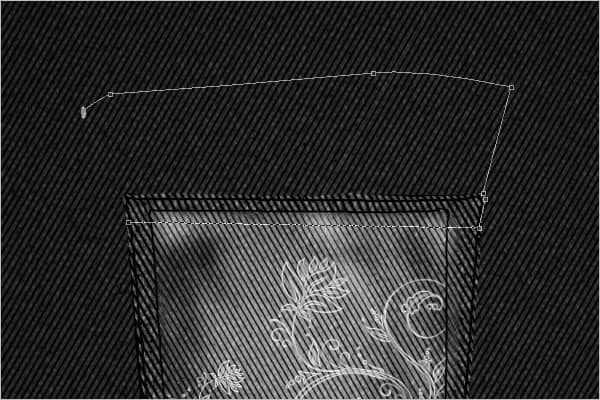
Step 28 - Creating the look of an open pocket
Select the Pen tool (P) and create a path like the one you see in the image below.
Then right click on the image and choose the 300px soft rounded brush.
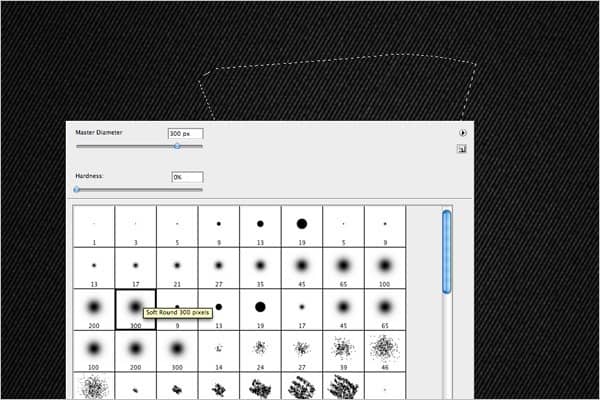
Next, place the brush at the top left corner of the pocket. Click and drag the brush slowly to the bottom of the selection.
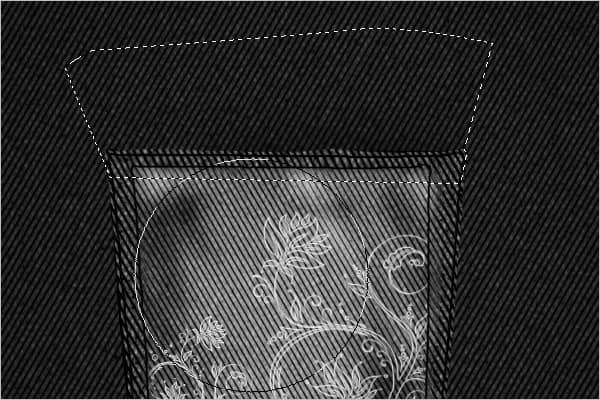
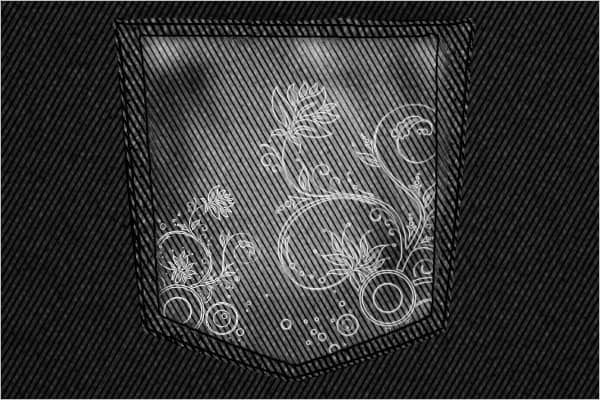
Your image should now look like this:
Download the 3D Text
The next steps require Adobe Illustrator. If you do not have Adobe Illustrator, you can download the file below and open it in Photoshop.
3D-Text.zip | 109 KB
Step 29 - 3D Text Design
Using Adobe Illustrator CS3, select the Text tool. Select a light gray color and a font that looks bold when condensed. Type your first letter on the screen. Then Extrude and Bevel (Effect > 3D > Extrude & Bevel) your letter with the following settings:
- Position: Custom Rotation
- Horizontal axis: -6º
- Vertical axis: 35º
- Depth axis: 0º
- Perspective: 0º
- Extrude Depth: 50pt
- Cap: on
- Bevel: none
- Surface: Plastic Shading
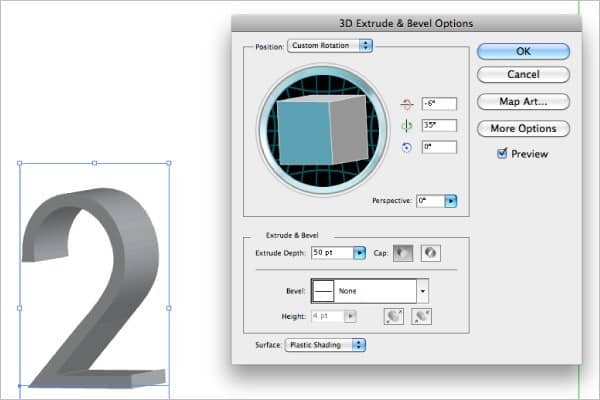
Step 30 - 3D Text
Use this setting for every other letter in your text.
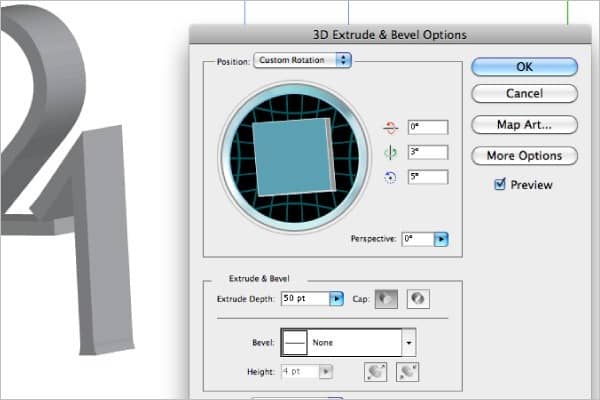
Step 31 - Placing Text in Photoshop
Copy the text from Illustrator and paste it onto your Photoshop image of the jeans.
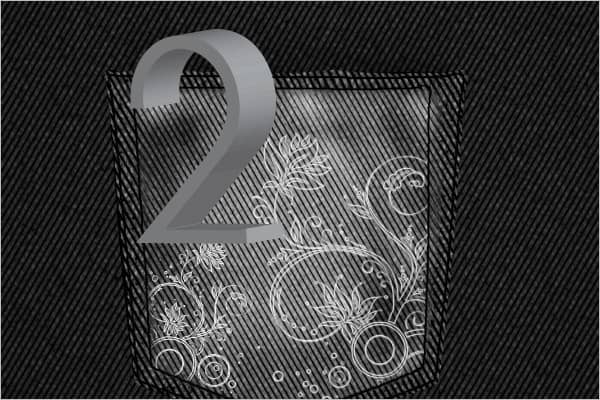
Step 32 – Adding Highlights
Use the Dodge tool (O) and right click on the screen. Choose the soft rounded 200px brush. Select the text and place the Dodge tool where you see light gray on the text.
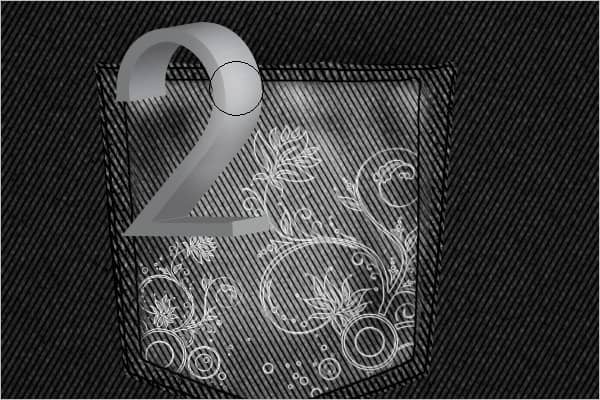
Step 33 – Adding Shadows
Use the Burn tool (O) and place the brush on the darker areas of the text.
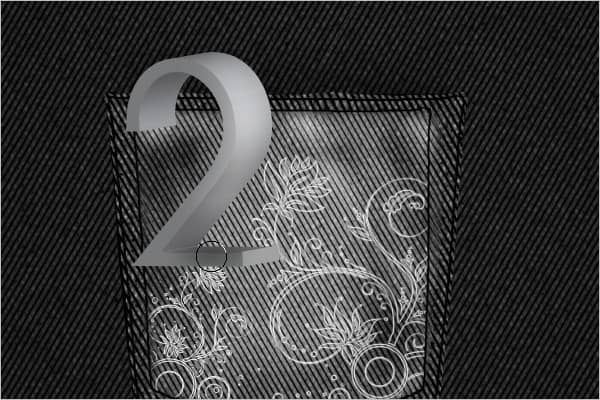
Step 34 – Create a hanging effect
Select the part of the text you wish to hide in the pocket, making sure it aligns with the top of the pocket.
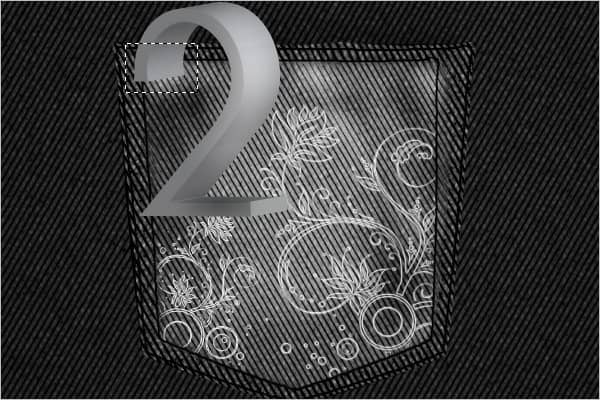
Delete the selection.
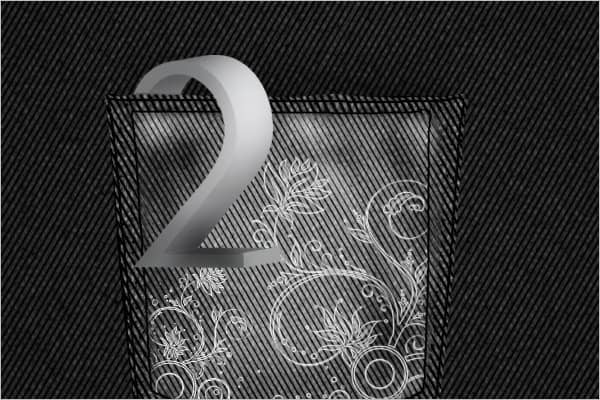
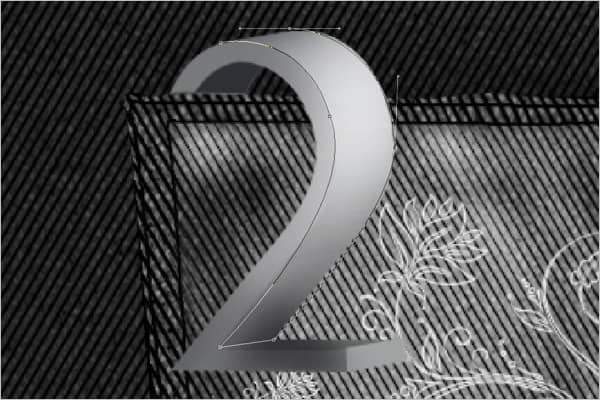
Step 35 - Creating Path
Use the Pen tool and create a path for one side of the text. Adjust the path so that it fits the corners of the text.
Step 36 - Filling the Path
Create a new layer with the path and select the image (Ctrl+Enter). Then change your foreground color to white and fill the space (Alt+delete). Hide the layer.
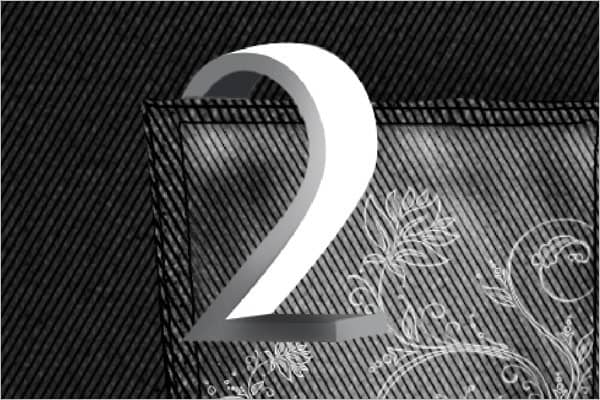
Step 37 – Adding stripes
Download the Stripes Photoshop Brushes then load them into Photoshop. Using the Dodge tool (O), select the striped brush design you want to use.
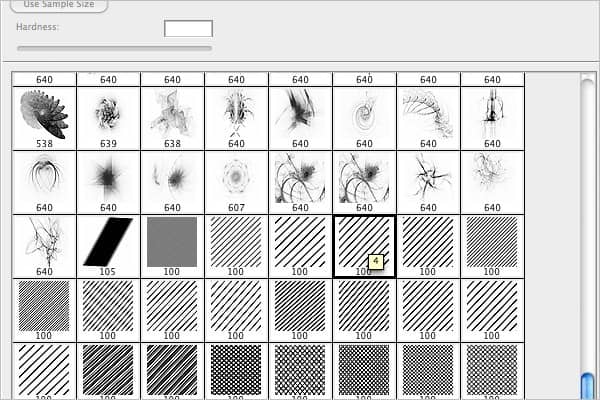
Create a new layer and create brush strokes along the areas you wish to cover.


One comment on “Create this 2010 Typographic Wallpaper in Photoshop”
I really liked it Mr.Shiva Kumar sir but it was in long process that is why somewhere I felt bore and hope you will provide some easy method in net episode.