
Adding a stroke to some text in Adobe Photoshop can be an effective technique, but most strokes stop at just one. Some designers may try to add another stroke and end up just editing the original one. But there’s an easy technique to add a stroke onto another stroke, and three or four or more strokes on the same text.
Preview of Final Results

Double and Triple Strokes Photoshop Tutorial
Step 1
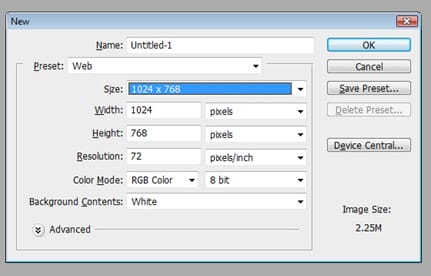
Open Photoshop and go to File>New for a new file at this size and click OK.
Step 2
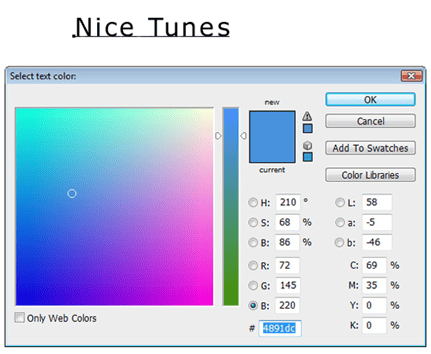
Click the Text tool in the toolbar and click anywhere and type in some text. Don’t click-and-drag a text box, but instead just click once and then type so we can click-and-drag a corner to resize it later. I set the color of mine to #4891dc by highlighting the text and then clicking the color on the Options palette.
Step 3
Change the font to something that will look good with strokes, such as an san serif font (arial or verdana instead of times new roman). I set it to Maiandra GD. Then click the Move tool and click-and-drag a corner to make it a little bit bigger. Remember to hold Shift to maintain proportion. After resizing, press Return (PC: Enter) to apply resize.

Step 4
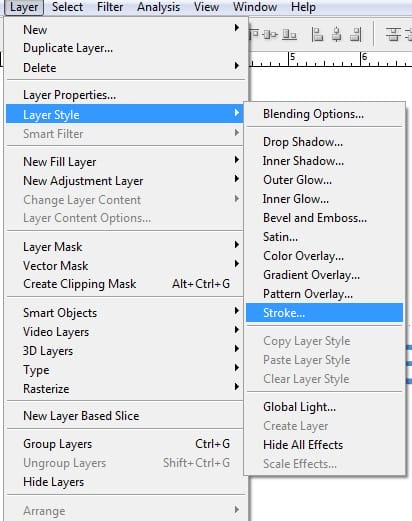
Go to Layer>Layer Style>Stroke.
Step 5
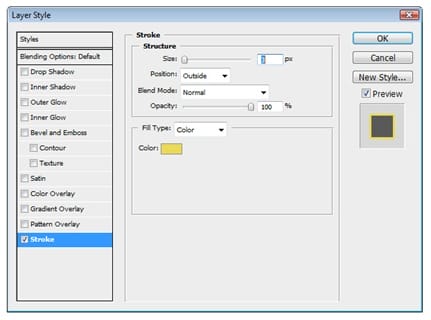
The Position should be set to Outside and set the size to 3. Change the color to one that looks good with the original text color.
Step 6
It should look something like this, depending on the colors you selected.

Step 7
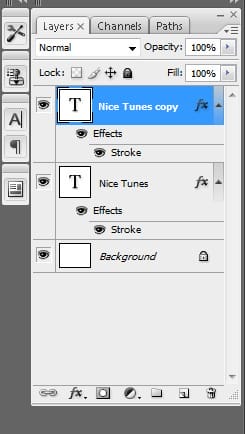
Now if we went to Layer>Layer Style>Stroke again, we’d just bring up the options to edit the original stroke. Instead, click-and-drag the text layer to the New Layer icon the Layers palette (or press Command-J (PC: Control-J)). This duplicates the text layer.
Step 8
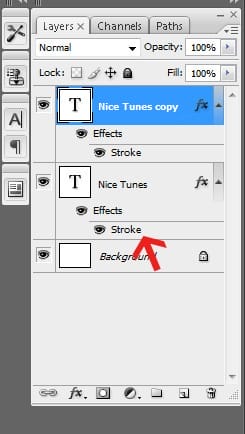
Now we need to edit the stroke on the lower, original text layer to make it larger. Double-click on the Stroke effect listed on the bottom text layer.
Step 9
Set the size to something larger, such as 6 pixels, and change the color to something that looks good with the other two colors. You could use Adobe Illustrator’s Color Guide palette or just wing it by sight or use a color wheel. Click OK.

Step 10
It should look something like this.

Step 11
Repeat the steps of duplicating a layer and changing the size and color of the stroke to add a third, fourth, or fifth stroke. Remember to edit the lower layer when wanting to make the stroke larger to show past the layer on top of it. Click-and-drag a layer below another if they get arrange in the wrong order. In this example, I gradually went from a royal blue to a different hue blue, creating a retro gradient.
2 responses to “Double and Triple Strokes in Photoshop”
-

Good tutorial, but one suggestion:
Stroke + Outer Glow + Drop Shadow = Three strokes in only one layer -
Double and triple strokes in photoshop is a new feature and its very good for making images as creative as we can. Its very simple to use adobe photoshop.
Leave a Reply to JosanCancel reply