
Learn how to create turn a simple 3D text into a beautiful yet simple floral design. This tutorial will show you how to retouch and apply effects to 3D text and use floral Photoshop brushes as a quick way of enhancing the look.
Preview of Final Results

Floral 3D Text Effect Photoshop Tutorial
IMPORTANT: When ever you create any effects, use action palette to store the functions because again if you need the same effect so it will be easy for you to get the same effect.
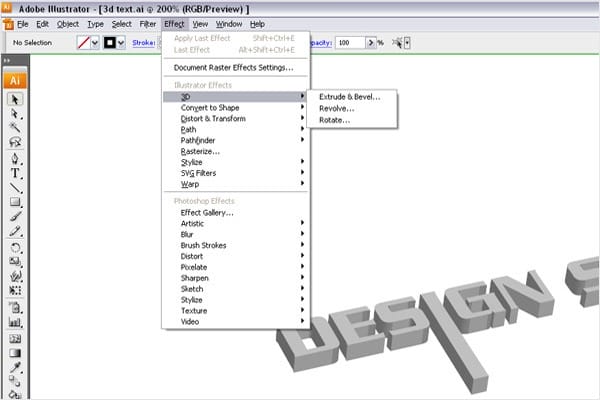
Step 1 – Create the 3D text
As we start we need 3d text effect I’m taking help of illustrator to create 3D text. You can download the font from here. Feel free to use any program you like to create the 3D text. If you are using any other application like Maya, 3Ds max, etc, make sure that the file you save has transparency.
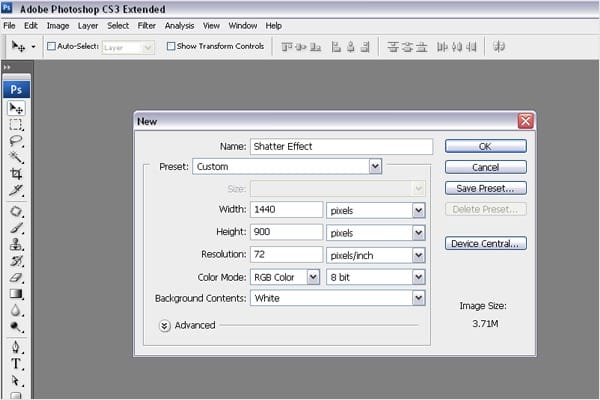
Step 2 – Create a new Document
Choose File > New or press Ctrl/Command + N to create a new document. I’m using wallpaper size of 1440px(width) X 900px(height). You can use any wallpaper size as you wish.
Step 3 – Bring the 3D text to Photoshop
You can save the image as .png format to get transparency or you can directly copy (Ctrl/Command + C) the 3D text from illustrator & paste (Ctrl/Command + V) in Photoshop. So you will get the 3D image in Photoshop as you see the image below.

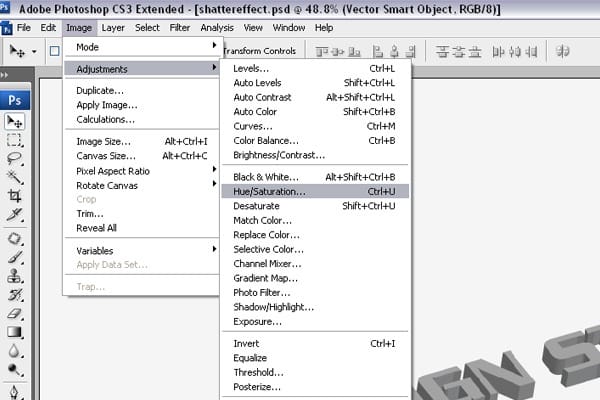
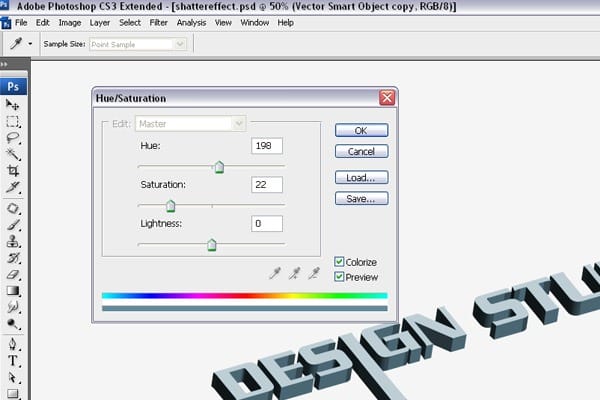
Step 4 – Adding Color to the text
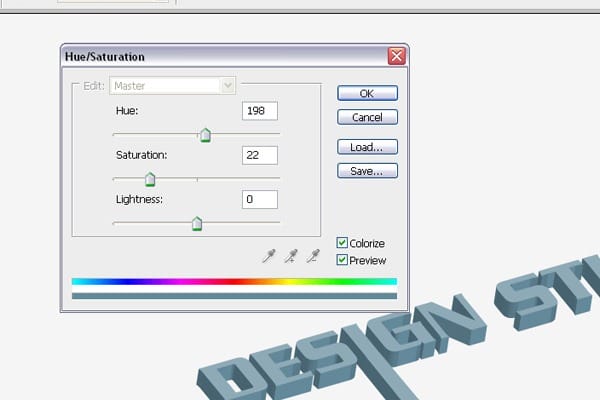
Now we need to add some color to the text. To do this, choose Image > Adjustments > Hue/Saturation the use these settings:
- Colorized: Checkmarked
- Hue: 198
- Saturation: 22
- Lightness: 0
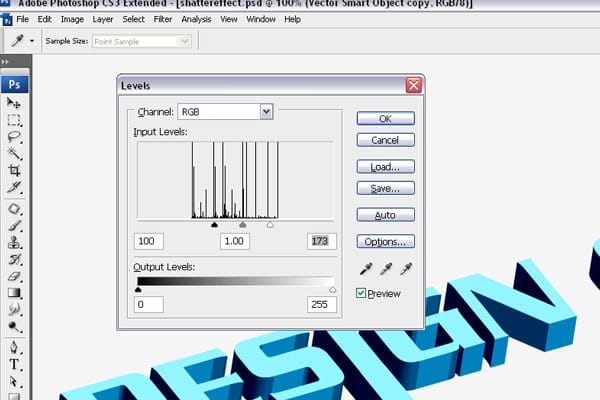
Step 5 – Adding Contrast to the Image
Now we’ll need to add more contrast to the text. Choose Image > Adjustment > Levels then adjust the settings like shown in the image below.
Step 6 – Making the Color Little Bit Dull
Now we’ll repeat what we did in Step 4. Choose Image > Adjustments > Hue/Saturation. Use the settings as shown in the image below.
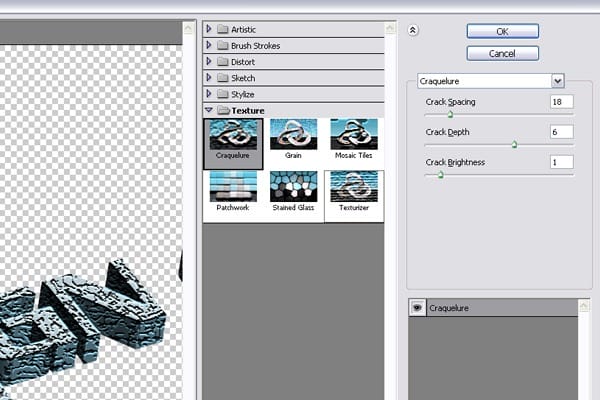
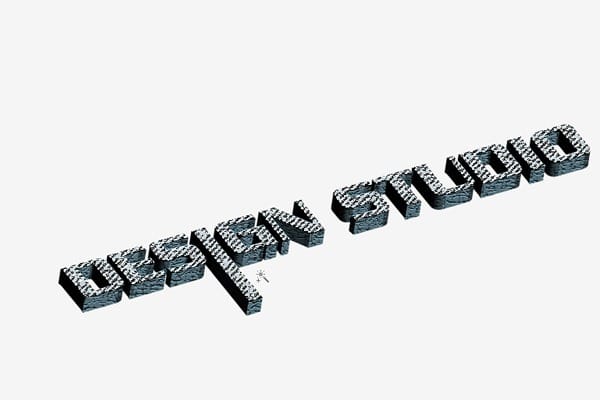
Step 7 – Adding Filter Effects
For this text, we’ll use the Craquelure effect. Choose Filter > Texture > Craquelure. Use these settings:
- Crack Spacing: 18
- Crack Depth: 6
- Crack Brightness: 1
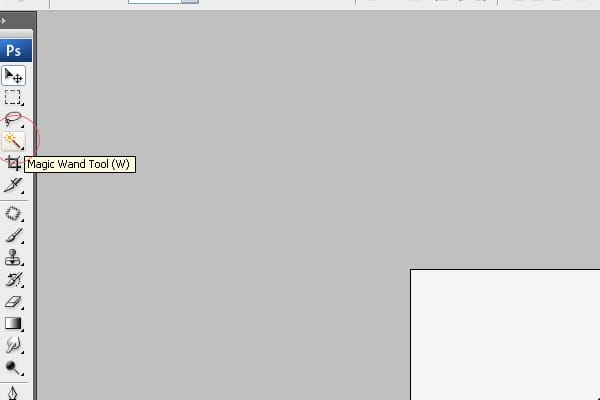
Step 8 – Making Selection of Same Color on Top of the Text
Now choose the Magic Wand tool (W) then create a selection on the top of the text like the image below.
Step 9 – Filling the Selection
Create a new layer then fill the selected area with white.

Step 10 – Adding Drop Shadow
Now we’ll add more detail to the image by adding light and shadow. Follow these steps clearly. Create a selection of the text. To do this, hold down Ctrl then click on the thumbnail of the layer in the Layers palette. Create a new layer under the layer with the 3D text then fill the selected area with black.
12 responses to “Floral 3D Text Effect”
-

;o;
-
Terrible explanation. You totally left out how to proceed if Illustrator doesn’t allow you to copy/paste multiple objects and doesn’t allow saving as .png
-
what font types do u use?
-
Really great tut. Gives a lot of room for creativity and improvising. Thanks!
-
I’m confused at steps 10(drop shadow, 16(making plants) and step 18(the final image).
at step 10, can you please clearly explain how to put the shadow? (My shadow is just within the 3d text itself. It’s not spreading)
at step 16 and 18, how did you add shadows and colors at those plants, swirls and circles?
Btw, it’s a great tutorial. Thanks for taking the time to post this. Keep it up!
-
Okay, so on step ten, I ran into the same problem. Here’s a little bit of a more detailed explanation.
1. Ctrl-click on the thumbnail of the text layer. This will load a selection of it.
2. Make a new layer. Drag it underneath the text layer.
3. Fill the selection with black. You will not be able to see it yet.
4. (VERY IMPORTANT) Deselect. (Ctrl D)
5. Apply guassian blur as directed and continue with tutorialFor step 16, those are not shadows. The dark parts are the actual original color. It just looks like shadows because you add in some lightness using the dodge tool. (He tells you what settings to use – you must’ve just missed them.)
For step 18, this is a little more advanced. Actually a lot more advanced. You can either use the Hue/Saturation with Colorize turned on to add colors, but there are a bunch of other ways to do it. Here are some steps to get you started on the Hue/Saturation method.
1.) Copy the layer with the circles and swirls.
2.) Go to Image-Adjustments-Hue/Saturation. Check the Colorize box.
3.) Adjust sliders to change the color. The higher the Saturation, the more vivid the color. (The whole thing will turn this color – don’t worry, we’ll fix that in a minute)
4.) Press OK when you get a color you like
5.) Use the eraser tool to erase everything on the colored layer except the part that you want to color.
6.) Repeat 1-5 as desired, using different colors. DON’T FORGET to copy the original layer with the swirls and the circles every time. Otherwise this method will not work.Hope this all helps! Happy Photoshopping.
-
-
Hello,
Could you please let me know how to make a selection of the whole 3D letter and not just the front or extrusion (but both)? Thank you for posting this great tutorial which allows me to learn techniques which are new to me.
-
MY SKYPE ID-AMDHADULHAQETHOHIN
-
very good, thanx
-
Nice article and Well explained. I am just learning Photoshop so this article find very useful for me.
-
explanation is terrible.
-
so terrible
-
Leave a Reply to thebCancel reply