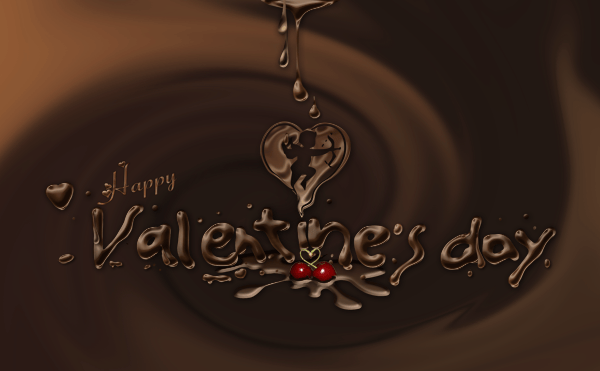
This Valentine’s day, show your true love with a Valentine’s Day card! Whether it’s for your partner or yourself, you’ll have a fun time making it. This tutorial will show you how to create an easy swirling background and how to use layer styles to create a chocolaty text effect. Once you’re done, feel free to customize it with personal photos or just a few cute hearts.
Preview of Final Results

Resources
- Cherries Germanstock – Deviantart
Step 1
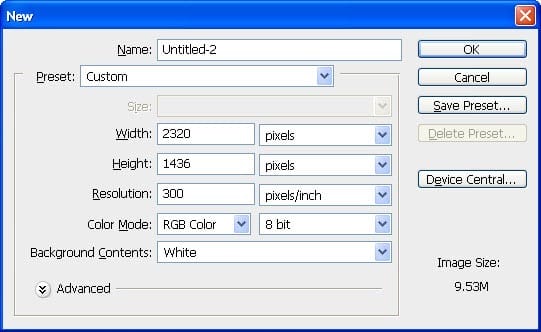
Start by creating a new document. I set my size to 2320×1436 pixels.
Step 2
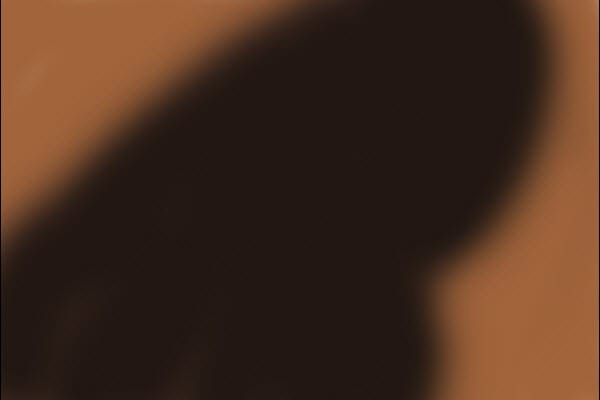
Start by filling the background with a brown then using the Brush tool to paint a darker shade of brown. I used the colors #A1643B and #211712 (you can set these values in the Color Picker). You can use your own colors but keep the brighter color on the outer edges and darker color in the middle.
Step 3
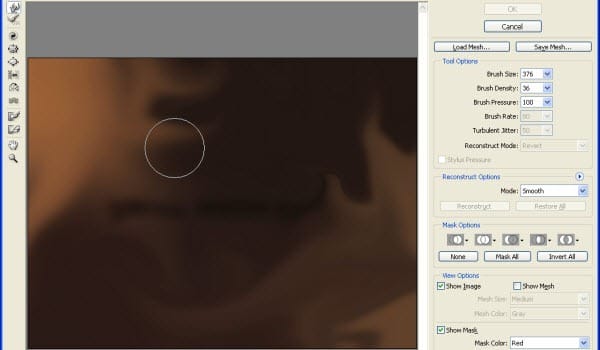
Next, use the Liquify tool (Filter > Liquify). Use the Forward Warp tool to randomly smudge the background like shown in the image below.
Step 4
Next, go to Filter > Distort > Twirl. Set the angle to around 368° then click OK.
Tip: Usually when you apply filters to an image you cannot go back and modify it without undoing. To overcome this, you can convert your layer into a Smart Object (Layer > Convert to Smart Object). Once your layer is a Smart Object, you can apply the filter and it will apply it non-destructively letting you edit the settings anytime you like.
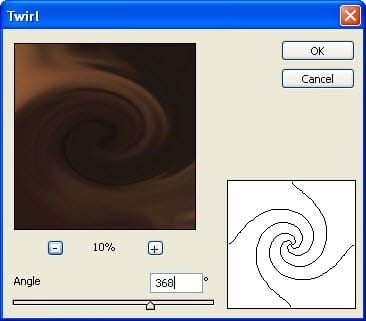
Here’s what the Twirl looks like.

Step 5
Now that we’re done with our background, we can create the text. Start by using the Brush tool and draw the words “Valentine’s day” using a hard-edge brush. You can also use the Type tool and use any font you like. For this step, I will be drawing the text free-hand with the Brush tool. I used a 40px brush with a hardness of 100%.

Step 6
Go to Filter > Liquify. Warp the text to give it a melting effect like shown in the image below.

Step 7
Next, we’re going to add some layer styles to the text. Go to Layer > Layer Style > Drop Shadow and apply the settings shown below. Don’t click OK yet.

Step 8
Enable the Bevel and Emboss style then apply the settings shown below.
19 responses to “How to Create a Chocolaty Valentine’s Day Card for Your Girlfriend”
-
No step 15.
-
Who else thinks this is Amazing?
-
Hand raised
-
-
amazing im eating this its awesome cool 4 lyfe unstopable
-
cool, but how to make the love shape like that?
-
i have downloaded the psd , but unable to edit the letters … i want to put my name .
If not can someone help me in creating a logo/signature to keep for all my photographs ?
Thanks,
Jas. -
Looks great, definitely try to do myself.
-
Very difficult.
Do not recommend unless you like tearing your hair out. -
Very difficult
-
It’s gorgeous and very easy, thanks a lot for this tutorial, i inspired to make my logo.
-
**** this
-
Agreed
-
-
where to get these font? how are they called?
-
The author didn’t use any font – it was hand-drawn (see step 5)
-
-
but I don’t have a girlfriend
-
i can be ur girlfriend :)
-
-
Thanks for this tutorial
-
this easy to do


Leave a Reply