Make skin look perfect in one-click with these AI-powered Photoshop actions.
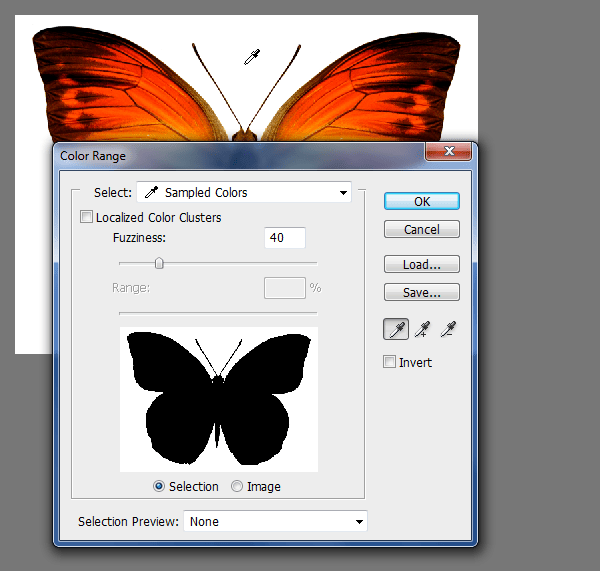
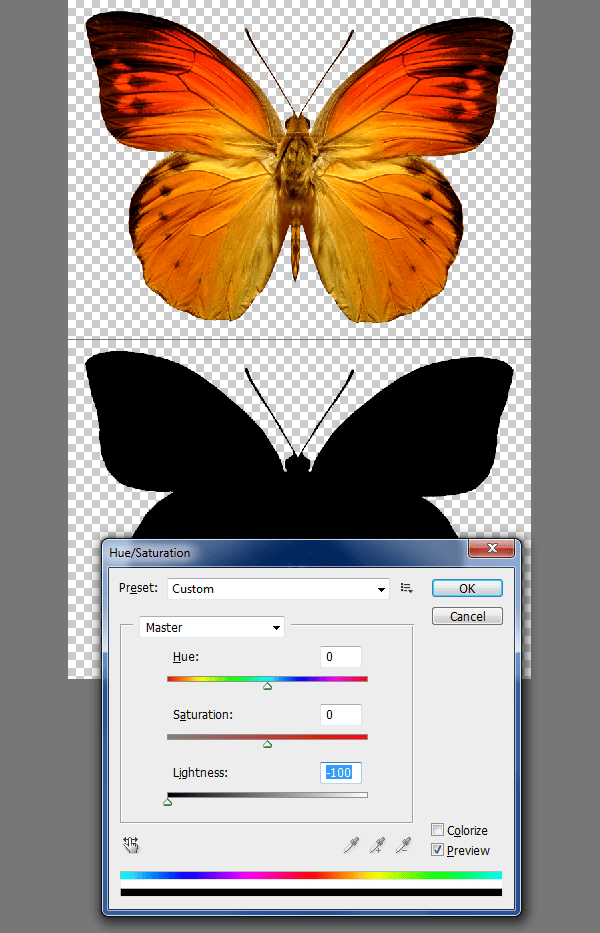
You need to invert the selection (Ctrl+Shift+I) because we selected the background not the butterfly. Then pressCtrl+J (Layer via copy). Now we have the butterfly isolated. Turn off the background layer. Load Hue/Saturation box and remove the lightness.
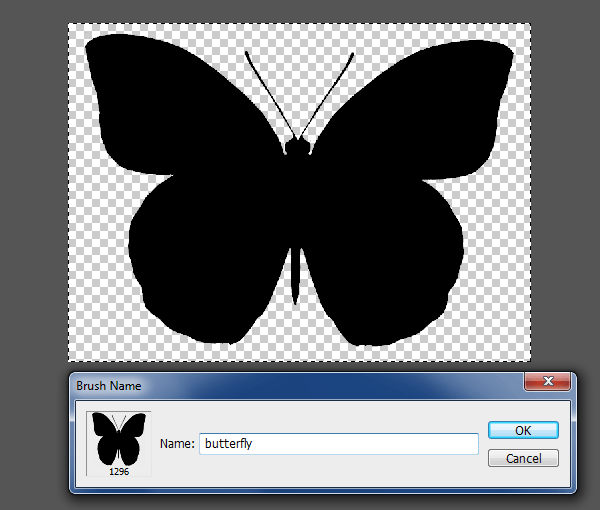
Make selection using Marquee Tool. Go to Edit>Define Brush Preset. Click Ok to confirm.
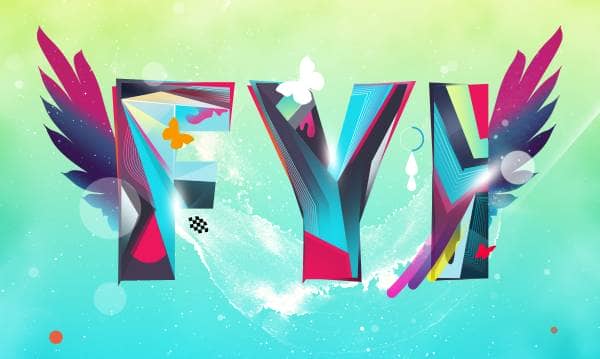
Let's put the brush to use.
Switch back to Illustrator for the last time. Create some simple lines using the Blend Tool. Change the stroke color to white. Copy and paste into Photoshop.
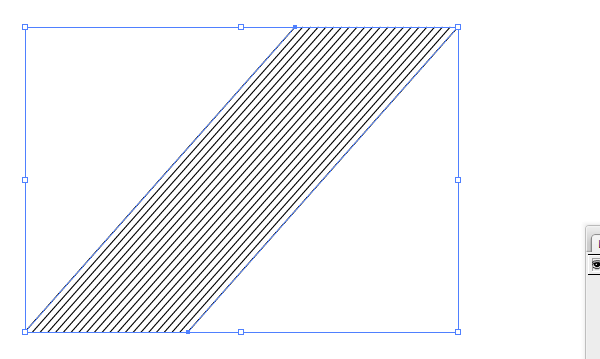
After you reposition it right click on the layer and choose Rasterize Layer option to rasterize the layer. Apply a little Gaussian Blur.
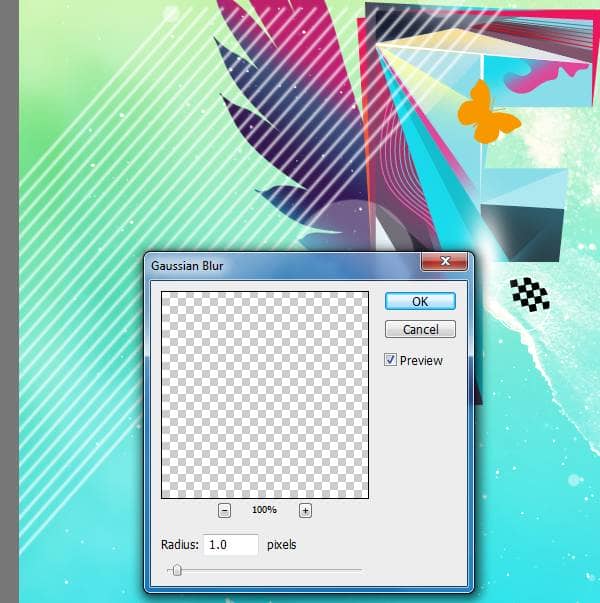
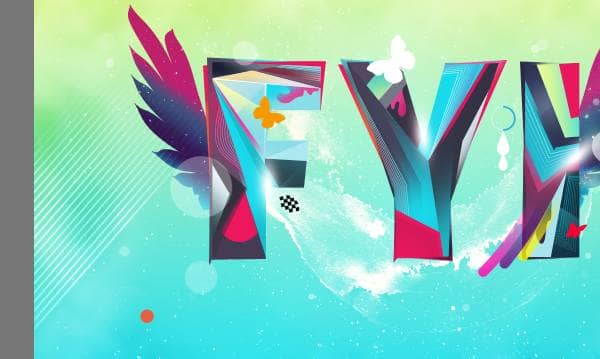
Blend smoothly.
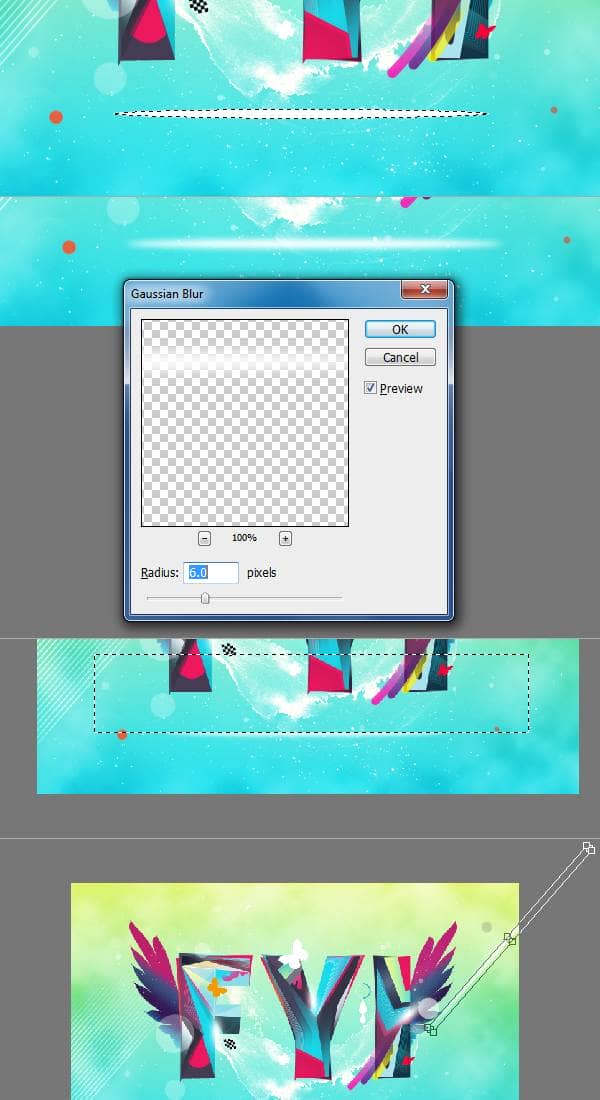
Create a light streak. Follow the picture below.
Add text.

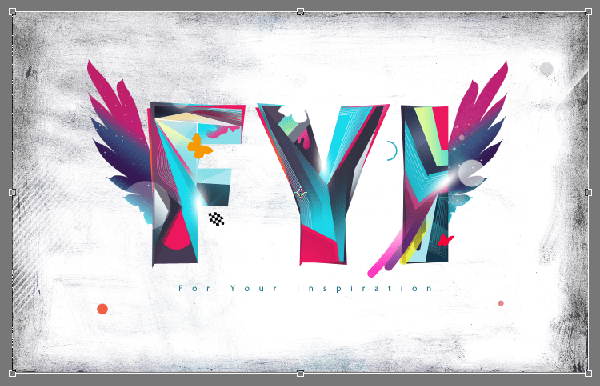
Bring in the paint texture (aqueous_sun_textures_v2_031.JPEG). Rotate it and resize to cover the entire canvas. Perform all the transformations in one shot. Otherwise you will lose the sharpness.
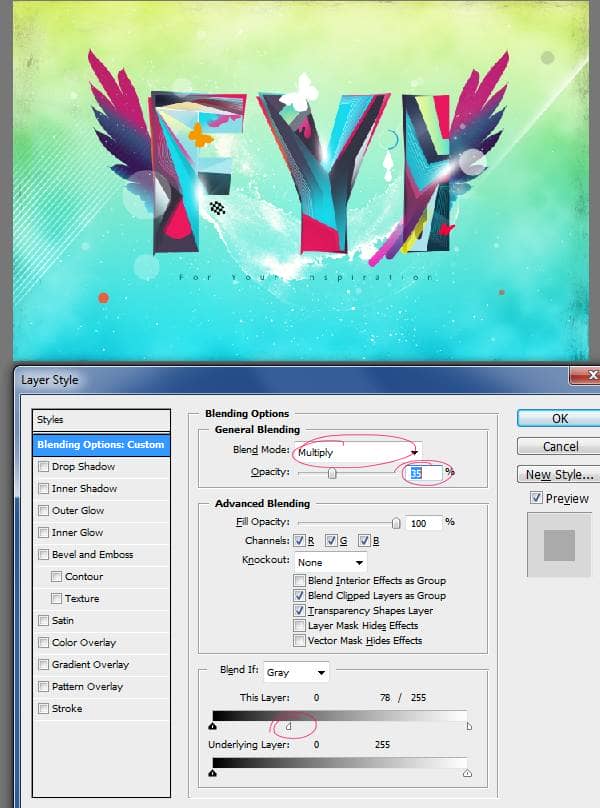
Double click on the thumbnail of the layer, Adjust these settings.
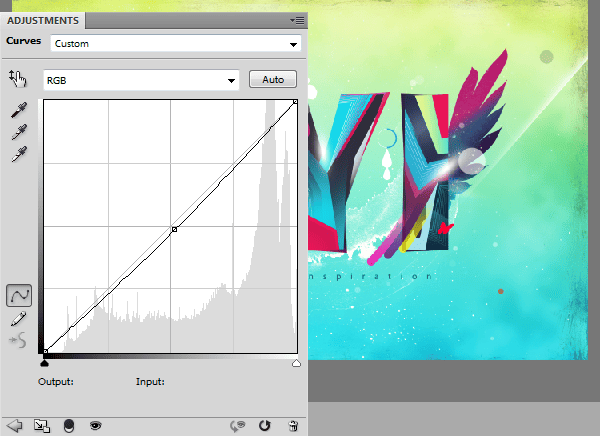
Add Curves adjustment layer above all layers.
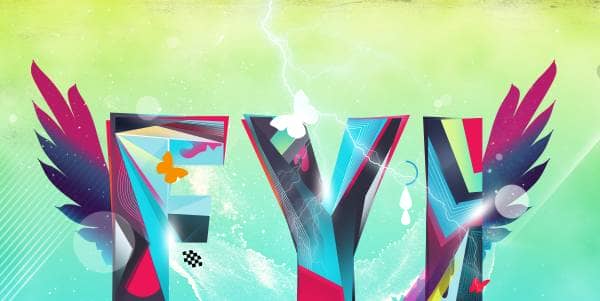
And for the final touch I have added lightning effect to the composition purely for aesthetical purpose using Alien Skin Xenofex plug-in. However it is not free plug-in. If you have it then you can use it or else omit this step. Now that finishes this tutorial.
Preview of Final Results
![final-results[1] final-results[1]](https://cdn.photoshoptutorials.ws/images/stories/136a58e3e040_DC3/final-results1.png?strip=all&lossy=1&quality=70&webp=70&avif=70&w=1920&ssl=1)
Download the PSD
FYI.zip | 11.28 MB
Download from FileSonic
Download from Website

 I am a Graphic / Web Designer and a wannabe VFX artist. Hope you learned something and had fun reading this tutorial. Thank you for following this tutorial.
21 comments on “How to Create a Colorful Text Design in Photoshop”
Really nice work and thanks for the PSD file.
Only few artists share their tricks of the trade. You're one passionate artist that believes in "share your blessing" motto. :-)
It's truly a great and helpful piece of information. I am happy that you shared this helpful information with us. Please stay us informed like this. Thank you for sharing.
Its not my first time to pay a visit this website, i am visiting this site dailly and get good data from here every day.
It's truly a great and helpful piece of info. I'm happy that you just shared this helpful information with us. Please keep us informed like this. Thank you for sharing.
AMAZING!!
Download link not working... 404 Error .
Fixed thanks!
... Honestly This should be named "how to collect textures to create a design" because nothing named design over here
oh my god what the patient artist
thank you for your article!
its very help full
i learned some more tips and tricks from it
:D
I really appreciate your struggle in this tutorial...!! lovely text effect.. so shared it..
It's amazing!
Hi,
how can i apply line tool on the duplicate layer??
should I rasterize vector mask..because i cant simply draw the lines and they goes to new layers when i draw them..
This is wow.
Thank you so much
Hey, I'm starting learning Photoshop lately :)
but I'm stuck at step one hhhh
I don't know what is " illustrator " , but when I try to write the letters in Photoshop then try to create outlines it doesn't work :(
so, can anyone help me please :) ??
Thanks in advanced.
only illustrator can do ths work...
It's a whole other program. sorry dude.
This is wow.
Thank you so much for creating vivid tutorials for free. :)
very bad
thank you so much! This was exactly what I was looking for.
page of the wings is not