
Step 16
Add a new layer, change the mode to Overlay 100% and fill with 50% gray. Use the Dodge Tool to paint some light on the castle to fit the light of the sky.

Step 17
Open the tree root image and cut it out from the background. Place it in the left of the ground.
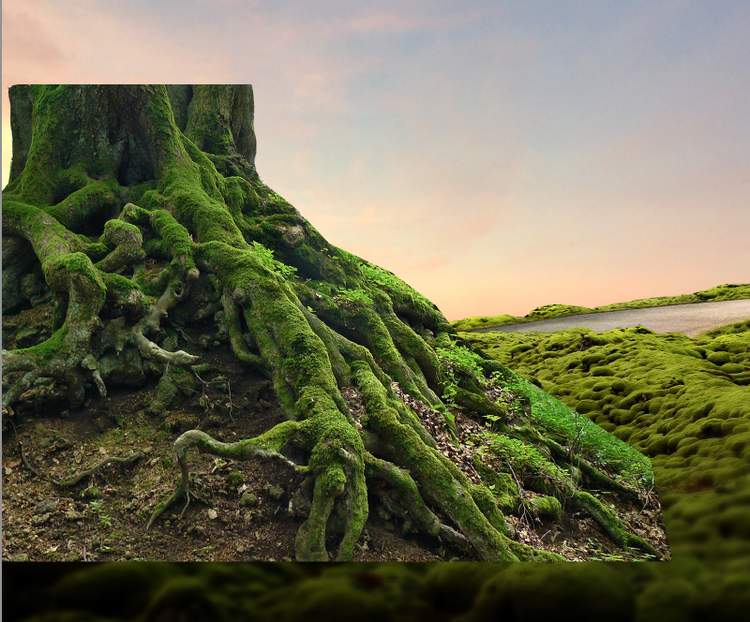
Add a mask to this layer and use soft black brush to remove the hard edges on the top and blend the bottom with the ground.
Step 18
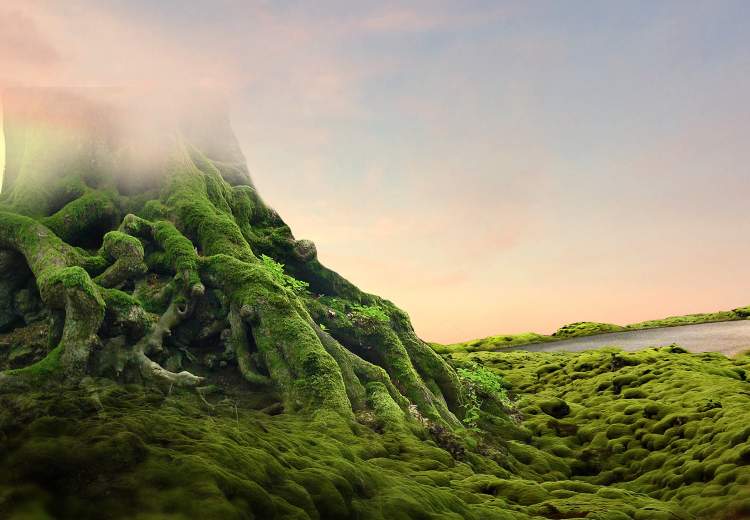
Make a Hue/Saturation adjustment layer to change the root’s color a bit. On the layer mask, paint on the hidden side of the root to make it blended better with the ground.

Step 19
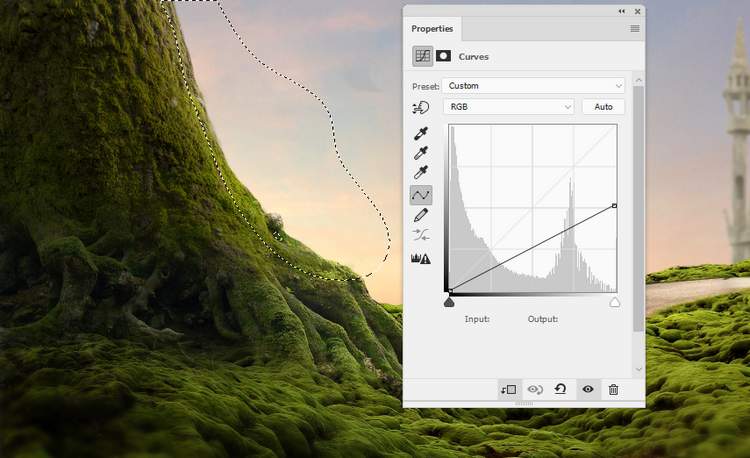
Create a Curves adjustment layer to darken the hidden side of the root. On this layer mask, paint on the contour part of the bottom to reveal the lightness there.

Step 20
Make a new layer, change the mode to Overlay and fill with 50% gray. Use the Dodge Tool to paint more light on the contour of the root to make this part brighter.


Step 21
Place the tree trunk image above the root one and use Ctrl+T to distort it to fit the position of the root.

Add a mask to this layer and use a hard black brush to remove the background around the trunk and a soft black brush to blend the trunk with the existing root.

Step 22
Create a Curves adjustment layer to darken the hidden side of the trunk. On the layer mask, paint on the contour of the trunk so it won’t be darkened by this adjustment layer.
Step 23
Make a Color Balance adjustment layer to give the trunk some more green.

Step 24
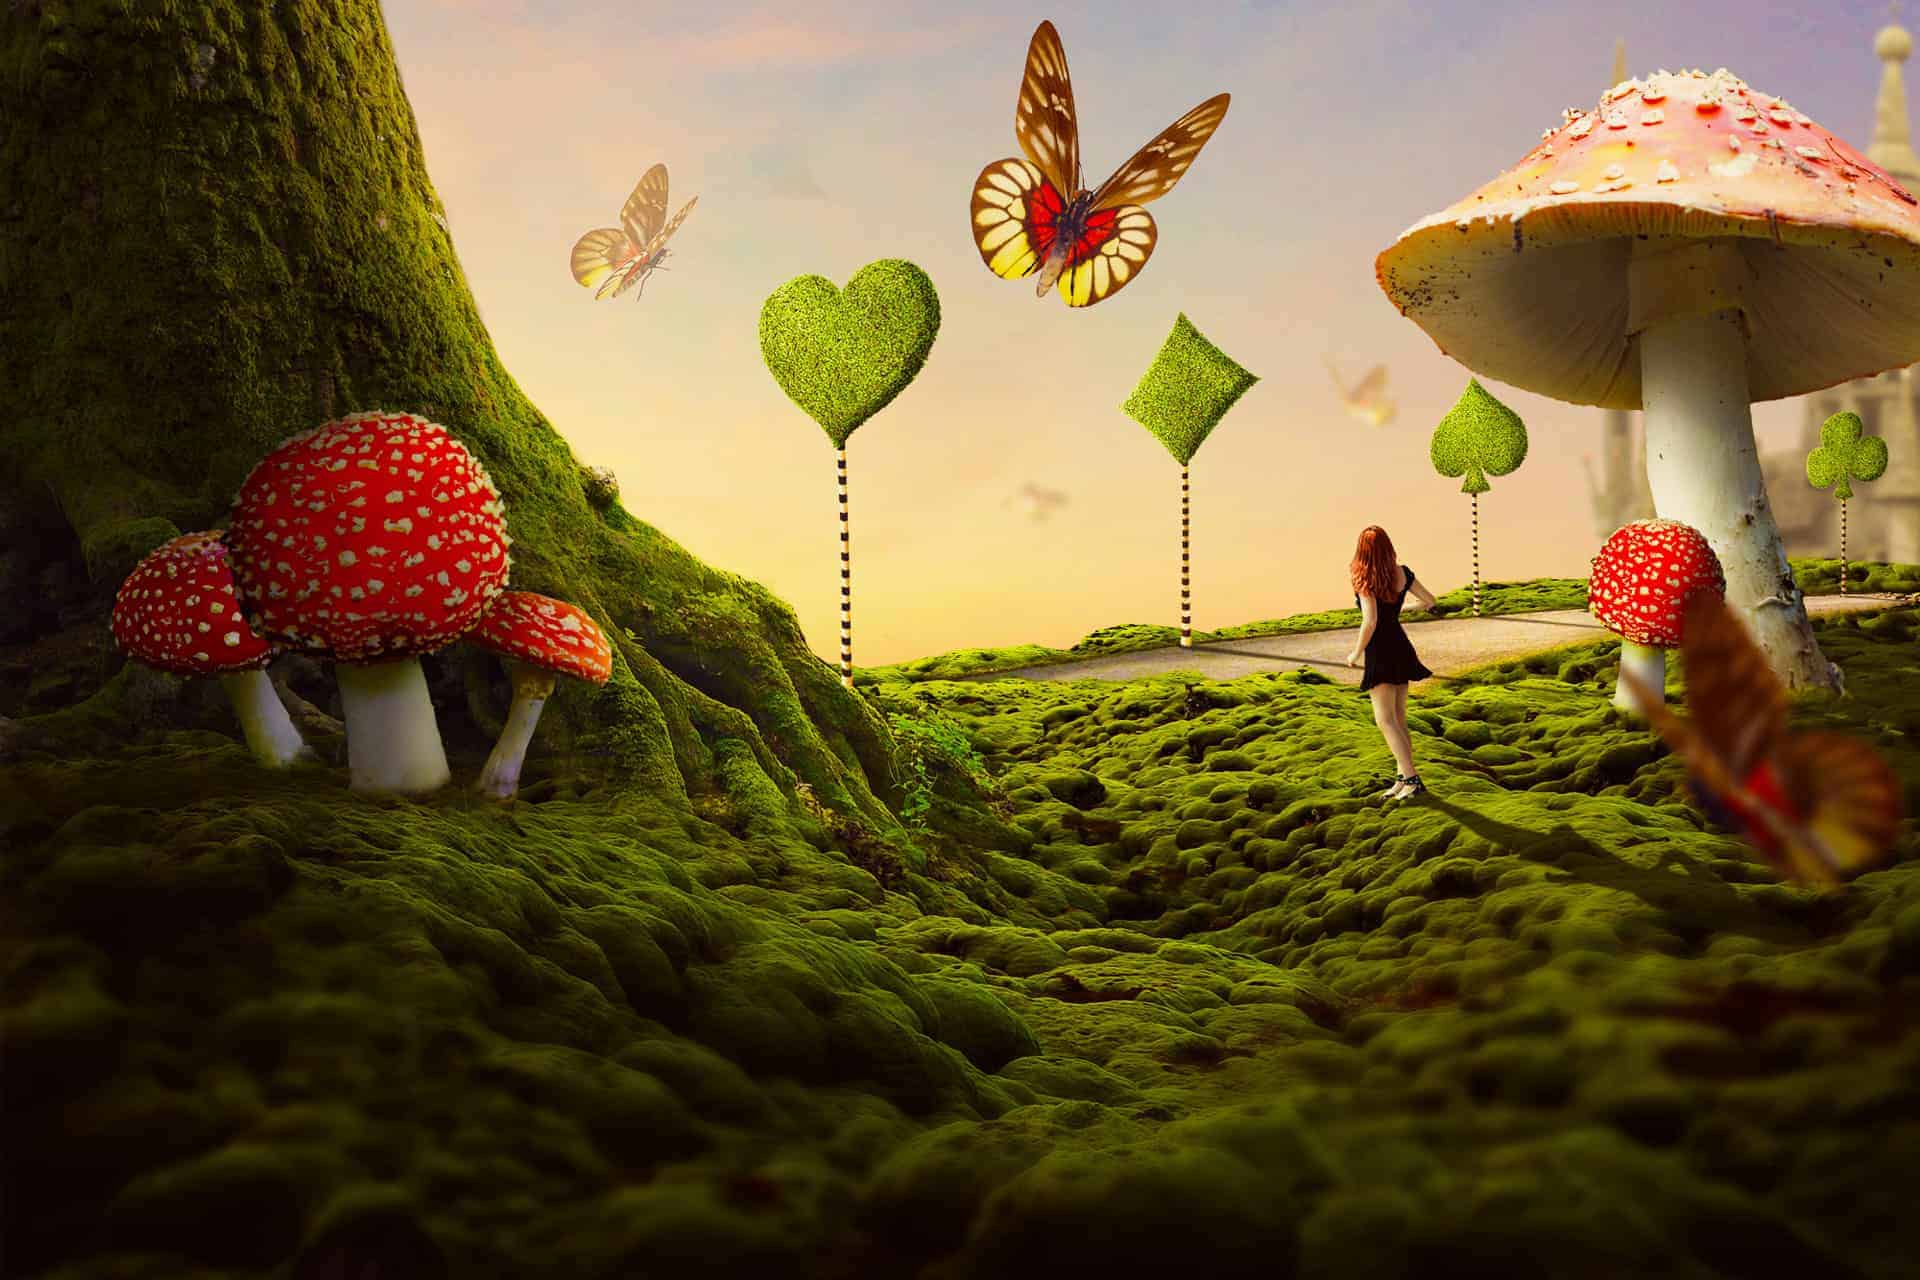
Open the fancy trees image and isolate them from the background. Drag them into our main document using the Move Tool and place them along the road. Use Ctrl+T to change their form and sizes a bit to fit the direction of the road.

Step 25
We’ll make shadow for these trees on the road except the biggest one with shape of heart as its shadow will be hidden from the viewer. Make a new layer below the tree with shape of diamond and hold Ctrl and click its thumbnail layer to load its selection. Fill this selection with the color #1a1a03. Convert this layer to a Smart Object and flip it vertically. Move it below the bottom of the tree and use Ctrl+T to change its form to fit the light’s direction.
6 responses to “How to Create a Wonderland Photo Manipulation with Photoshop”
-

OMG, this kind of work must be exposed at museum.
-
You’re genius, a legend, excelent work.
-
Dear,
Always a beautiful, very clear tutorial.
Thanks for sharing.
Yves -
Sorry; stuck on step 8 not 9…
-
Stuck on step 9; the Curves adjustment layer brightens everything, not just the road.
-
You need to to Layer > New
-
Leave a Reply