Download Lightroom presets and LUTs, absolutely free. Use the presets to add creativity and style to your photos.
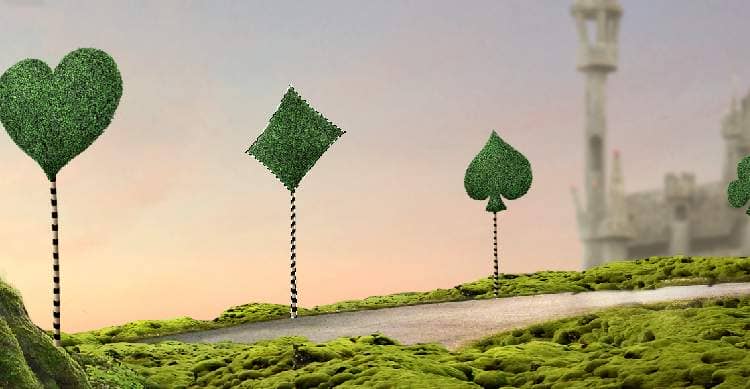
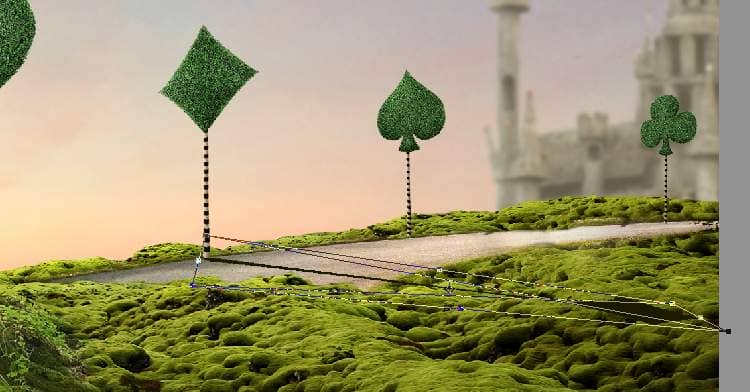
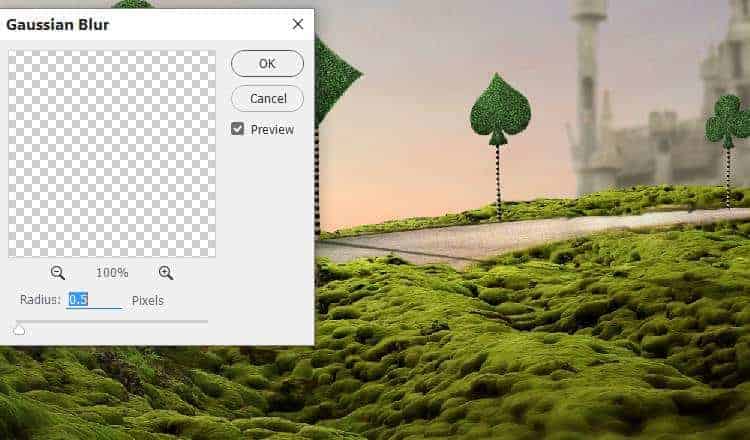
Lower the opacity of this layer to 60% and apply a Gaussian Blur of 0.5 px to soften the shadow a little.
Step 26
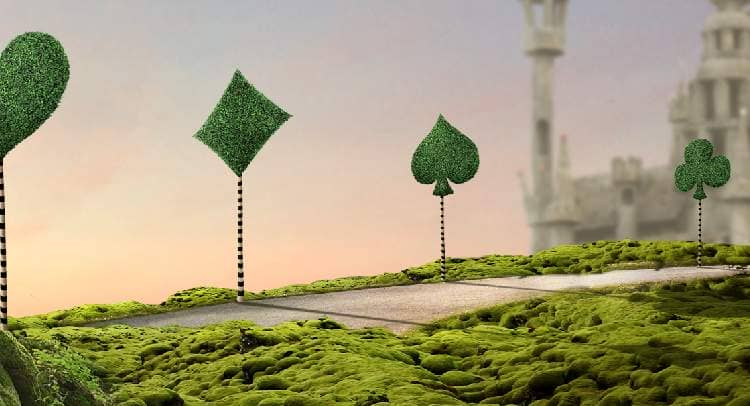
Make shadow for other trees using the same method but don't apply the Gaussian Blur filter to the shadow of the smallest tree as it's too thin.
Step 27
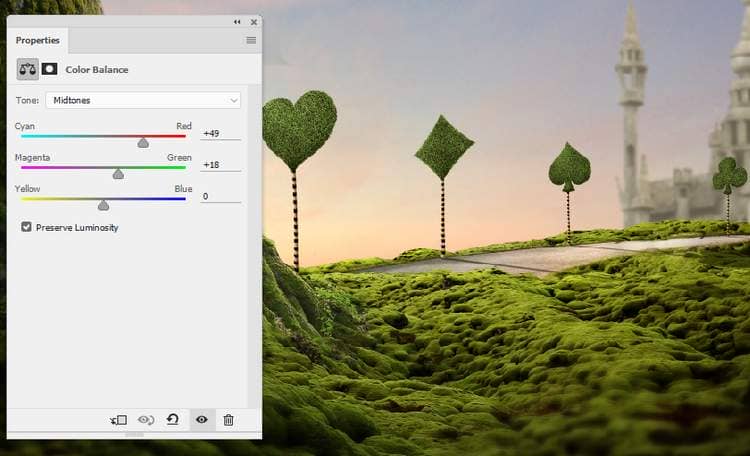
Create a group for these trees and change the group's mode to Normal 100%. Add a Color Balance adjustment layer to give them some more warm yellow.
Step 28
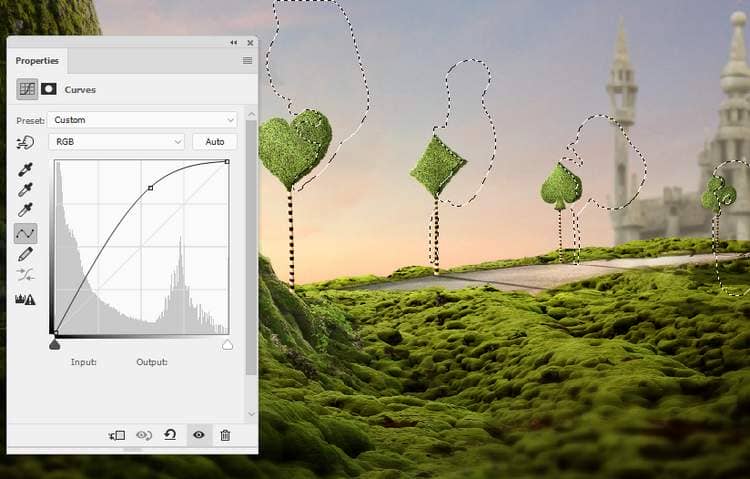
Make a Curves adjustment layer to bring more light to the trees. On the layer mask, use a medium- soft black brush to paint on the hidden side of the tree's top to make a shadow area there.
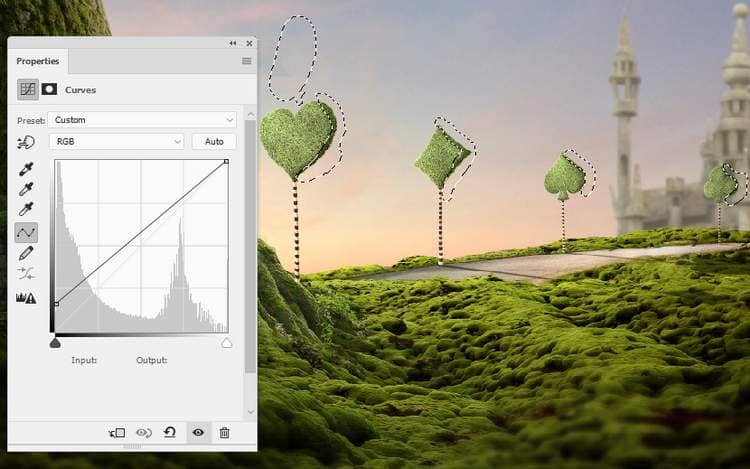
Create another Curves adjustment layer to give the trees more dreamy light. Paint on the shadow areas so they won't be affected by this adjustment layer.
Step 29
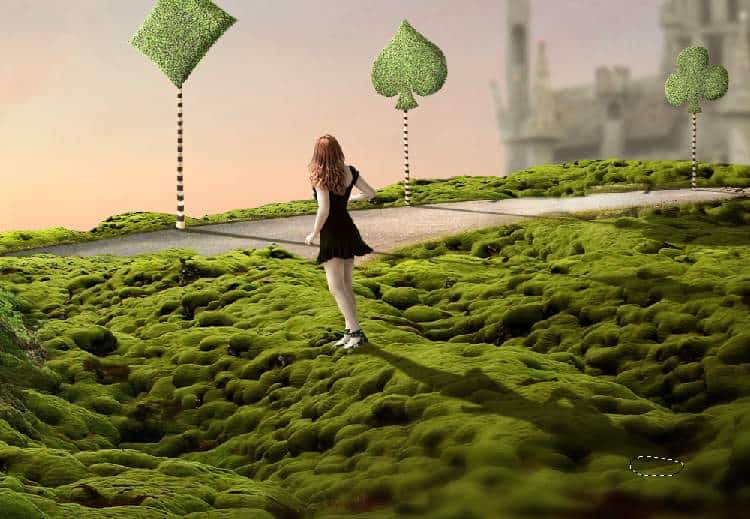
Cut out the model and place her in the midground.
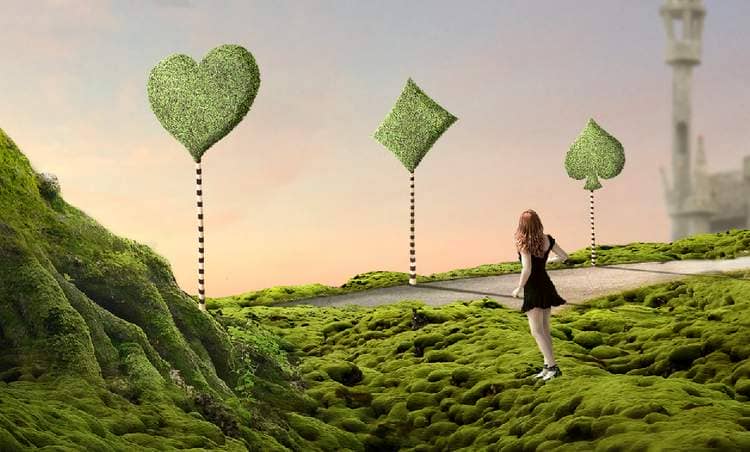
Create a new layer below the model one and make shadow for her as done with the trees. I've lowered the opacity of the shadow layer to 70% and applied a Gaussian Blur of 1 px to this layer. Also add a mask to this layer to reduce the opacity of the top of the shadow a little.
Step 30
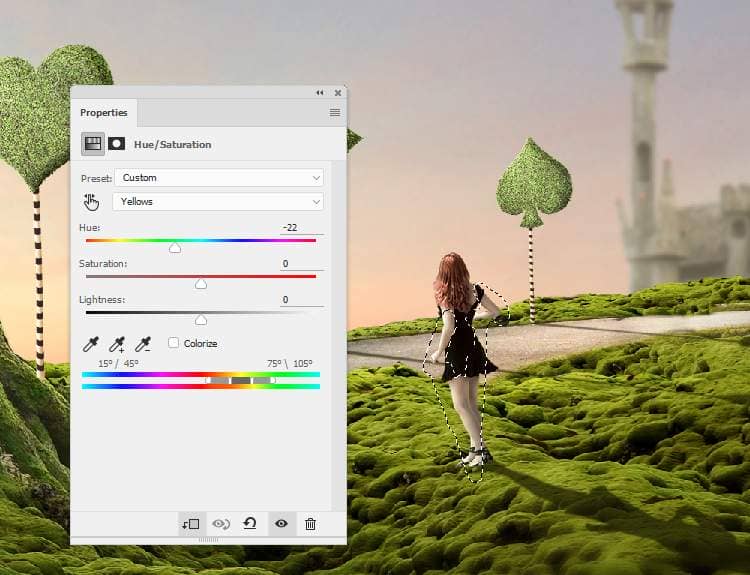
Make a Hue/Saturation adjustment layer to change the hair's color a bit. On the layer mask, paint on the skin so it won't become redder after this step.
Step 31
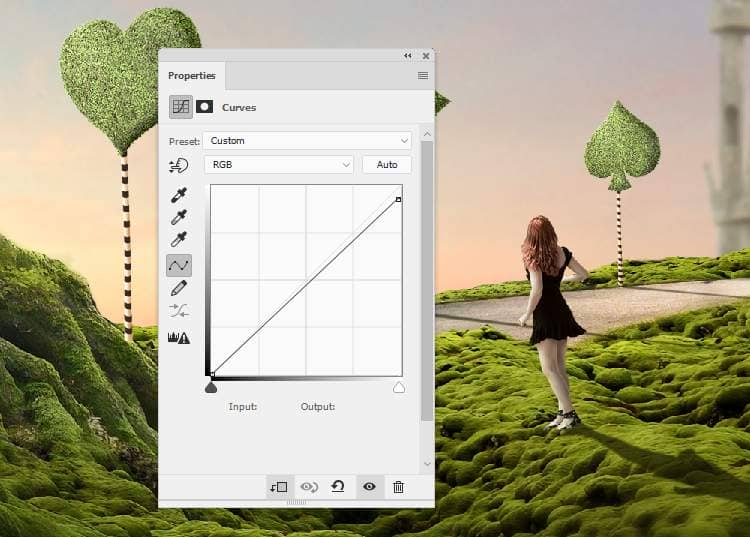
Add a Curves adjustment layer to darken the model a bit.
Step 32
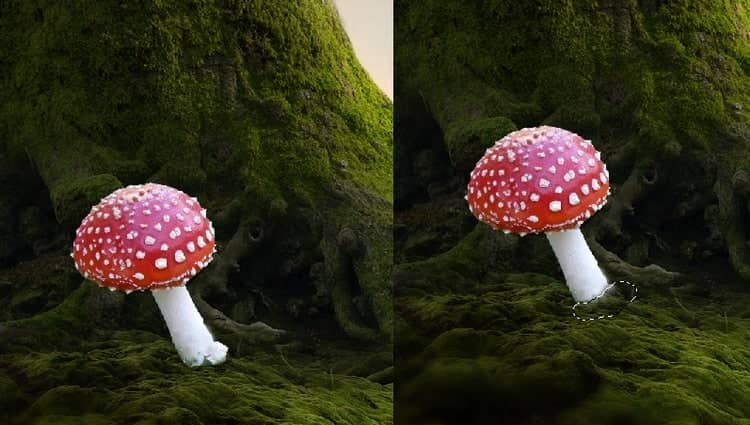
Open the mushroom 1 image and take the one on the left (from the viewer) to add to the hidden side of the big tree on the left. Add a mask to this layer and use a medium soft black brush to blend its bottom with the ground.
Step 33
Make a Color Balance adjustment layer to make the mushroom more yellow.
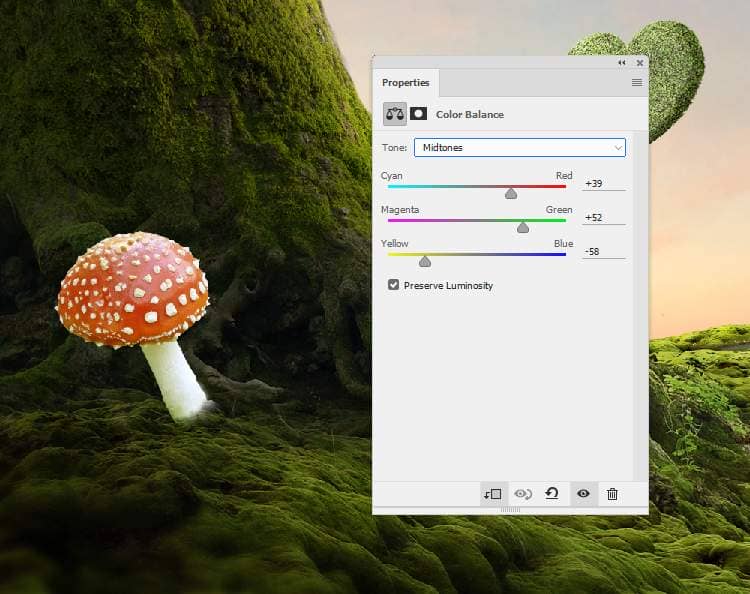
Step 34
Create a Curves adjustment layer to darken the mushroom as it's hidden from the light. On the layer mask, use a soft black brush with opacity about 5-10% to reduce the light on the front of the mushroom.
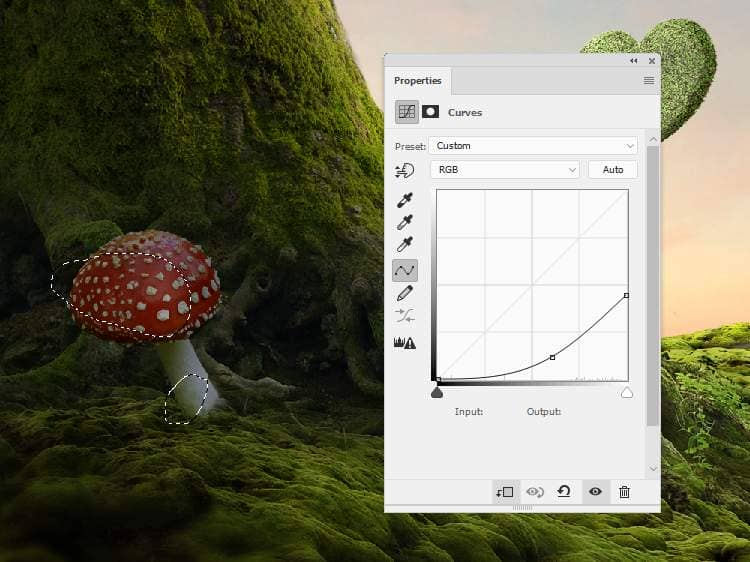
Step 35
Add the mushroom 2 to the position besides the mushroom 1 but nearer the background light. Use a layer mask to blend this mushroom with the ground.
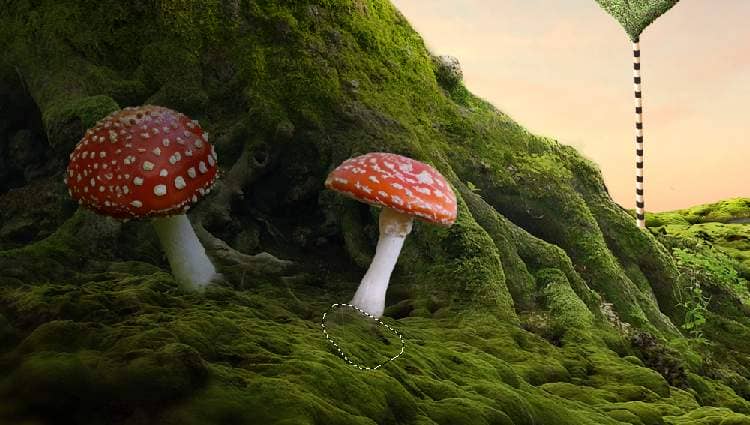
Step 36
Create a Color Balance adjustment layer and alter the Midtones values.


6 comments on “How to Create a Wonderland Photo Manipulation with Photoshop”
OMG, this kind of work must be exposed at museum.
You're genius, a legend, excelent work.
Dear,
Always a beautiful, very clear tutorial.
Thanks for sharing.
Yves
Sorry; stuck on step 8 not 9...
Stuck on step 9; the Curves adjustment layer brightens everything, not just the road.
You need to to Layer > New