

Make your artwork look like they're from an alternate universe. These Cyberpunk presets work with Photoshop (via the Camera Raw filter) and Lightroom. Download all 788 presets for 90% off.
Step 18
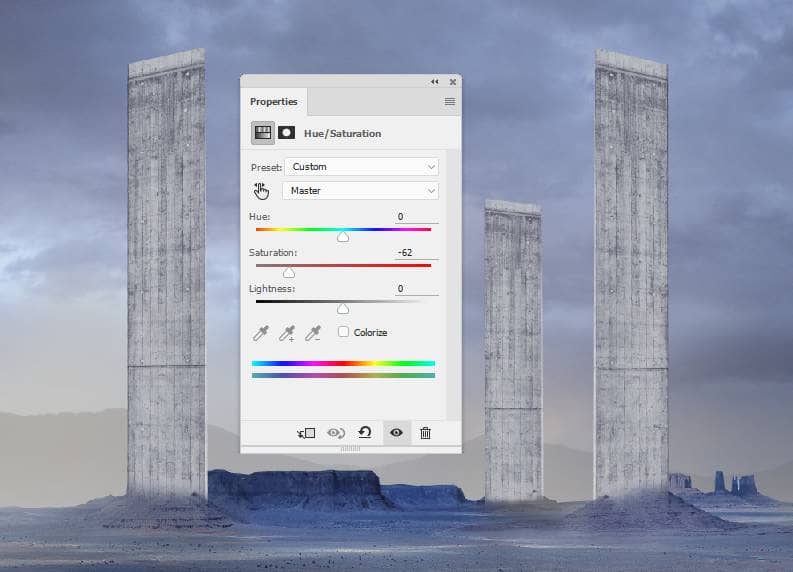
Select all column layers and hit Ctrl+G to make a group for them. Change the group's mode to Normal 100% and add a Hue/Saturation adjustment layer within this group.
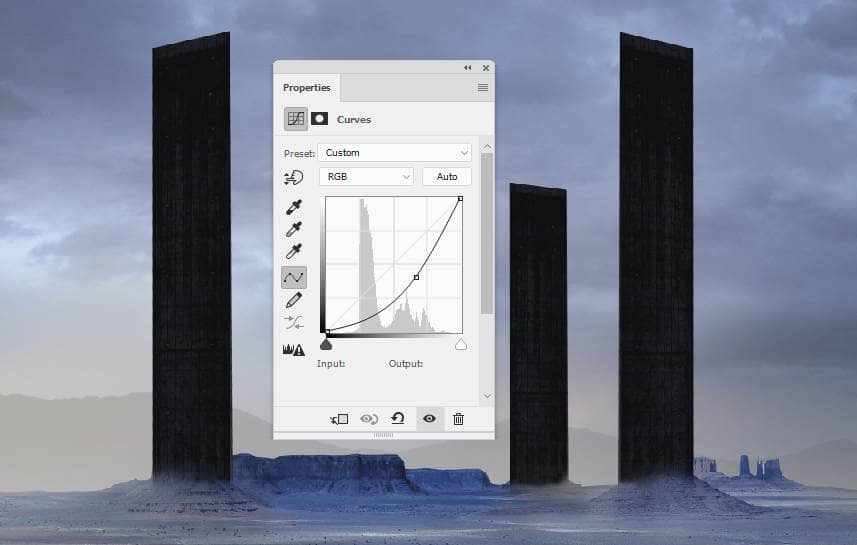
Step 19
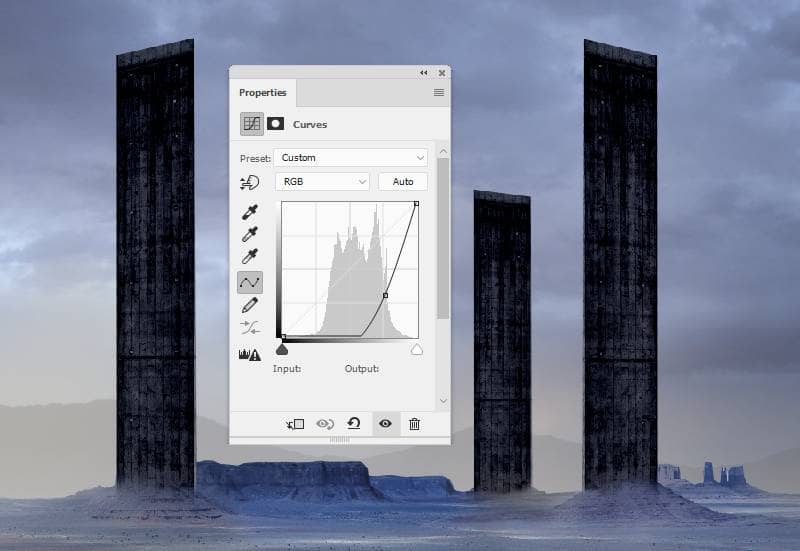
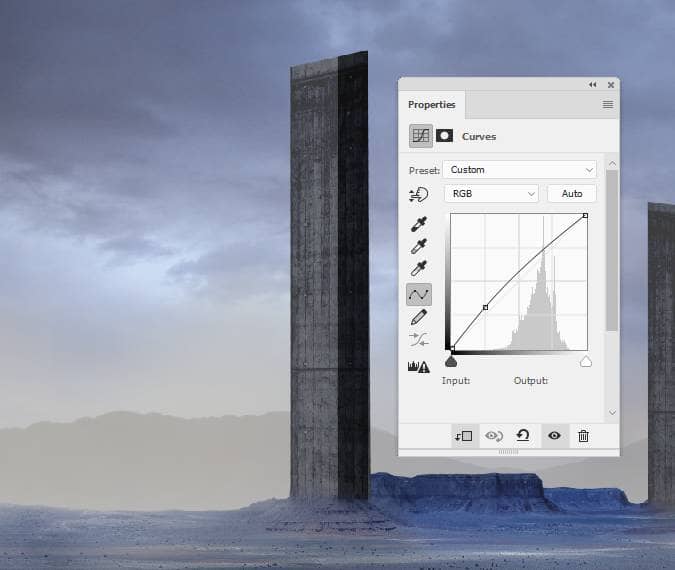
Make a Curves adjustment layer to make the columns much darker.
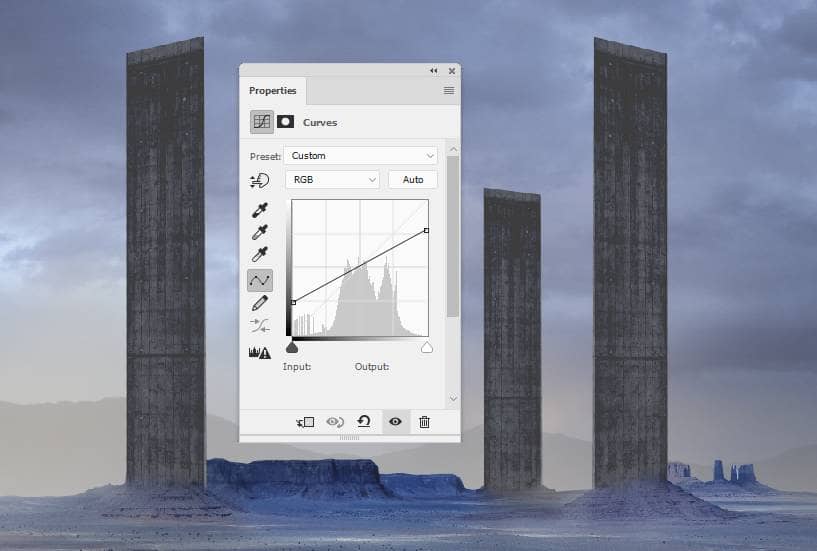
Step 20
Create another Curves adjustment layer to reduce the contrast of the columns.
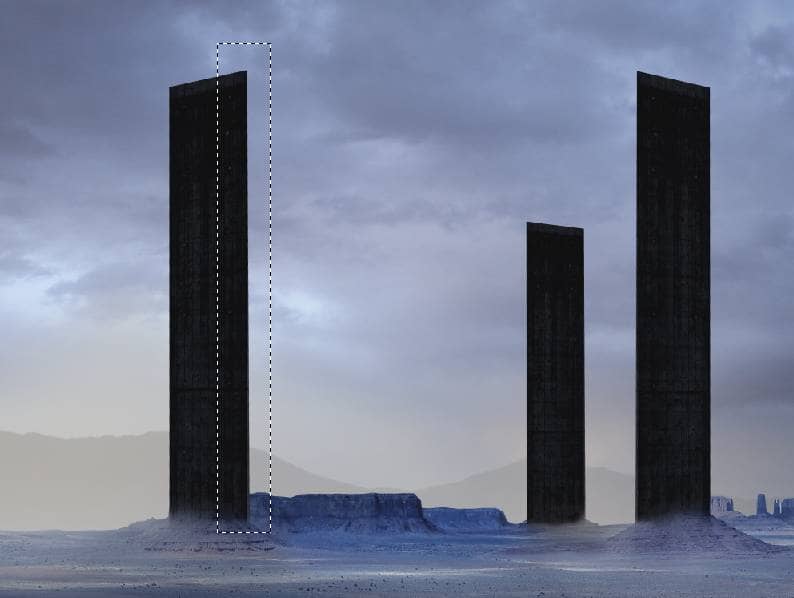
Step 21
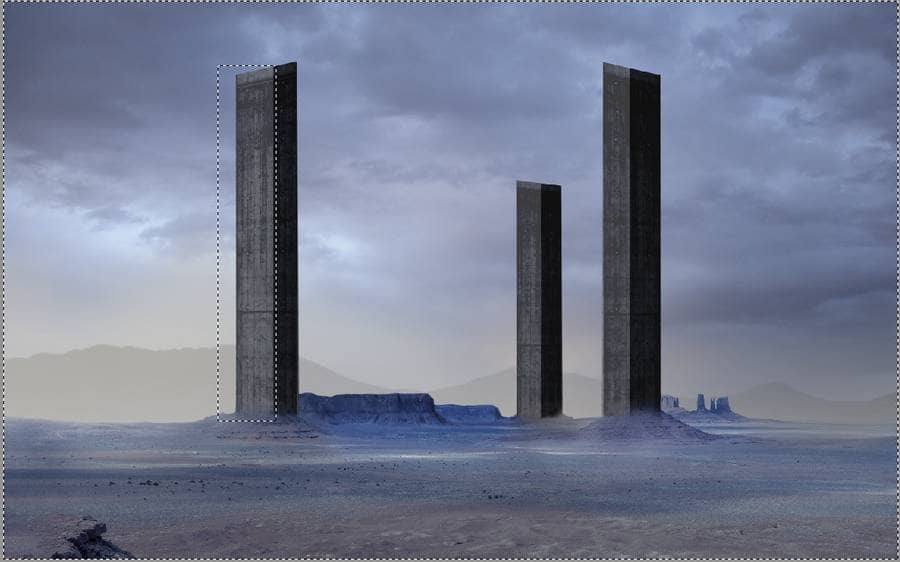
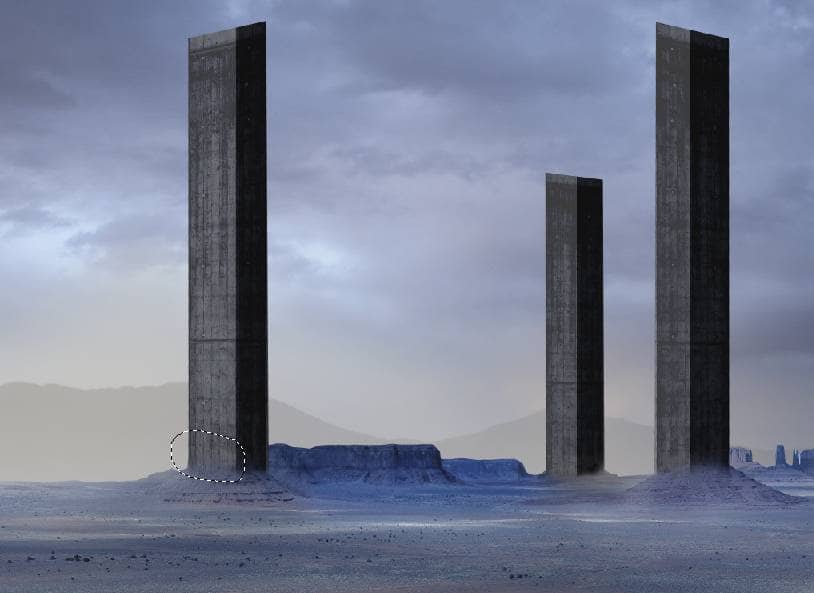
Make another Curves adjustment layer to reduce the visibility of the columns. On the layer mask, use the Rectangular Marquee Tool to select the right of the column on the left. Hold down the Shift key and continue using the Rectangular Marquee Tool to select the right of the other columns.
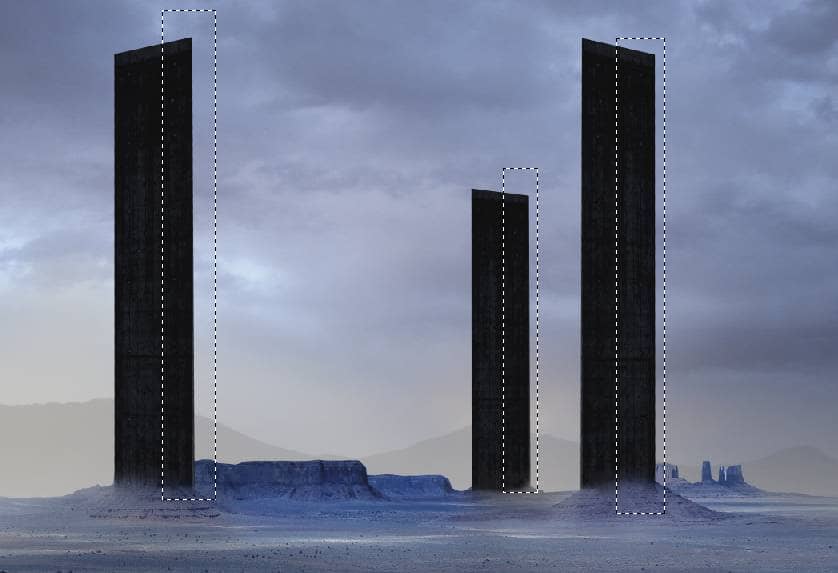
Step 22
Hit Ctrl+I to invert these selections and on the mask of this adjustment layer, set the foreground color to white. Click Delete and you should have a similar result like below:

Step 23
Make a Curves adjustment layer above the first column layer (set as Clipping Mask) and increase the lightness on the front of the column to fit the main light source ( we aim to add the main light source from left to right).
On this layer mask, use the Rectangular Marquee Tool to select the front of the column and then invert it using Ctrl+I. Turn the foreground to white and click Delete to restore the dark effect on the shadow side of the column.
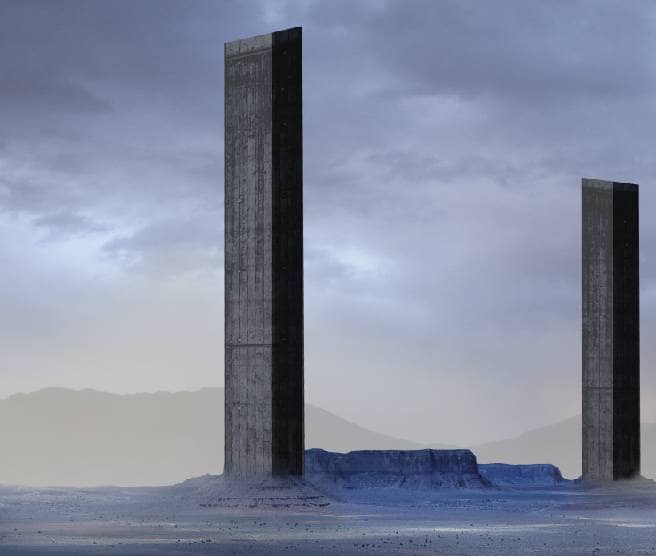
Use a soft black brush with the opacity about 10% to reduce the light on the bottom of the front of the column a bit.
Step 24
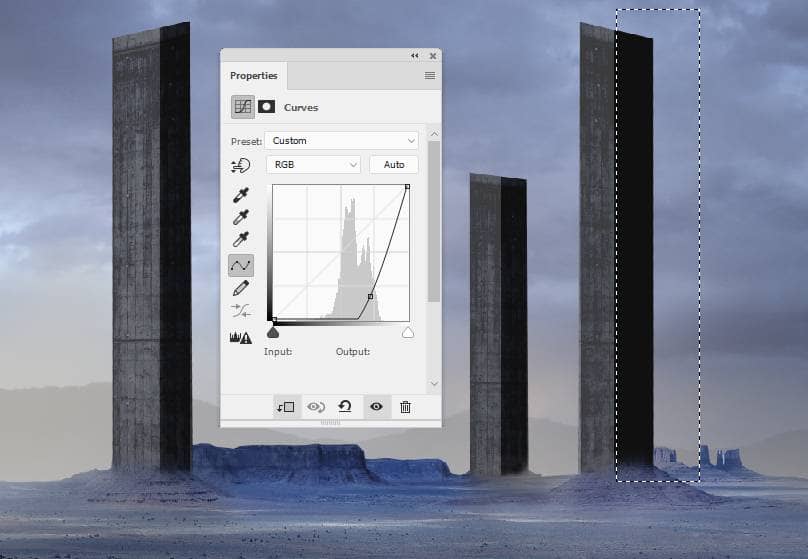
On the second column on the right, use the Rectangular Marquee Tool to select the dark side and go to Layer > New Adjustment Layer > Curves (set as Clipping Mask) to reduce the visibility of the details on this side.
Step 25
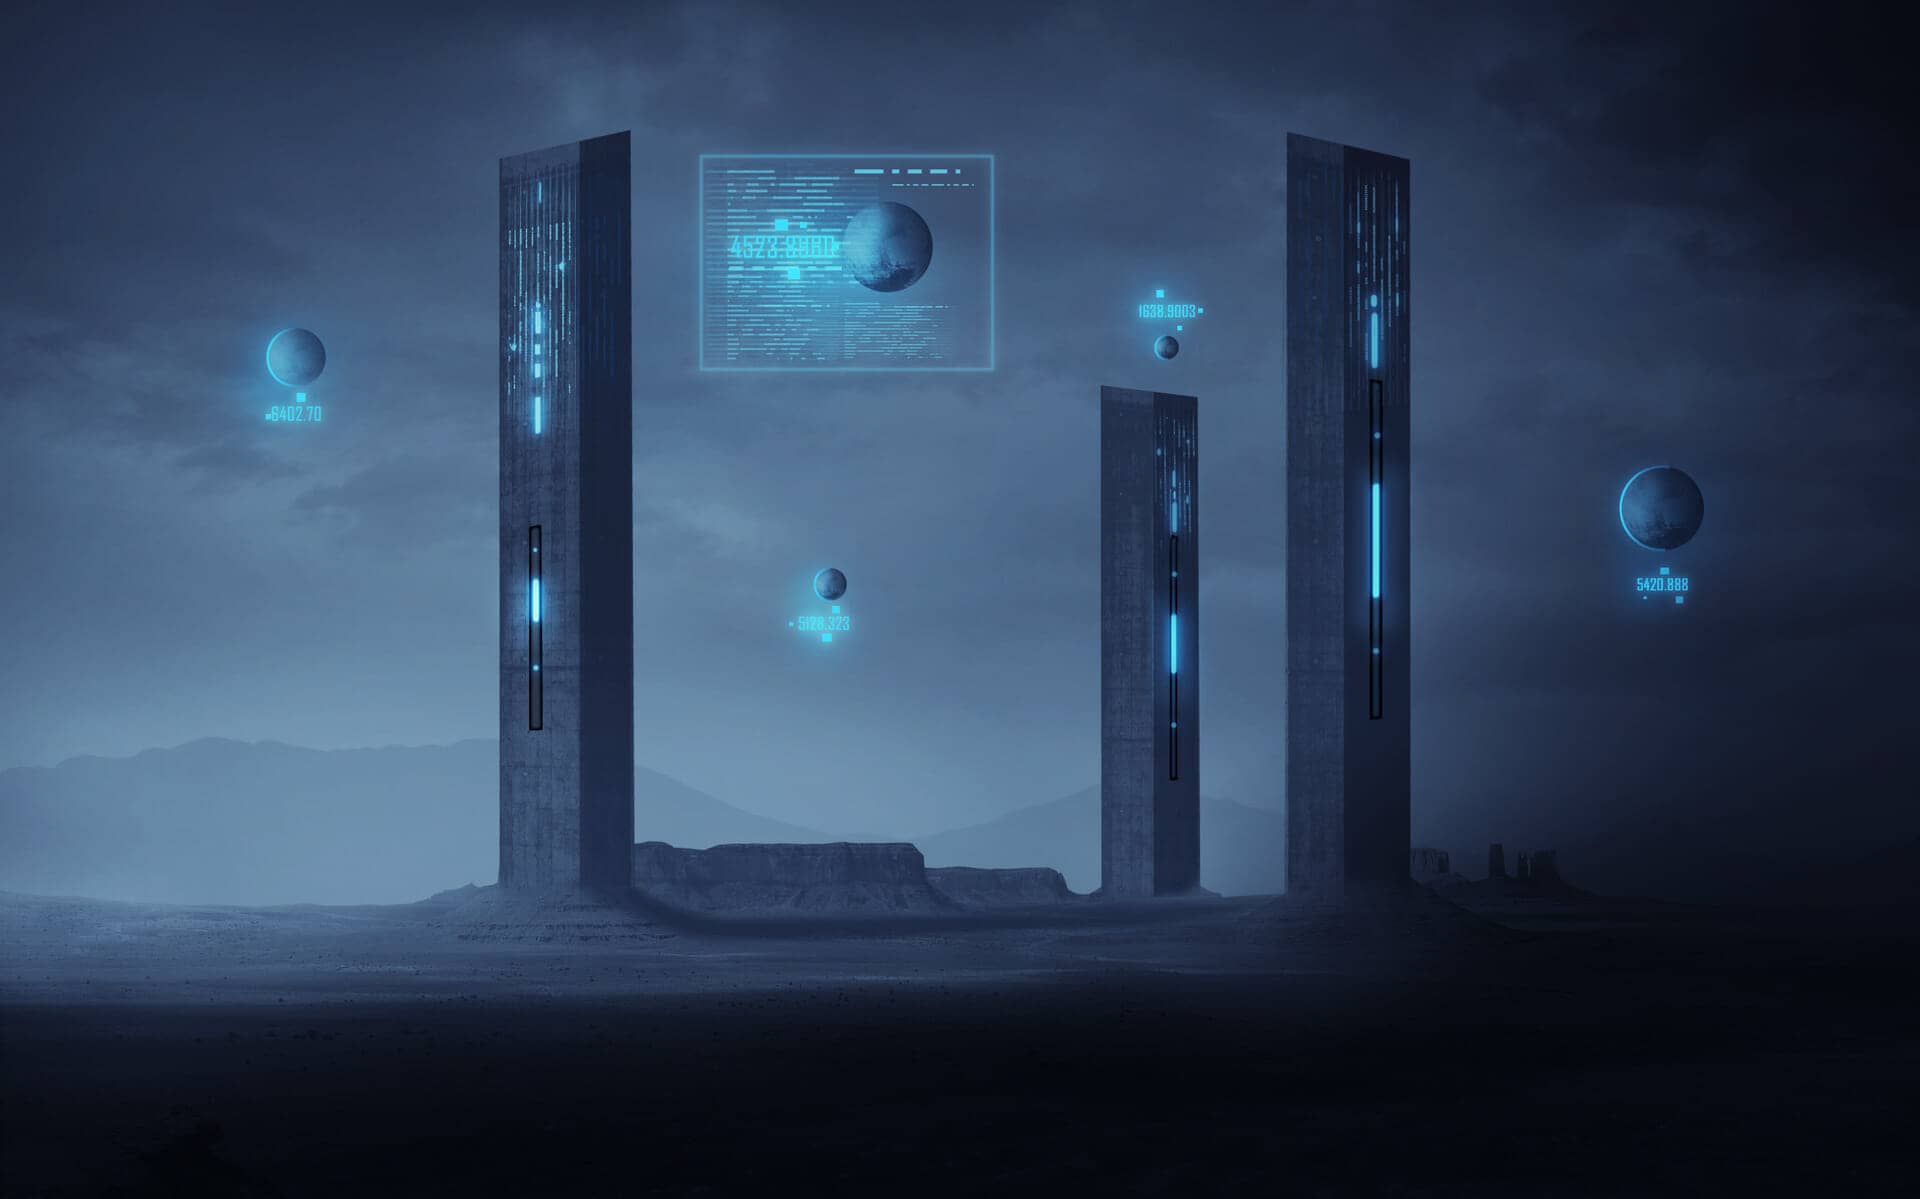
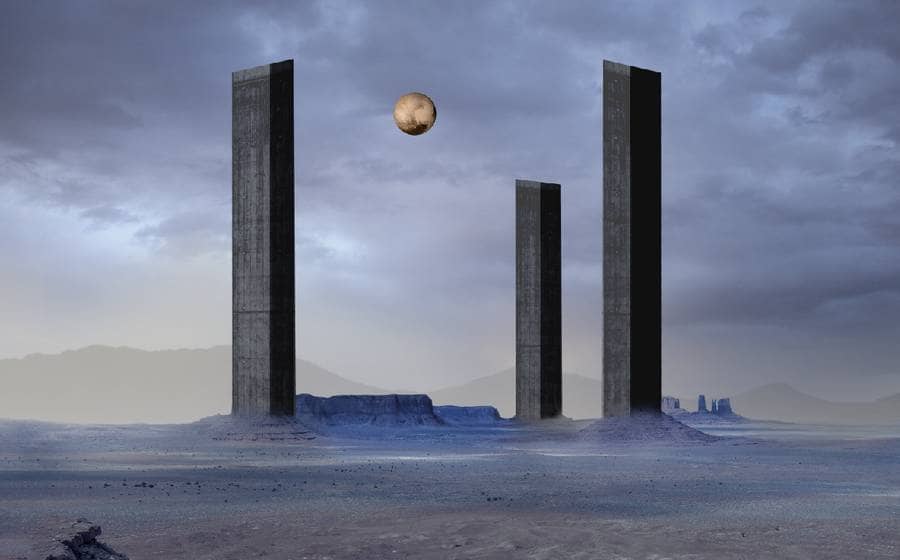
Open the planet image and use the Move Tool to drag it into the main canvas. Place it in the middle section between the columns.
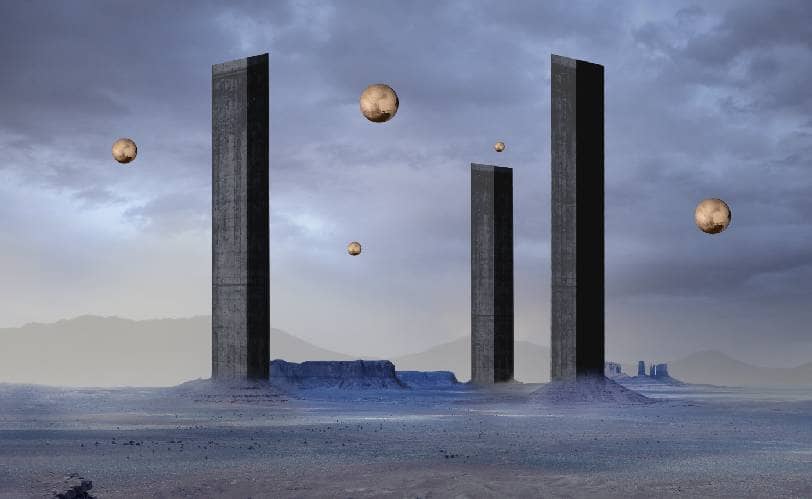
Duplicate this layer four times and resize them to be smaller and arrange them around the columns
Step 26
Make a group for these planet layers and change the group's mode to Normal 100%. Make a Curves adjustment layer within this group to darken the right of the planets to fit the main light source. On this layer mask, paint on the left of the planets to reveal the light there.
2 comments on “How to Create a Sci-Fi Landscape Photo Manipulation with Adobe Photoshop”
Thanks a lot!
Fantastic result, really well explained & very instructive3, thanks a lot !