
In this tutorial, I’ll show you how to create a surreal piece featuring a woman floating in a dreamy room. First, we’ll retouch the background and then import the grass. Later, we’ll add some cobweb brushes and use the Pen Tool to draw some vines. After that, we’ll use some leaves and butterflies to decorate the scene. We’ll use several adjustment layers to enhance the final effect.
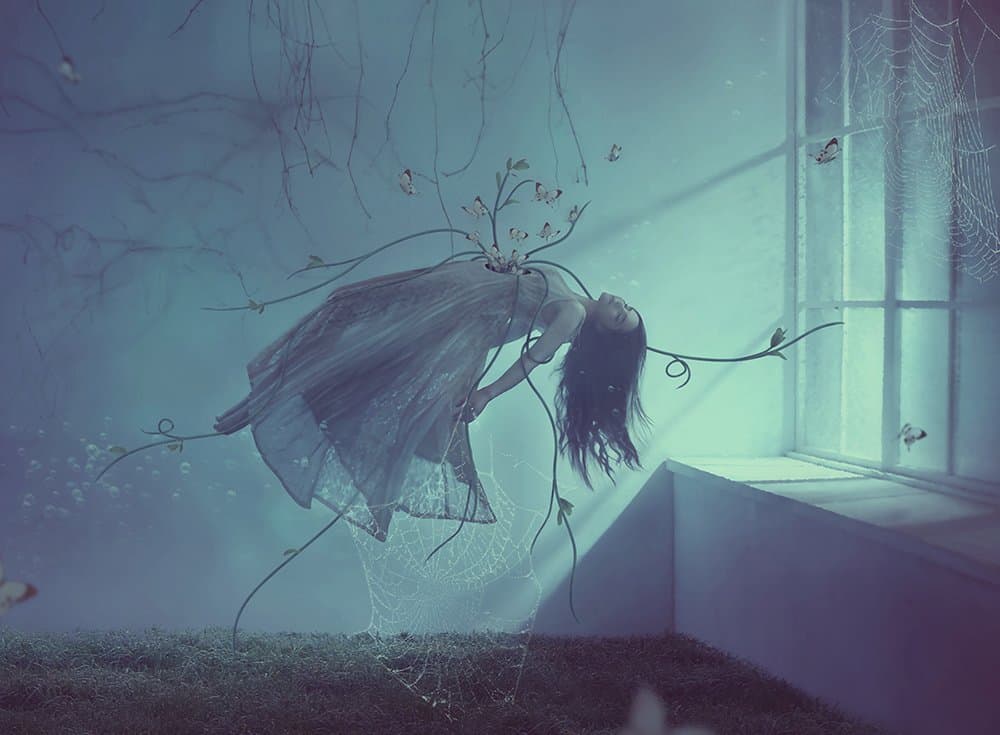
Preview of The Final Result
Tutorial Resources
Step 1
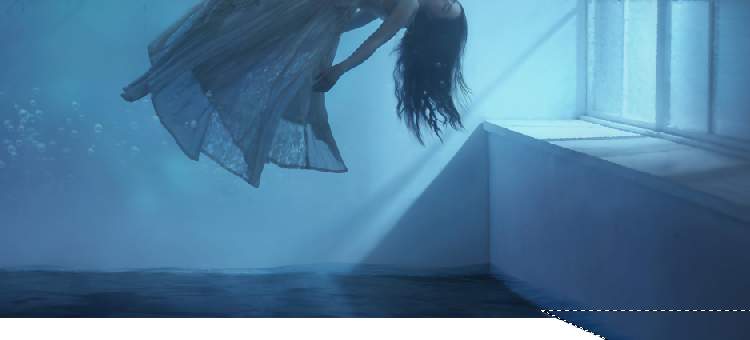
Create a new 2000×1470 px document in Photoshop and fill it with white. Open the model image and drag it into the white canvas using the Move Tool (V) and place it to cover most of the canvas, leaving a white small space in the bottom only.

Step 2
We’ll fill in the empty area on the bottom right corner of the canvas. The rest of the white empty space will be fixed later. Activate the Polygonal Lasso Tool (L)to select this area and then go to Edit > Filland check the following settings:


You should have a similar result like the screenshot below shows:
Step 3
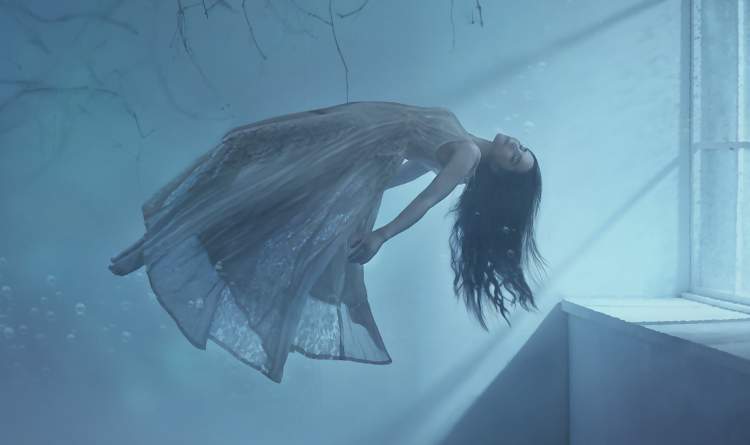
The model looks a bit blurred so use the Polygonal Lasso Tool to select the model and hit Ctrl+Cto copy the selected area into a new layer and set this layer as Clipping Mask. Convert this layer to a Smart Object.

Step 4
On this layer, go to Filter > Sharpen > Unsharp Maskand fill in the following values to make the model a bit sharper and more visible.

Step 5
Create a new layer (set as Clipping Mask) and select the Clone Tool (S)and use this tool to remove the ghost sihouette on the window.

Step 6
Make a Hue/Saturationadjustment layer and reduce the Saturation values to-28:

Step 7
Create a Curvesadjustment layer to brighten the model. On this layer mask, select a soft round brush with black color to paint on the rest so it won’t be affected by this adjustment layer.

Step 8
Make a new layer., change the mode to Overlay 100%and fill with 50%gray:

Activate the Dodge Tool (O)with Midtones Range, Exposureabout10%to paint some light on the model body and dress. You can see how I did it with Normalmode and the result with Overlaymode.

Step 9
Make a new layer on top of the layers and use a soft brush with the color #8dbdd3, the opacity about 14%to paint on the bottom of the hair to make it more dreamy.
4 responses to “How to Create a Dreamy, Surreal Floating Photo Manipulation With Adobe Photoshop”
-

thanks for iit, very nice . if yoou can add the link for the psd, very good :)
-
Hello,
In what way I can find a Photoshop-brush by his own numer? Have I to check every numer
in ‘Brushes’? That’s a lot….Thanks en regards, Hans Keijzer.
-
Very helpful and thanks for sharing.
-
Amazing and fabulous , thanks for sharing .
Leave a Reply