
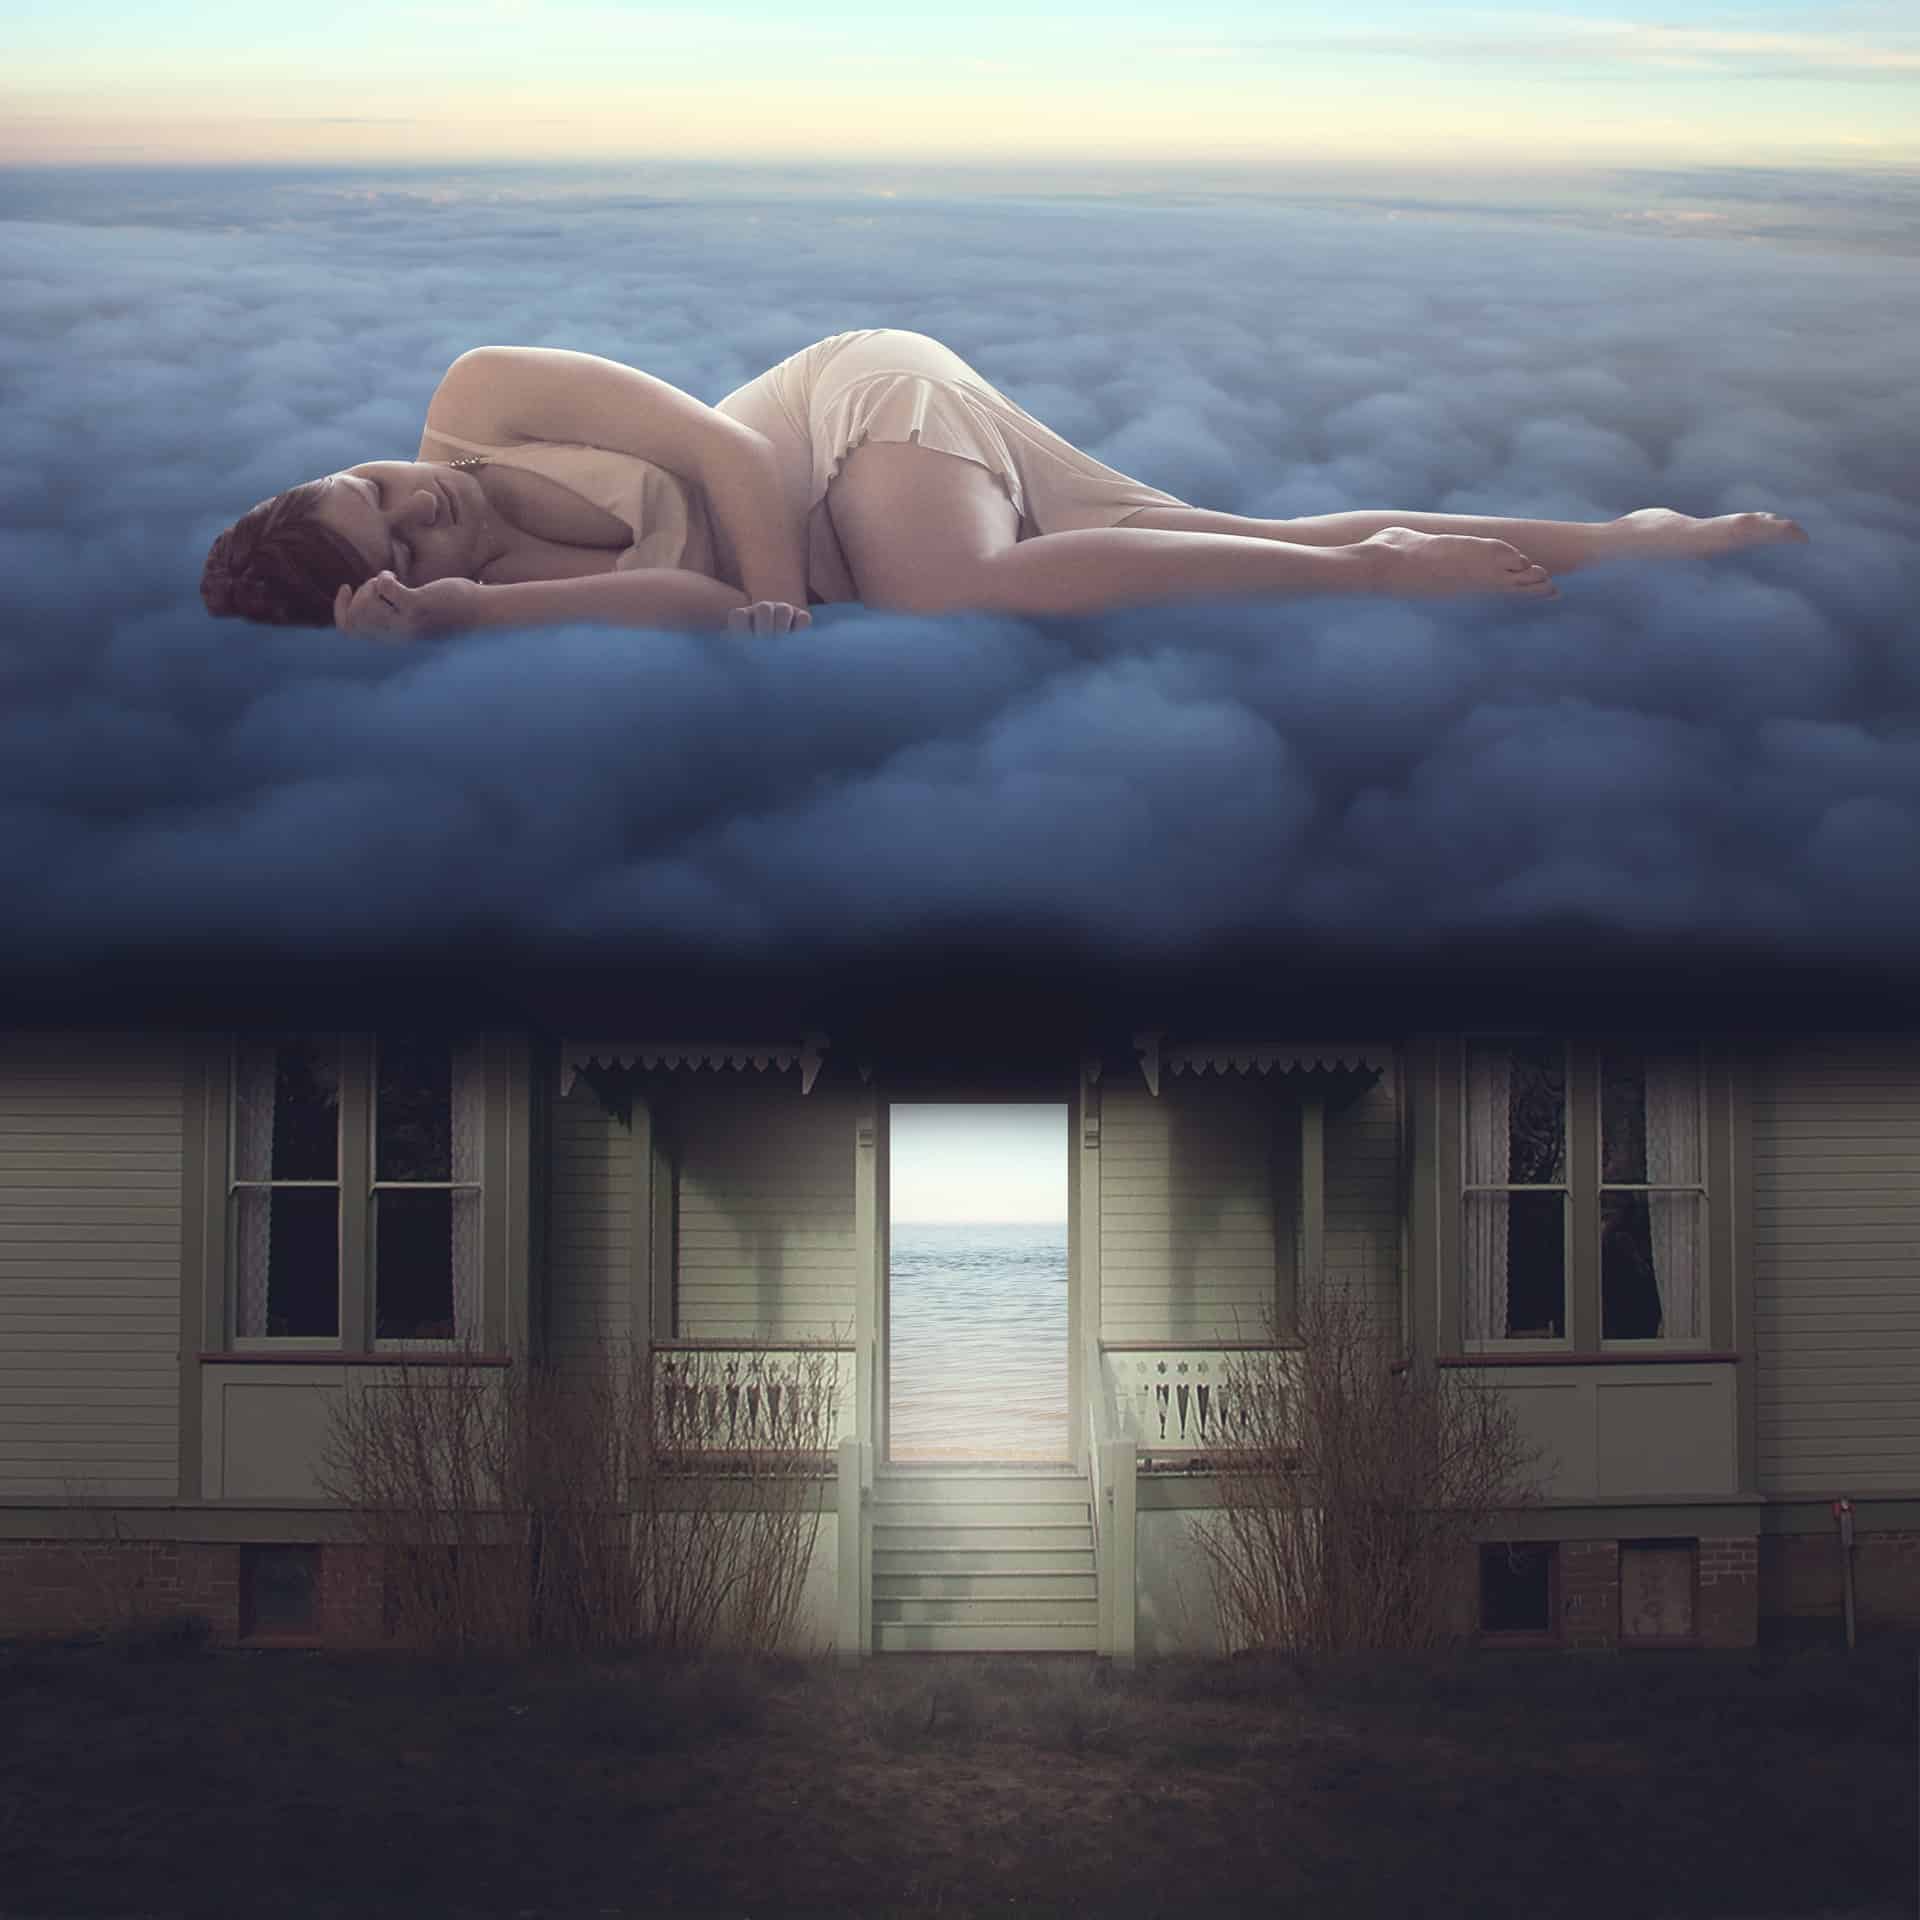

Create this surreal photo manipulation of a woman sleeping on clouds above a house. This Photoshop tutorial will show you basic photo manipulation techniques such as combining photos, blending, and making color correction.
Preview of Final Results

Tutorial Resources
- Stock Fieldby digital amphetamine
- ol house 1by JensStockCollection
- Oceanby theswedish
- Above 3by CAstock
- February Winter Morningby Eirian Stock
Step 1 Create a New Photoshop File
Now, let’s start by creating a new image file, go to the Menu bar and click , and then input the following values on their respective fields:
- Preset: Custom
- Width: 3000px
- Height: 3000px
- Resolution: 300pixels/inch
- Color Mode: RGB Color; 8 bit
- Background Contents: Transparent

Step 2 Add the foreground and improve its lighting
In this Step, we will be creating the land on which the mysterious house will be standing. Import the stock image – “Stock Field” by digital amphetamine to the canvas by clicking on and find it from the directory you’ve saved it into. Using the Place command is a non-destructive technique which will place the image as a Smart Object, and once the layer is a smart object you may transform it as many times as you like without any loss in quality.


Next, let’s darken the foreground. First, let’s create a new layer (Ctrl/Cmd + Shift + N) and then we will create a Clipping Mask on the new layer to allow a non-destructive way to darken the foreground. To create a Clipping Mask, simply right-click on the newly created layer and then click on “Create Clipping Mask” once it opens.
Note: The new layer should be above the field layer.


Now, activate the Brush tool (B) but before you proceed, make sure that the Brushes to be used are the default PS brushes. The default Photoshop brushes are shown on the image below, if that’s not what you see, then follow the instructions below: Right click the canvas while a layer is selected and while the Brush tool (B) is activated and then click on the button highlighted below: Then click on “Reset Brushes” from the contextual menu. Now, that that is done input the following settings for our Brush tool (B):
- Brush size: 800px
- Hardness: 0%
- Opacity: 15%
- Flow: 100%


The Color Picker box opens once you click the Foreground Color box.

Now, paint over the area shown below:

Brush on it several times until it results to something like what is shown below:

Once done, select all the layers and press Ctrl/Cmd + G to group them. This will avoid clutter and confusion in later Steps. Rename this group to “Land”. To rename a layer, simply double-click on the words “layer 1” for example and a text box will appear, you may rename it then.


