
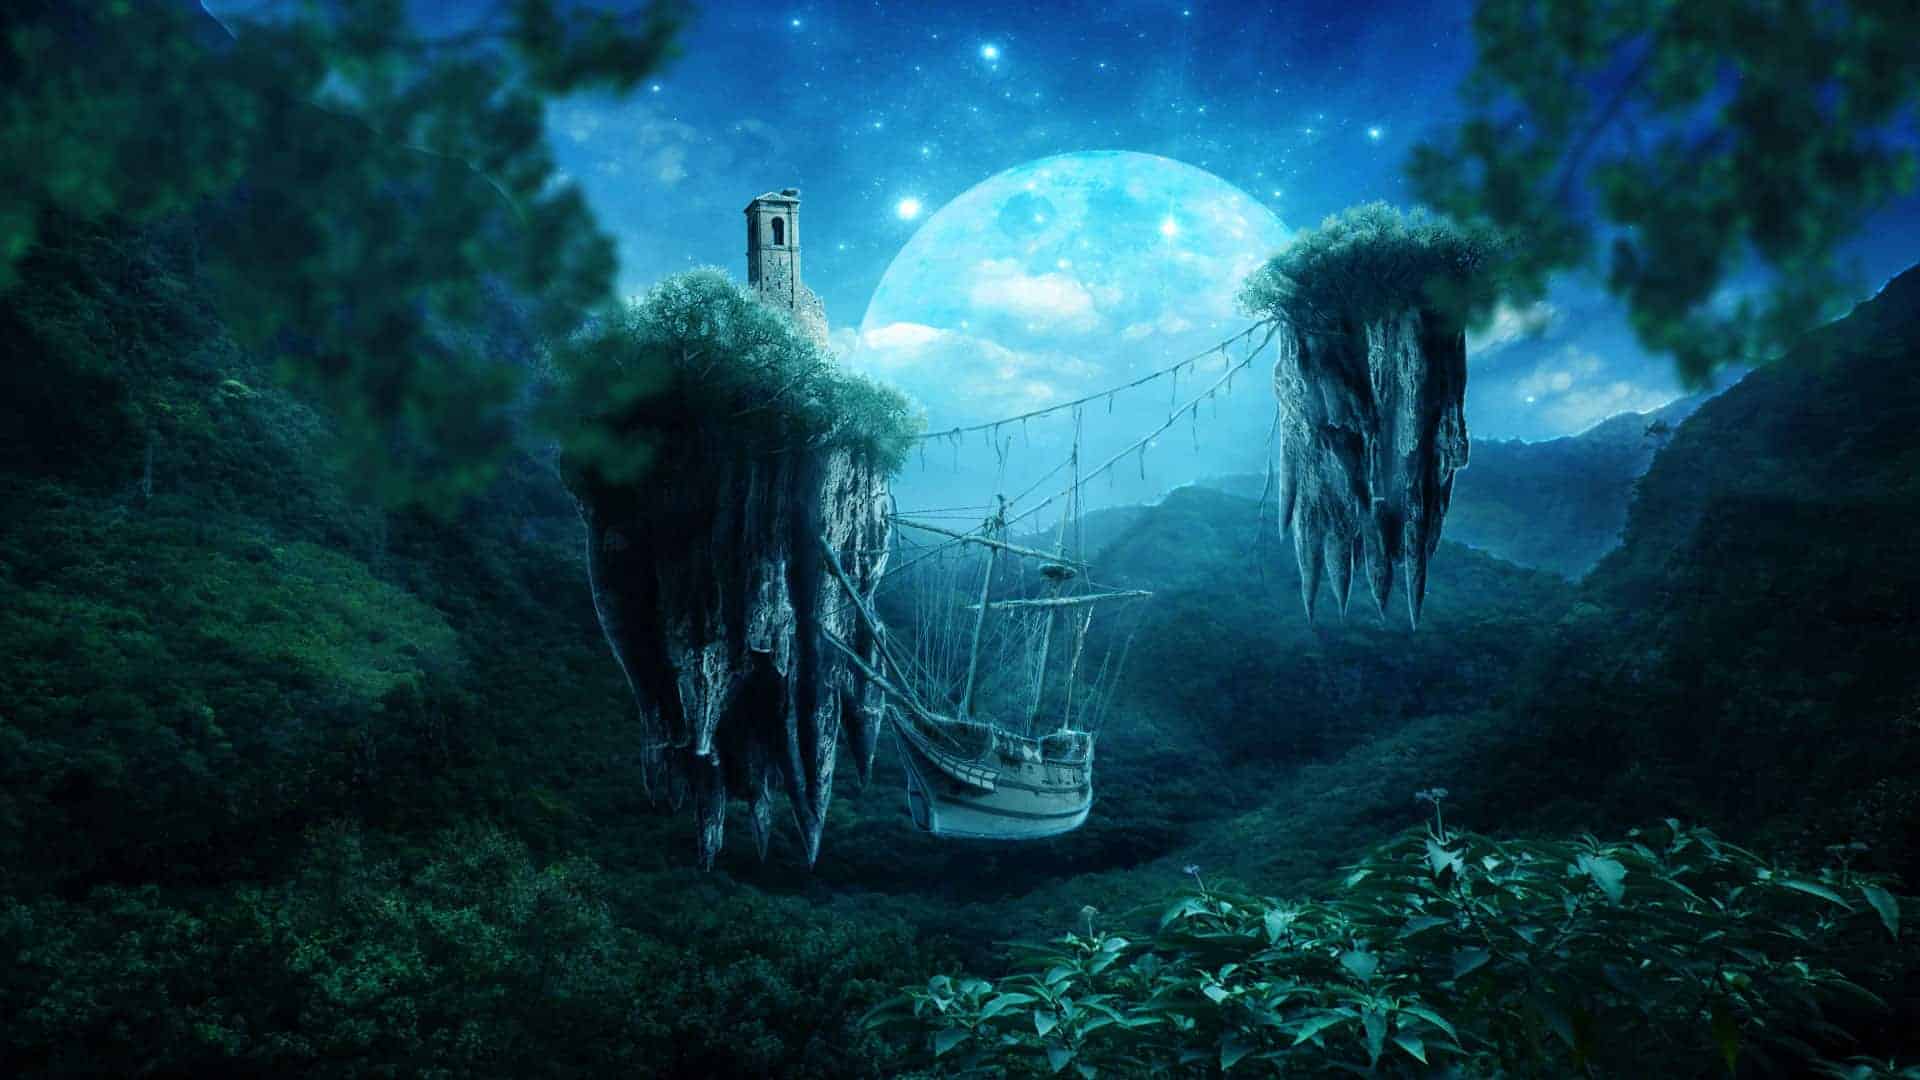

Create this magical twilight landscape with floating islands, a old sailboat, and a surreal moon background. This tutorial will teach you how to mix stock photos, apply filters to create a twilight scene, and even some matte painting basics!
Preview of Final Results

Tutorial Resources
- Forest Mountain – Unrestricted – Cat-in-the-Stock
- Stars – paulinemoss
- Sky levels – TACLUDA – rgbstock
- Corner Leaves 2 – Evelivesey
- Belltower – Evelivesey
- Unusual Tree – Evelivesey
- Colonial Ship – Thy-Darkest-Hour
- Agglestone Rock, Dorset – rgbstock – Purplepic
- Colonial Ship – Elysawu
Step 1
Let’s start! Create new file 1920×1080 size.

Step 2
Choose Forest Mountain stock and place it:

Step 3
Add new adjustment layer () with Brightness/Contrast).

Step 4
At adjustment layer make mask. Use big (ex. 200px) soft brush and draw:

Step 5
Then, paste Sky levels stock as new layer. You should transform it, to fill canvas. Change blending mode to Multiply.

Step 6
On this layer, use mask. Try to mask all the trees from the bottom side. you should use big, soft brush (ex. 300px or more). My masking results are below

Step 7
Paste Stars stock, as new layer. Then add mask to this layer. Again use soft, big brush on contours of mountains.

Step 8
Change blending mode of stars to Screen.

Step 9
It’s time to paste moon stock on new layer. Place it as shown. Change blending mode to Screen

Step 10
As you can see, moon is too big and the color doesn’t goes with this landscape. You should change that. First – mask. Use big, soft round brush (100-200px) and mask it on the bottom.

Step 11
Now hue of the moon. Add adjustment layer with Hue/Saturation and create clipping mask (RMB>Create clipping mask).

Step 12
You should make moon brighter. Compliment won’t work ;). Holding ctrl choose Moon and Hue layer. Duplicate it.

Step 13
Add new layer. Choose Gradient Fill tool and color. Arrow will guide you :)

Step 14
Change blending mode of this gradient to overlay.

Step 15
Add new layer. Choose soft, big (370px) brush, color and set opacity to 70%. Draw gently glow around and near moon. I also draw a few spots on the edges of mountains.

Step 16
Change glow layer blending mode to soft light.

Step 17
Now you will know some matte painting techniques. Add new layer. Choose soft brush, 40px wide, color. Draw on the edges of the mountains/plants. This is very important step! It can appear like fog, and give mystic look!

Step 18
Change blending mode to Soft light. Will be awesome! :)


