Turn any photo into a dot grid artwork with these Photoshop actions. You'll get great results with dots that change size. They get larger in brighter areas and smaller in darker areas. Free download available.
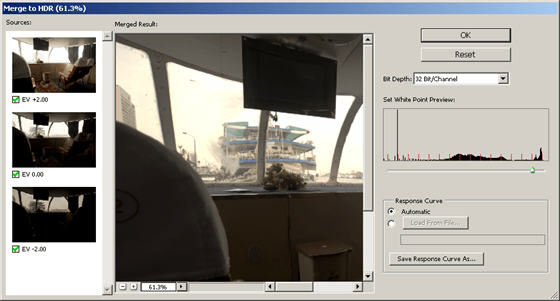
After you click OK, Photoshop will process the images and after, you should see a window that looks like the image below.

In the second Merge to HDR window, you need to choose the bit depth to use: 32 bpc, 16 bpc, or 8 bpc. If you want to capture the entire dynamic range, choose 32 Bits/Channel. The other options almost always do not have enough room to store the entire dynamic range but you will have access to more tools, filters, and commands. You can uncheck the checkbox below the thumbnails on the Sources filmstrip to choose which image you want to include in the final merged image. The Merged Results shows a preview of the final output with the current settings. Adjust the slider in the Set White Point Preview histogram to get the exposure that you desire. Click OK and Photoshop will create a HDR image based on your settings.
{articlead}

Viewing HDR images
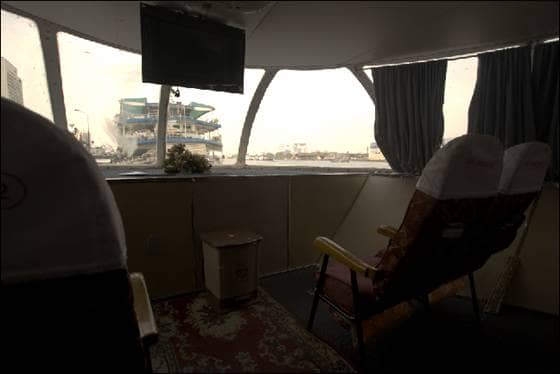
When you look at a HDR image in Photoshop, the colors can look dark or washed out. This is because 32 bits/channel images have a dynamic range that monitors are not capable of displaying. If your monitor was capable of displaying such range, the image would look a lot more dynamic. Currently, there are no consumer-grade monitors that can display the dynamic range of 32 bits/channel image.
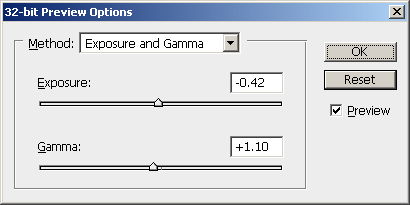
In Photoshop, you can adjust the preview to see the details in the highlights or shadows that are washed out on your monitor. The preview does not affect the image information; it is only used for previewing. To adjust the preview, choose View > 32-Bit Preview Options.

Choose one of the two methods:
- Use the Exposure and Gamma method to adjust the brightness and contrast. Adjust the sliders to adjust the image brightness and contrast then click OK.
- Use the Highlight Compression method to compress the highlights so that they do not look overexposed. There are no settings to adjust with this method. Simply click OK.
You can also adjust the exposure quickly using the slider on the status bar of the bottom of the document window.

Remember, while your image may look different after adjusting the 32-bit preview options, the image information has not changed. It only looks different to aid you in editing because your monitor cannot display the dynamic range of 32-bits/channel images.
Converting an image to an 8 or 16 bpc workspace
For photography purposes, most of the time you will want to tone map your 32-bpc image into a 8- or 16-bpc image. This lets you create a 8- or 16-bpc image with details that would normally be hidden. For example, an overexposed sky can be restored by tone mapping.


One comment on “HDR Photos and Photoshop”
Im starting learn on photoshop, can you share your source so we can learn better :).
Regard, seoitc.com.