Make your artwork look like they're from an alternate universe. These Cyberpunk presets work with Photoshop (via the Camera Raw filter) and Lightroom. Download all 788 presets for 90% off.
Add new adjustment layer Curves on the top of all layers and set it as on the following image.
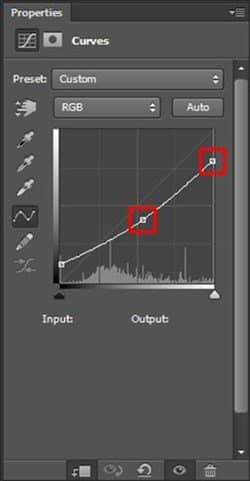
Create clipping mask from this layer.To make the ruins bluer add new adjustment layer Gradient Map on the top of all layers and set it as on the following image.
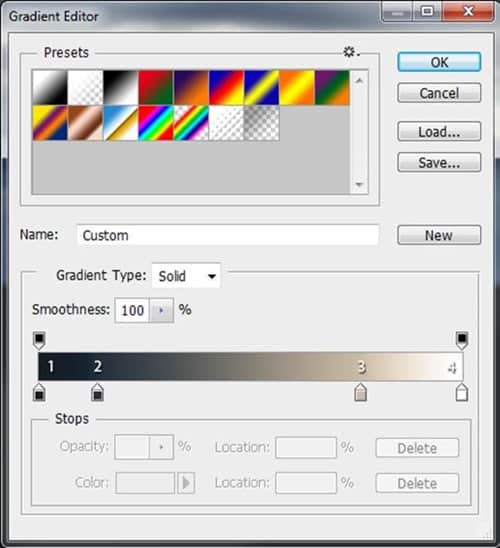
Following color were used:
- #171E26
- #25303B
- #CABBA6
- #FFFFFF
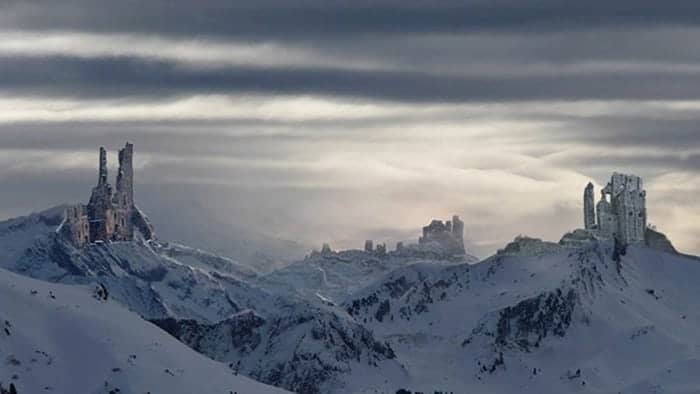
Create clipping mask from this layer to adjust only RIGHT RUINS and not the rest of the image. After this step your photo manipulation should be similar to the one below.
Step 11 - Light on Ruins
To create more interesting light on the ruin on the right add new adjustment layer Curves on the top of all layers and set it as on the following picture.
![image020[1] image020[1]](https://cdn.photoshoptutorials.ws/wp-content/uploads/2013/11/image0201.jpg?strip=all&lossy=1&quality=70&webp=70&avif=70&w=1920&ssl=1)
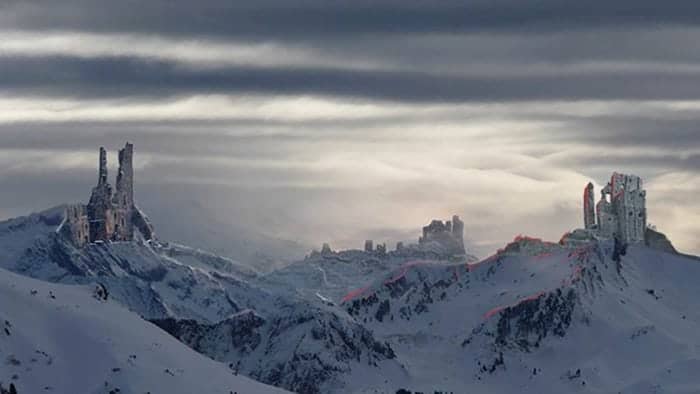
Grab the Paint Bucket Tool (G), pick black color and fill the layer mask of this adjustment layer to hide the adjustment. Grab the Brush Tool (B). Use the same settings as before and paint over the areas on the ruin where light would hit. You can see where to paint on the image below. Those parts are highlighted with red color.
Step 12 - Adding Haze
Main elements of the photo manipulation are already placed. Now let's focus on building more interesting light and stronger atmosphere.
In this step you'll add reddish haze on the horizon. Add new empty layer on the top of all layers and name it HAZE. Grab the Brush Tool (B), select some soft round brush and lower its Opacity on about 15%. Pick light orange color (I used #efd0bd) and paint haze similarly as on the following image.
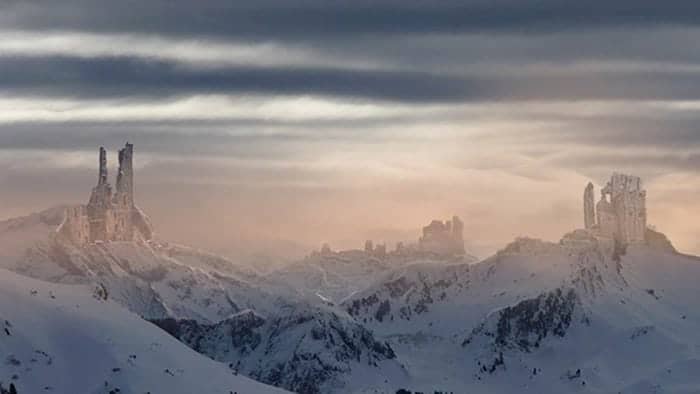
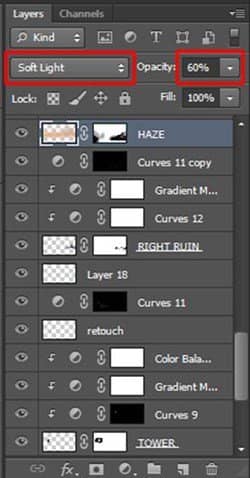
Haze shouldn't be visible on the ruins in the foreground. To hide it add layer mask to HAZE. Grab the Brush Tool (B). Set its Opacity on 60% and pick black color. Paint over the ruins in the foreground to hide haze there.To blend it even better with the rest of the image change its Blending Mode from Normal to Soft Light and lower its Opacity on 60%.
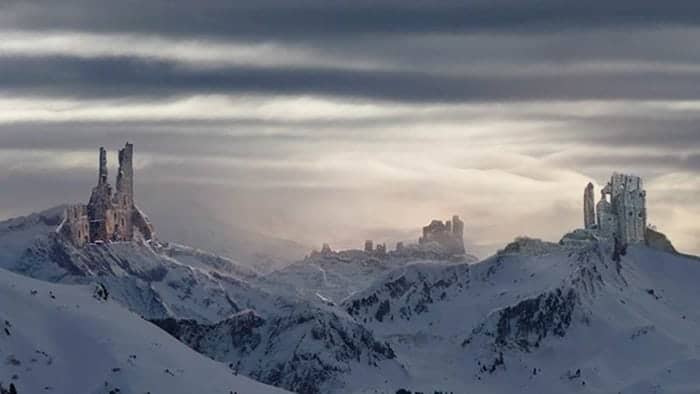
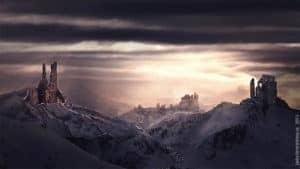
On the following image you can see the overall effect.
Step 13 - Adding Sun Rays
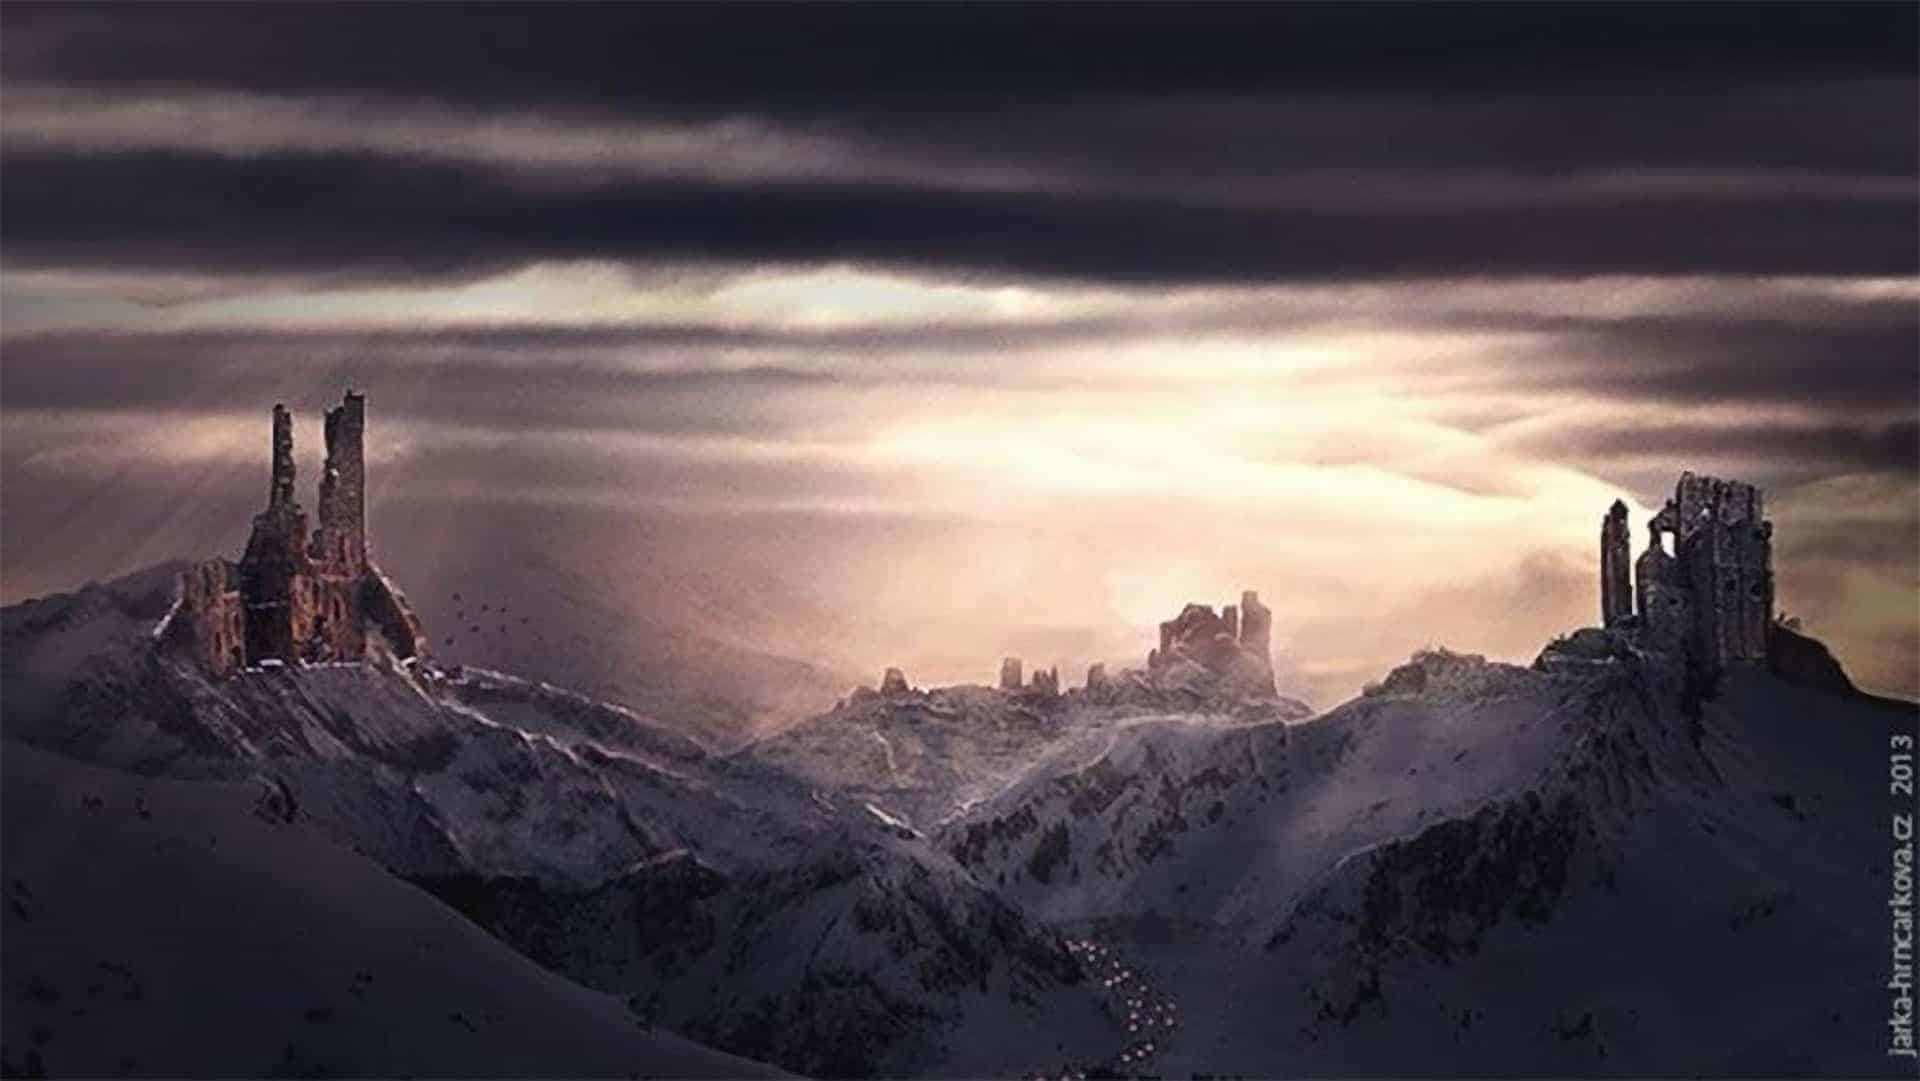
Download sun rays brushes listed in the beginning of the tutorial and install them into Photoshop. Add new empty layer on the top of all layers and name it LIGHT RAYS. Select one of the brushes you've just installed. Set the Opacity on 60% and pick some very light yellow color.

10 comments on “How to Composite a Ruins Landscape”
Who else loves
?
<3 ;)
:) <3
Beautiful, creative and acutely enjoy able!
Nice illustrations, they make it really easy to scan the post for the important parts.
This was very good tutorial. Yea maybe missing a few steps. But i think its a good thing to make you think sometimes on your own.
I liked the tutorial very much. Keep it up m8.
My attempt http://1niquity.deviantart.com/art/Snowland-457464418
awesome picccccccc
I like the image, but the tutorial is missing a LOT of steps.
Its a very nice tutorial and a picture..but for the left ruin it was way too few the info you gave about it... cause you copy the one side of the ruin and put it and left side of it ,plus you copy the short wall it had and put it on the right side of it...without those it didnt looked realistic ..
tutorial was sort of hard to follow. I mean, when transforming the "left ruin" layer, did you change the perspective? not very descriptive... Good picture though
NICEEEEEE PICCCCCC......