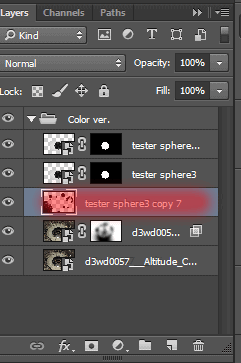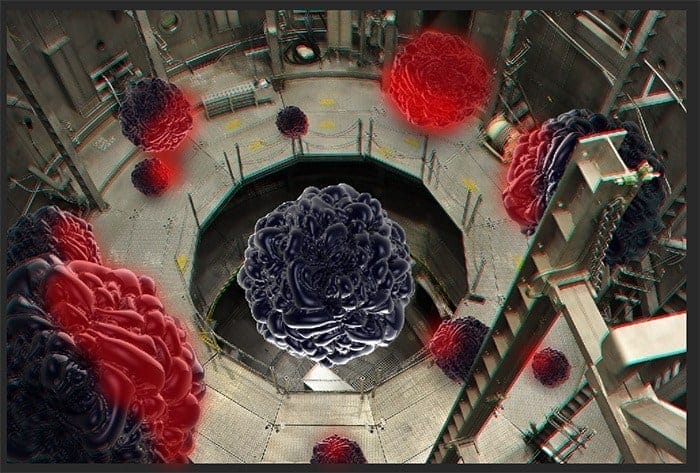
Add a Layer mask. Use a Brush Tool (B) with there settings: Size: 200px – 100px, Hardness: 100%, Opacity: 100% (Click D then X on keyboard to set background color to Black). and remove part of sphere on beams. Apply the mask to this layer (click right mouse button on Layer mask, in list select “Apply Layer Mask”).

Step 12
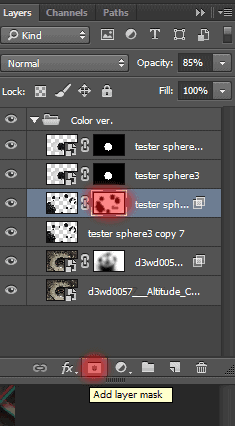
Create effect 3-D to spheres. Duplicate spheres layer once (use the short key Cmd /Ctrl+ J or go to Layer > Duplicate Layer). Go to Layer Style > Blending Options in a Layer panel and remove the checkbox from Red channel. Move it (My combination: down five times and six times to the left).
![6[1] 6[1]](https://cdn.photoshoptutorials.ws/wp-content/uploads/2014/07/611-1.jpg?strip=all&lossy=1&webp=82&avif=82&w=1920&ssl=1)

Set Opacity to this layer 85%.

Step 13
Now add a Layer mask to this layer and used Brush Tool (B) (Size: 200px, Hardness: 0%, Opacity: 70%.), remove part of effect on spheres.


Step 14
Now add some light on them and shadow. Start by adding light. Create New Layer used Cmd /Ctrl+ Shift + N, set Mode: Overlay, set the check-box to: Fill with Overlay-neutral color (50% grey). To fill the new layer of neutral gray. Such a layer, we will only for lighting. In the future, we will use only the usual layers.

Use a Dodge Tool (O) with settings like shown in the image. Lighten up the spheres where they are turned to main sphere, to make them glow effect. This layer must necessarily apply only to spheres without 3-D effect (Hold Option/Alt and click on lower layer).


Step 15
Create a new layer without Overlay-neutral color (Cmd /Ctrl+ Shift + N). Take a Brush Tool (B) (Size: 200px to small spheres and 400px to big, Hardness: 0%, Opacity: 70%.). Dot put under spheres a shadow.

Place the shadow layer under the layer with the spheres without effect and set Opacity of this layer – 51%. Merge all layers with spheres in the one group “Spheres” (select layers and use Ctrl+ G).

Step 16
After we placed sphere, we can start creating lightning and the main lighting. Create a new layer under group “Spheres”. Take a Brush Tool (B) (Size: 1200px, Hardness: 0%, Opacity: 100%.).


Make a dot, a little below the main sphere, like shown in the image.
13 responses to “Omega – Create this Abstract Composite Using Only Three Resources”
-
where is the material??
-
where is the material?
-
amazing ideas and creativity
-
Absolutely beautiful works.. This is what called “Creativity”.
-
i really love this website!
-
thank you Maria Semelevich
-
Vry nyc
-
Thank you veru much! I am very pleased! :) I hope it will be helpful to you!
-
-
like
-
Thank you veru much! I am very pleased! :) I hope it will be helpful to you!
-
-
amazing…
-
Thank you veru much! I am very pleased! :) I hope it will be helpful to you!
-
wonderful!
-


Leave a Reply