Make skin look perfect in one-click with these AI-powered Photoshop actions.
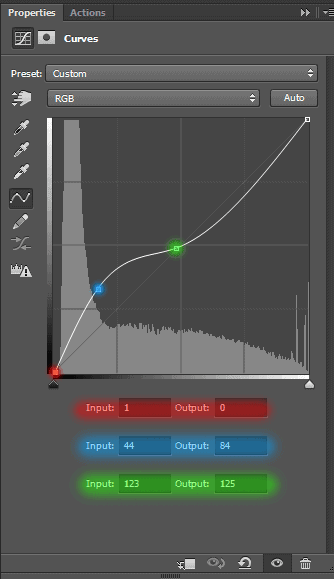
That's how the layers are arranged and the image looks after applying adjustment layers for Dark version.
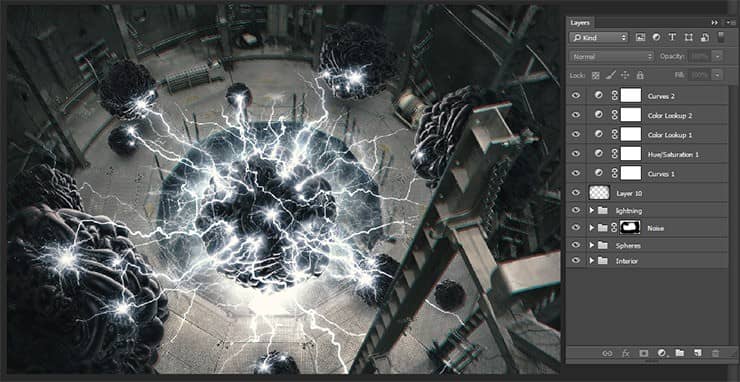
Step 44
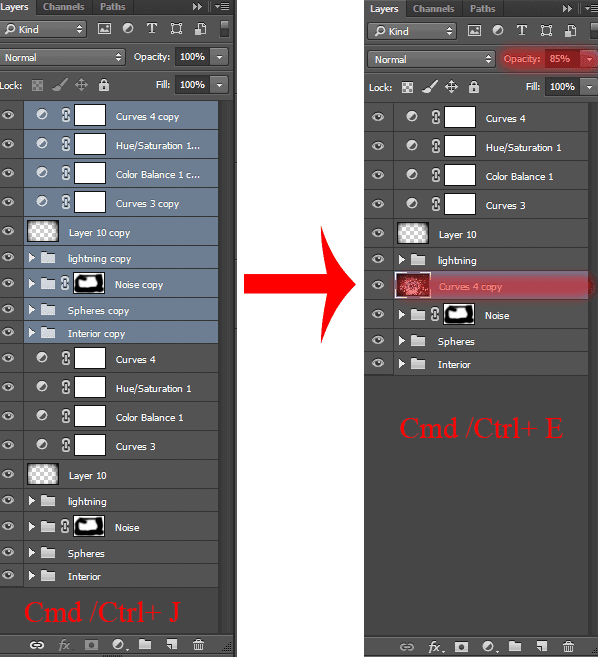
It does not matter toning option, that you chose. The principle remains the same. Select all groups, adjustment layers and duplicate them. Combine it in a single layer (Cmd /Ctrl+ E or Layer > Merge Layers...). Convert this layer for Smart Filters (Filter > Convert for Smart Filters).
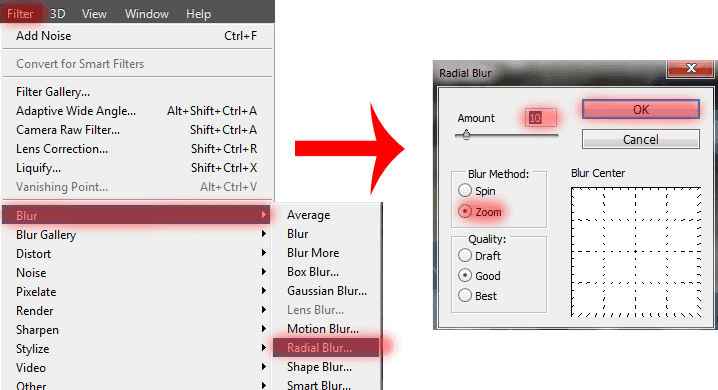
I decided to add some dynamics into the picture to get the enhanced effect of the presence and movement of energy. I used the radial blur filter (Filter > Blur > Radial Blur...). Be sure to set the kind of blur on the "Zoom".
Step 45
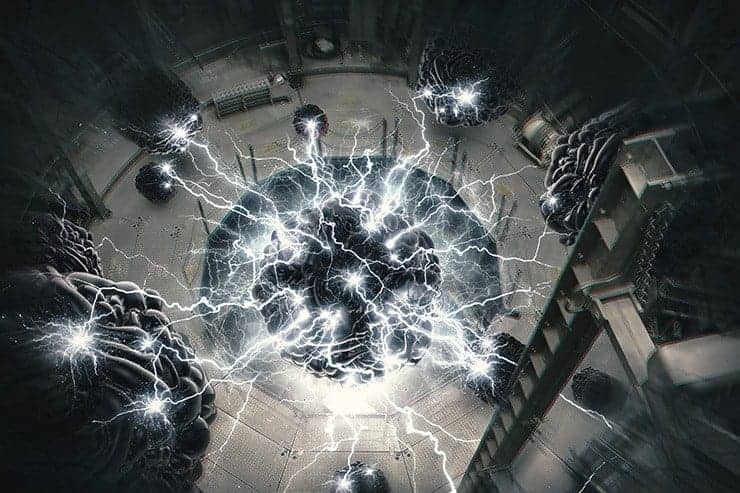
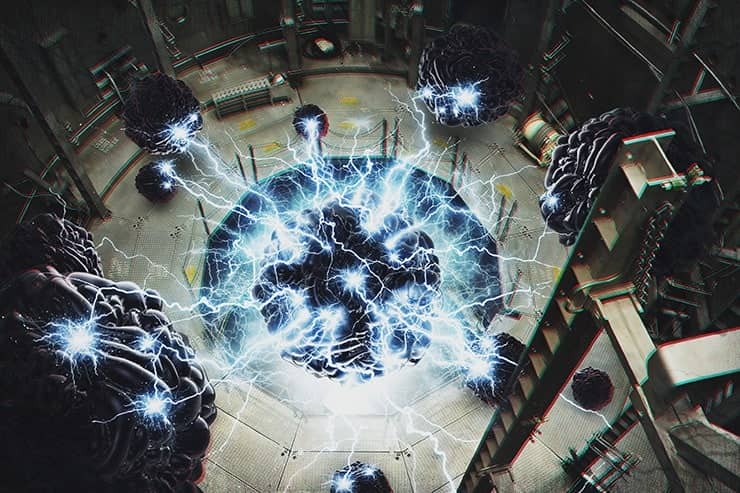
Add a layer mask and remove motion effect from the middle. Do not touch it at the edges. Be careful and try to do little bit of movement on the backs of the sphere. Set Opacity: 85%. That's it! Picture is fully ready!
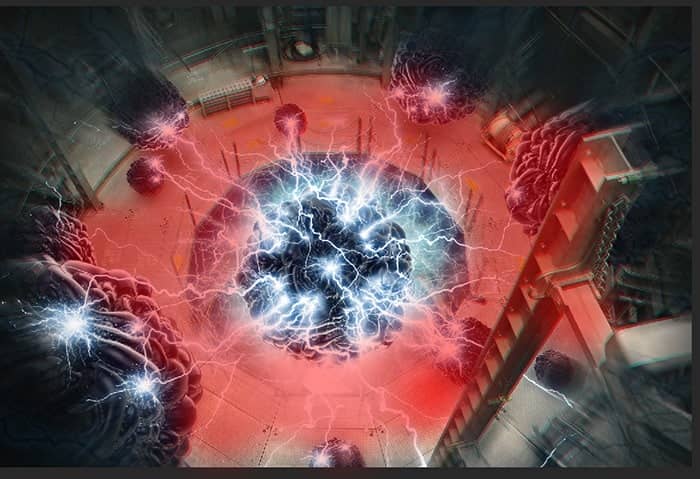
Final Results
![final-results[1] final-results[1]](https://cdn.photoshoptutorials.ws/wp-content/uploads/2014/07/finalresults12.jpg?strip=all&lossy=1&quality=70&webp=70&avif=70&w=1920&ssl=1)
 Thank you very much for taking the time to study this tutorial! I hope you benefited it! I wish all lucked in your future achievements! I thank the authors of resources for their excellent work and good quality! Thank you very much! I look forward to your feedback and creative works! You can contact me by e-mail -
13 comments on “Omega - Create this Abstract Composite Using Only Three Resources”
where is the material??
where is the material?
amazing ideas and creativity
Absolutely beautiful works.. This is what called “Creativity”.
i really love this website!
thank you Maria Semelevich
Vry nyc
Thank you veru much! I am very pleased! :) I hope it will be helpful to you!
like
Thank you veru much! I am very pleased! :) I hope it will be helpful to you!
amazing...
Thank you veru much! I am very pleased! :) I hope it will be helpful to you!
wonderful!