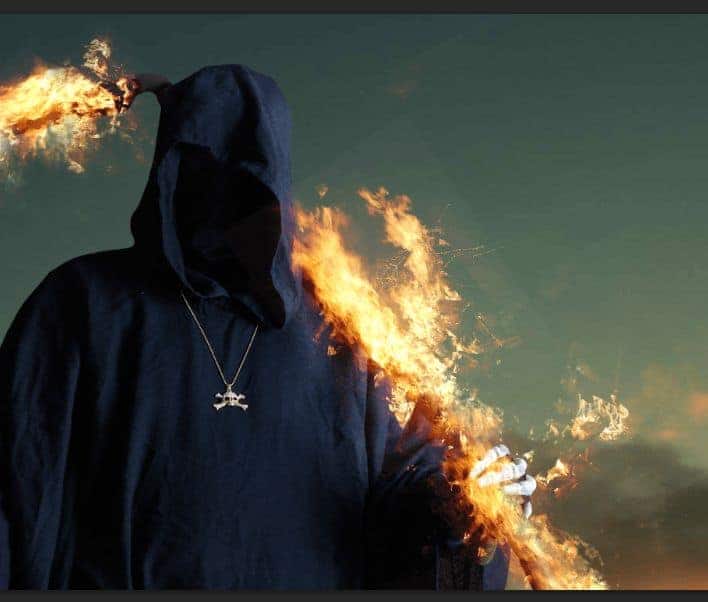
Step 24
Group these fire layers from step 21-23 and add a layer mask to the group to further hide unwanted parts.

Step 25
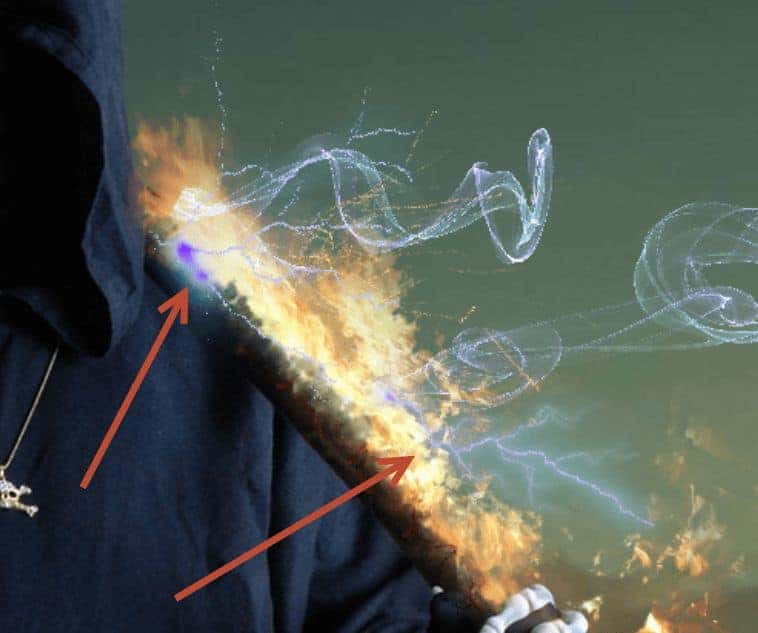
Unrar/Unzip somewhere on your computer the effects archive. Copy and paste one of the effects into our scene and position it as shown below.

Step 26
Change the blending mode of the special effect to Color Dodge. Add a layer mask and mask the lower portion.

Step 27
Choose another effect from the effects folder and place it as shown below.

Step 28
Change the blending mode of the effect to Screen.

Step 29
Create a Hue/Saturation Adjustment layer and clip it to the effect you just placed. Drag the hue slider all the way to the left.


Step 30
Import the lightning brushes. Create a new layer and create a lightning with white color. Place the lightning as shown below. It is barely visible because there is so much light there.

Step 31
Double click the lightning layer to enter advanced blending mode. Use the settings shown below.


Step 32
Create two more layers and on each create a different lightning. Double click to enter advanced blending mode for each and use the same settings as we used in step 31.

Step 33
Group the lightning layers together. Add a layer mask to the group and mask the unwanted parts.

Step 34
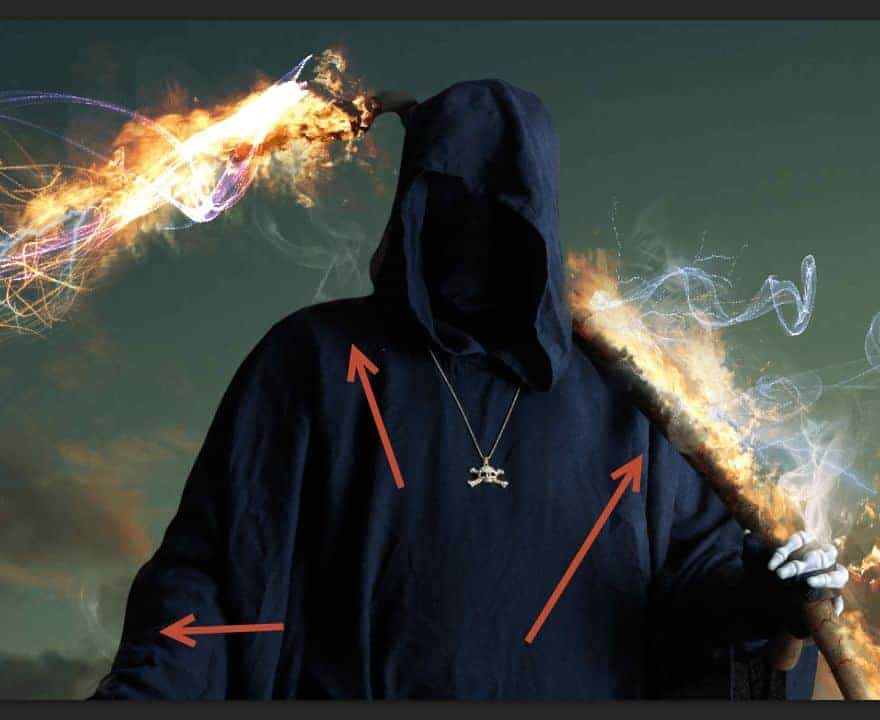
Create a new layer and import the smoke brush. Create a smoke on the hand of the death figure using a smoke brush with white color – use a layer mask to hide hard edges.

Step 35
Add some more smoke on different layers in the areas indicated below. If the smoke is too strong lower the opacity of the layer. Group the smoke layers together.

Step 36
Open the file “Glitter”. Copy and paste the image into our scene and don’t forget to transform it into a smart object. Place it as I did below.

Step 37
Change the blending mode of the “Glitter” layer to Color Dodge. Add a layer mask and hide the glitter/sparks until you have something like the image below.

Step 38
Duplicate the “Glitter” layer and place it on the wooden part of the scythe. If needed further hide unwanted parts in the layer mask.

Step 39
Open the file “Texture”. Copy and paste into our scene and convert to smart object.

Step 40
Change the blending mode of the “Texture” layer to Multiply. Add a layer mask and hide the texture outside the death figure body.
6 responses to “How to Create an Awesome Fiery Grim Reaper by Combining Images”
-
Awesome tutorial!
-
Cool
-
nic boy
-
That looks incredible! I can barely recognize the images in the final result. Well done and thanks for sharing.
-
nice ja
-
Jerson Acabado


Leave a Reply