Make your artwork look like they're from an alternate universe. These Cyberpunk presets work with Photoshop (via the Camera Raw filter) and Lightroom. Download all 788 presets for 90% off.
Step 56
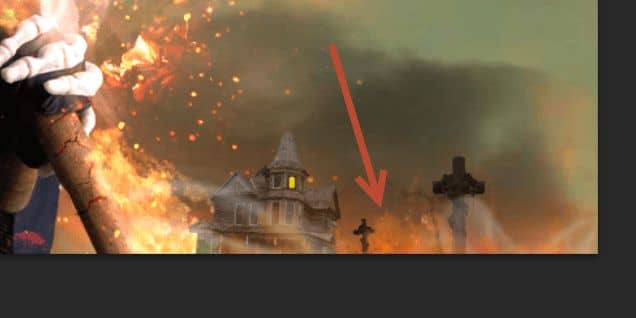
Open the file "Dead Tree". Copy and paste the tree into our scene and convert it to a smart object. Place it all the way to the left side of the scene so only a few branches are visible.
Step 57
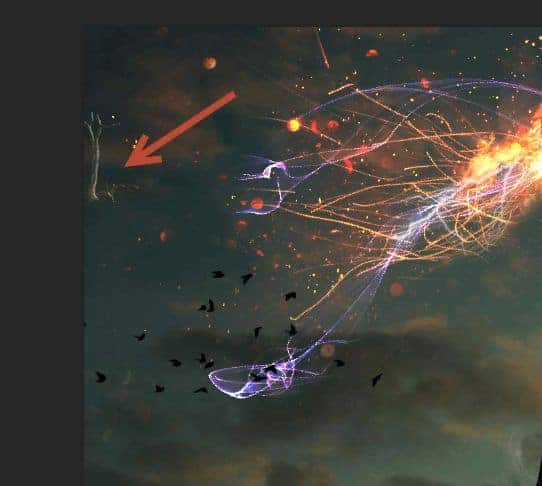
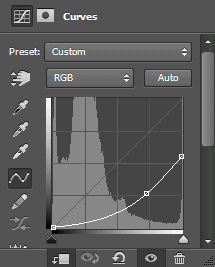
Create a Curves Adjustment layer and clip it to the tree layer. Drag the curve down as shown below in order to darken the tree.
Step 58
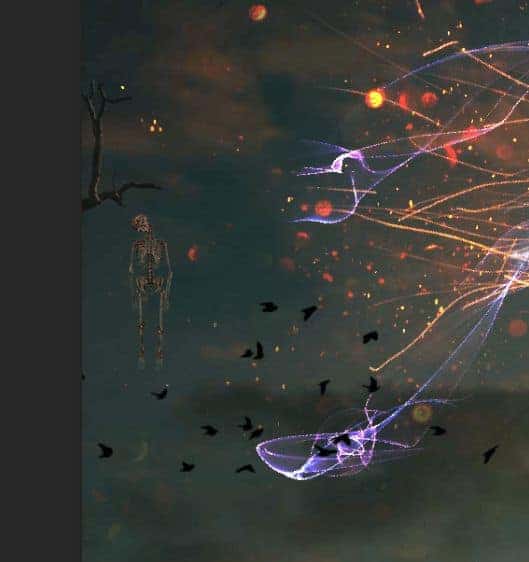
Open the "Skeleton1" file. Copy and paste the skeleton into the scene and convert it to a smart object. Resize is as shown below.
Step 59
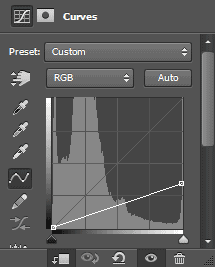
Create a Curves Adjustment layer and clip it to the skeleton. Drag the curve down as I did in the image below.
Step 60
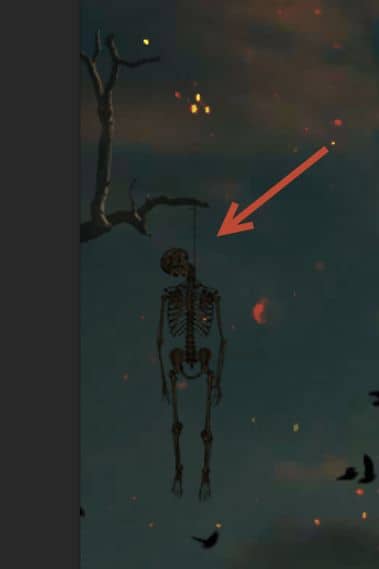
Create a new layer and with the chalk brush paint the rope that hangs from the skeleton neck.
Step 61
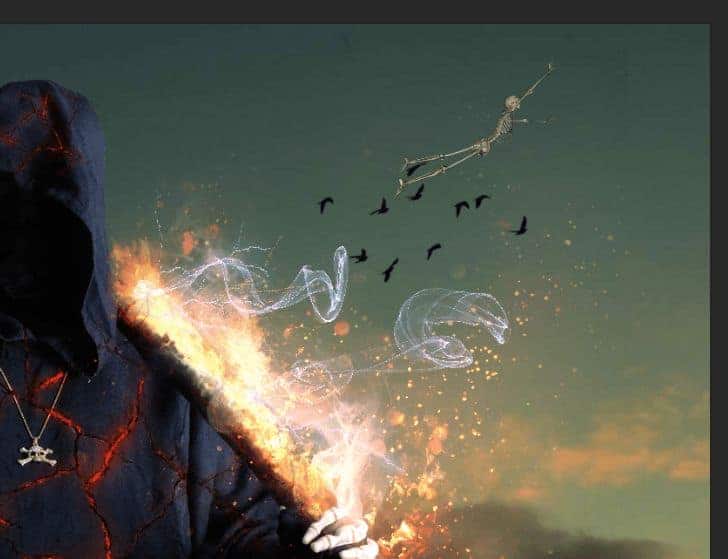
Open the "Skeleton2" file. Copy and paste the skeleton into the scene. Convert it to a smart object and place it as shown below.
Step 62
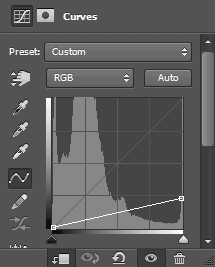
Create a Curves Adjustment layer and clip it to the skeleton layer. Drag the curve down as indicated in the image below.
Step 63
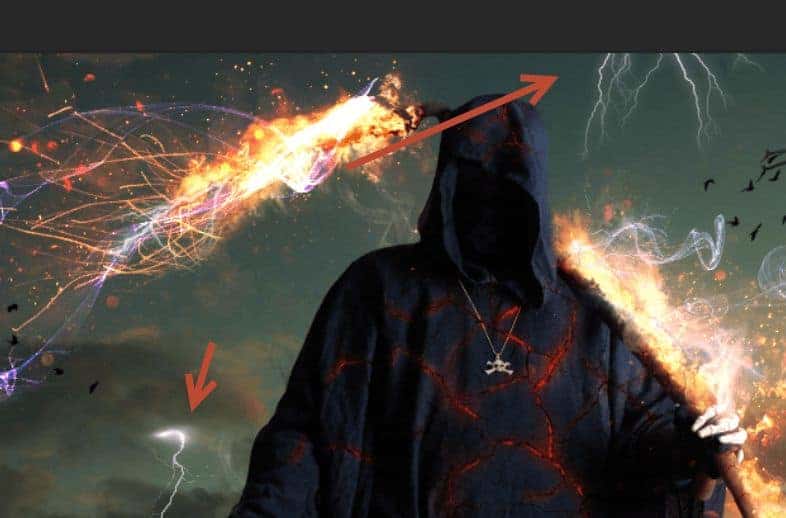
Let's add some additional lightning into the scene. Create two new layers and on each of them create a white lightning using the lightning brushes.
Step 64
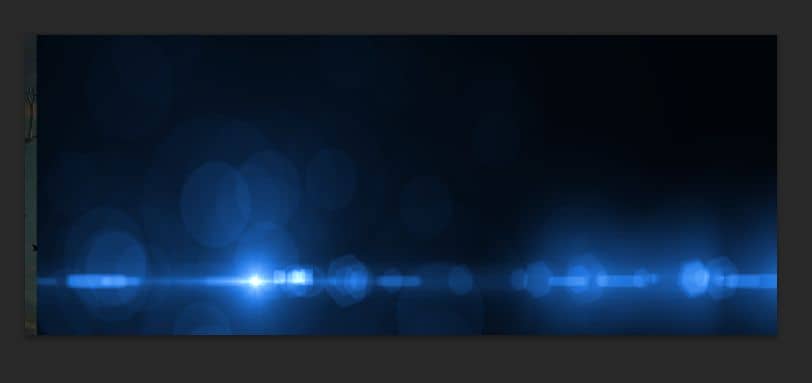
Unzip the optic flare effects somewhere on your folder and open the effect "026.png". Copy and paste the effect into the scene. Resize as shown below.
Step 65
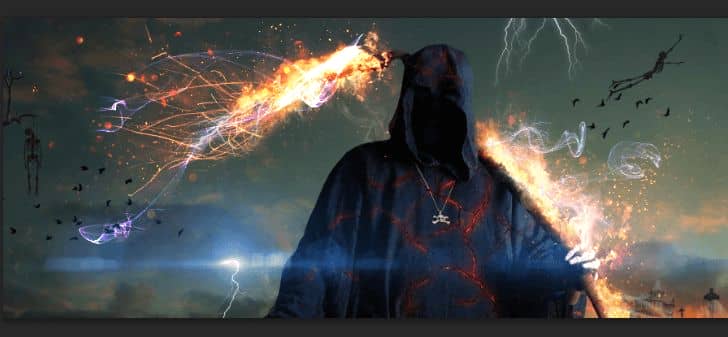
Change the blending mode to Screen and add a layer mask to the flare layer. Mask away the hard edges.
Step 66
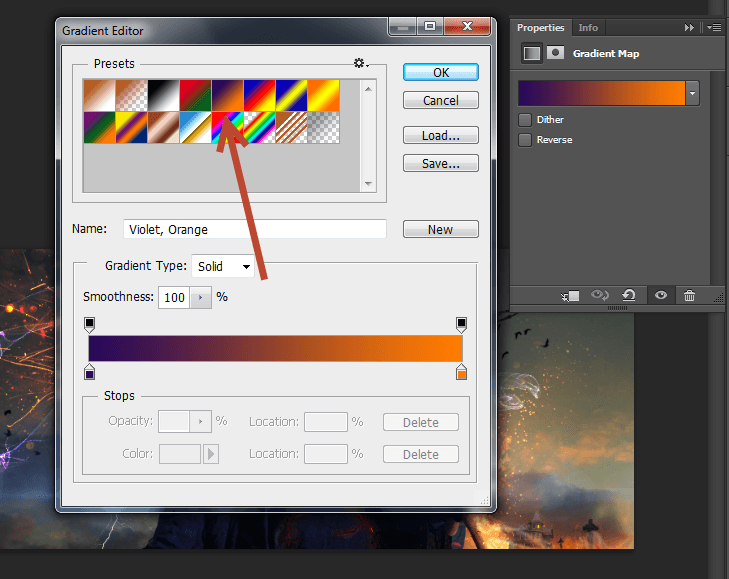
Time for some final effects. Create a Gradient Map adjustment layer and change the blend mode to Soft Light. Lower the fill to 44%. Use the settings shown below.
Step 67
Create a new layer and set the blending mode to Overlay. With a white soft brush at 10% paint over the scythe in order to emphasize it.
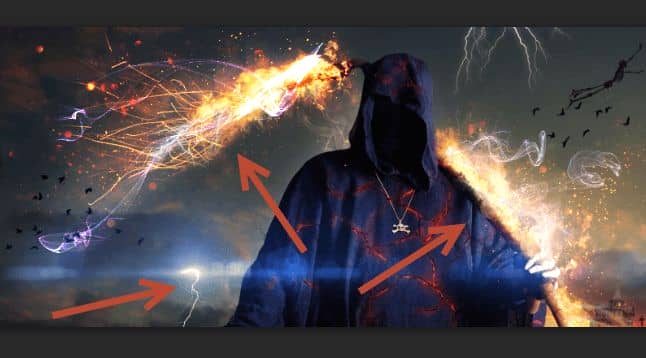
Step 68
Create a new layer and change the blending mode to Color Dodge. With a white soft brush at 50% Opacity paint over the folds in the death figure cloth and on the silhouette of house and crosses.
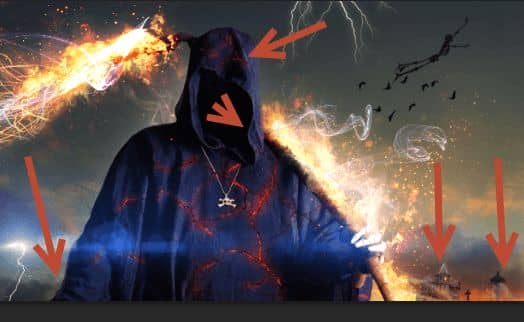
Step 69
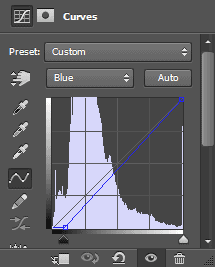
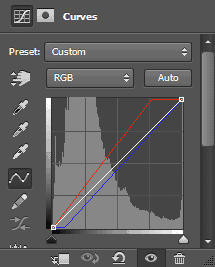
Create a Curves Adjustment Layer and use the settings below in order to boost the intensity of the scene and add a bit of redness.
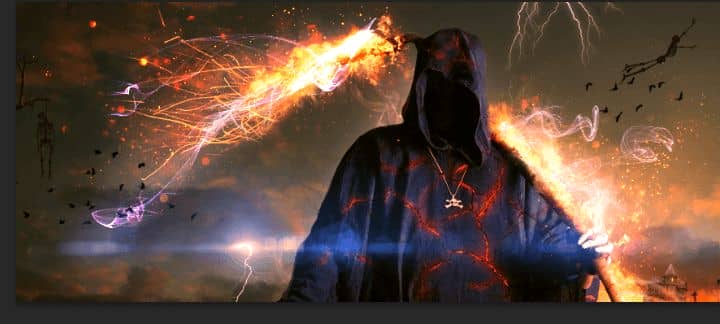
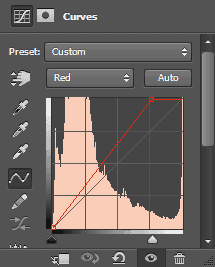
Step 70
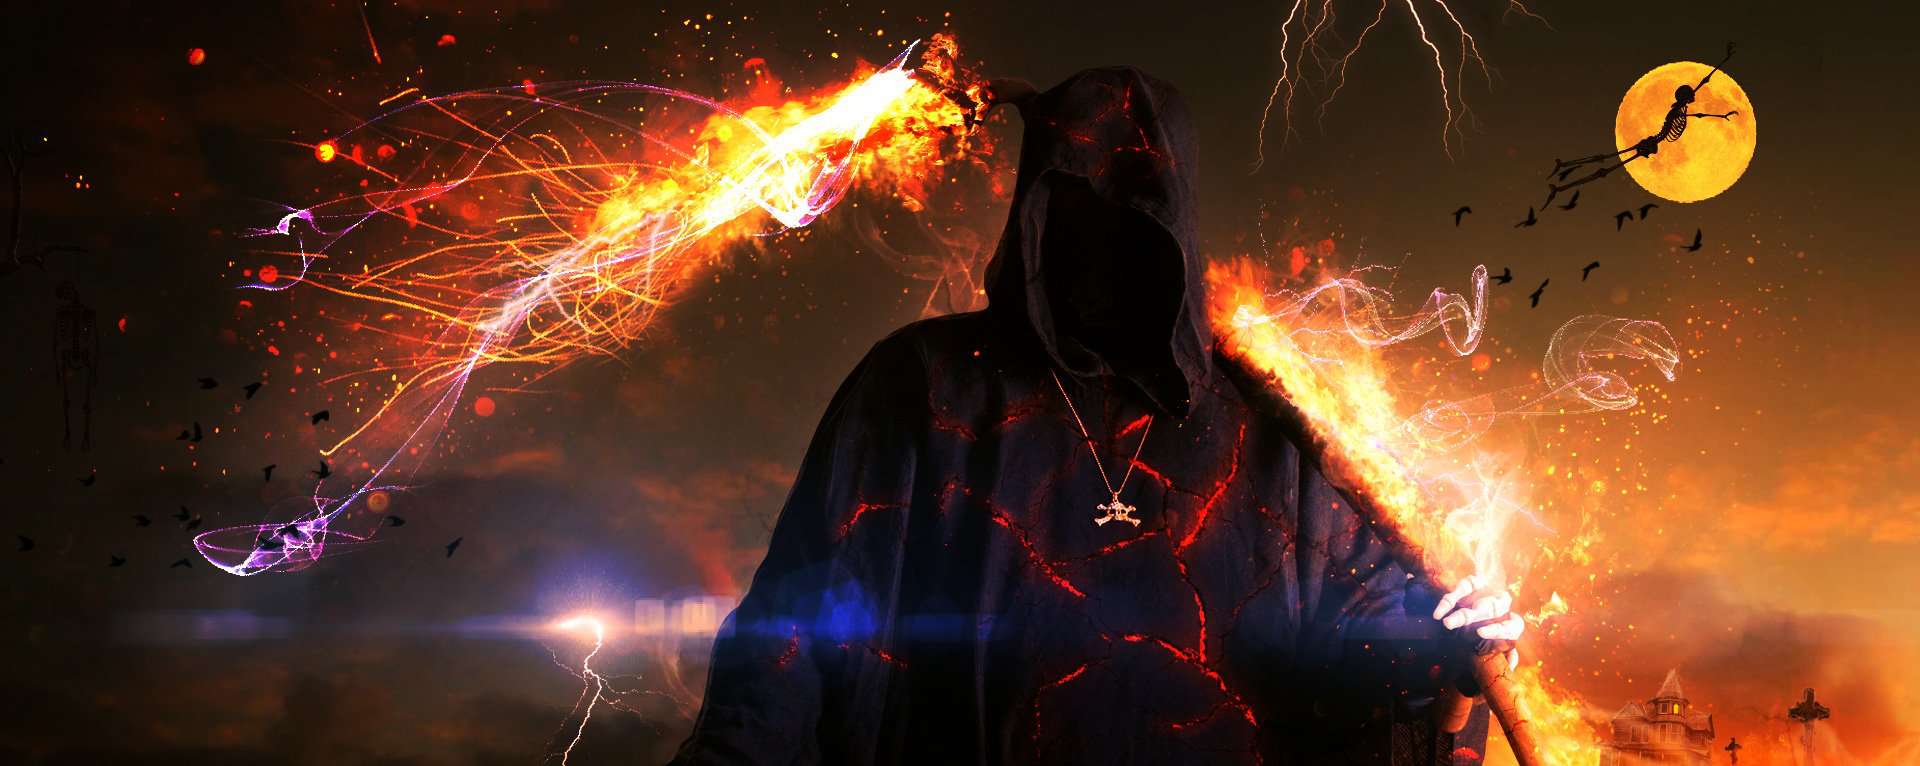
Create a new layer from all the layers by pressing Ctrl + Shift + Alt + E. Change the blending mode of the created layer to Overlay. Apply a strong Gaussian Blur effect (Filter > Blur > Gaussian Blur).


6 comments on “How to Create an Awesome Fiery Grim Reaper by Combining Images”
Awesome tutorial!
Cool
nic boy
That looks incredible! I can barely recognize the images in the final result. Well done and thanks for sharing.
nice ja
Jerson Acabado