


Step 37
Open tree 3 stock. Isolate the tree at the bottom right and position it at the bottom left of our main document and don’t forget to convert it to Smart Object:


Darken and change color of it with Curves and blur with Gaussian Blur filter (2,5 px):


Step 38
Take tree 4 and situate it at the top right of our picture, transform to get the look below:

Make color and brightness of this tree fit the background with Color Balance and Curves:


Step 39
We finished adding all elements. Now it’s time for blending. Create some adjustment layers on the top.
Gradient Map:

Lower opacity of this Gradient Map layer to 20%.
Color Balance:

Hue/Saturation:


Step 40
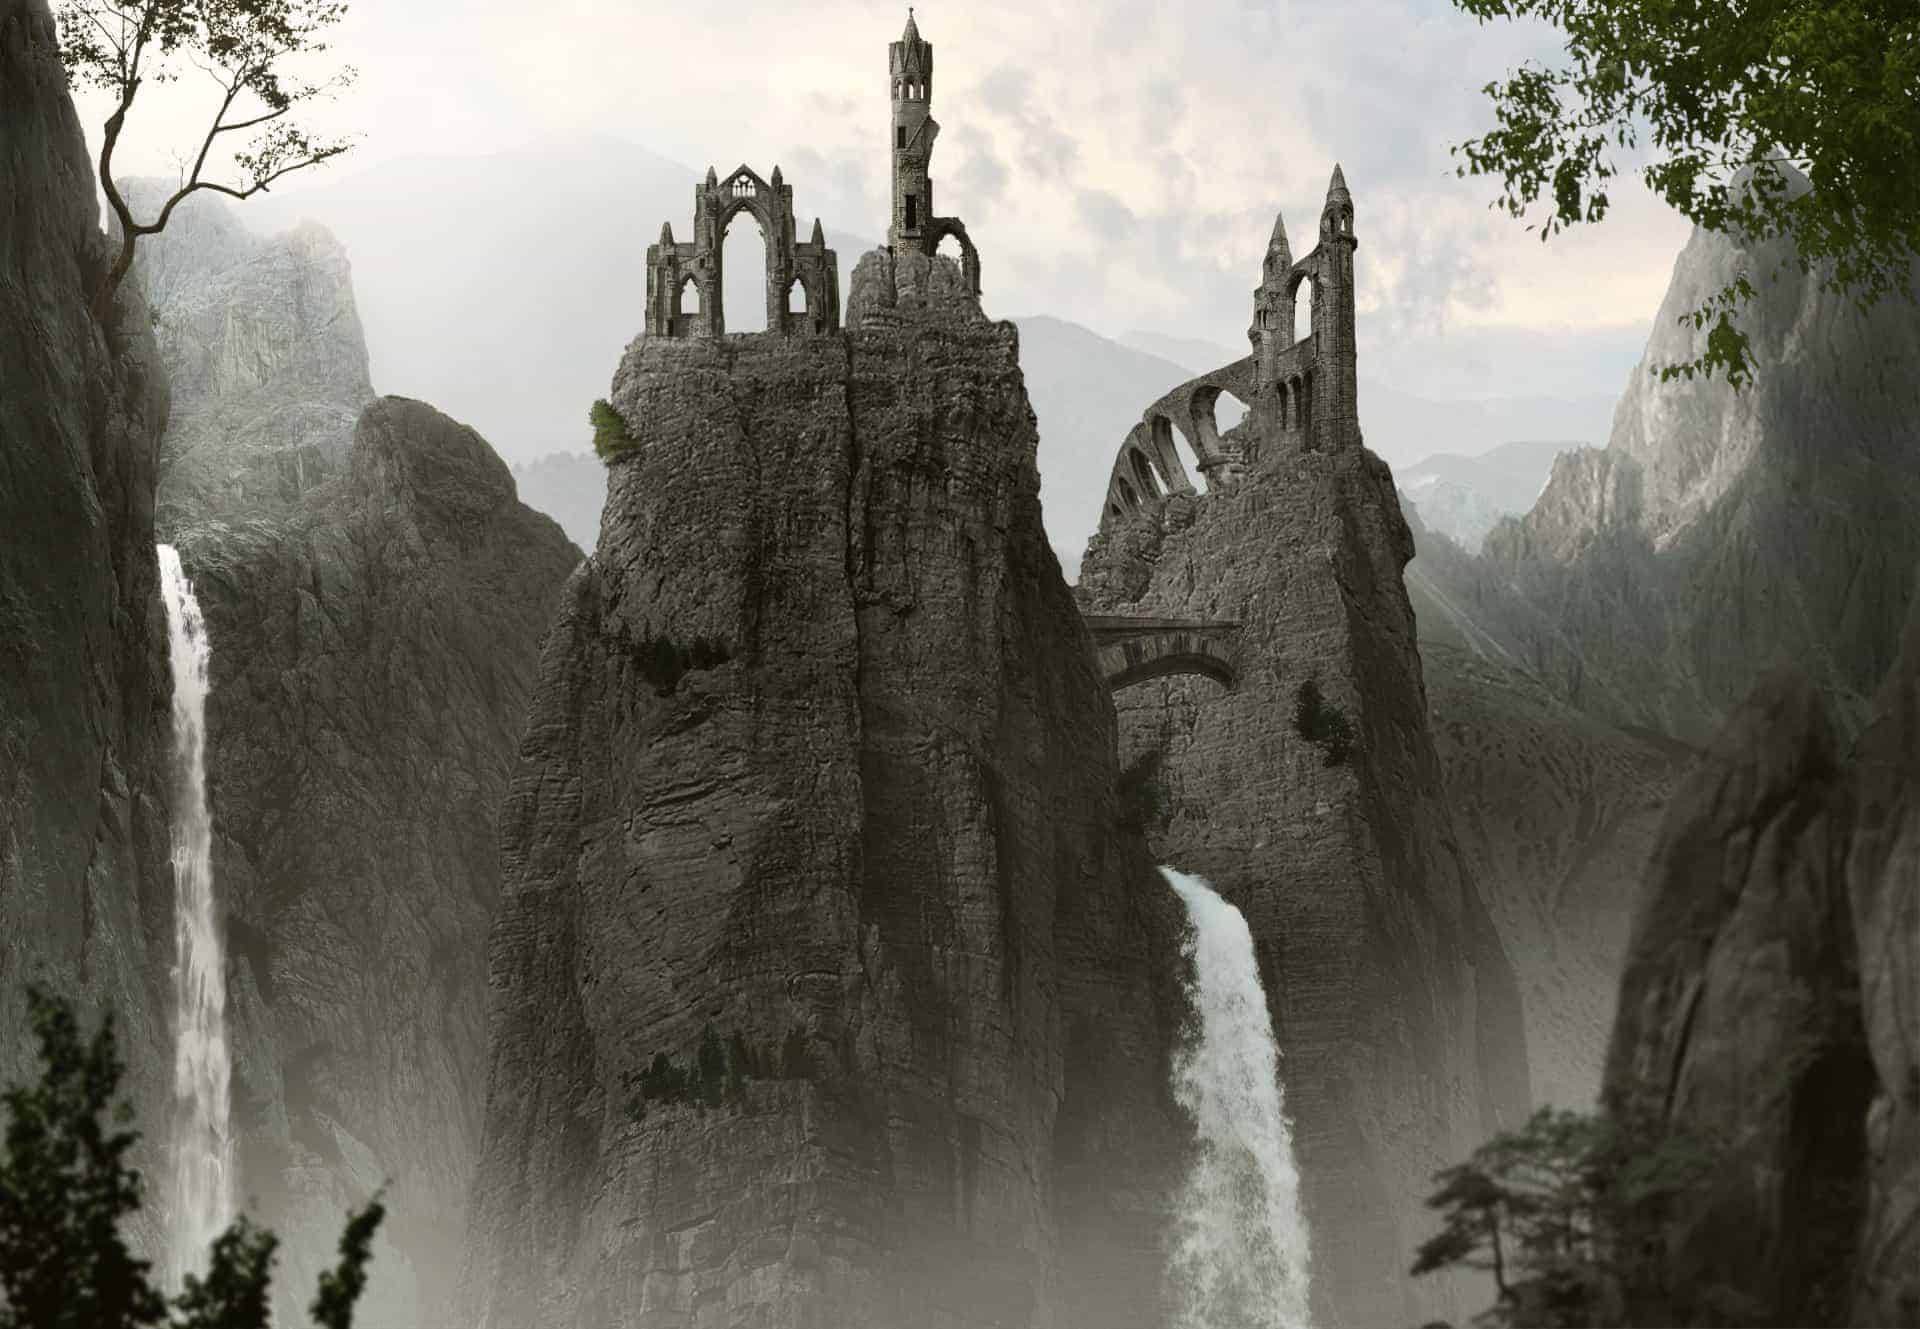
I use two new layers and take soft brush with color to make some mist and brighten the top of picture, especially the left. I set the first layer to Soft Light 30% and the second to Overlay 70%:


Final Results

Download the PSD
Tutorial by Jenny Le
 Thank you for following this tutorial, hope it was useful for you. If you want to read my other tutorials, you can visit my website. Enjoy photoshopping!
– Jenny
End of tutorial


