Turn any photo into a dot grid artwork with these Photoshop actions. You'll get great results with dots that change size. They get larger in brighter areas and smaller in darker areas. Free download available.
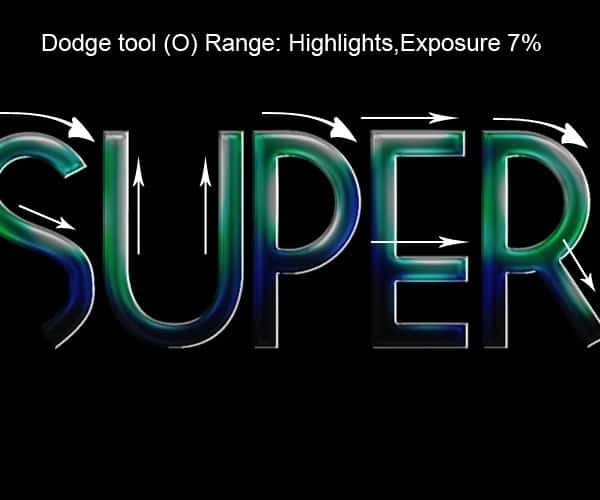
Step 3
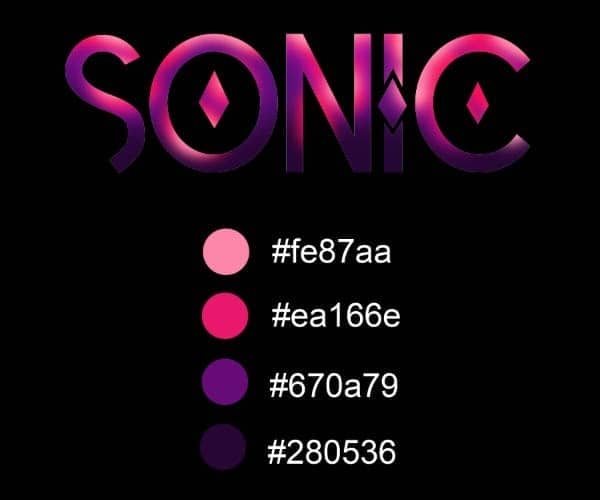
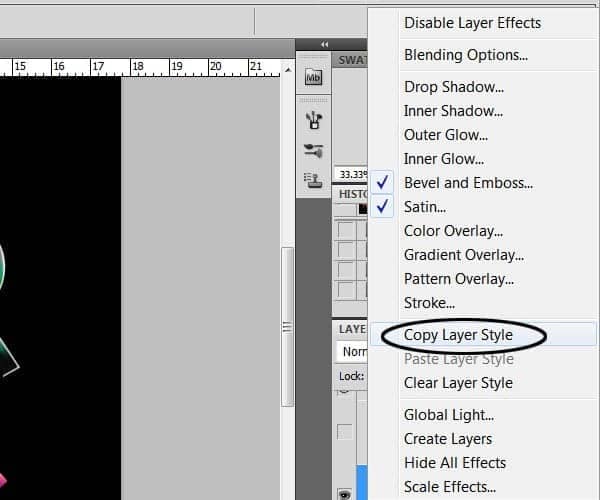
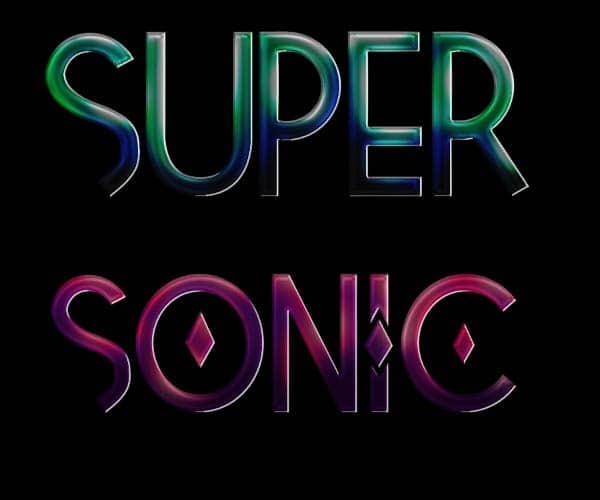
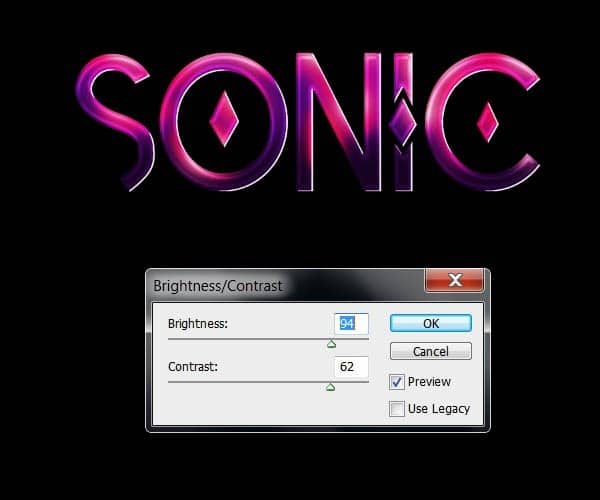
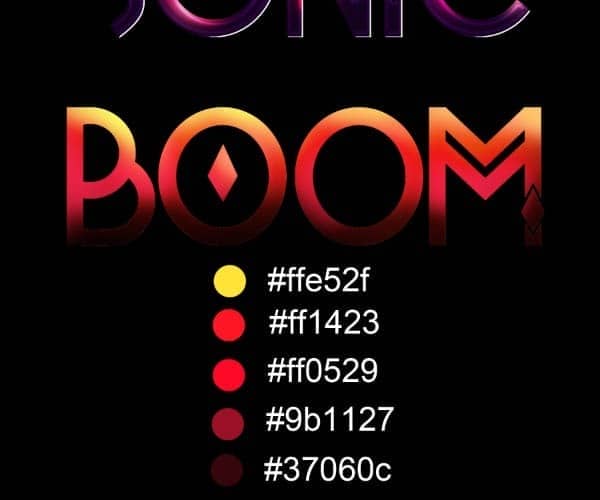
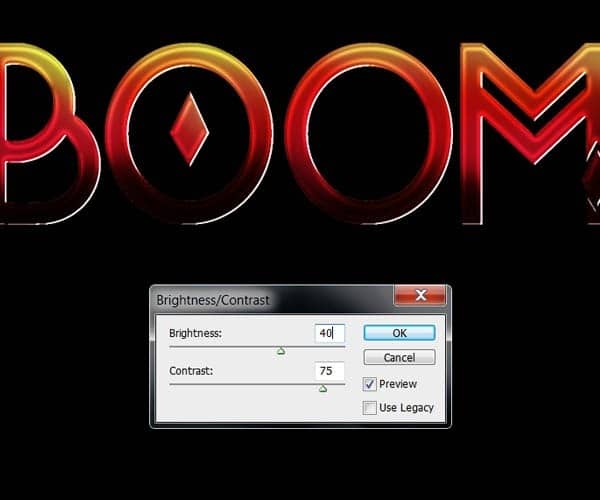
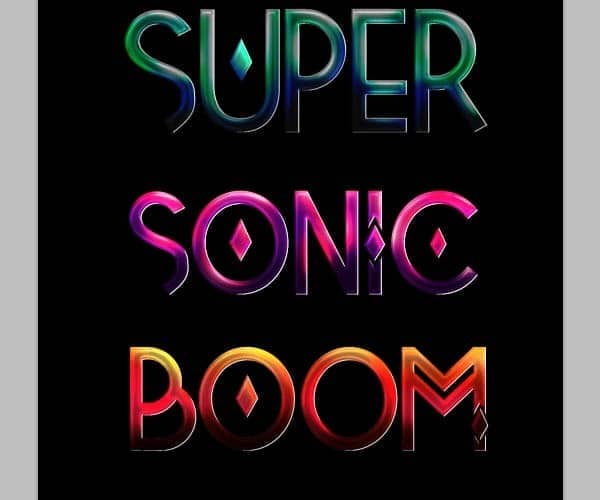
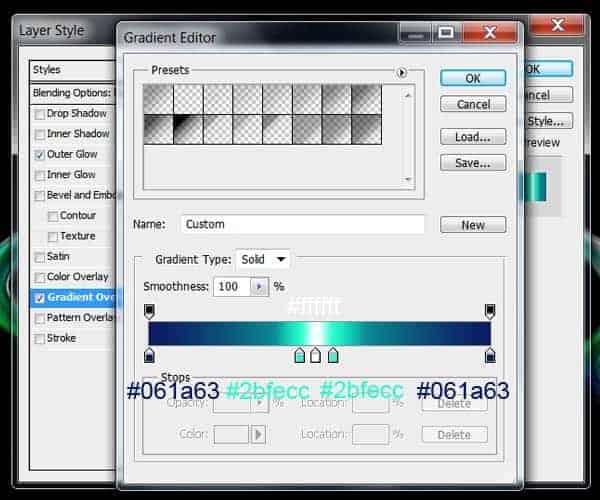
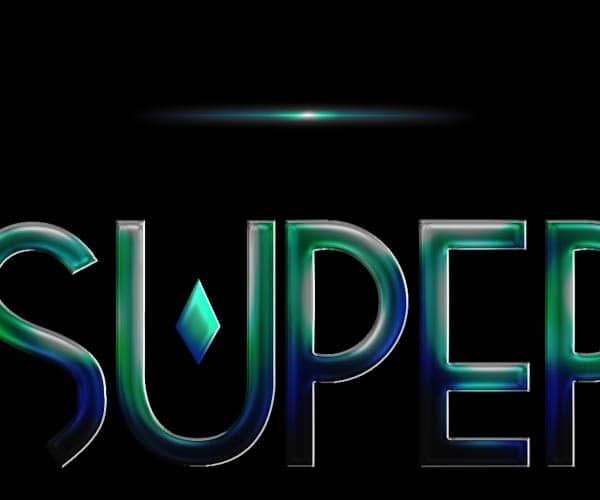
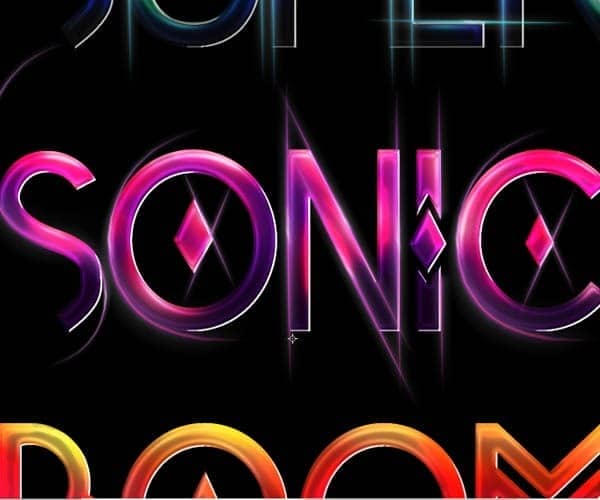
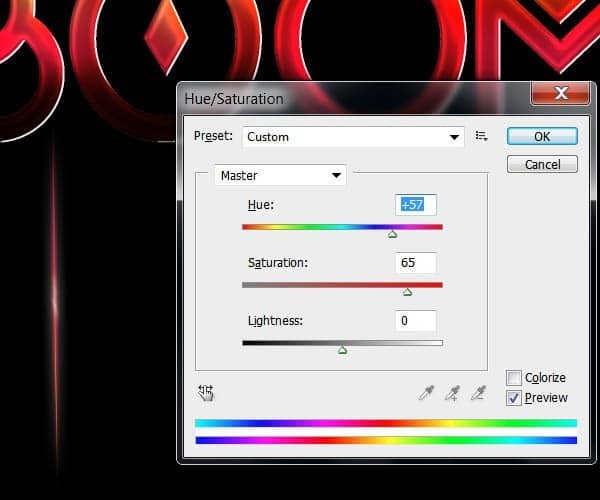
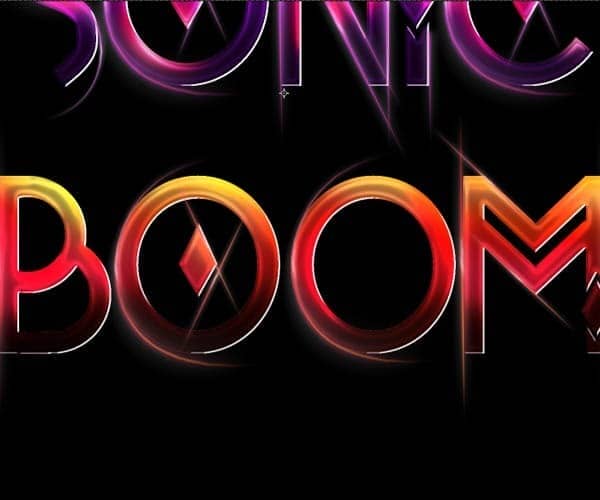
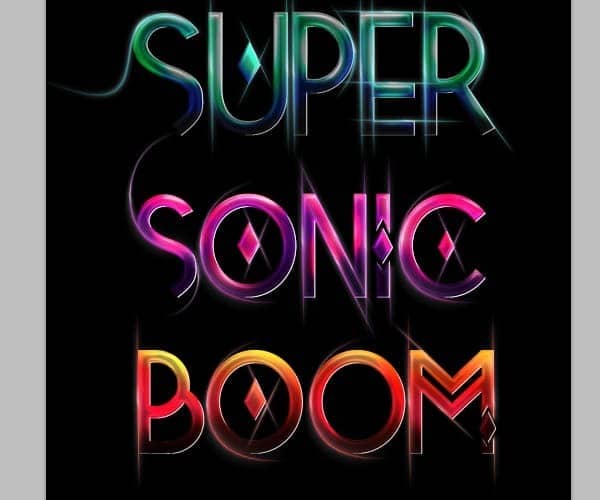
We are basically going to do the same process for the other 2 words. For the second one, I played around with the Tetra font and how the upper case and lower case of the font has different decorations for each letter.


Step 4
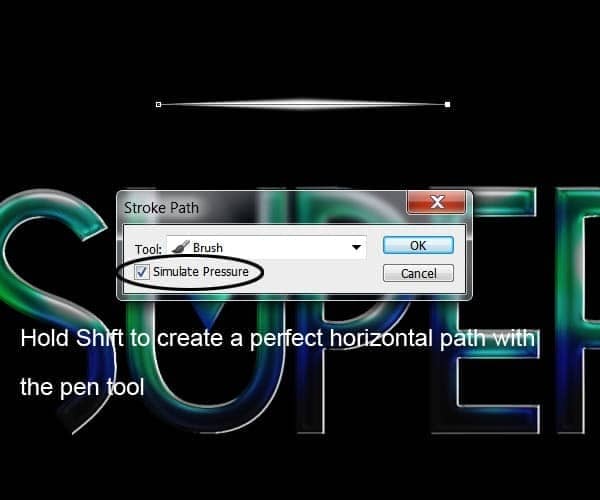
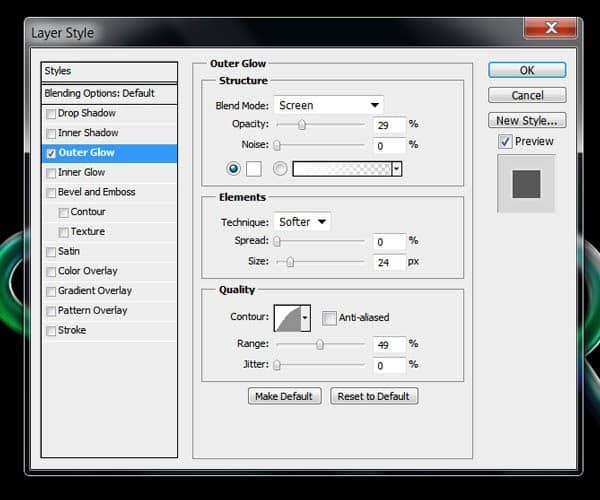
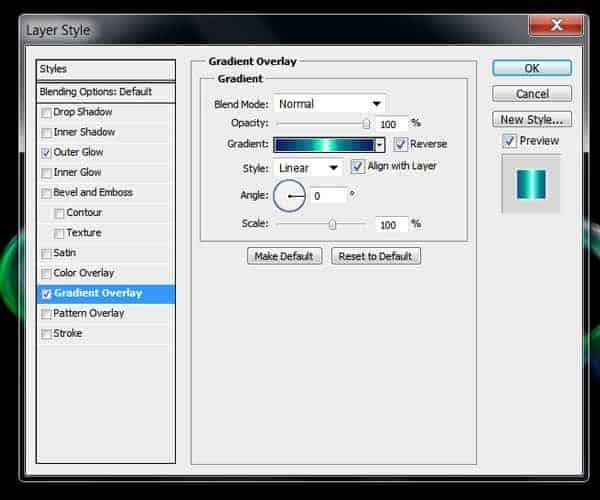
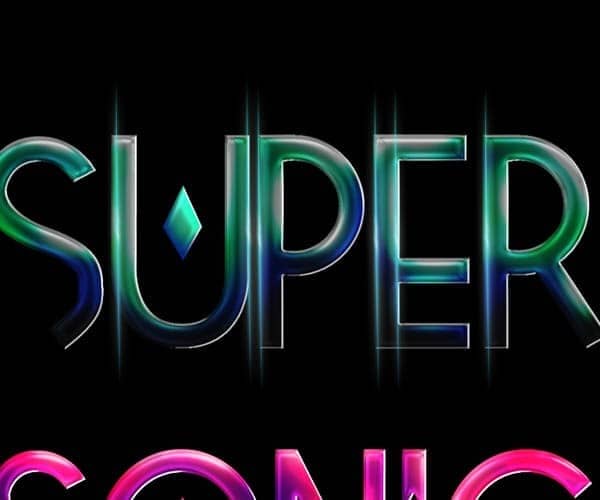
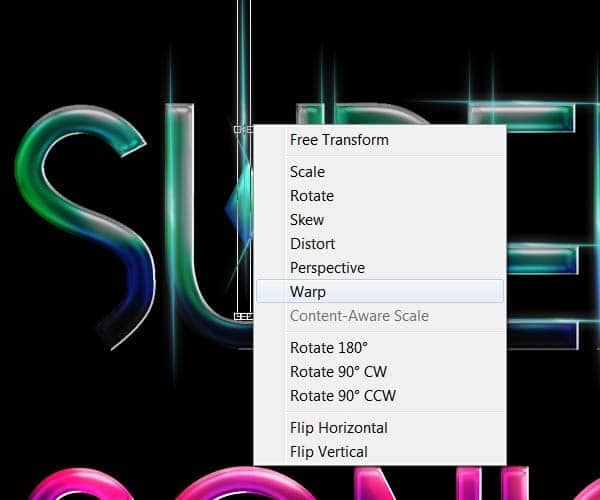
From this step on we are going to add colorful elements to decorate the type. To create the glowing lines, first, create a new layer, take the brush tool and select a hard brush 100% hardness 100% opacity of about 4px then open up the brushes menu and under the "Shape Dynamics" option, change the control to "Pen Pressure". After adjusting these settings, select the pen tool(P)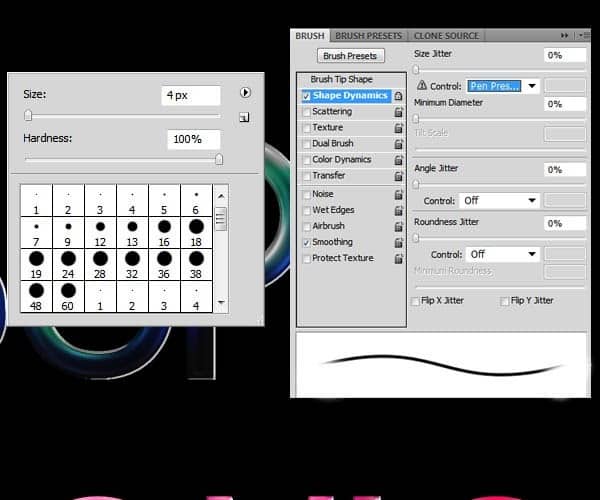

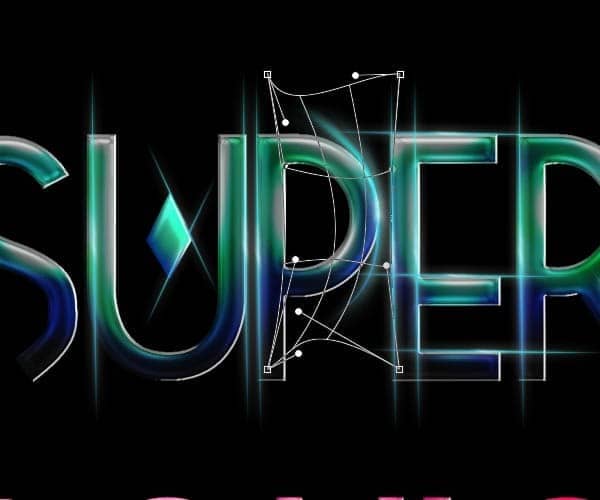
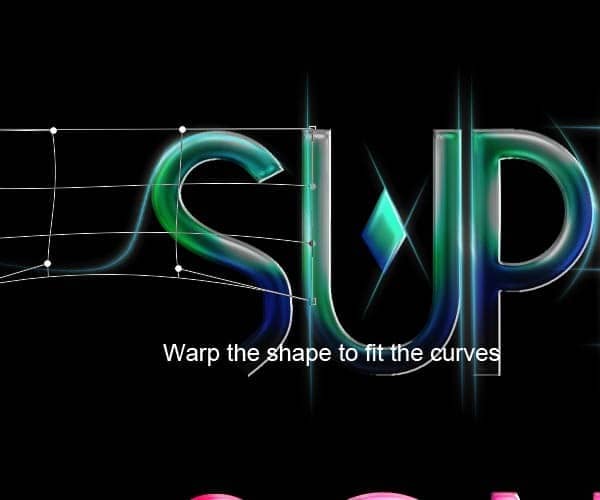
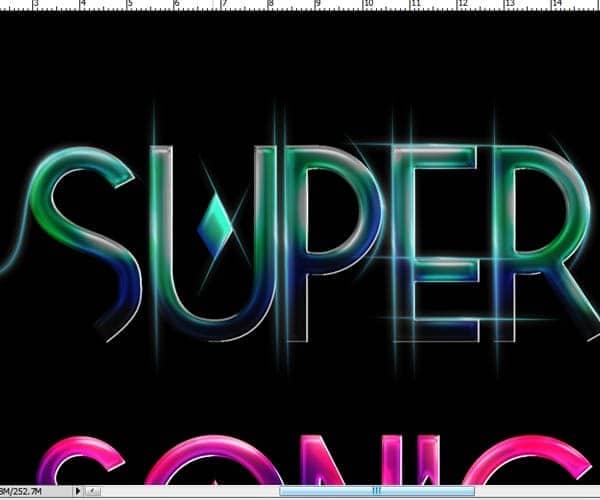
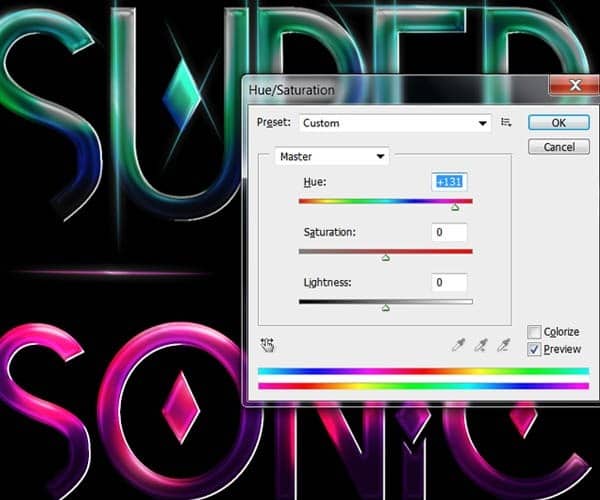
Step 5
For the light flashes under the letters first we need to duplicate the layer of the colored type and place it under the type layer. Go to menu Filter>Blur>Motion blur and set the angle to 0 and the distance to 998.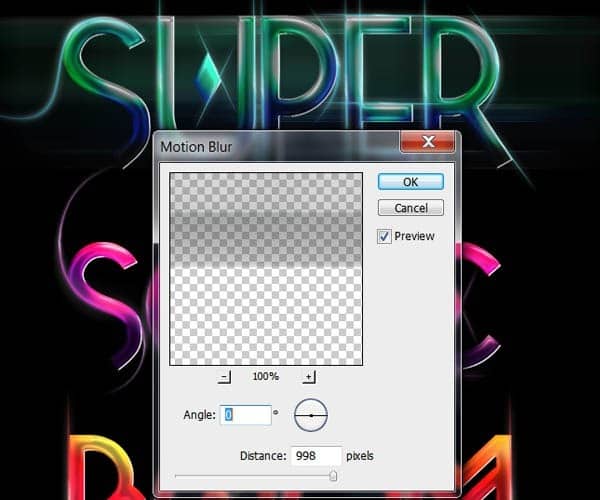


Step 6
For the shines take the brush tool with 0% hardness and a size of about 120px with color white. Create a new layer on top of the type layers and brush little glows on top of every highlight: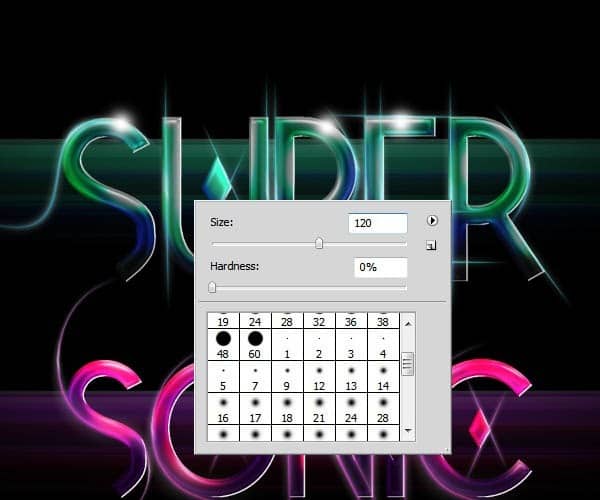

4 comments on “Create a Tetris Tile Text Effect in Photoshop”
Nice nice
Nice nice
Nice
Thank you! I had finished your this tutorial. Beautiful :)