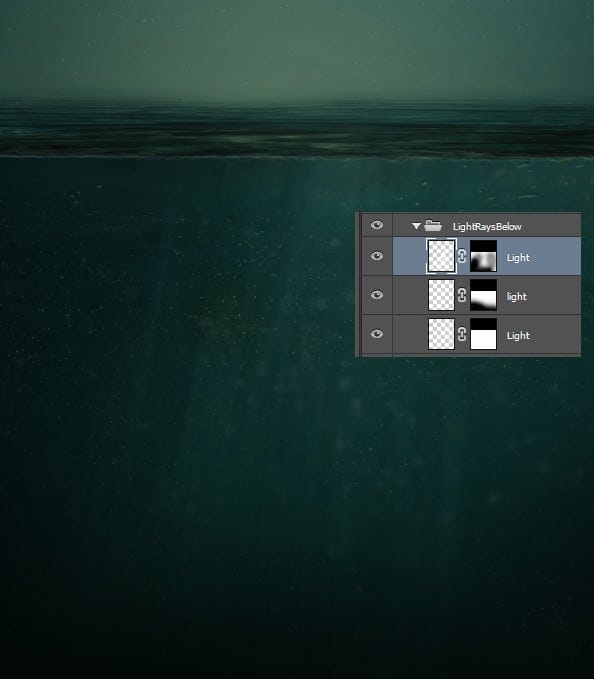
Step 16
Let’s create a sun rising above the horizon. First let’s create the background light emerging from the sun. I used a couple of layers set to different blending modes (Color Dodge, Overlay) with a red and a white brush at 20% Opacity to achieve the effect shown below.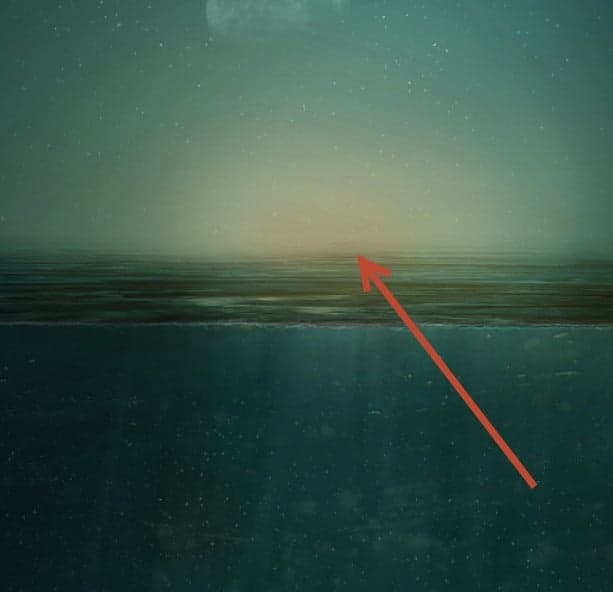
Step 17
Create a new layer and choose the standard round soft brush. Lower the size to 20 px and the opacity to 40%. Click a couple of times in the area indicated below to create the hot center of the sun.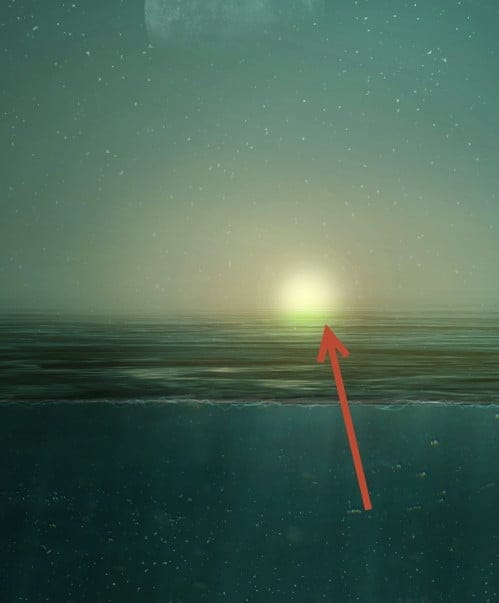
Step 18
On a new layer set to Overlay paint with a light yellow over the surface of the water in front of the sun. This represents the reflection the sun casts over water.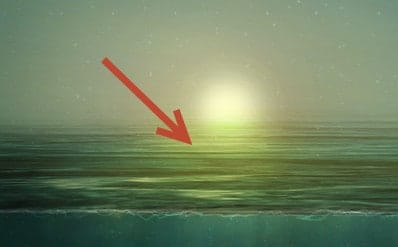
Step 19
Naturally the sun should also affect the upper regions of underwater. Sample a color from the underwater section of our scene (a light blue) and paint with the round soft brush at 10% opacity in the area indicated below.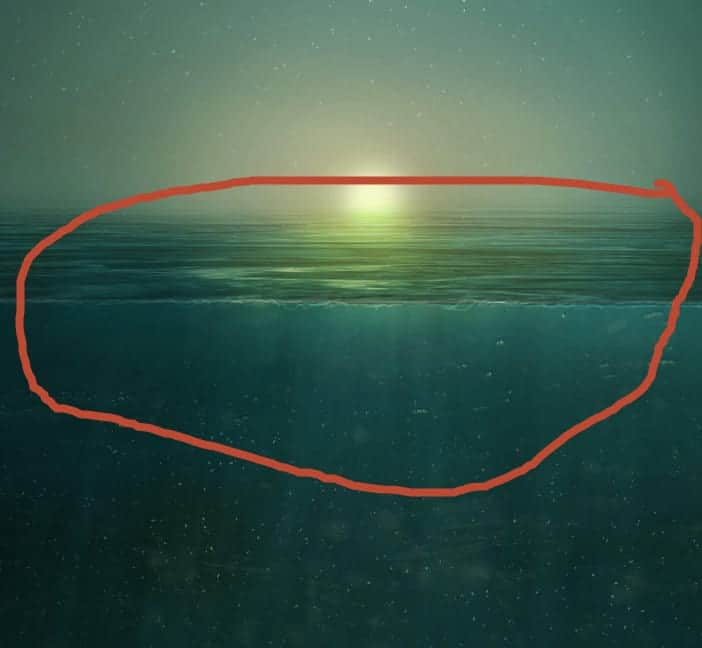
Step 20
No scene is complete without a lens flare so let’s make one. Create a new layer and fill it with black (Shift + F5). Go to Filter > Render > Lens Flare and select 105mm Prime.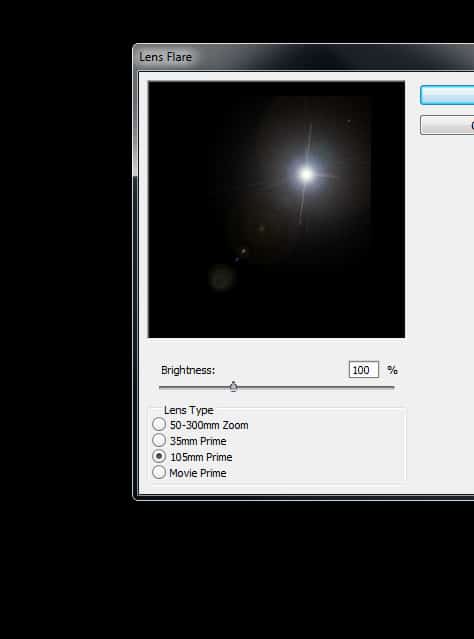
Step 21
Change the blending mode of the lens flare layer to Screen to hide the black color and reveal only the lens flare. Add a layer mask and hide the bright portions leaving only the bottom of the flare.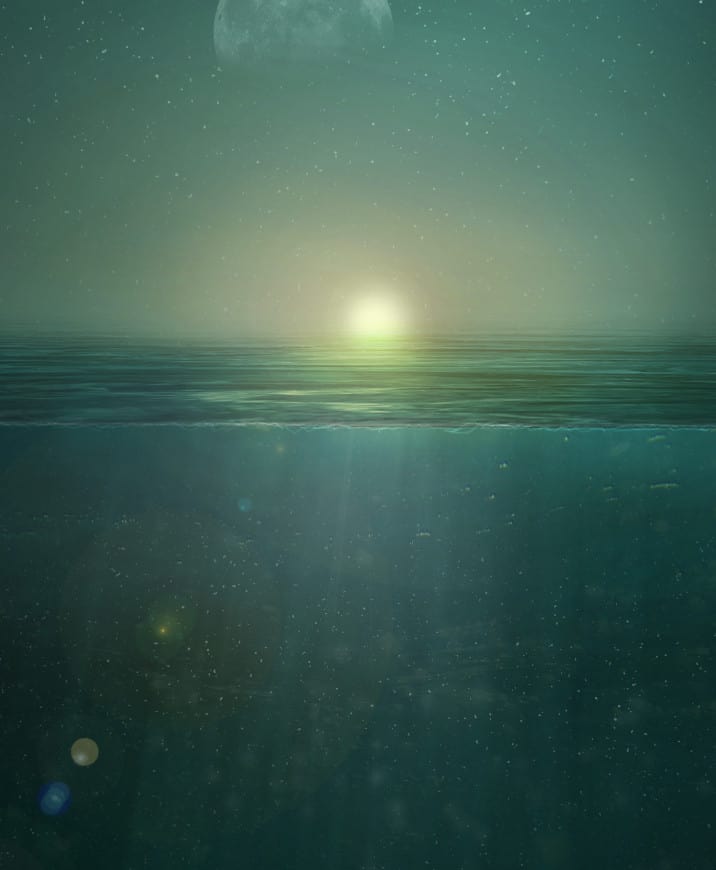
Step 22
The background is done, now it’s time to add the actors in our scene. Let’ start with the usual inhabitants of seas – fish. Open the file “Fish” and make a selection of a fish you like (using the Polygonal Lasso Tool – T). Copy/paste the fish in our scene (and don’t forget to convert into a smart object) and place a fish underwater. Lower the opacity of the fish layer to 13%. Repeat this step 5 or 6 more times but choose different fish and place them at various positions underwater.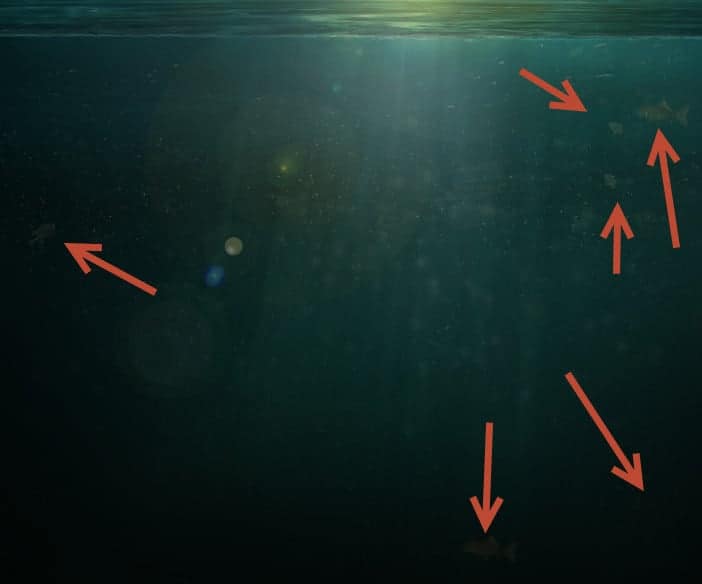
Step 23
Select all the fish layers (hold the Shift key while clicking on each of them) and press Ctrl + G to group. Change the blending mode of the group to Normal and create a Curves Adjustment Layer inside the group (Layer > New Adjustment Layer > Color) with the settings shown below to darken the fish.13 responses to “Create a Troublesome Underwater Scene with a Big Green Monster in Photoshop”
-
Please check, no image. Thanks
-
Uhhm Im tryin’ to figured it out the steps that has no images. Kindly check it? :3 Thaaanks.
-
http://postimg.org/image/vrrpleroz/ I have tried it xd I liked that tut, thanks..
-
It is very good. Easy to follow the steps. Thank you for sharing. Just a shame that the download link does’nt work
-
Wawwww
Nice -
i can’t see some of the images. Can you plz check them again?
Thanks :)
-
Some of the images are not loading. You may want to check the paths
-
Moataz Malinky
-
ITzz Arslan
-
Nice
-
I’m Photoshop beginner :) but I’m gonna try :)
-
u’ll do it :like:
-
i have done :)
-


Leave a Reply