

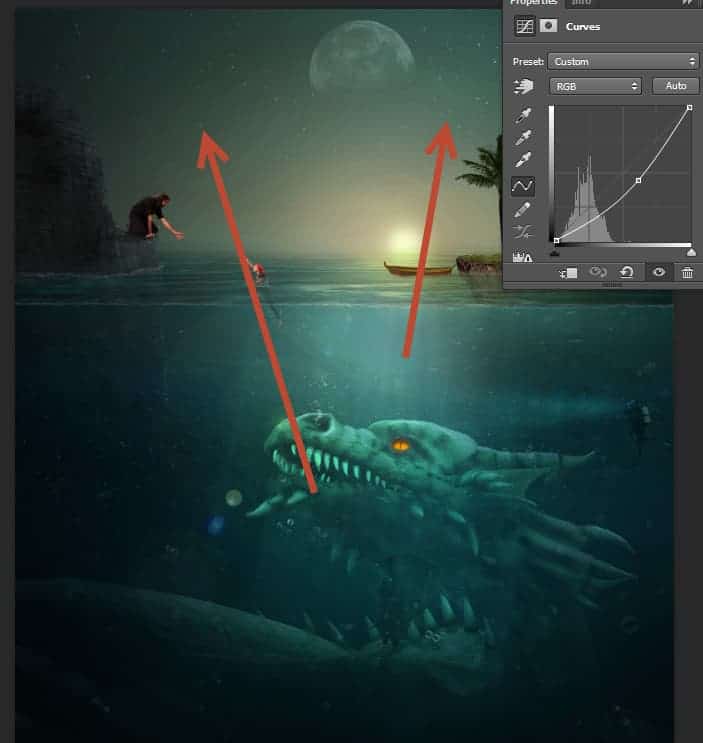
Step 71
Create a Curves Adjustment Layer and use the settings shown below to boost the green colors. Select the Gradient Tool (G) and shift-drag in the layer mask (from top to bottom) to gradually hide the green effect from the sky.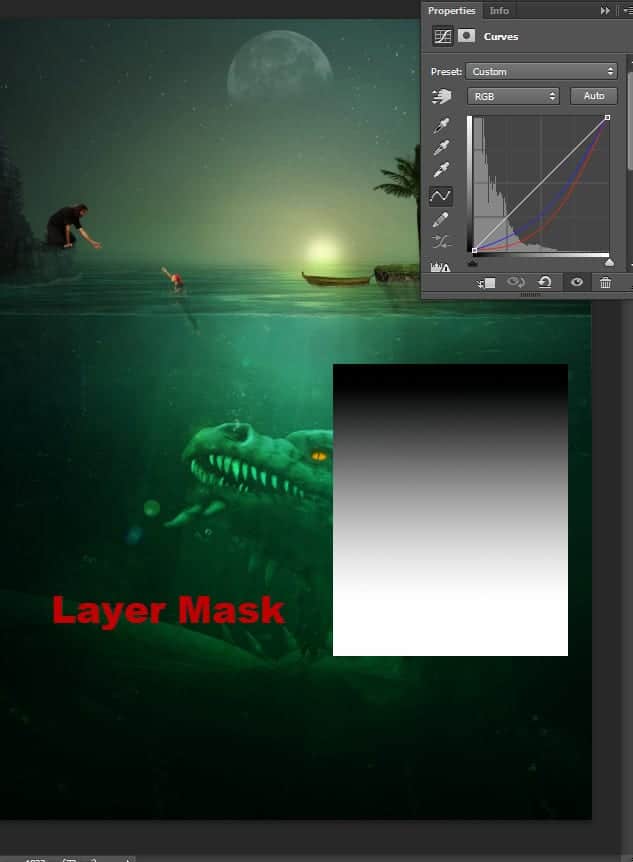
Step 72
Press Ctrl + Shift + Alt + E to create a layer from all the visible layers. Apply a 15px Gaussian Blur () and change the blending mode of this layer to Soft Light. Lower the opacity to 15%. You can see we slightly increase the contrast and achieve a somewhat dreamy effect.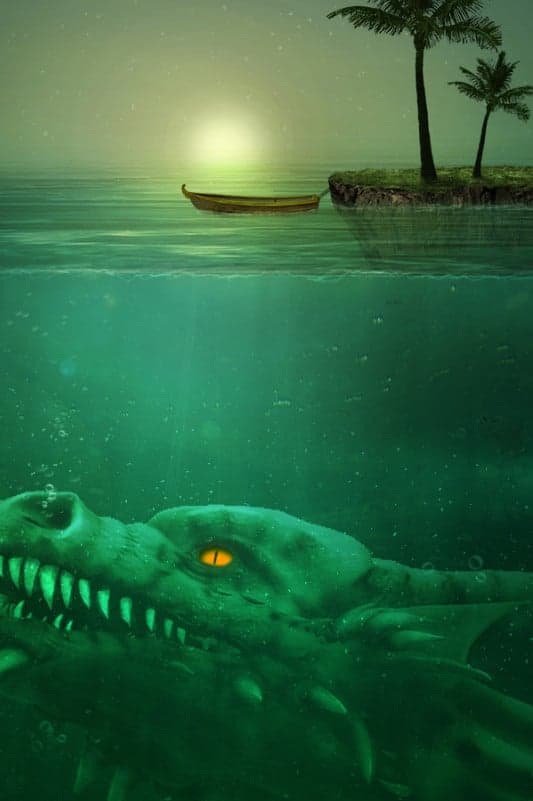
Step 73
Press Ctrl + Shift + Alt + E again to create another layer from all the visible layers but this time apply a sharpening effect ().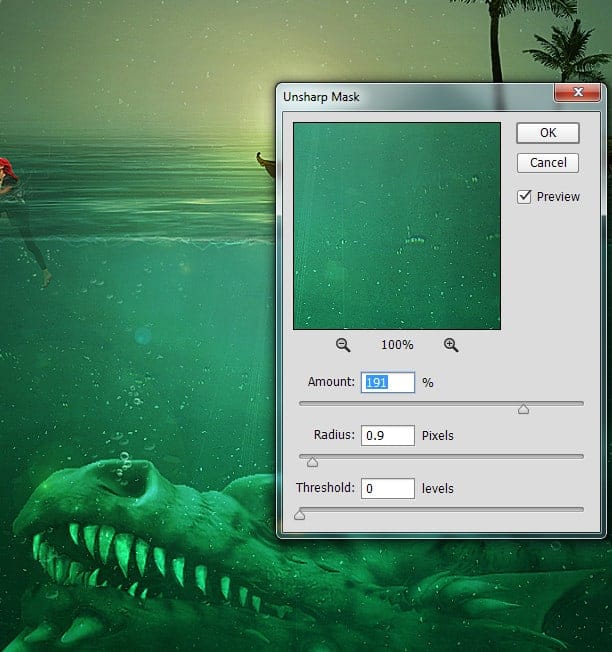
Step 74
This scene look quite good already but the colors are still a bit desaturated. Create a new Photo Filter Adjustment Layer () and use the settings shown below to boost the colors and unify them at the same time.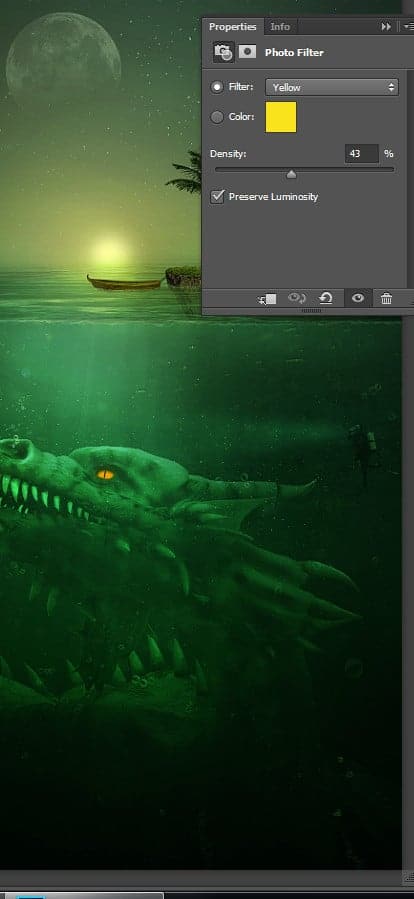
Step 75
Create a new Gradient Map Adjustment Layer () and use the settings shown below. Change the blending mode to Soft Light and lower the opacity to 37%. As you can see the contrast is slightly increase and we have some new warm colors.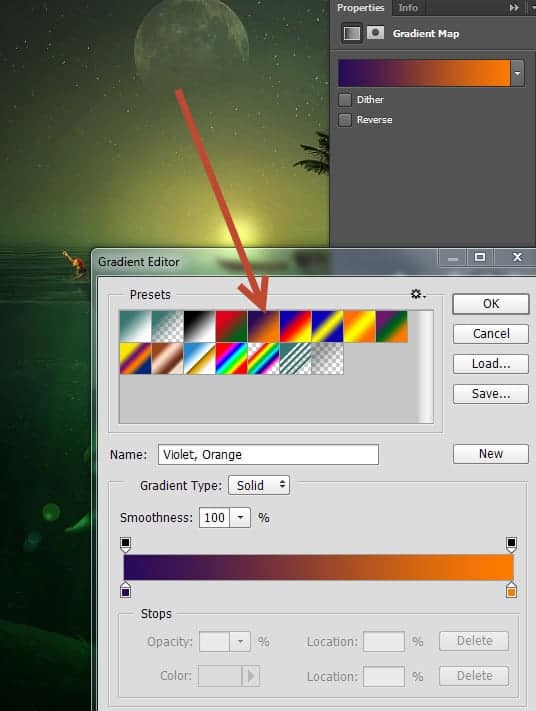
Step 76
Create a Brightness/Contrast Adjustment Layer and increase the Brightness slider to 110. Use the Gradient Tool again in the layer mask to restrict the effect only to the lower region of the scene. By doing so we will put the focus on our underwater dragon.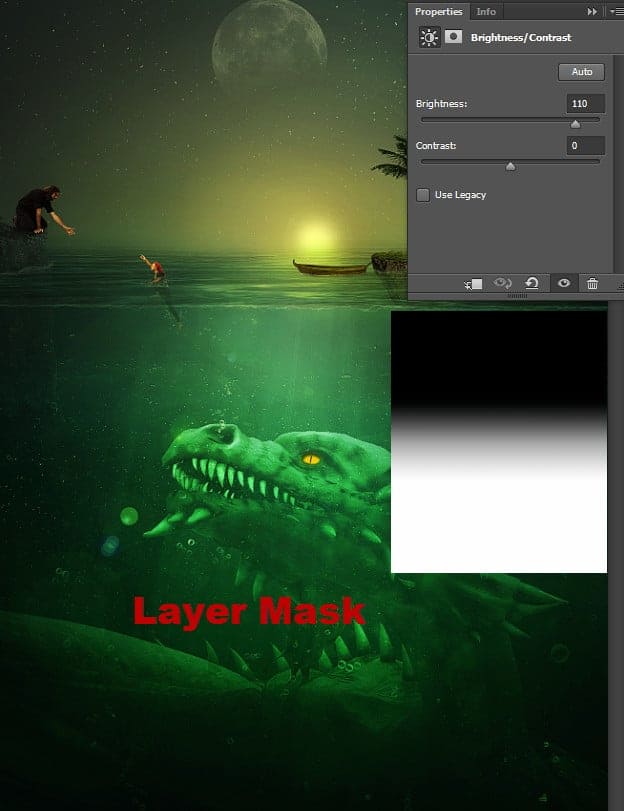
Final Results
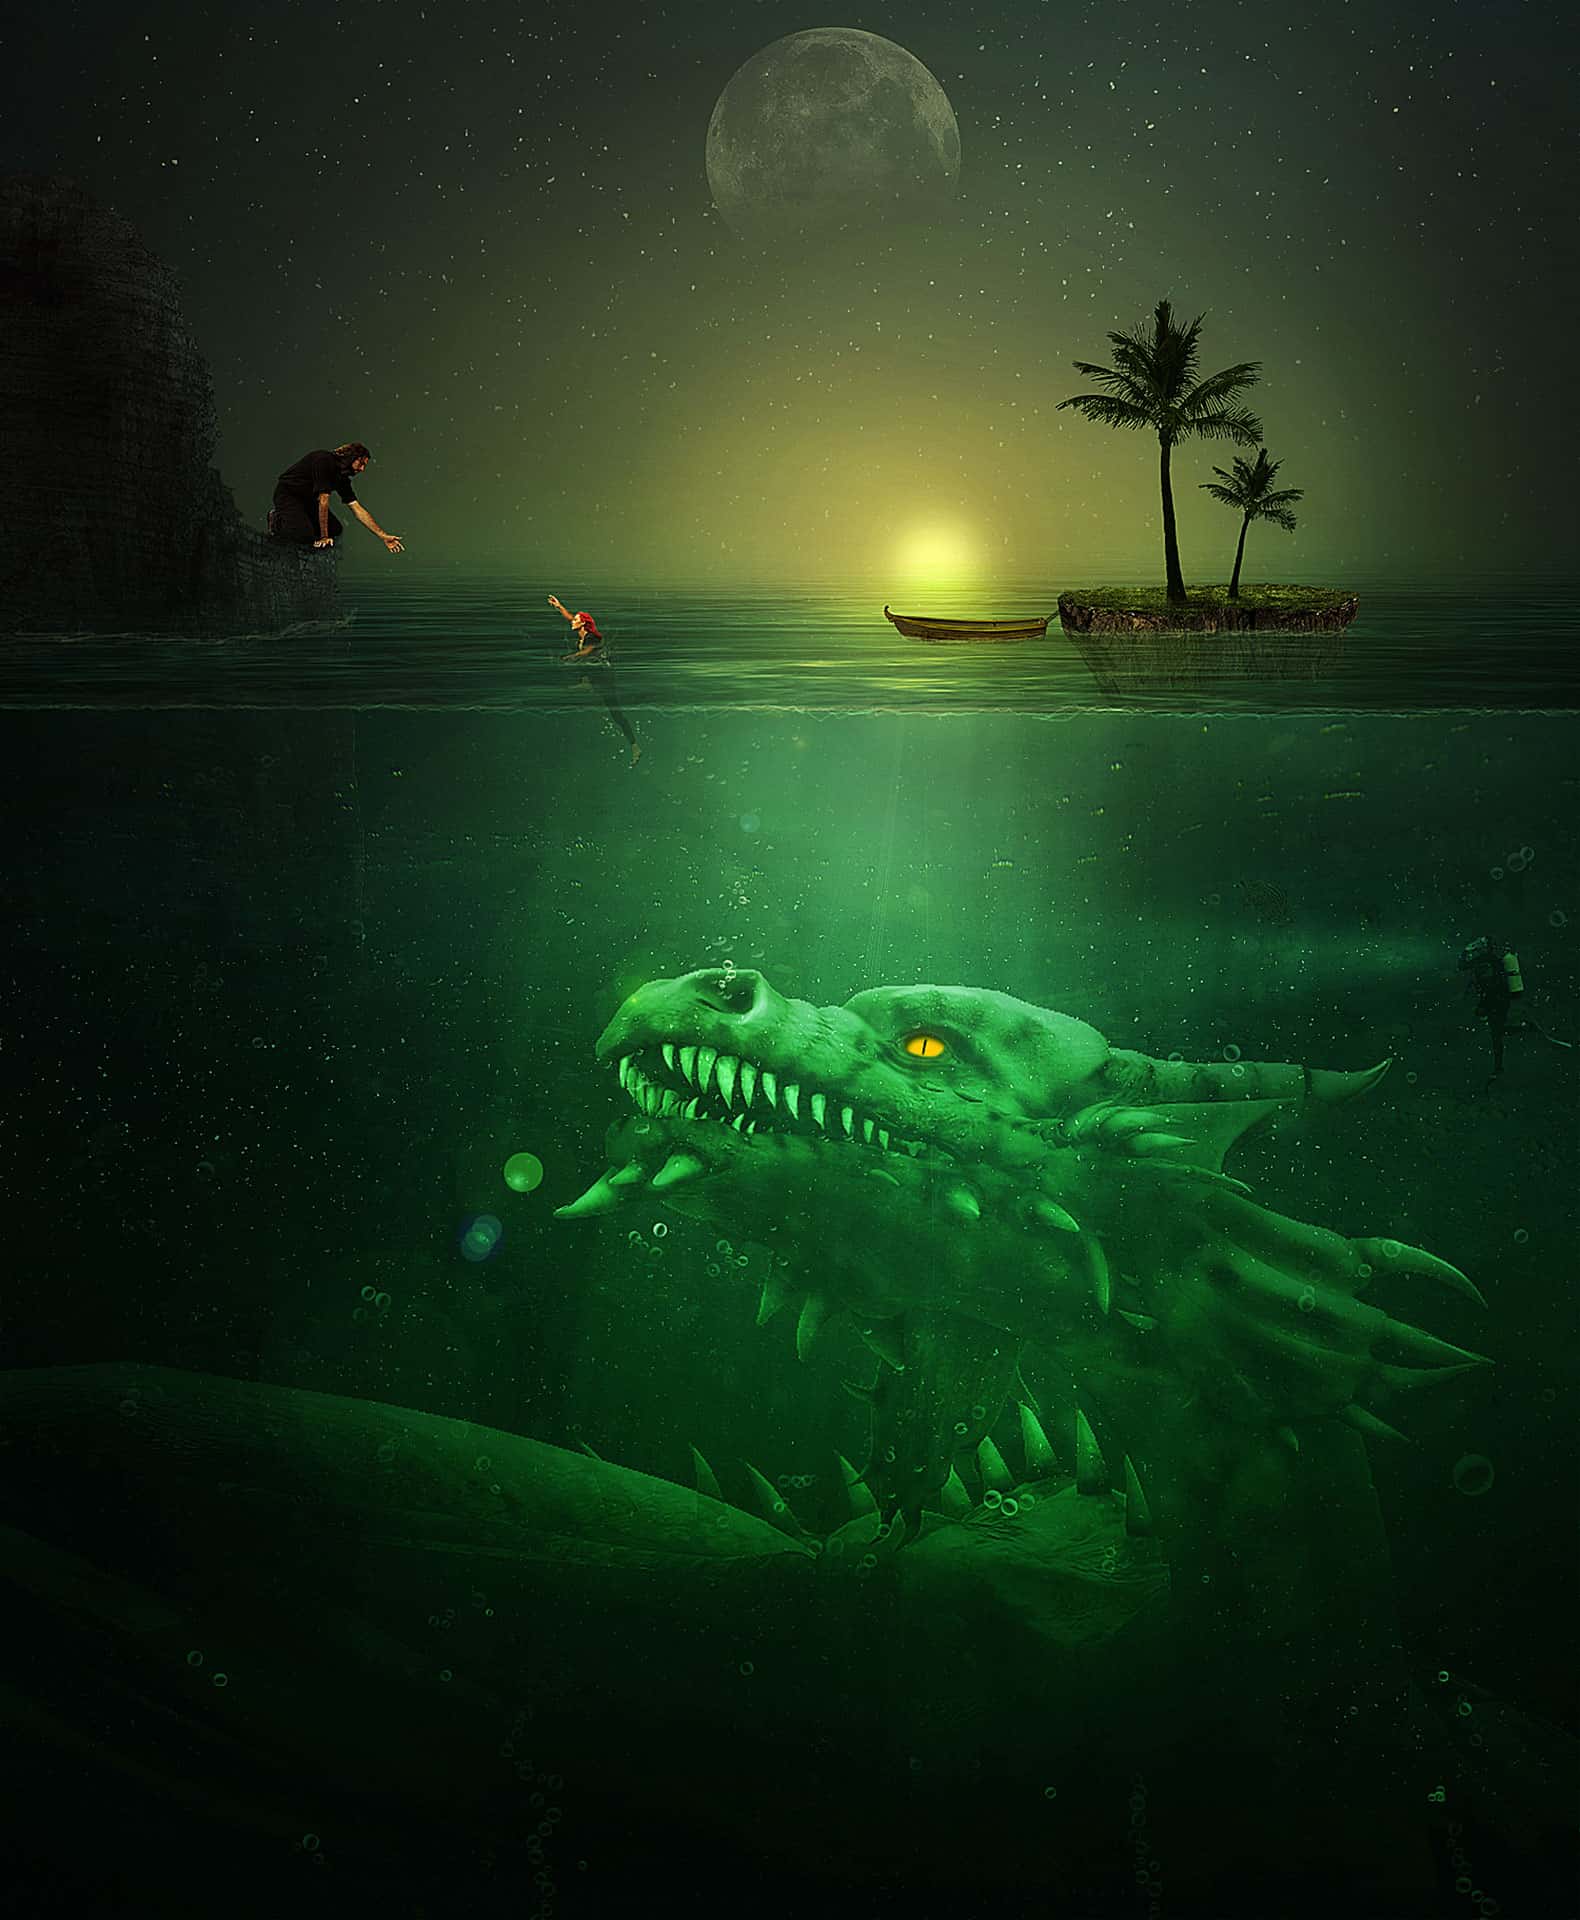
Download the PSD
Green Dragon.zip| 111 MBTutorial by Johan Sandu

End of tutorial


