
Step 59
Create a Curves Adjustment Layer and clip it to the boat layer. Use the settings shown below to lower the brightness of the boat.
Step 60
Create a new layer and use the standard chalk brush to paint a rope connecting the boat to the island.
Step 61
The boat (like the island and the rock) is submerged in the water. Draw some loose white lines where it makes contact with the water to simulate the waves crashing into it.
Step 62
Open the file “Girl”. Make a selection of the girl with the Pen Tool and copy/paste her in our scene. Place the girl just above the dragon’s mouth. Use a layer mask to partially hide the bottom region of the girl where it is submerged underwater.
Step 63
Choose the Bubble brush and paint some subtle bubbles around her leg. Select the standard chalk brush (at 20% Opacity) and paint some splashes around her.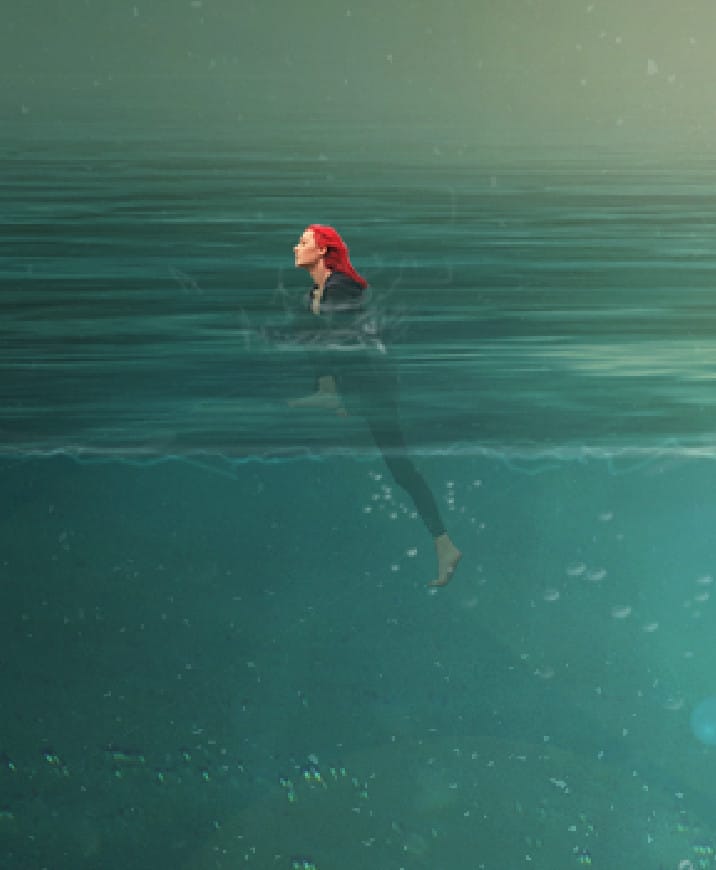
Step 64
Open the file “Hand”. Make a selection of the hand with the Pen Tool and copy/paste in our scene. Move this layer below the girl layer and position it as shown below.
Step 65
Create a Curves Adjustment Layer and clip it to the hand layer. Drag the curve down to darken.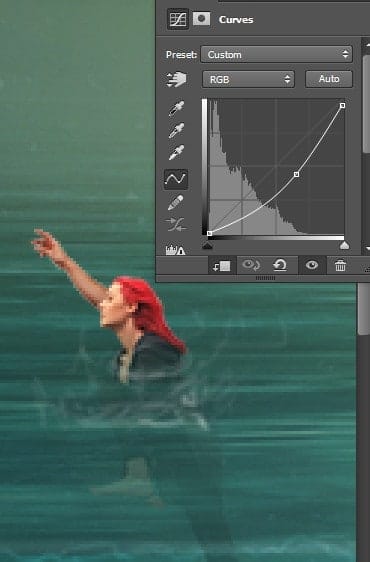
Step 66
Make a new layer and set the blending mode to Overlay. Clip it to the hand layer and paint with a white brush at 10% opacity over the tip of the hand and with black over the base of the hand to set some basic lighting.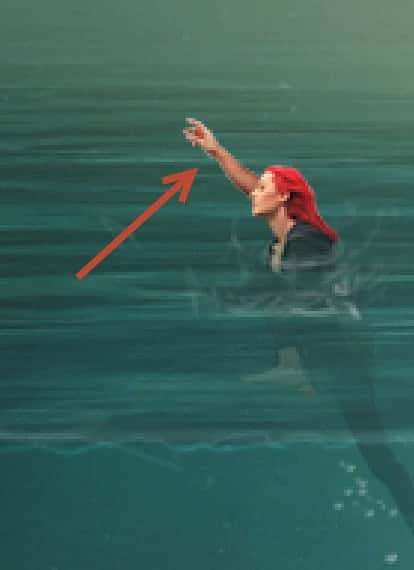
Step 67
Group all the hand layers together and duplicate the group (Ctrl + J). Put the group above the girl layer in the layer palette and position it as shown below. Add a layer mask and hide partially the base of the hand.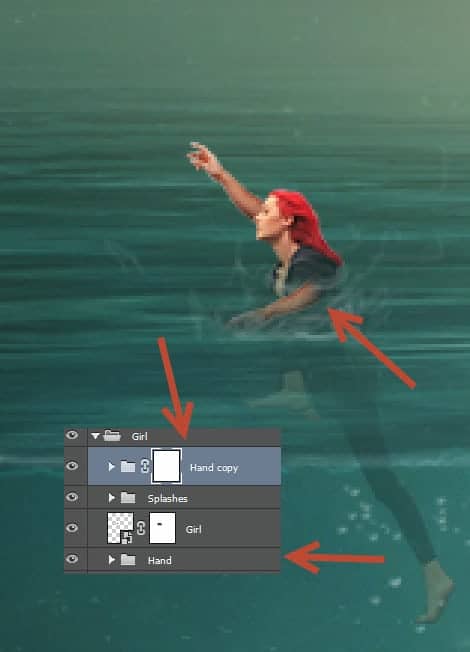
Step 68
It’s time to add the final effects to our scene. Create a new layer and fill it with a light blue color (#377672). Change the blending mode to Soft Light and use a layer mask to restrict the effect only to the underwater region of the scene.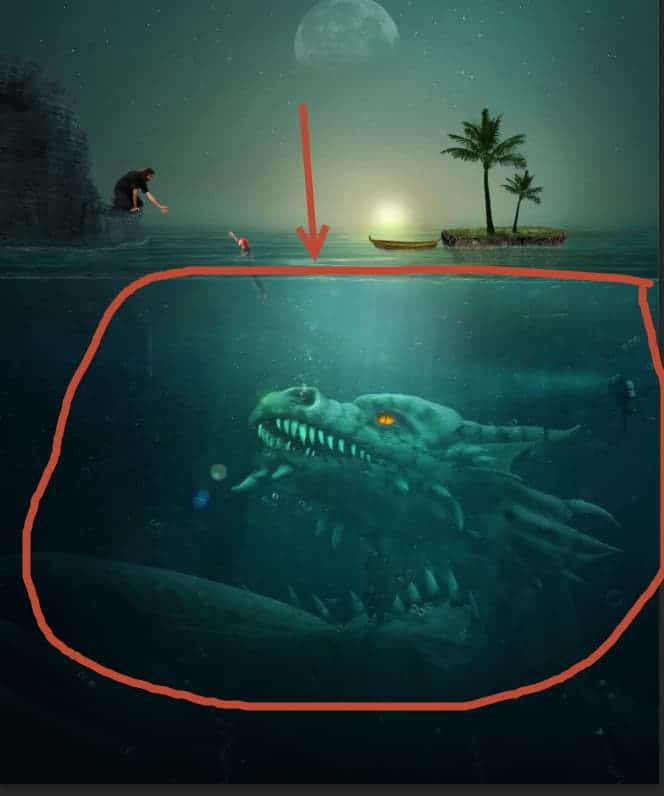
Step 69
Create a Color Balance Adjustment Layer (Layer > New Adjustment Layer > Color Balance) and use the settings shown below to add some warm colors.
Step 70
Create a Curves Adjustment Layer and drag the curve down to darken. Fill the layer mask with black and paint with white only over the upper region of the sky to reveal the effect there.13 responses to “Create a Troublesome Underwater Scene with a Big Green Monster in Photoshop”
-
Please check, no image. Thanks
-
Uhhm Im tryin’ to figured it out the steps that has no images. Kindly check it? :3 Thaaanks.
-
http://postimg.org/image/vrrpleroz/ I have tried it xd I liked that tut, thanks..
-
It is very good. Easy to follow the steps. Thank you for sharing. Just a shame that the download link does’nt work
-
Wawwww
Nice -
i can’t see some of the images. Can you plz check them again?
Thanks :)
-
Some of the images are not loading. You may want to check the paths
-
Moataz Malinky
-
ITzz Arslan
-
Nice
-
I’m Photoshop beginner :) but I’m gonna try :)
-
u’ll do it :like:
-
i have done :)
-


Leave a Reply