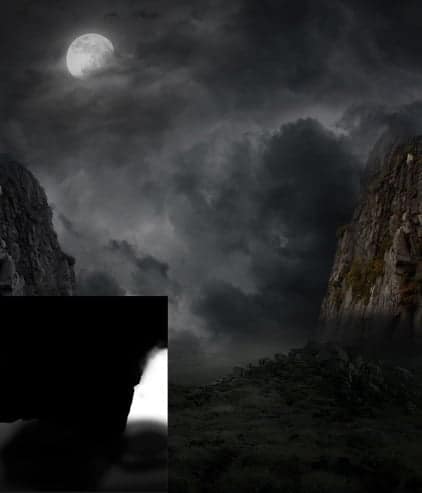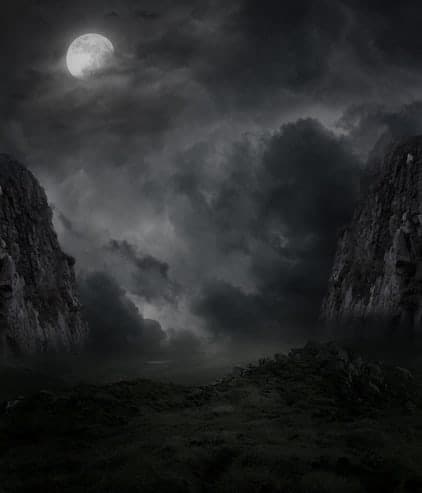
Step 21
Add a layer mask to the this image and grab the soft round black brush then paint it as shown in the image. You can also see the result on layer mask
Step 22
I added a Hue/Saturation and Photo Filter adjustment layer to this mountain image with same setting as applied in step 18. Create clipping mask for these adjustment layers also. You can see the result
Step 23
Now, place the mountain 3 image above the m1 copy mountain.
Step 24
Add a layer mask to it and paint it with soft round black brush. You can see the result on layer mask.
Step 25
Add a Hue/Saturation adjustment layer and clip it then set the set the hue to 0, saturation to -40 and lightness to -81 as shown in the image to blend it properly.
Step 26
Now, duplicate the mountain 2 image then name it m2 copy and place it below the m1 copy.
Step 27
Add a layer mask to this image and select the soft round black brush then paint it shown in the image.
Step 28
Then, place it to the right side as shown in the image.
Step 29
Add a Hue/Saturation and photo filter adjustment layer to blend it properly. Choose color #0b70ed for photo filter and clip both layer to it.

step 30
Here are the result so far.
Step 31
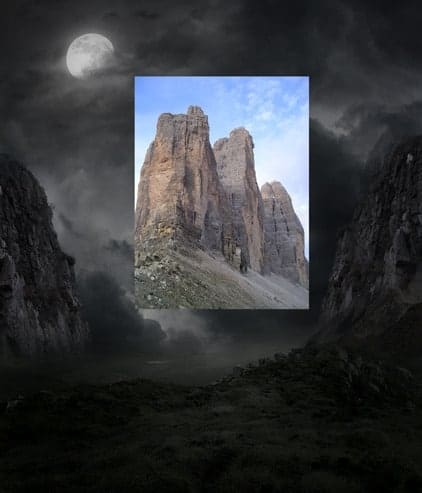
Place the mountain 4 image below the mountain 1 image and scale it so, you get similar result as shown in the image.
Step 32
Add a layer mask to mountain 4 image and hide the blue part by painting on layer mask with soft round black brush.
Step 33
Then set the blend mode to multiply and add a Hue/Saturation adjustment and photo filter to this image then clip it. Choose color #055ae5 for photo filter and set it as shown in the image below.
Step 34
Here are the result.
Step 35
Now, paint shadows on mountains. Arrows indicating that where to paint shadows. Pick a soft round black brush with 30% opacity and flow then start painting the shadow as shown by arrows. Now, select all the mountains layers and group them. Name that group mountains.
Step 36
In this step will create fog so, load the smoke brush and create a new layer by pressing Ctrl+shift+n then paint some fog. I used two layer to make fog. After that select both layer and group them then name it fog.13 responses to “Creepy Lady on a Dark Mountain – Learn How to Create This Composite in Photoshop”
-
Nice work. Thanks for sharing.
-
Awesome post I love it
-
as always, superb tutorial. Thanks!
-
as always, superb tutorial. Thanks!
-
as always, superb tutorial. thanks a lot
-
Nice Tutorial. I always get the best photo manipulation tutorials here… Great going
-
入木三分
-
спасибо за урок!
-
That’s really stunning, Bunty. Great work!
-
hoo
-
Super fotomanipulacja
-
molto interessante impegnativo ma chiaro


Leave a Reply