


Step 6
Now in this step repeat the same process.


Step 7
Add Adjustment Layer “Hue/Saturation” Opacity set to 50%

Step 8
Next, we will open Birds. After you open the image, use Lasso Tool(L) and start selecting around birds. After the selection area has been created, simply copy (Ctrl / Cmd + C) and Paste (Ctrl / Cmd + V) it to our work canvas. Then position the image with the transform tool (Ctrl / Cmd + T). Hold Alt + Shift and resterize like the image below. In Photoshop CC only hold Alt to resterize al sides together.


Opacity set to 40%.
Step 9
Now create a new layer and right-click then Create Clipping Mask. Use Brush Tool(B) Soft Round with foreground color Gray-Blue #8198a6 and paint a little on birds. Flow set to 10%.


Step 10
Now, we will open Raptor. After you open the image, use Lasso Tool(L) and start selecting. After the selection area has been created, simply copy (Ctrl / Cmd + C) and Paste (Ctrl / Cmd + V) it to our work canvas. Then position the image with the transform tool (Ctrl / Cmd + T). Hold Alt + Shift and resterize like the image below. In Photoshop CC only hold Alt to resterize al sides together.


Now, create a layer mask and use a soft round brush tool with the foreground color black. Next start removing the foots like in the image below.

Opacity set to 10%.

Step 11
Now duplicate a Raptor layer (Ctrl/Cmd + J) and create a layer mask. Then use a Soft Round brush tool with a flow of 10% and start painting with black foreground color to reduce the opacity, but the left foot keeps more visible than other body parts.


Select Raptors and put to Group (Ctrl/Cmd + G).

Step 12
Add Adjustment Layer “Color Balance”

Step 13
Add Adjustment Layer “Exposure”

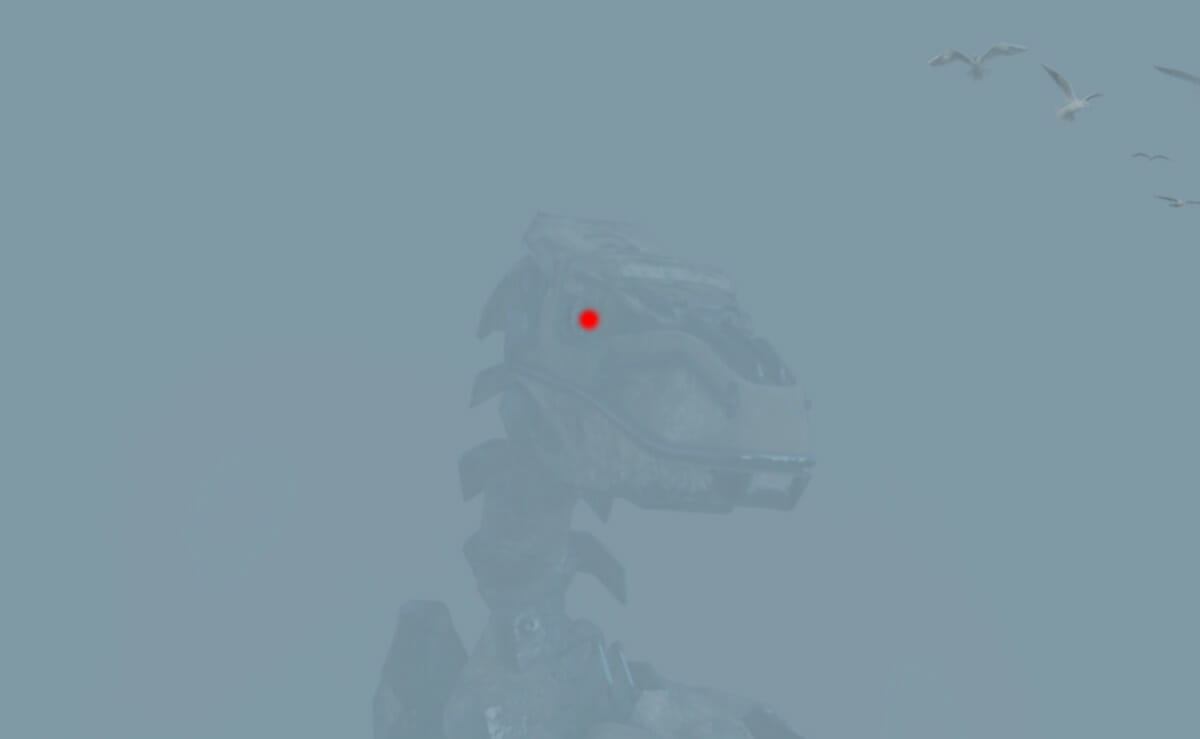
Step 14
Create a new layer and select Soft Round Brush Tool(B) with foreground color red #ff0000 and paint the eye color. Size of brush set to 30px and blend mode change to Color Dodge.
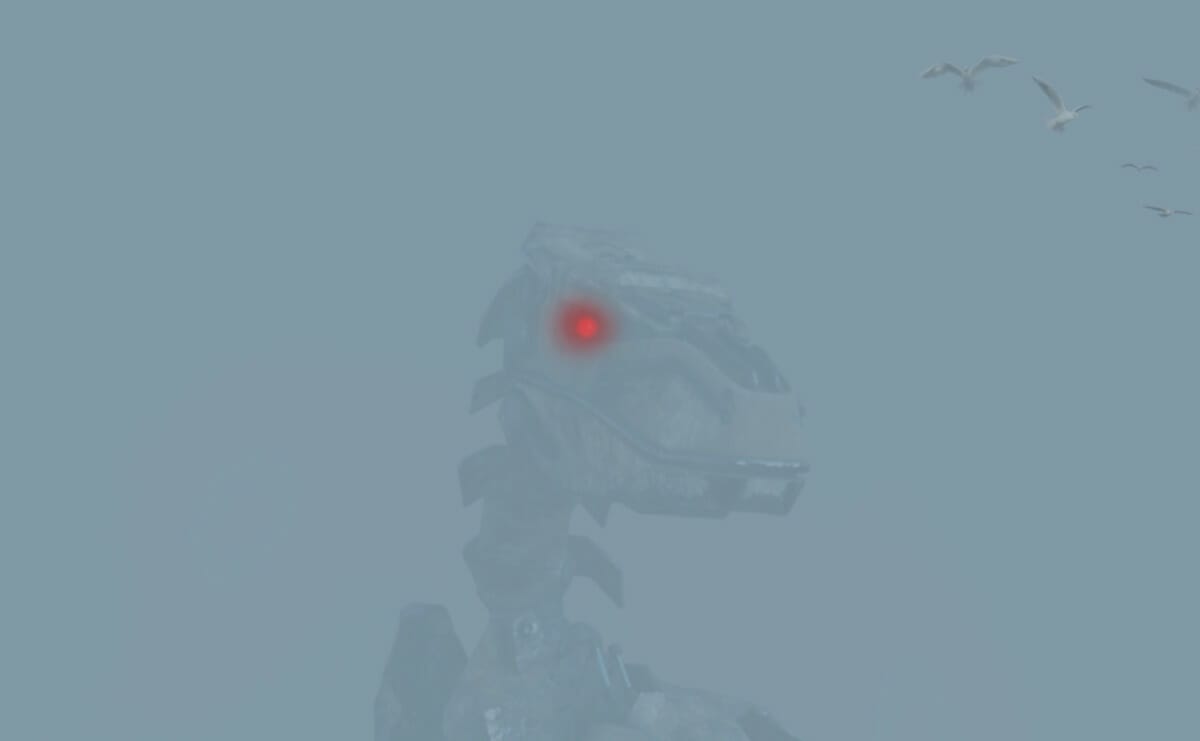
Create another layer and also use Brush Tool with foreground color red but with a little bigger brush size. Flow set to 10% and blend mode change to Linear Dodge (Add).
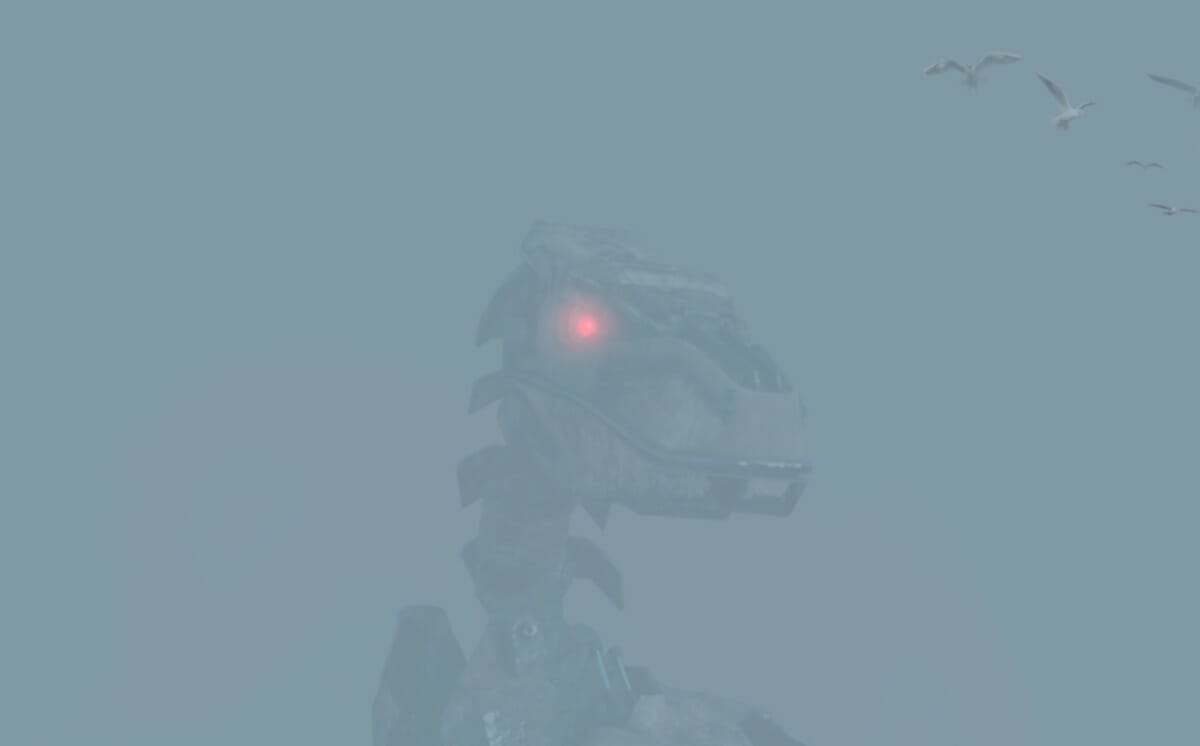
Step 15
Now create more eyes in mist. Use the same technique as in the previous step. Blend mode keeps to Color Dodge mode.
Leave a Reply