Make your artwork look like they're from an alternate universe. These Cyberpunk presets work with Photoshop (via the Camera Raw filter) and Lightroom. Download all 788 presets for 90% off.
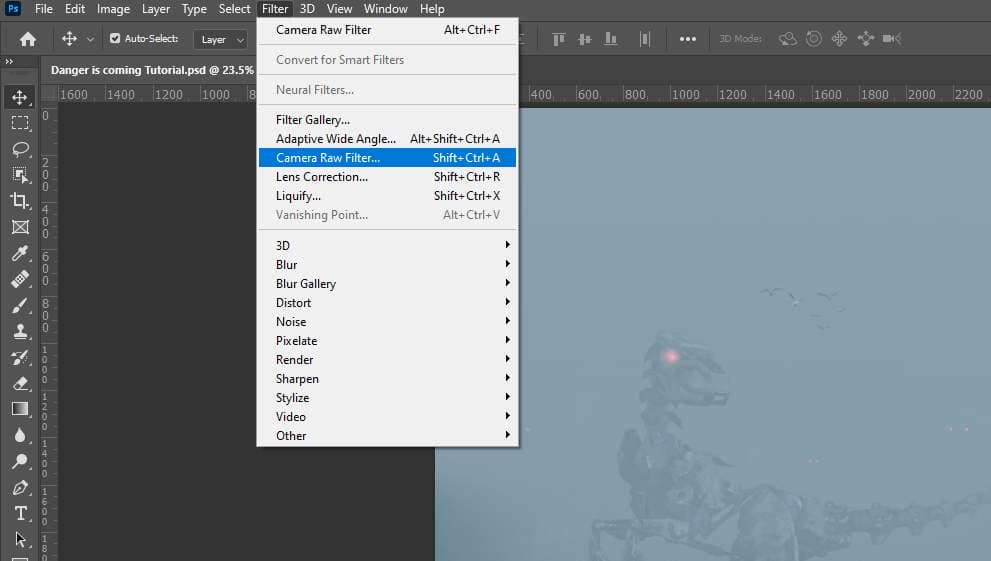
Step 23
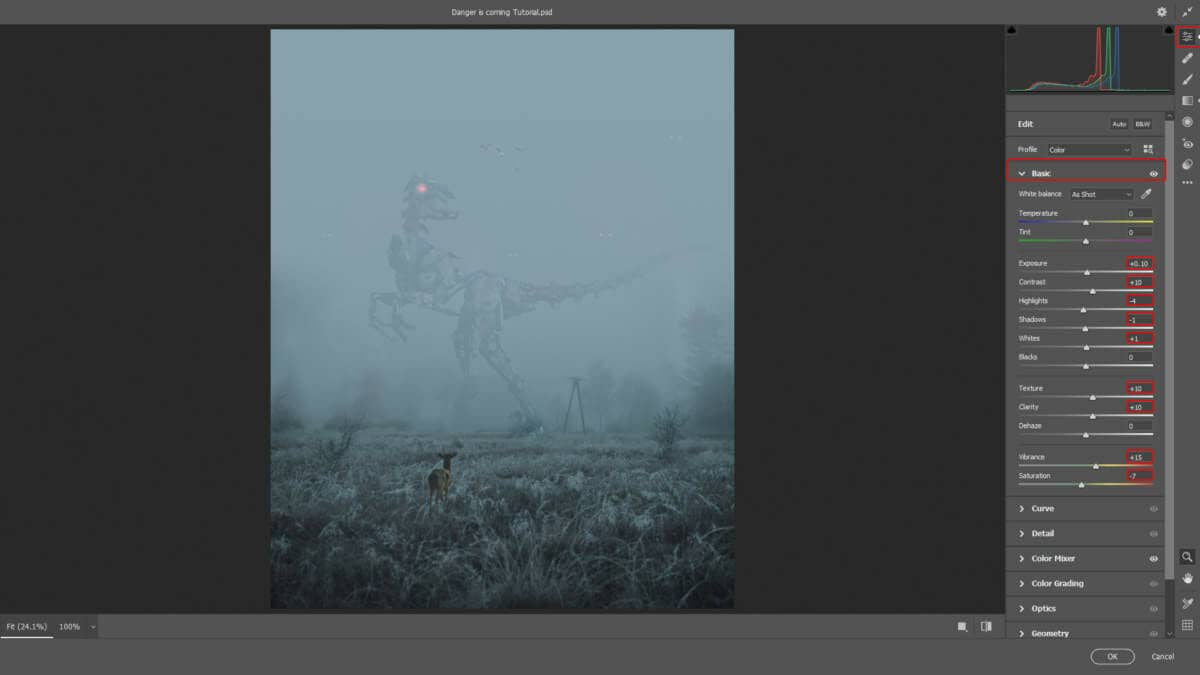
Now in Camera Raw Filter, set the Value: Basic
- Exposure: +0.10
- Contrast: +10
- Highlights: -4
- Shadows: -1
- Whites: +1
- Texture: +10
- Clarity: +10
- Vibrance: +15
- Saturation: -7
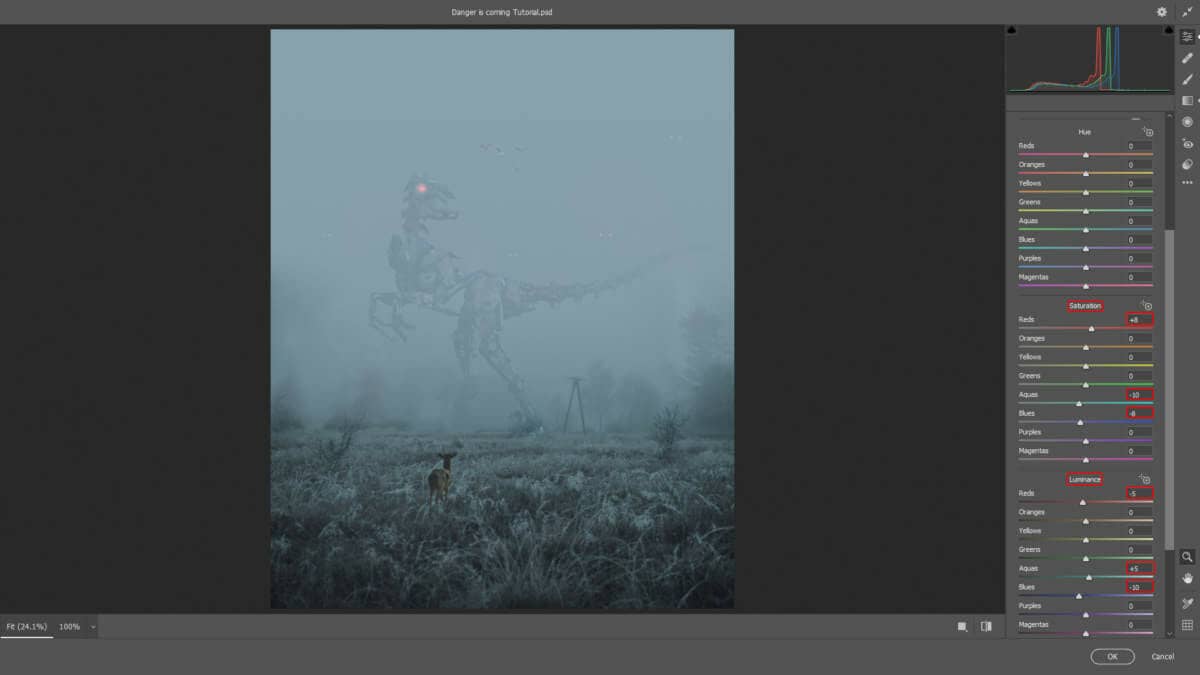
HSL Adjustments
Saturation
- Reds: +8
- Aquas: -10
- Blues: -8
Luminance
- Reds: -5
- Aquas: +5
- Blues: -10
Graduated Filter
- Highlights: +16
- Shadows: +8
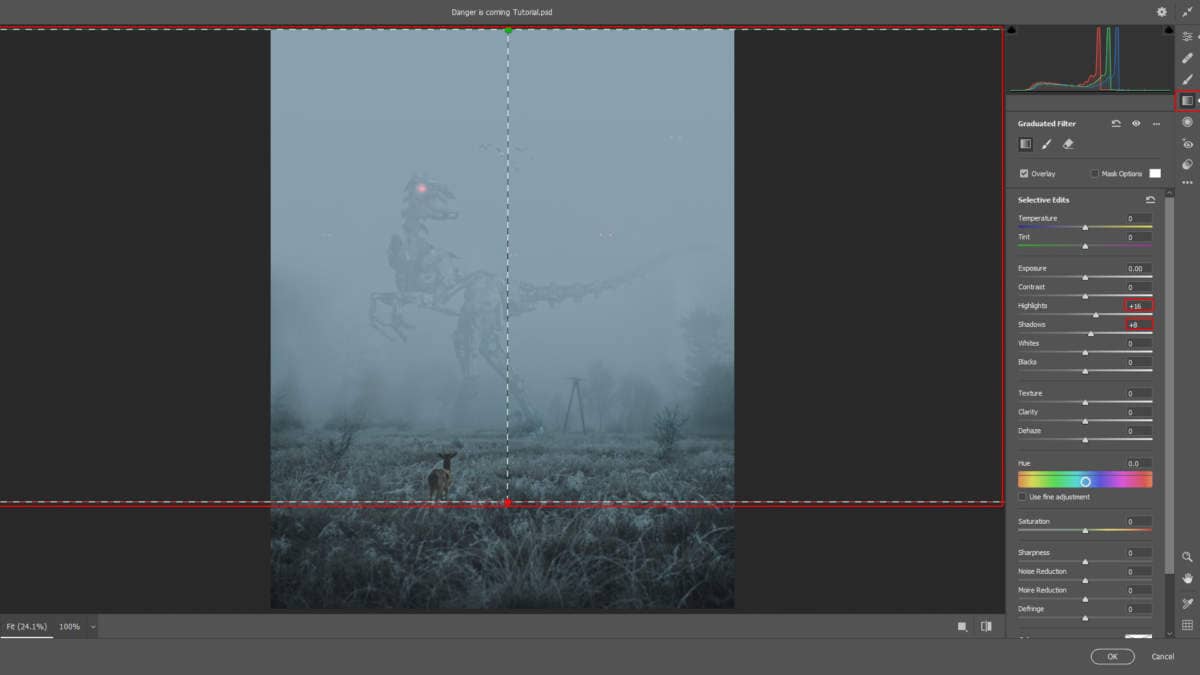
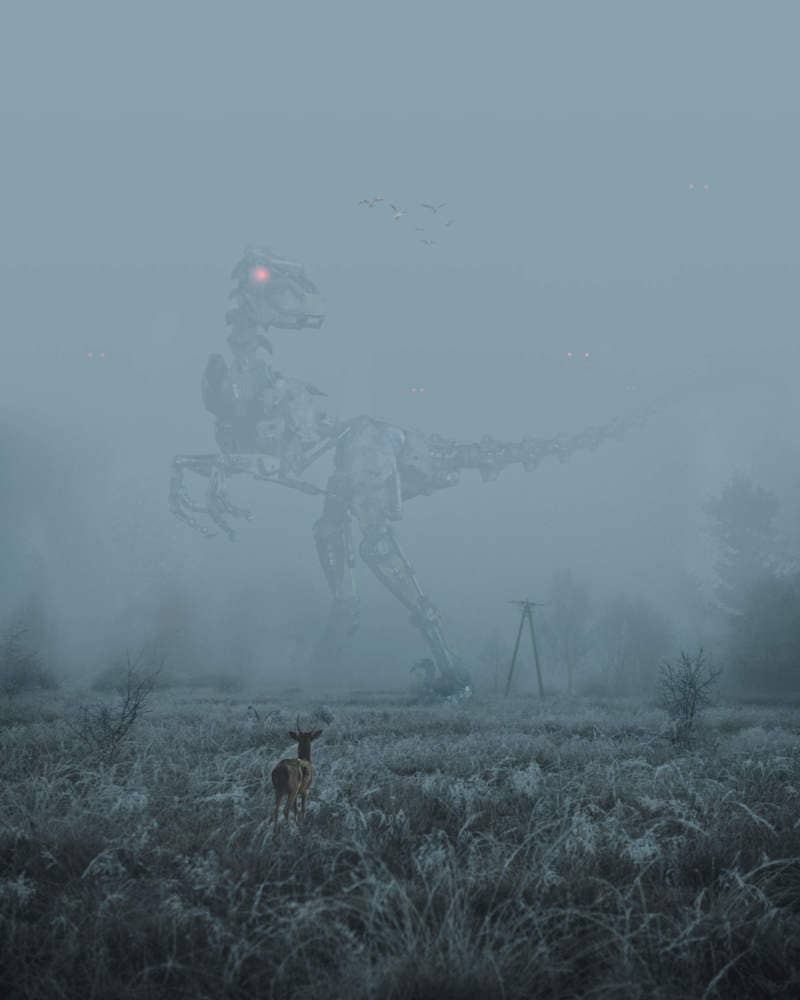
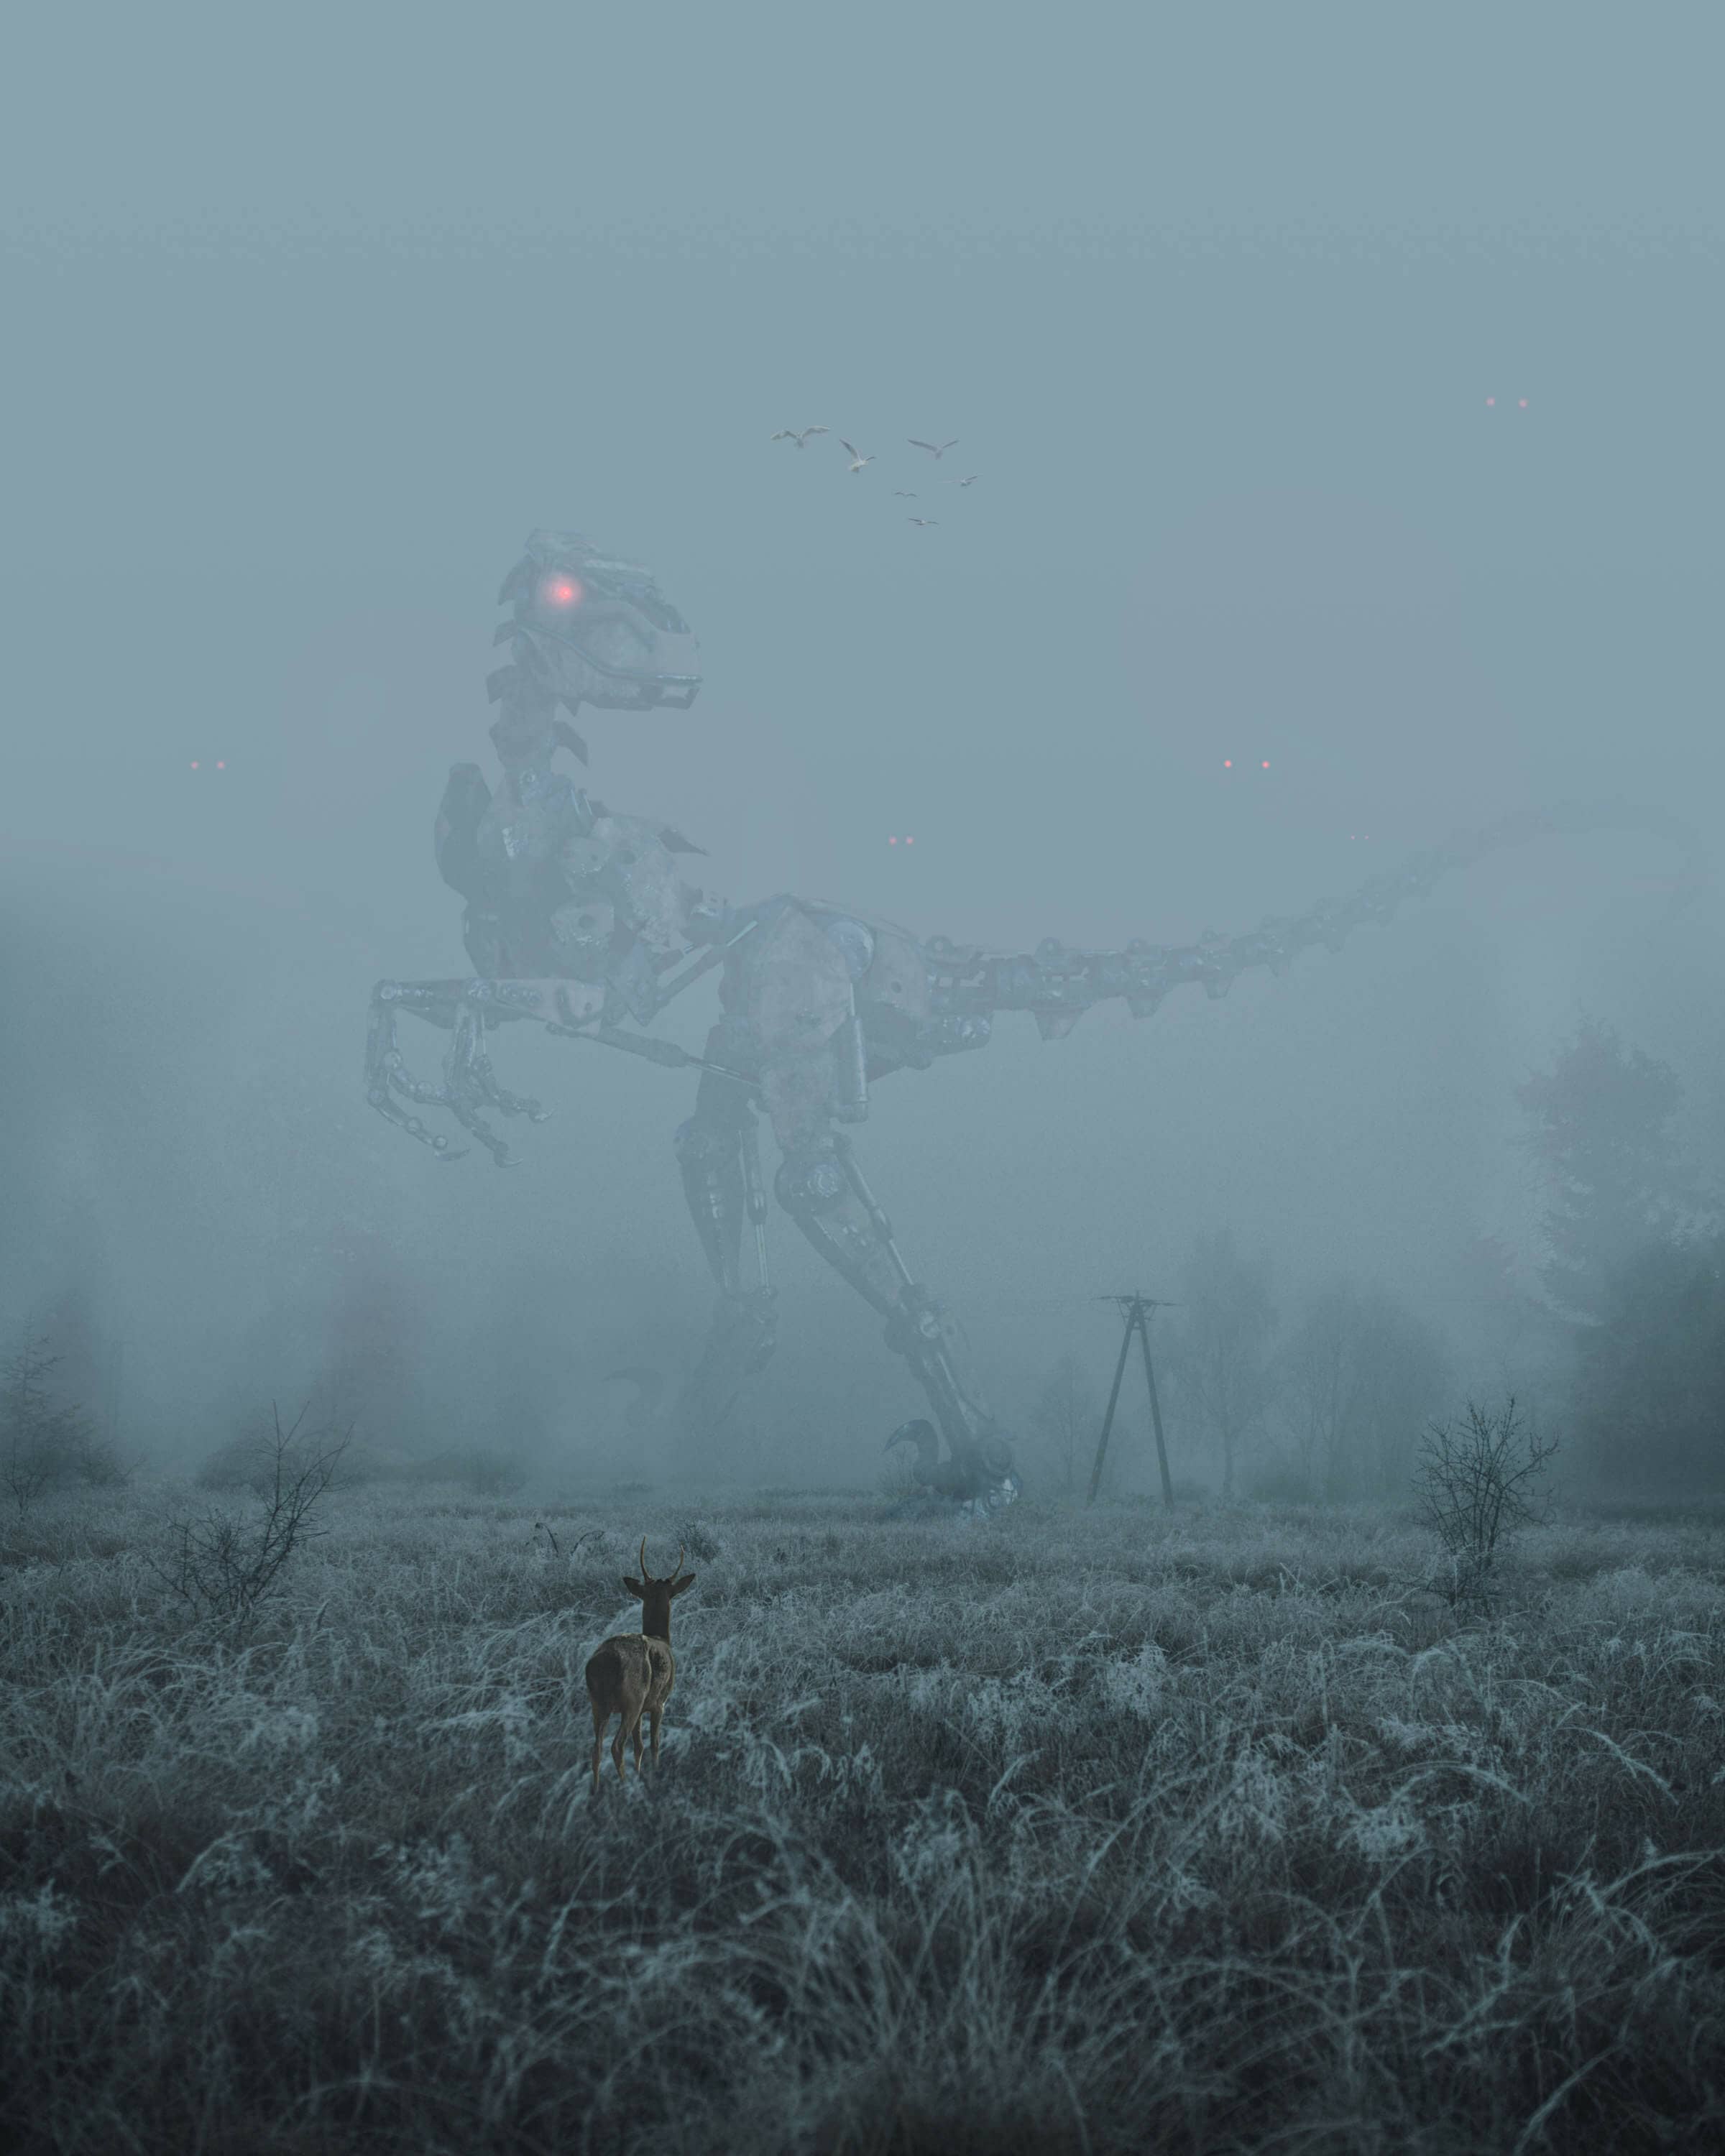
And finally, everything should look like this.

Final Results
