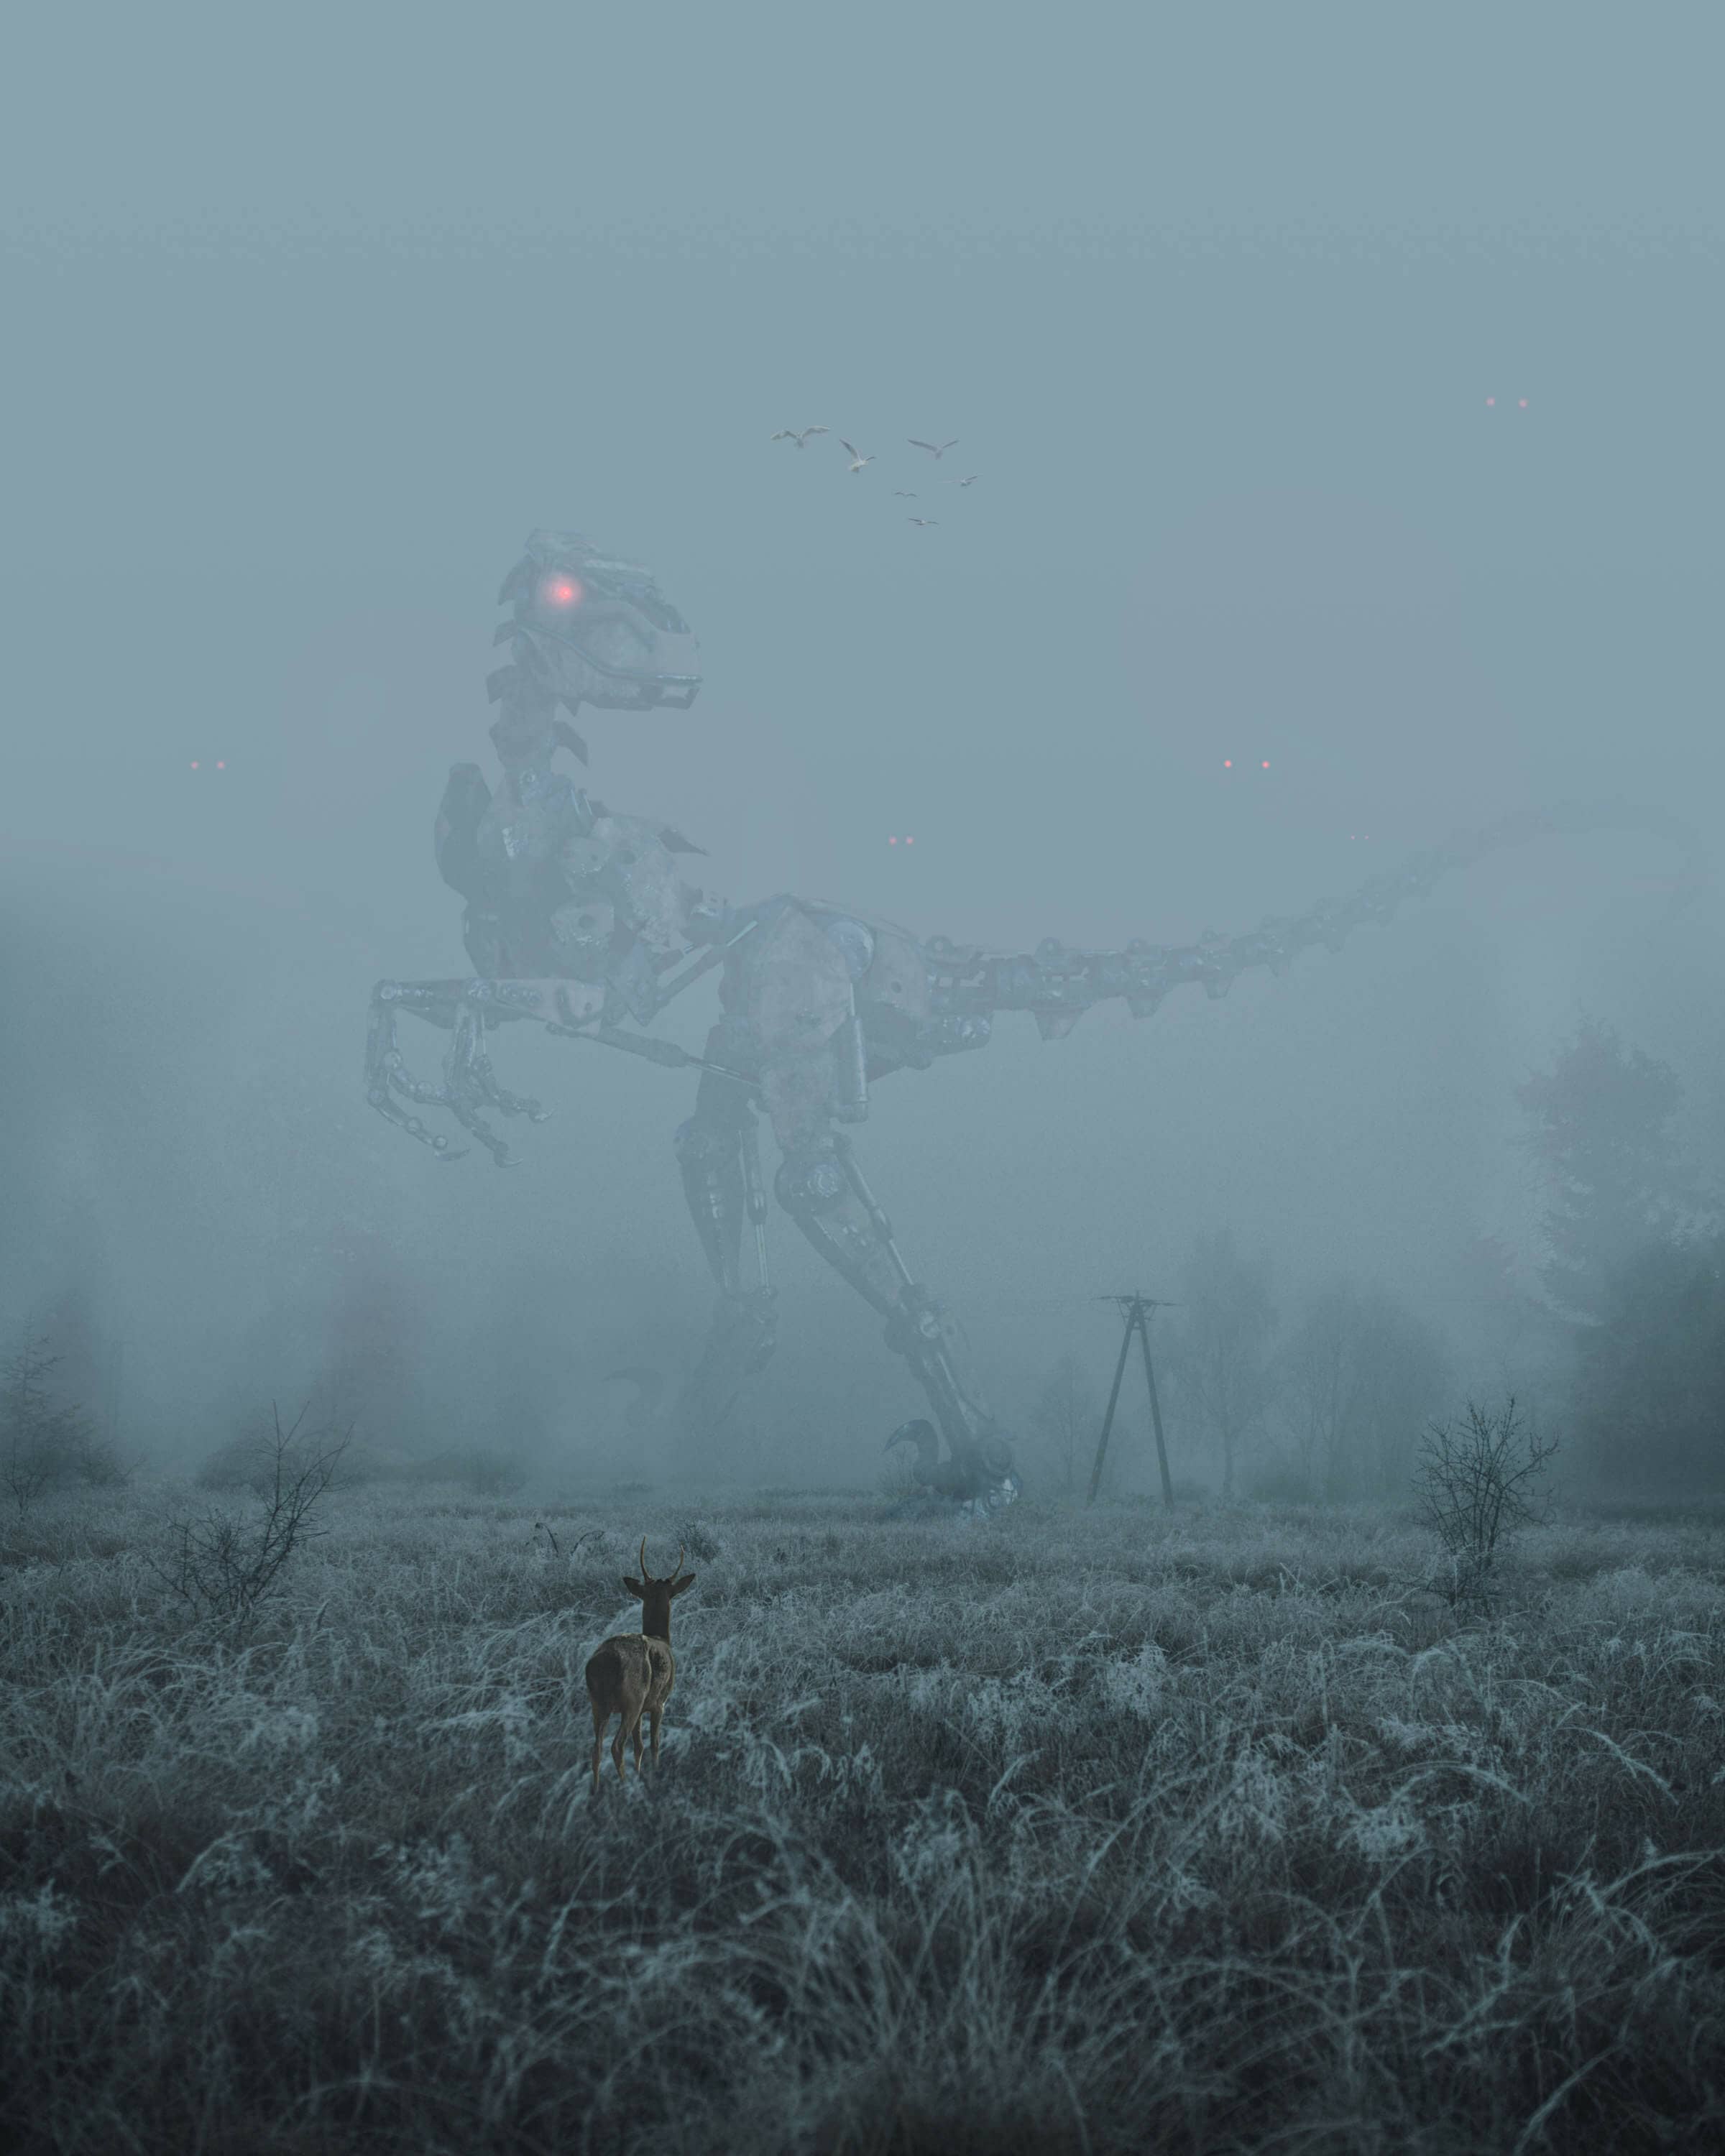
Luminar AI lets you turn your ideas into reality with powerful, intelligent AI. Download the photo editor and see how you can completely transform your photos in a few clicks.
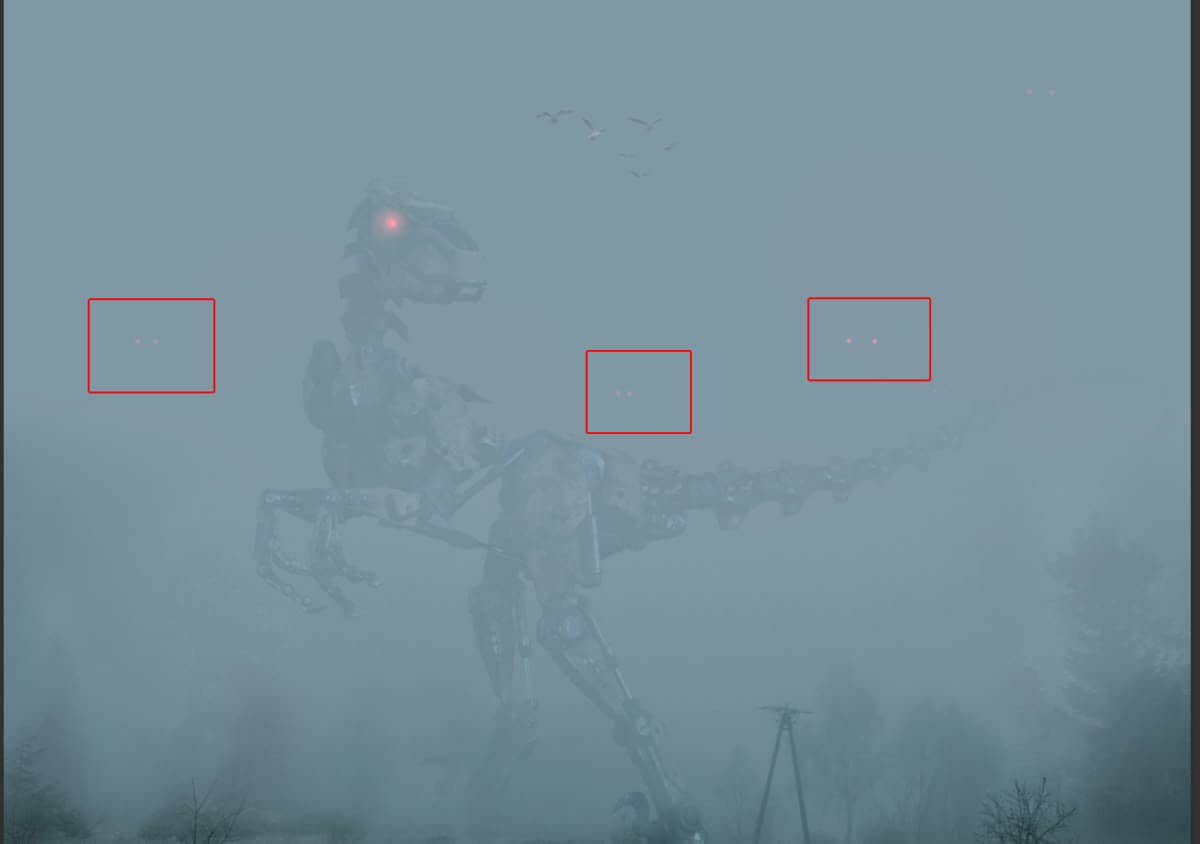
Step 16
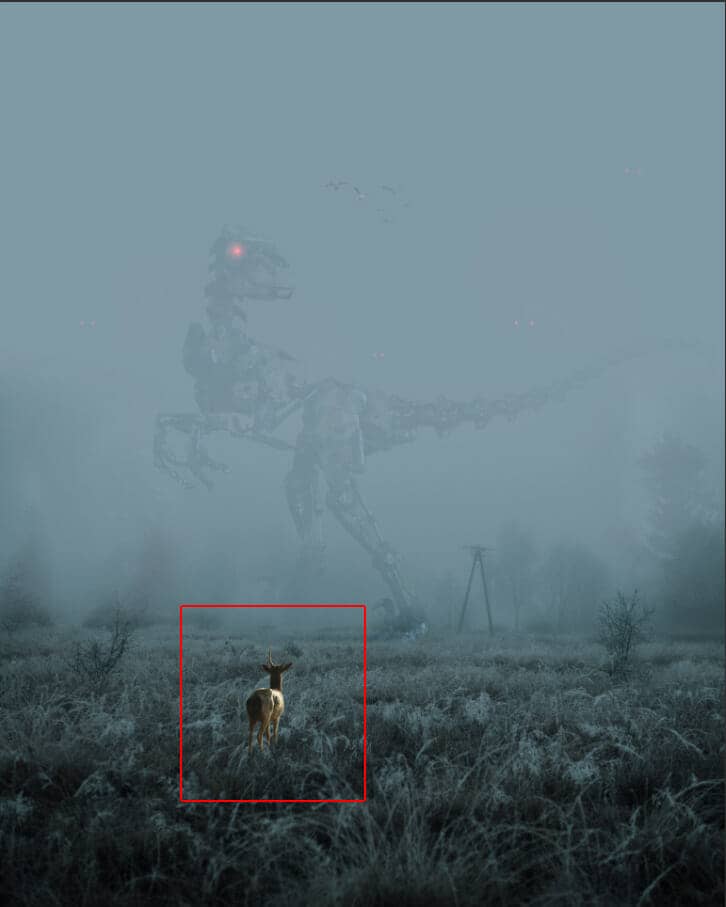
Now, go to File > Open and select Deer. Then use a Pen Tool(P) and start selecting the animal. When we finish the selection press right-click on mouse and “Make Selection” then create a layer mask. The simplest path you can draw with the standard Pen tool is a straight line, made by clicking the Pen tool to create two anchor points. By continuing to click, you create a path made of straight line segments connected by corner points.
- Select the Pen tool.
- Position the Pen tool where you want the straight segment to begin, and click to define the first anchor point (do not drag).
- Click again where you want the segment to end
- Continue clicking to set anchor points for additional straight segments.
- The last anchor point you add always appears as a solid square, indicating that it is selected. Previously defined anchor points become hollow, and deselected, as you add more anchor points
- Complete the path by doing one of the following:
- To close the path, position the Pen tool over the first (hollow) anchor point. A small circle appears next to the Pen tool pointer
 when it is positioned correctly. Click or drag to close the path.
 - To leave the path open, Ctrl-click (Windows) or Command-click (Mac OS) anywhere away from all objects. To leave the path open, you can also select a different tool.
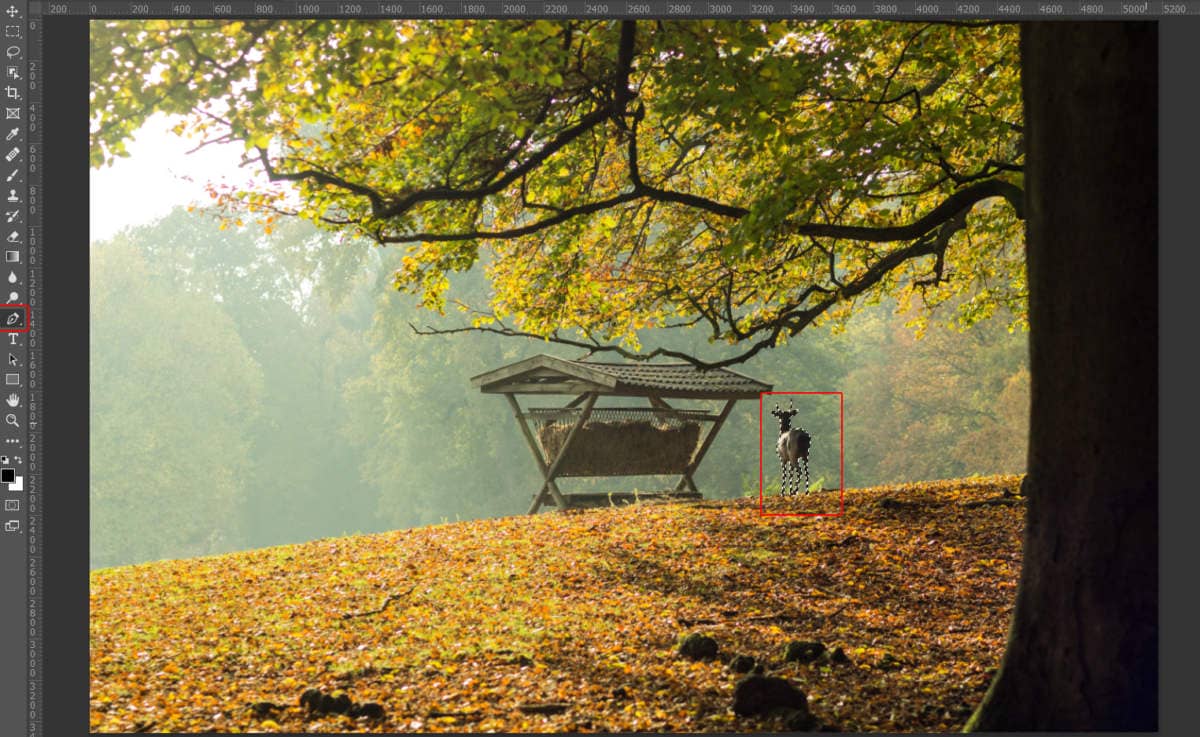
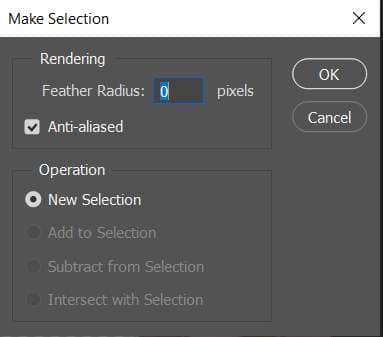
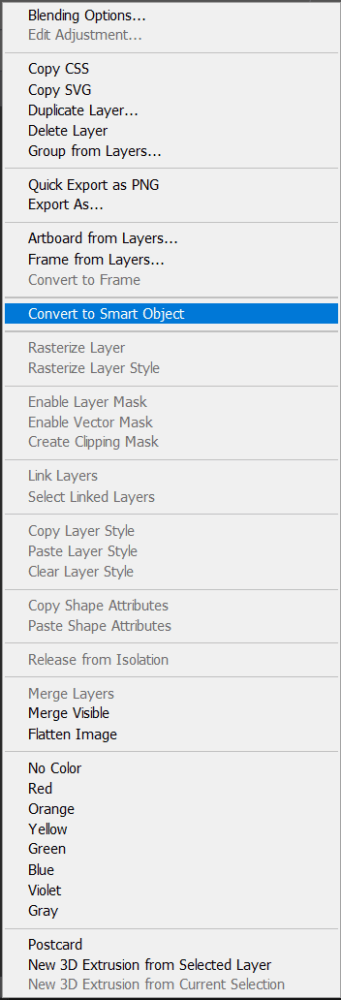
Next, right-click on the layer and select "Convert To Smart Object" then go to Filter > Camera Raw filter
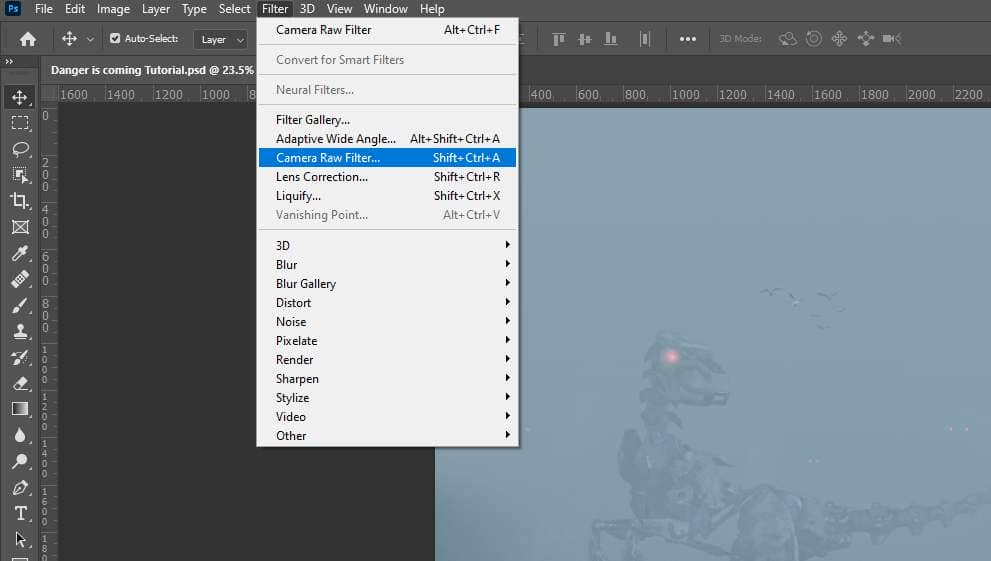
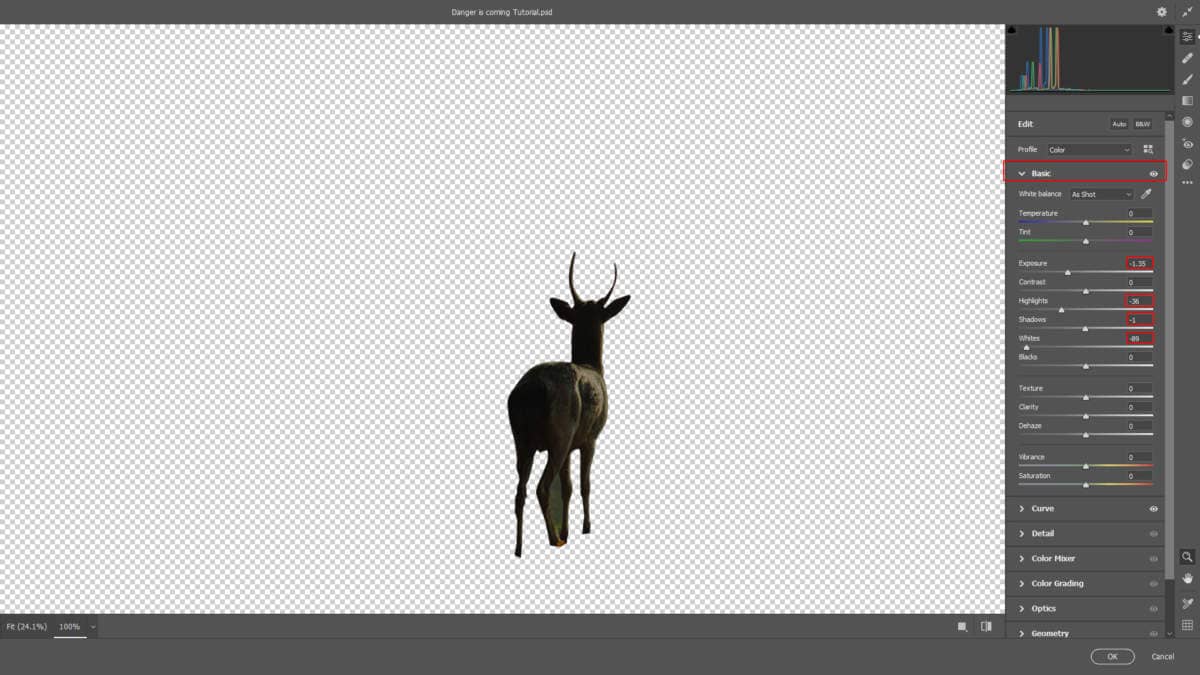
In Camera Raw Filter, set the Value: Basic
- Exposure: -1.35
- Highlights: -36
- Whites: -89
- Shadows: -1
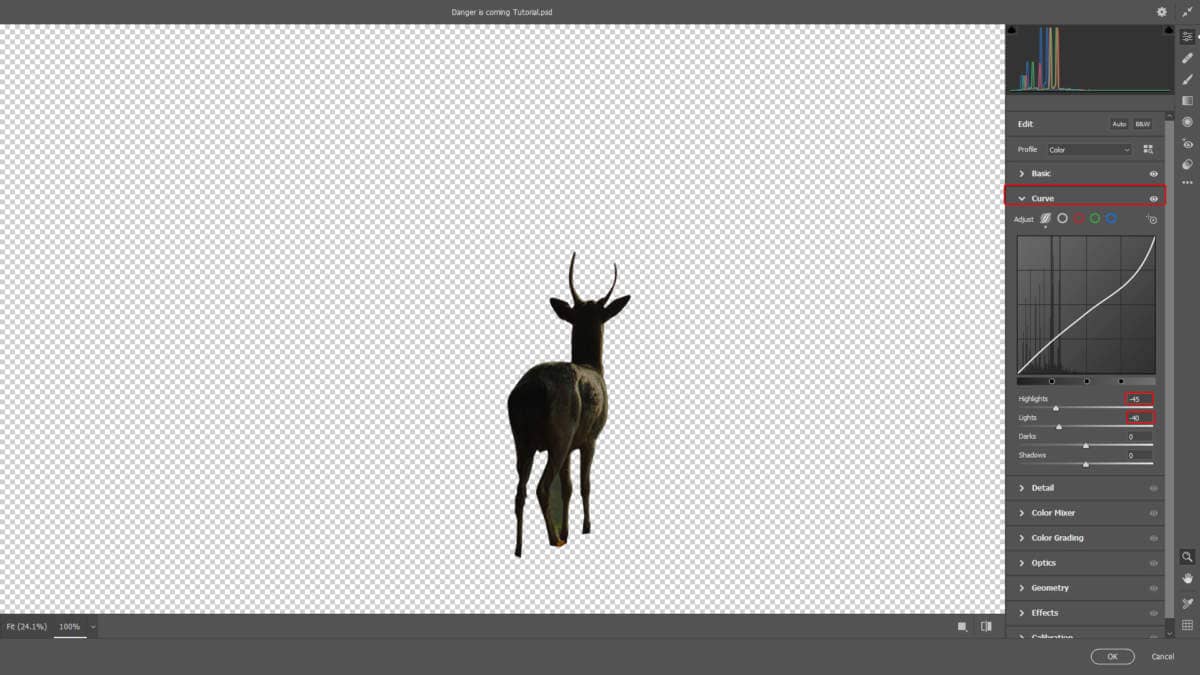
Curve
- Highlights: -45
- Lights: -40
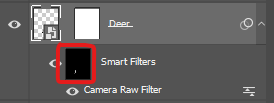
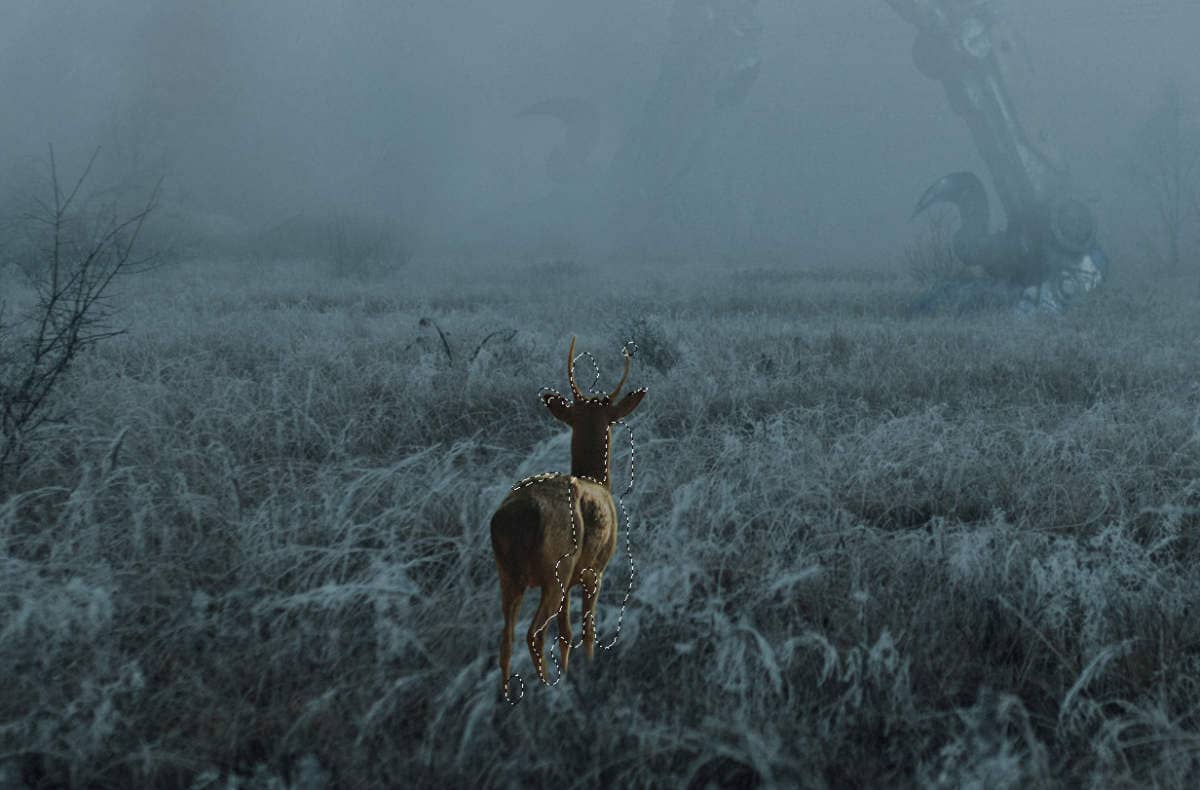
Now click Ok and on layer filter mask click Ctrl/Cmd + I to invert. Use brush tool (B) Soft Round with foreground color white and paint on highlight parts on deer.
Step 17
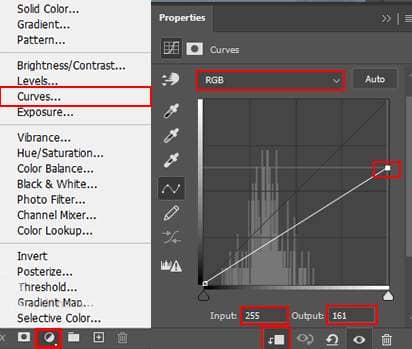
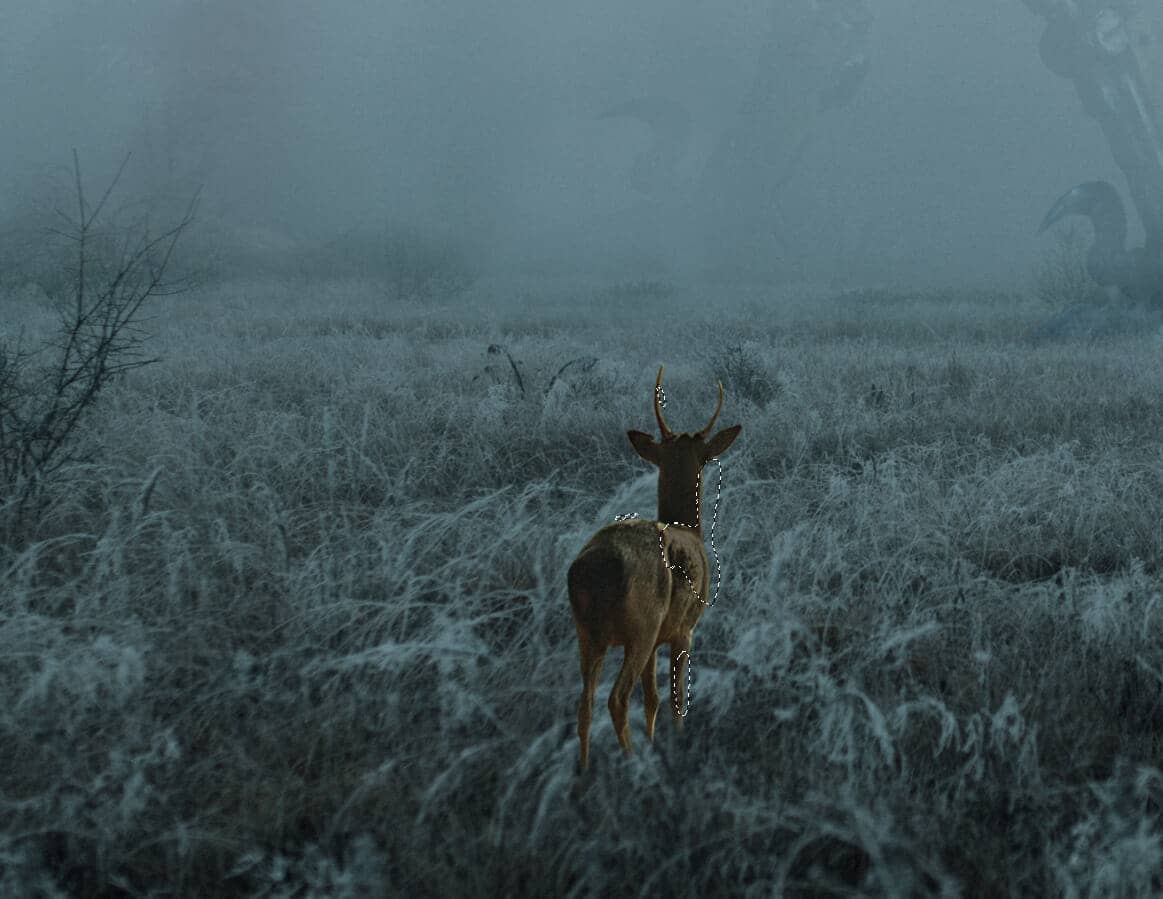
Add Adjustment Layer "Curves" and press Ctrl/Cmd + I to invert and use Brush Tool(B) Soft Round with foreground color white and paint highlight parts of deer.
Step 18
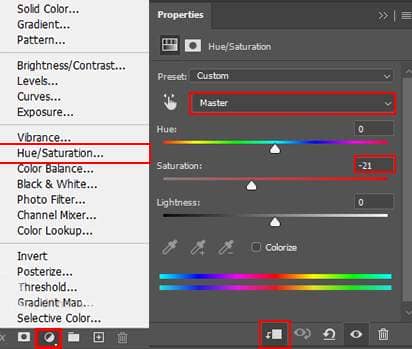
Add Adjustment Layer "Hue/Saturation"
Step 19
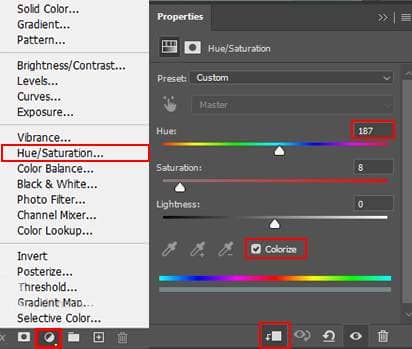
Add Adjustment Layer "Hue/Saturation" Opacity set to 22%.
Step 20
In this step, we will create a mist. Create a new layer and use the Soft Round brush tool with the flow of brush to 10%. Foreground color set to Gray/Blue #8198a6 and paint.

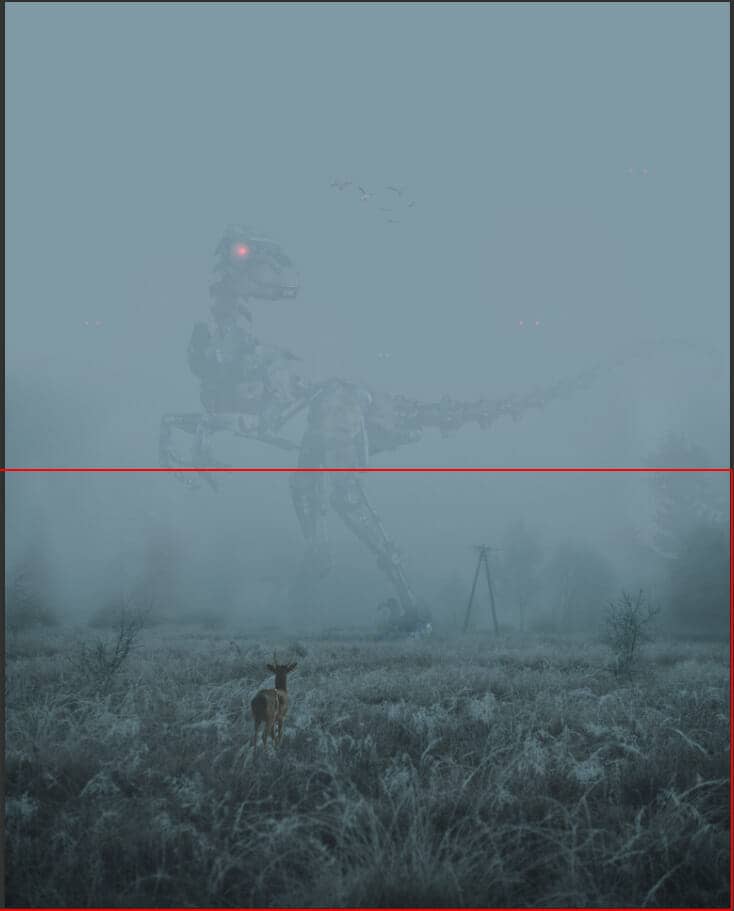
Step 21
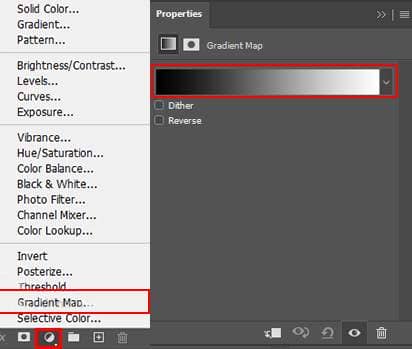
Add Adjustment Layer "Gradient Map" default Black/White. Blend mode change to Soft Light with opacity to 12%.
Step 22
When we finished all this, now merge all layers into one. Select the last layer and hold CTRL/CMD + SHIFT + ALT + E. Now we have a final layer, right-click on mouse and select Convert to Smart Object. Then go to Filter > Camera RAW Filter. At its most basic, the Photoshop Camera Raw filter allows you to use the functions of the ACR interface at any time within Photoshop. This allows you to make any adjustments within ACR at any time during your workflow instead of just limiting its usage to the raw processing stage. While it would be possible to import your working file into Lightroom to make the same sets of adjustments, doing this in Photoshop saves you from that cumbersome step. It allows you the use these tools without any extra effort.
