Turn any photo into a dot grid artwork with these Photoshop actions. You'll get great results with dots that change size. They get larger in brighter areas and smaller in darker areas. Free download available.
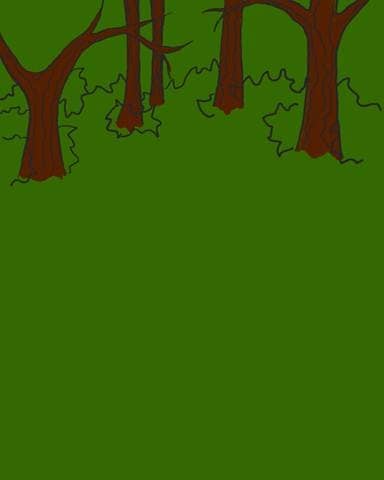
Step 9
Erase the tree lines and brown color that lies within the bushes outline. Also make any last changes to the bushes’ outlines, correcting shape and placement as necessary.
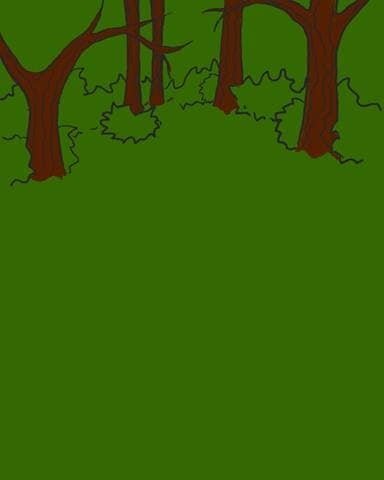
Step 10
Where there are bare ends of the trees, make a puff of leaves similar to what was done with the bushes. Then erase all lines and tree trunk that falls within its border.
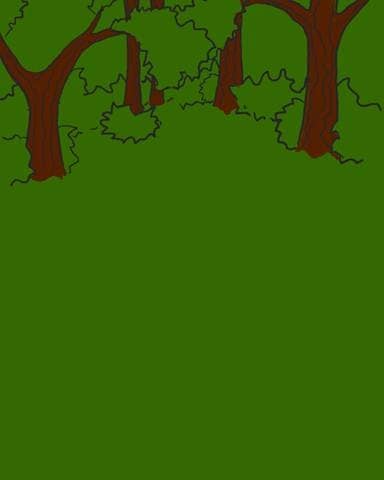
Step 11
Now this is the last step for detailing the lines of the trees. Try to keep it simple by indicating leaves rather than drawing each individual one.
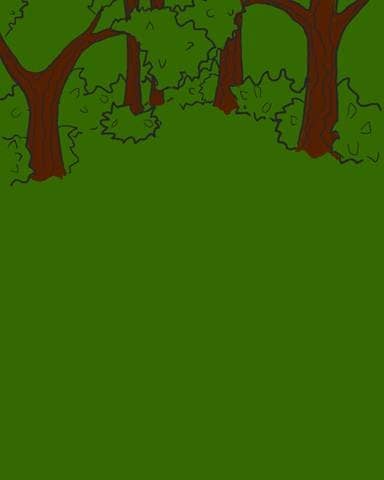
Step 12
Now to color the leaves of the bushes and trees, make a new layer above the tree background layer but below the layer with the outline.
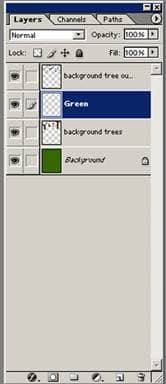
Step 13
Now take a size 95 pixel (soft edged brush) set to 25% opacity and highlight the tree leaves and bushes using color #6DBB21. The lightest parts will be on the leaves that were indicated earlier.
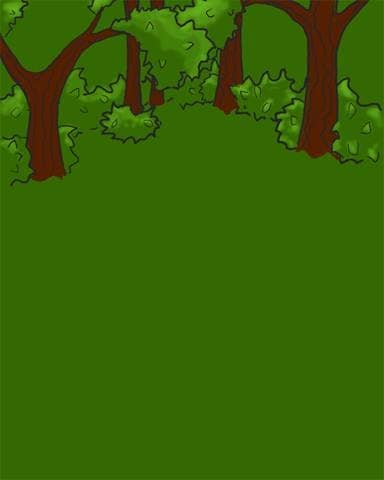
Step 14
The last step for the leaves is to take color #1F3F00 and add shadows to the bottom of the bushes and shadows underneath the leaves.
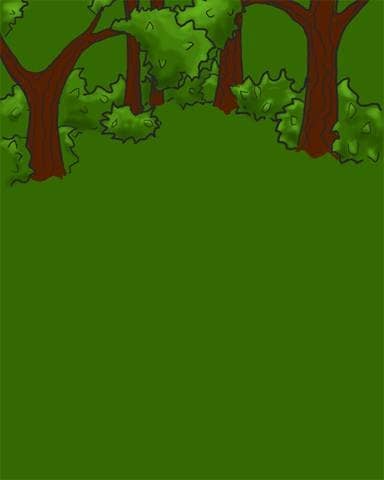

Step 15
The last step in finishing the trees is to highlight and add shadows. A good highlight color is #844202, and the shadow I used is #3B1D00. It is a good idea to add a slight highlight to the center of the trunk, and then to make one side of the trunk lighter than the other.
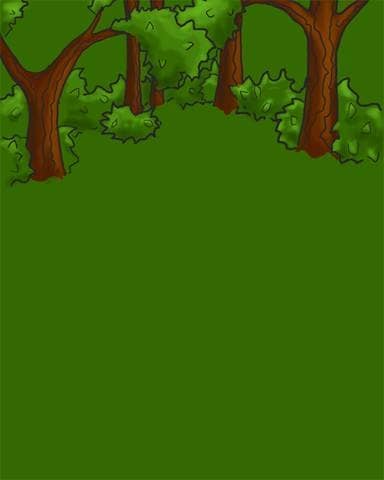
Step 16
To finish the background itself, add a few transparent tree trunks, and using a very transparent soft edged brush and color #FFBE33, add some light filtering through the trees.
To add shadows beneath the trees use color #004111.
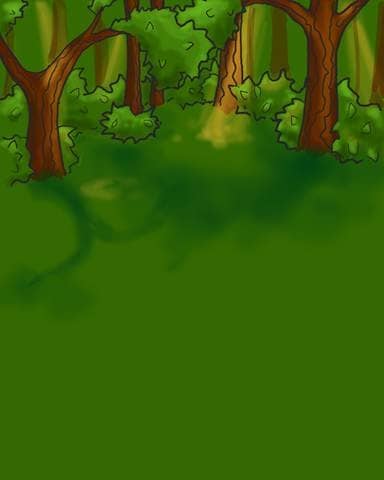
*All steps use layering a very transparent brush (20-25% opacity)
Step 17
Now, create a new layer and title it “stream”.
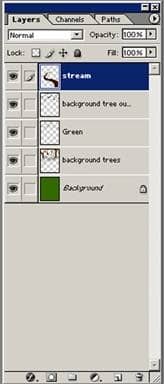
Step 18
To create the base for the stream, create a winding brown (color #361300) area that gets thicker as it approaches the foreground of the picture.
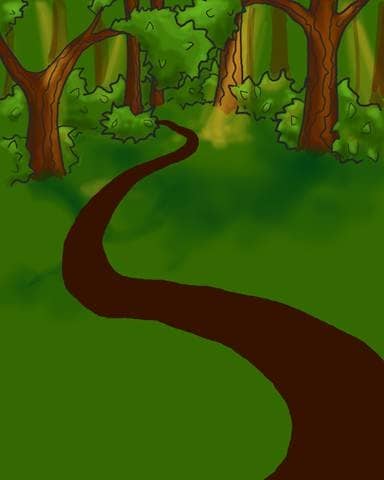
Step 19
Now using color #008A8C, alternate the side that shows brown. This will make the stream have a bank.
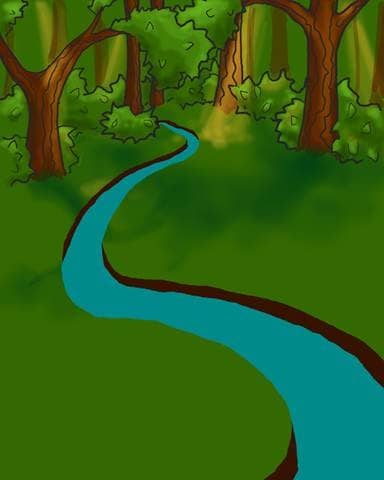
Step 20
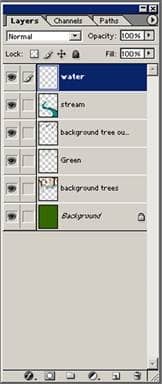
Now, make a new layer and title it water. This is the layer where we will be detailing the stream.
Step 21
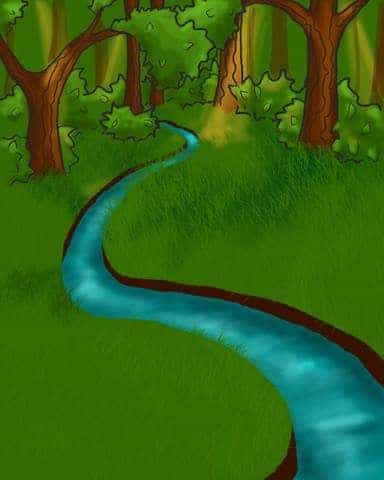
Use the magic wand tool and select the blue area from the layer below. Next, take color #00494A and using a soft-edged 20% opaque brush, add the shadows. This can be done by swiping the brush horizontally across the selected area, concentrating on the areas where the bank is overshadowing the water.

10 comments on “Create a Children’s Book Illustration Part I: The Background”
love the step by step tutorials!! I'll have to get at it this weekend!
I HATE EVERYTHING ABOUT THIS TUTORIAL. IT DIDNT HELP ONE BIT.
Confusing what application do U use like paint??
It was good tutorial, I am learning magic of Photoshop, thanks.
Digital imaging is such a grind. But Mr. Grey is an OG.
Photoshop sux
Nice tutorial
Nope.
Nice tutorial! I appreciate the steps and various explanations of brush settings.
No it wasn't good