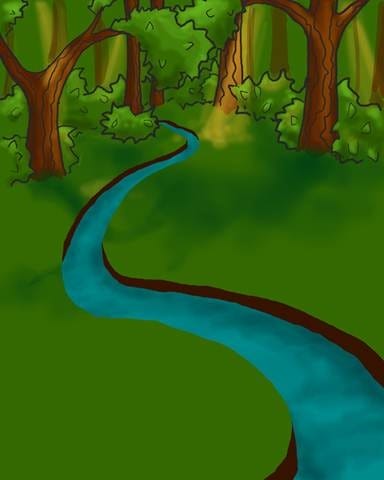
Step 22
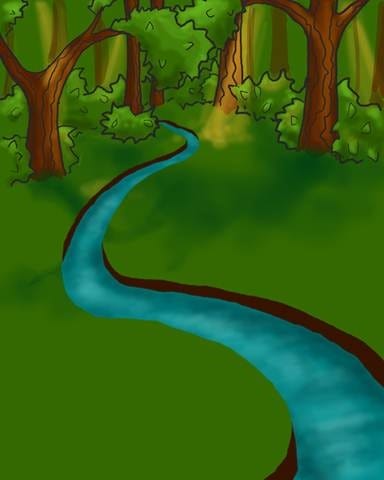
Highlight the water with a brush set to 5% opacity, using color #8EDFD8. Try to concentrate on the center of the stream.
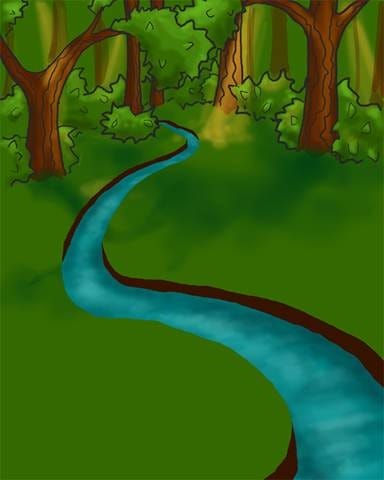

Step 23
Gaussian blur the “water” layer, this will soften the water and blend the dark and light just a little.
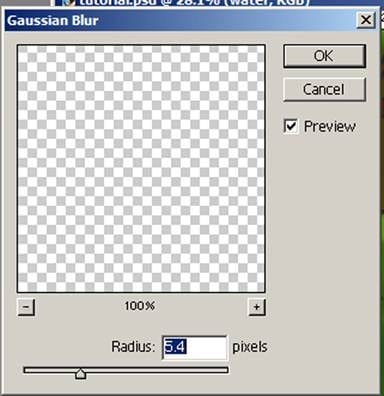
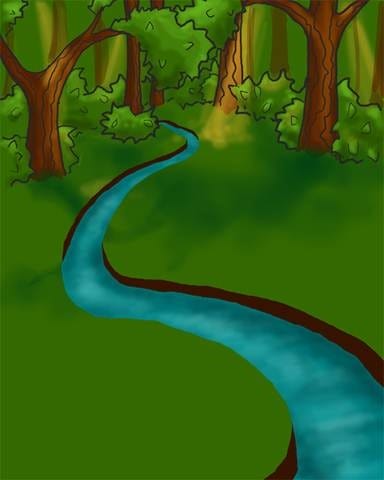
Step 24
Next, switch back to the “stream” layer and Gaussian blur it as well. This is going to get rid of the harsh bank without making it appear fuzzy.

Step 25
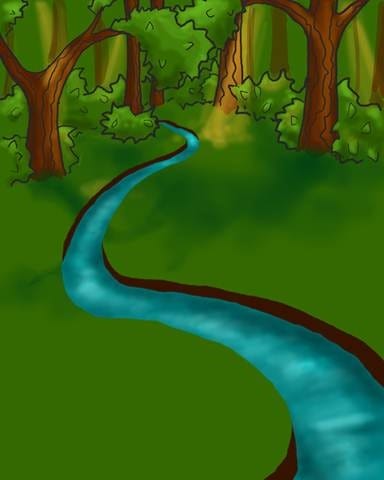
Time to lighten the lights. Go back to the “water” layer, and use the dodge tool (highlights mode, 30% exposure, soft round brush) to lighten the middle of the stream.

Step 26
The last step before the stream is finished is to darken the darks with the burn tool. Set the tool to midtones mode, and 16% exposure, and darken the shadows cast by the stream’s banks.
Step 27
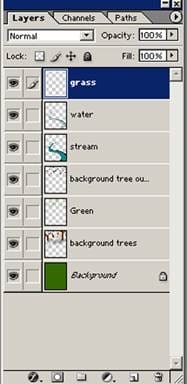
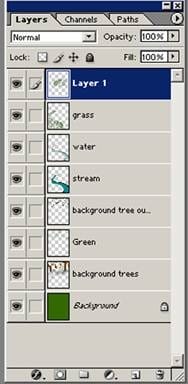
Now make a new layer titled “grass”. This is going to be the layer that changes the green mass into what looks like grass.
Step 28
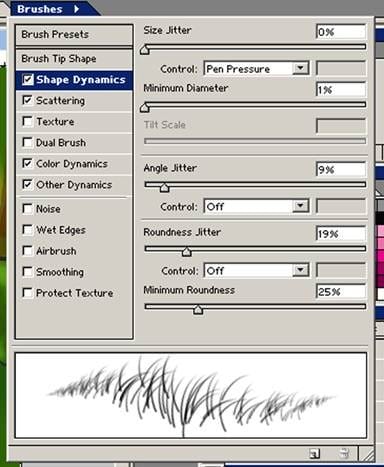
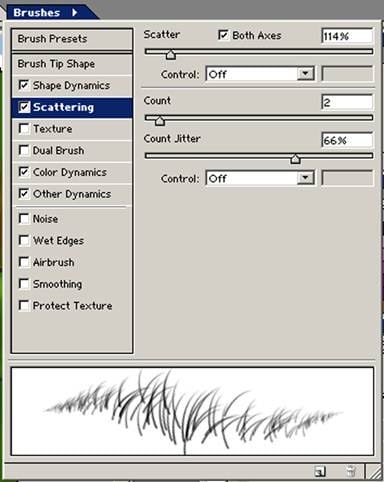
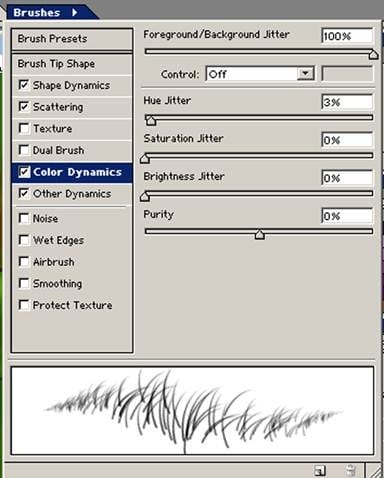
Rendering realistic grass is very easy if you use the right brush and the right settings. Find the grass brush (basic brushes, about two thirds of the way down the brush list) that is leaning to the right and copy the settings below.
Under “other dynamics” turn both the opacity jitter and flow jitter off.
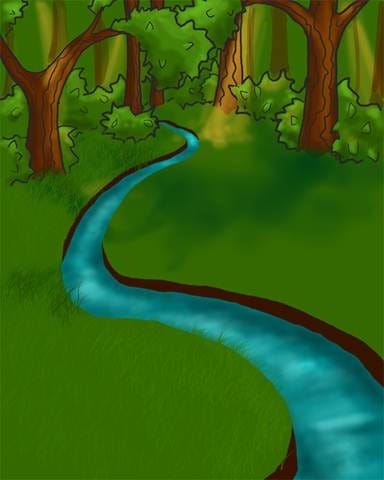
To create realistic looking grass, use a very light hand when you are around the base of the trees, and a very heavy hand as you move towards the front of the picture. I also switched between a size 200 pixel brush and a 140 pixel brush.
The two light colors are:
#3B7B00
#346900
The two dark colors are:
#254800
#2D5900
*Make sure you can see some of the base color through the grass, or else it will look fake!

Step 29
Now erase the grass that appears to be growing out of the water and bank.
Step 30
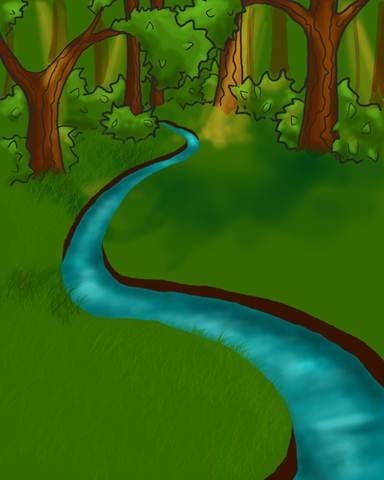
Copy the entire “grass” layer and paste it onto a new layer. Use Ctrl+t to allow stretching of the picture, and completely stretch the picture down to a thin strip, and then past the middle and to the other side to flip the image.
Adjust the grass to fit right, and erase the stray grass (that is coving part of the trees and bushes, or is now growing out of the bank.

Step 31
Copy the front section of the “grass” layer and repeat step 30 for this as well on the right side of the brook.
10 responses to “Create a Children’s Book Illustration Part I: The Background”
-
love the step by step tutorials!! I’ll have to get at it this weekend!
-
I HATE EVERYTHING ABOUT THIS TUTORIAL. IT DIDNT HELP ONE BIT.
-
Confusing what application do U use like paint??
-
It was good tutorial, I am learning magic of Photoshop, thanks.
-
Digital imaging is such a grind. But Mr. Grey is an OG.
-
Photoshop sux
-
Nice tutorial
-
Nope.
-
-
Nice tutorial! I appreciate the steps and various explanations of brush settings.
-
No it wasn’t good
-


Leave a Reply