You can use the smudge tool on the edges to soften them if you want.
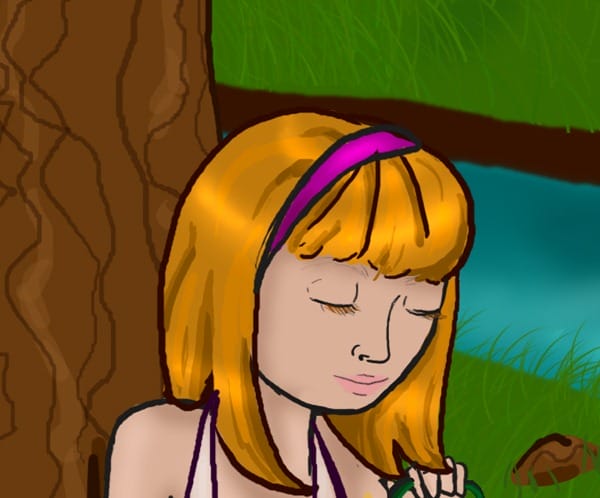
Step 72
Create a soft shadow below the middle lip line with color # C87979 (same brush).

Step 73
Alternate colors # A6680C and # C47A07 to make the eyebrows (still set on 62% opacity).

Step 74
Create the shadows around the eyes with color #C18D71, this time using a soft brush set to 41% opacity.

Step 75
Now create the shadow next to the nose using color #AF6E4A.

Step 76
Swipe a single bit of color #FDBCE8 (26% opacity) on both cheeks and the tip of the nose.
And the face is done!
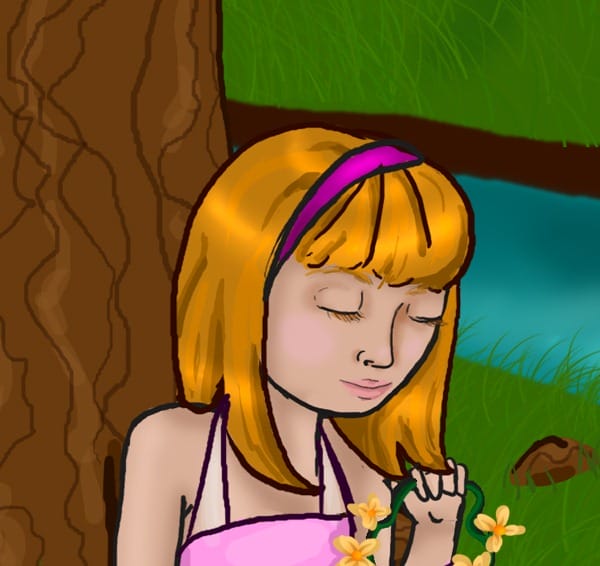
Step 77
Make a new layer at the top of the set titled “character grass”.

Step 78
Block in some grass around her feet and bottom with color #294F00.
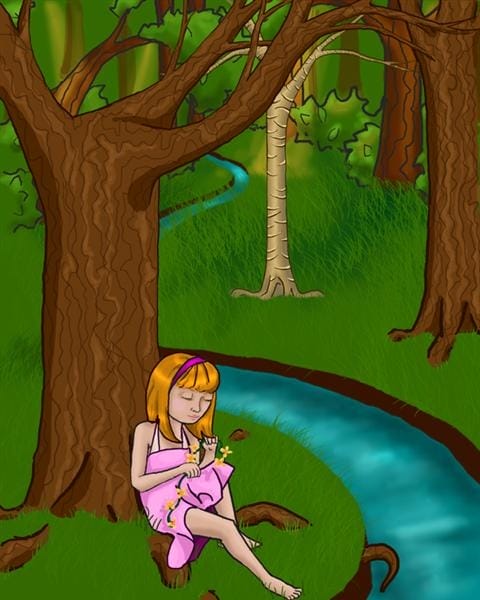
Step 79
Highlight this grass with color #356600.

Step 80
Go to the background layer, inside the scenery set.
Now, using the burn tool on its previous settings, wave it back and forth on the green areas (and later again on the tree trunk) to create the forest’s shadows. The most pronounced shadows should be underneath and around the girl.
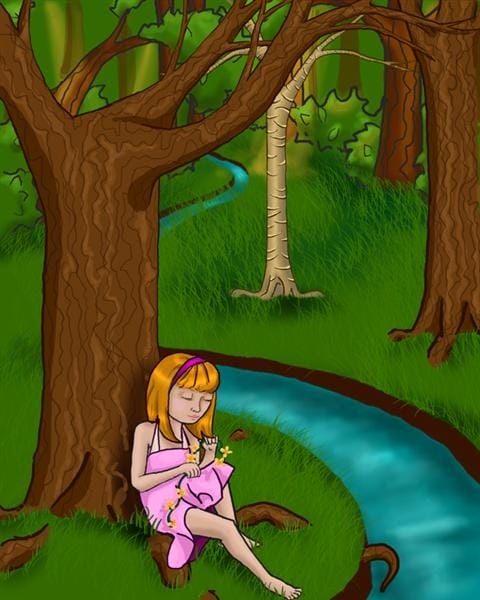
Step 81
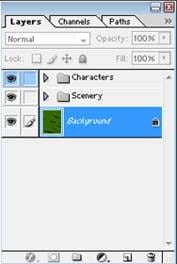
Minimize all folders.
Step 82
Make a new layer above the top set and title it “butterflies”.

Step 83
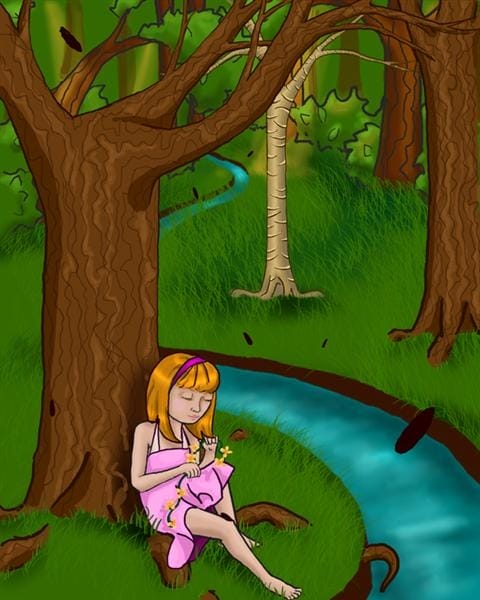
Using color # 110000 block in elongated ovals that will serve as the butterflies’ bodies.
Step 84
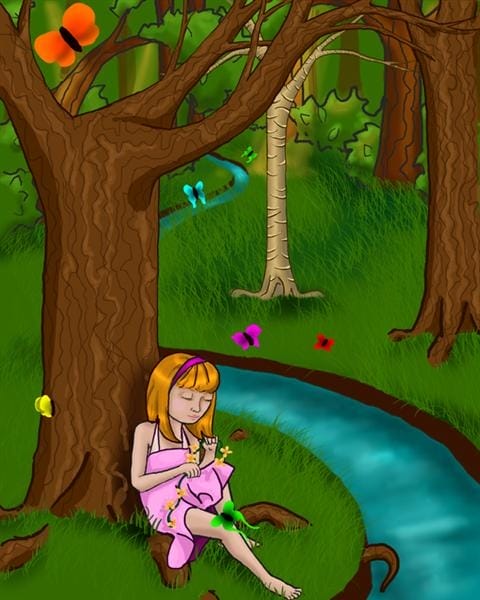
Alternating between colors #FF0000, #FF00D2, #00F6FF, #2AFF00, #FFFC0D, and color #FF7200, block in the butterflies wings. This can best be done by starting with two larger, rounded squares for the front wings, and two circles in the back. Then adding shapes to these basics will make them more intricate.

Step 85
Using the same settings for the burn tool, alternate between midtones and highlights to add shadows to the butterflies’ wings.
Step 86
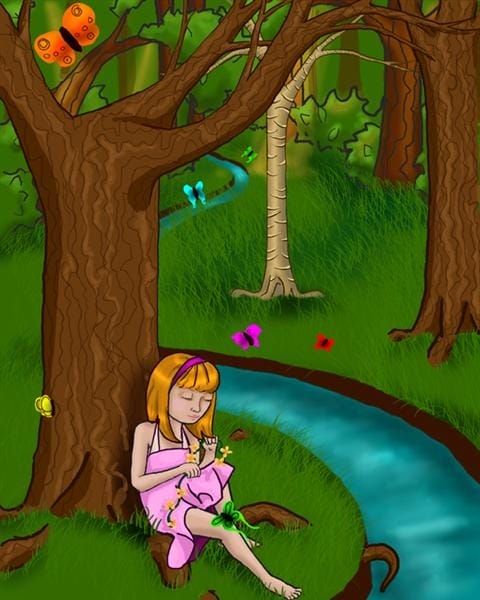
Use color #210000 (62% opacity) to create patterns on the butterflies’ wings.
Step 87
Now open up the scenery set. Make a new layer “light 1” above “background trees”, and below the layer “green”
Set the layer to 75% opacity.

Step 88
Using color #FFC600 and a soft edged round brush (500 pixels set to 28% opacity) layer on the color to create a “light filtering through the trees” effect. If you want to add golden hues to an object, set the brush to 11% opacity and brush a layer or two of color on top of it.


Leave a Reply