Luminar AI lets you turn your ideas into reality with powerful, intelligent AI. Download the photo editor and see how you can completely transform your photos in a few clicks.
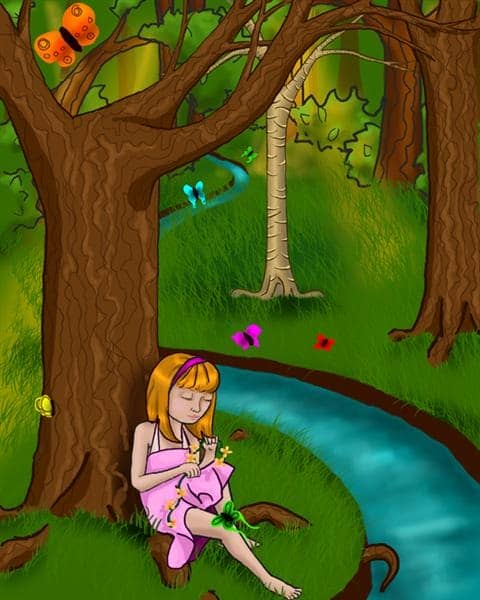
Step 89
Now make another layer, this time “light 2”, above the layer “beech outline”.
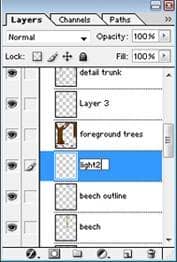
Step 90
Repeat step 88 to make another beam of light, this time in front of the beech tree.
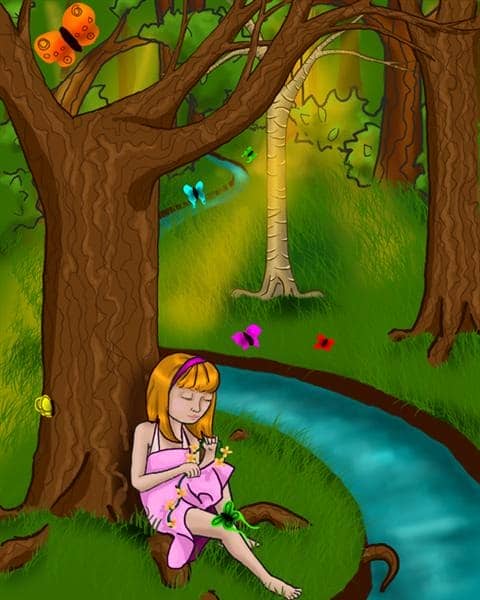
Step 91
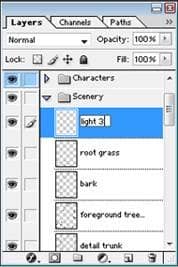
Make a last layer at the top of the set and title it “light 3”.
Step 92
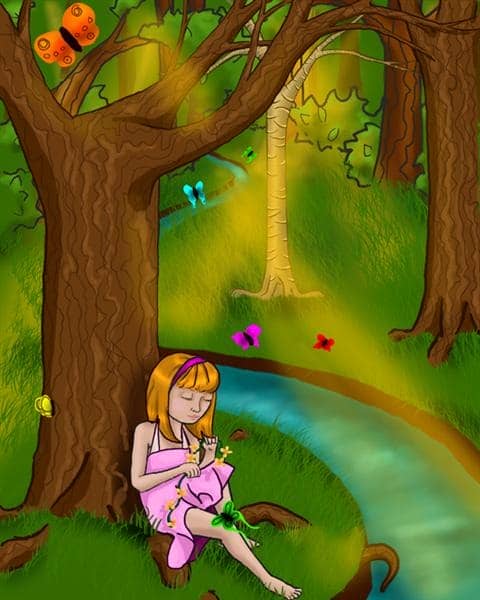
Repeat step 88 again to make another beam of light, this time filtering through one of the tree branches and down onto the stream. You can use the 11% opacity trick here again to add golden hues to the grass.
Step 93
Now switching to the butterfly layers, add golden hues (11% opacity) to the butterflies that need it here.
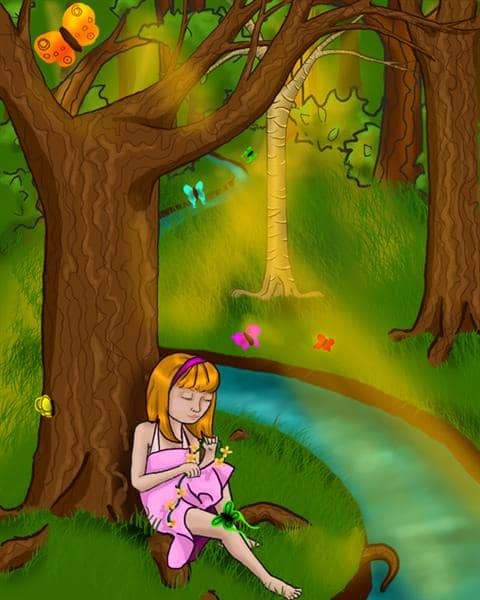
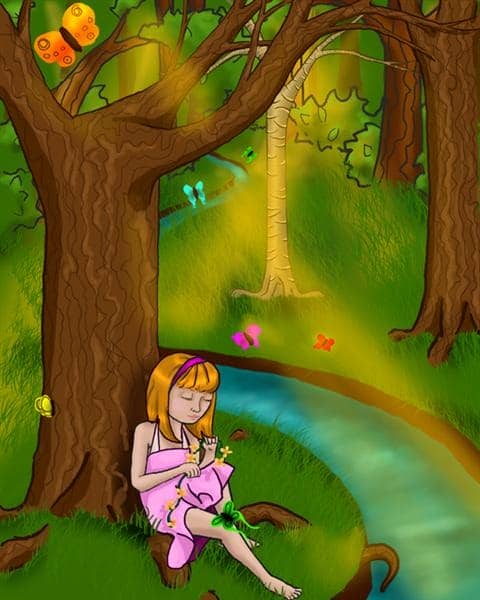
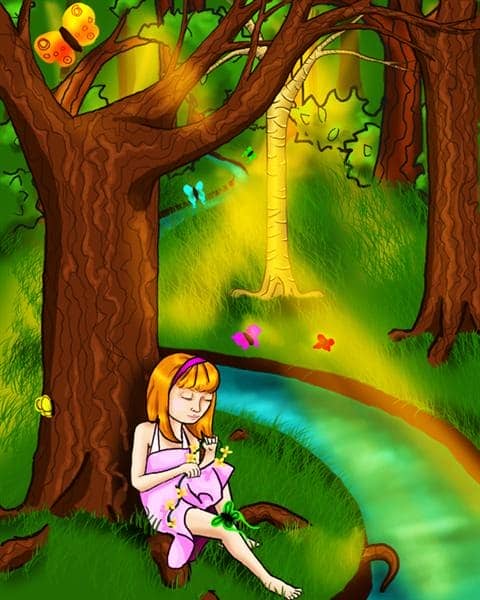
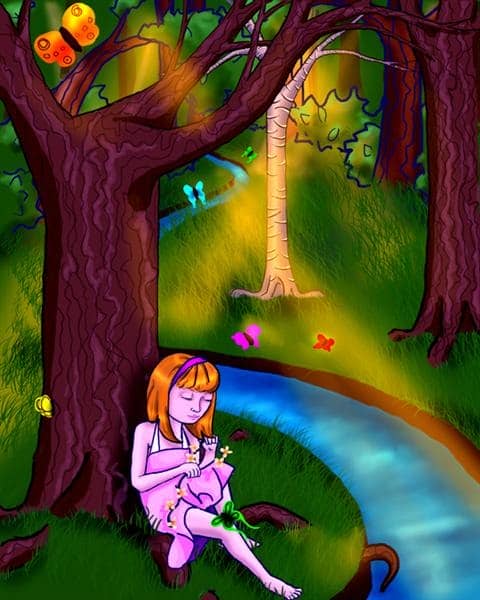
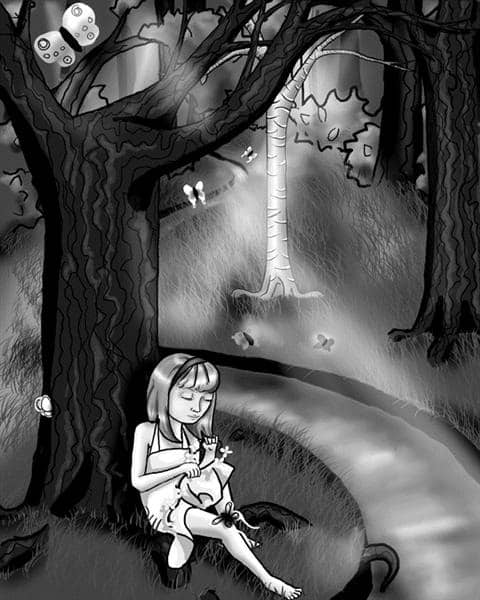
And you are done with the illustration! All parts are on different layers so they will be easy to change and alter. There are still other changes you may want to make. Here are a few examples of some post-processing changes I made to the image.
I hope you enjoyed this tutorial!
