Make skin look perfect in one-click with these AI-powered Photoshop actions.
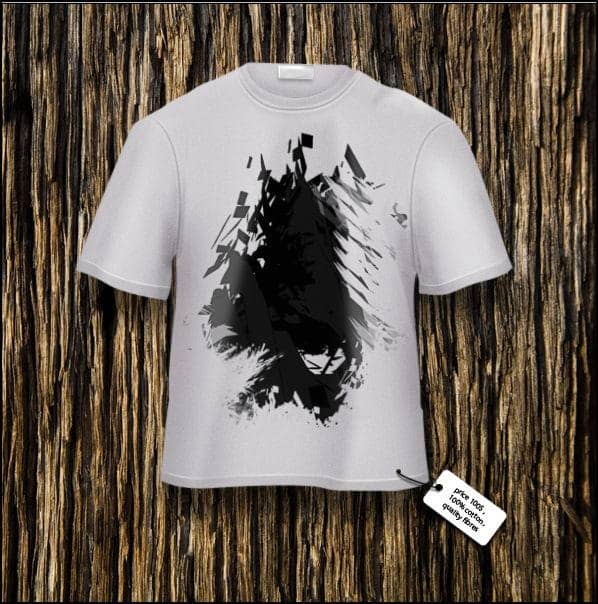
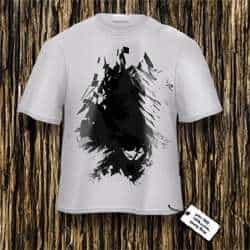
Learn how to draw a realistic t-shirt 100% in Photoshop! This detailed step by step tutorial will show you techniques on creating shapes, shading, embossing, and more.
Preview of Final Results
Draw a T-Shirt in Photoshop
Step 1
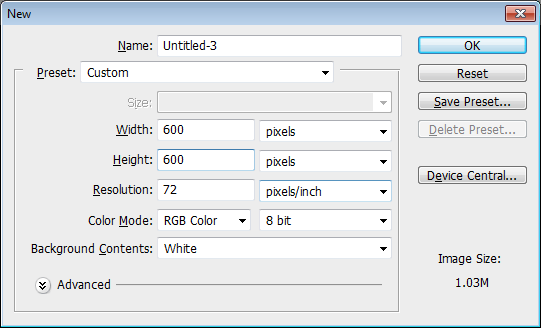
Start by making a new document 600 x 600 pixels document.
Step 2
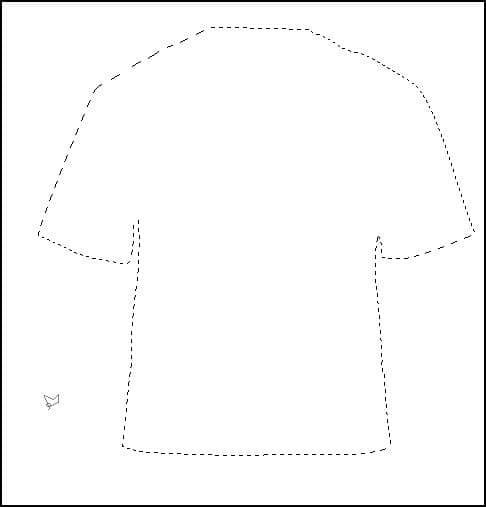
Using Polygonal Lasso Tool (L key) to create a selection like the image below. I feathered the selection (Select > Modify > Feather) by 0.3px for smoother results.
Step 3
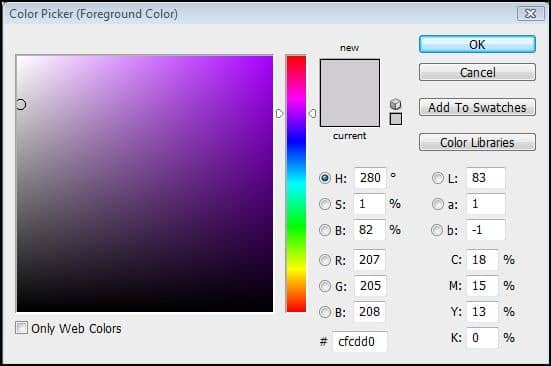
In the toolbar, click on the foreground color then set the color to #CFCDD0.
Step 4
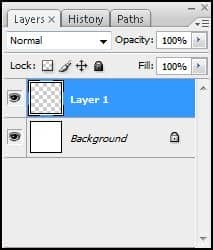
Create a new layer (Ctrl+Shift+N or Layer > New > Layer)
Step 5
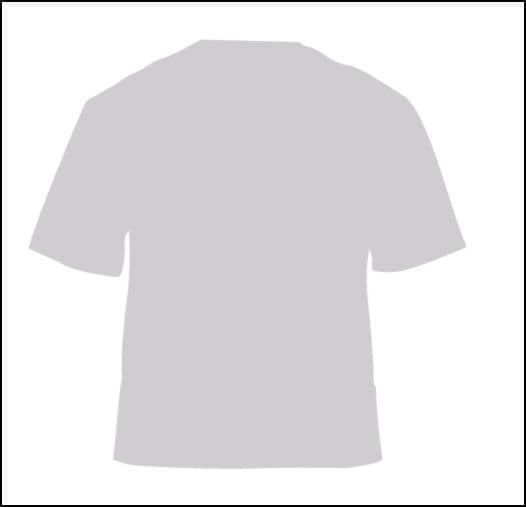
Fill the selected area with the foreground color you just selected. To fill, press Alt+Backspace or choose Edit > Fill.
Step 6
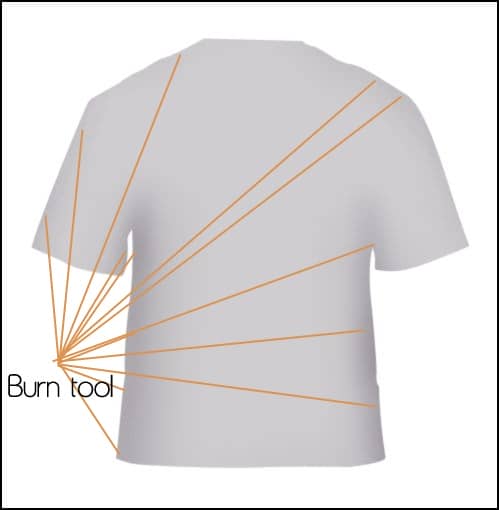
Select Burn Tool (O Key).

Step 7
Use the burn tool on the indicated area shown in the image below.
Step 8
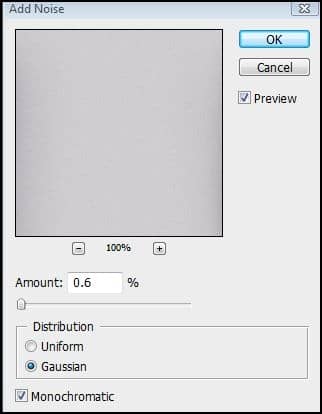
Choose Filter > Nose > Add Noise. Use the settings shown below.
Step 9
Using Polygonal Lasso Tool , create a selection like the image below. For smoother edges, feather the selection (Select > Modify > Feather) by 0.3px.
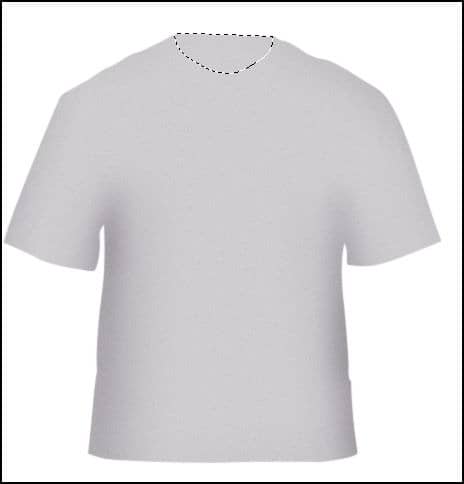
Step 10
Select the burn tool then burn the edges of the selection like the image below.
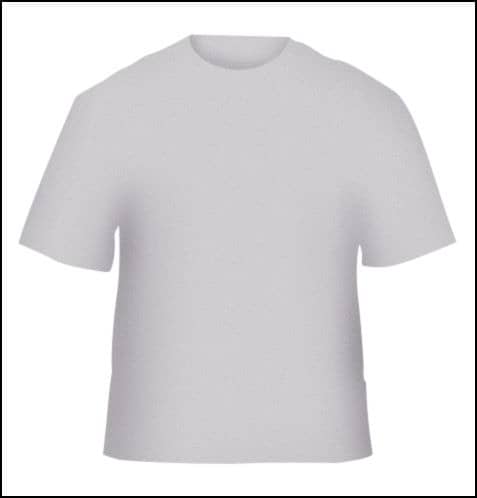
Step 11
Create a selection like the image below.
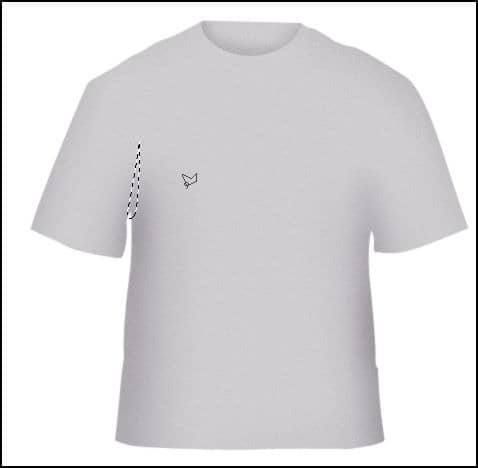
Step 12
Use the burn tool on the selected area. Repeat this for the other side of the shirt.
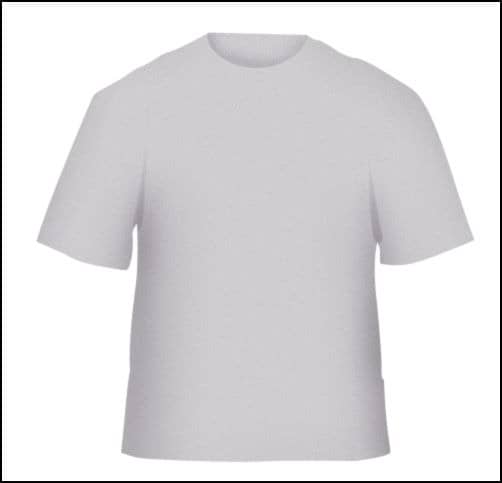
Step 13
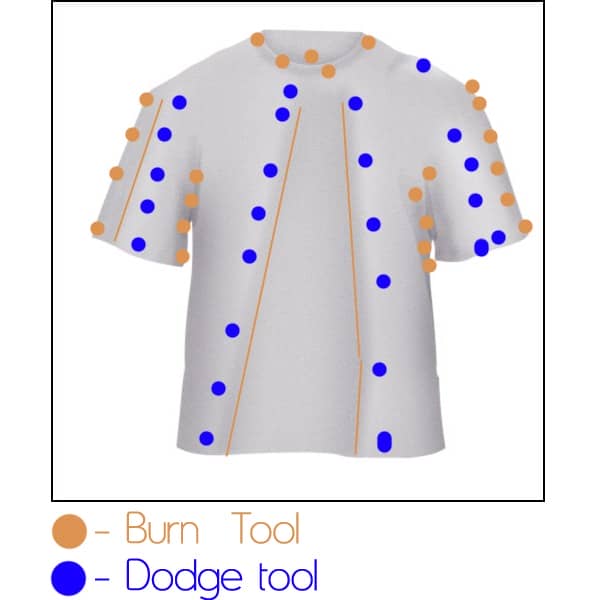
Now we’ll add some shadows and highlights to the shirt. In the blue dots indicated below, use Dodge tool. For the orange dots, use the Burn Tool.
Step 14
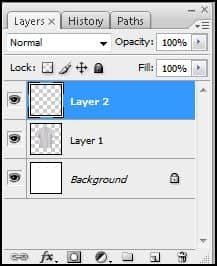
Create a new layer (Ctrl+Shift+N or Layer > New > Layer)
Step 15
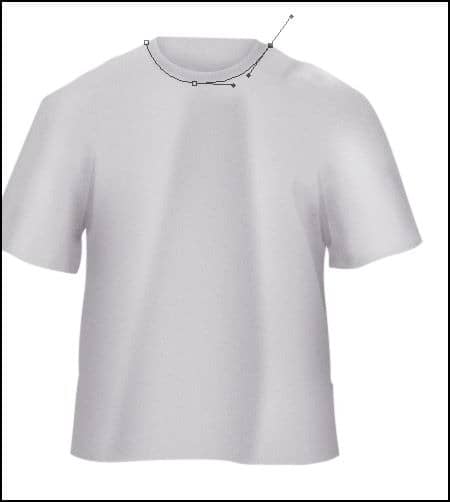
Using the Pen tool, create a path like shown below.
Step 16
Select the Brush tool then set the size of the brush to 2px. In the Paths palette (Window > Paths), right click on the path then select Stroke Path.

Step 17
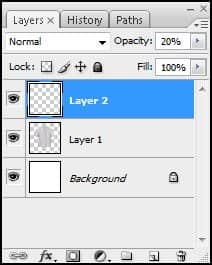
Set the opacity to 20%.
Step 18
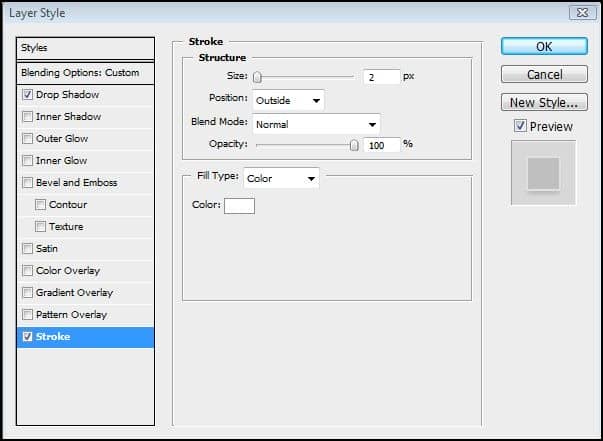
On the current layer, choose Layer > Layer Style > Stroke. Set the Stroke settings as shown in the image below. Don’t close the window yet!
Step 19
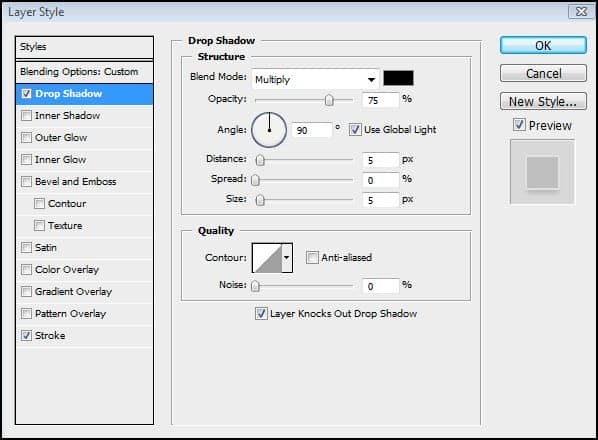
Enable the Drop Shadow style with the settings shown below.
Step 20
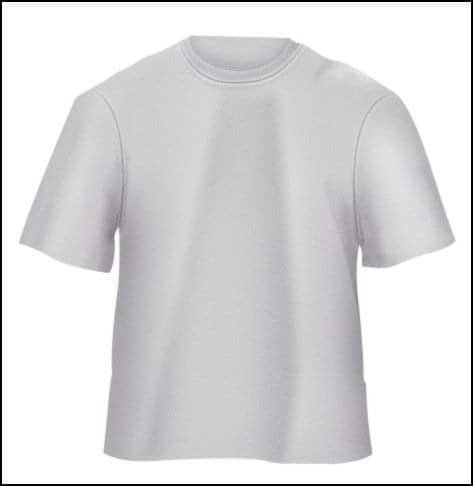
Repeat the above technique (Step 14-19) for the two sleeves.
Step 21
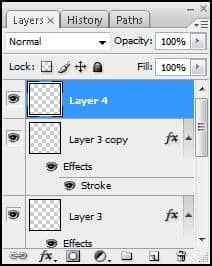
Create a new layer (Ctrl+Shift+N or Layer > New > Layer)
Step 22
Select the Rectangle tool (U) to make a label.

Step 23
Choose Layer > Layer Style > Drop Shadow and apply the settings shown below.

15 comments on “Draw a T-Shirt in Photoshop”
Thank you for the very informative tutorial...
hi, thank uu 4 valuable idea.. from india
Hi, again, thanks! It was very helpfull for me.
thanks a lot greetings from Nigeria
Hi! Regards from pakistan
Hello ! Greetings from South Africa
New to Photoshop,this made me easy to do things.. ....INDIA
many thanks! greetings from Philippines :)
Thanks greetings from Sweden!!!!!
Thank you, hello from USA
greetings from bangladesh
thanks :)!Greetings from India!!!!!!
thank you for it! greetings from Poland! =)
thanks. greeting from Poland! :)
ds