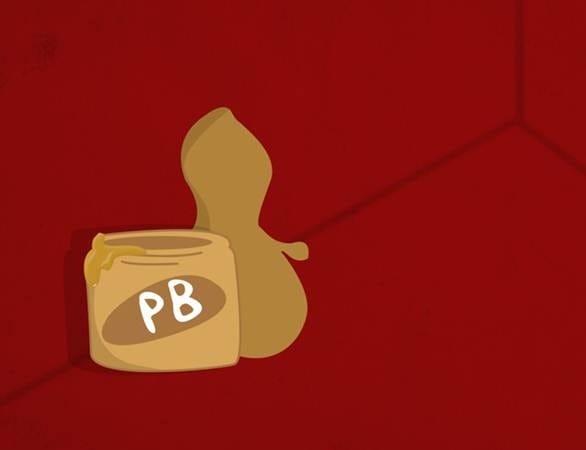
Step 26
Now we will add detail to the outer shell of the peanut. Using your pen tool create a irregular shape and fill it with #432305.
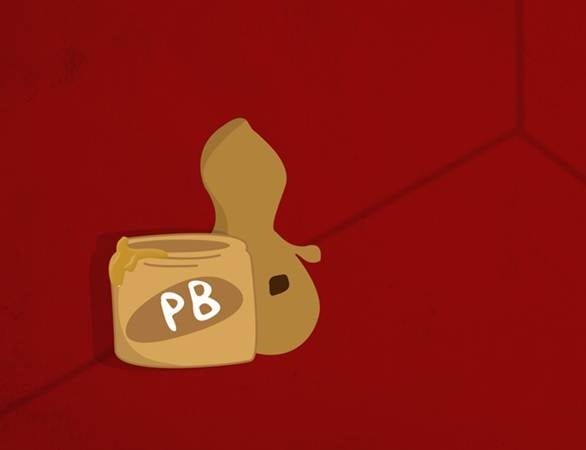
Step 27
Create some more in the same layer so that they look like the image below.
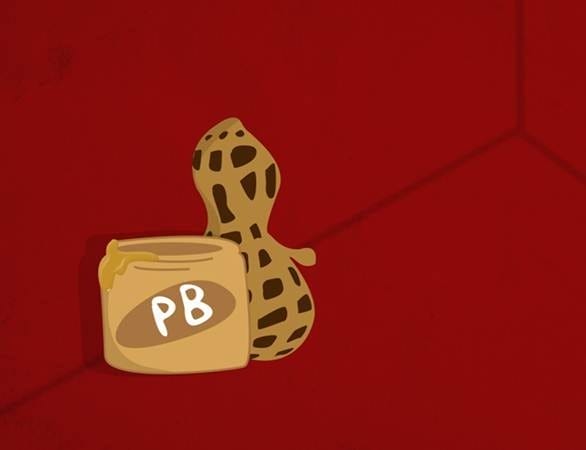
Step 28
Change the opacity of this layer to 7%.
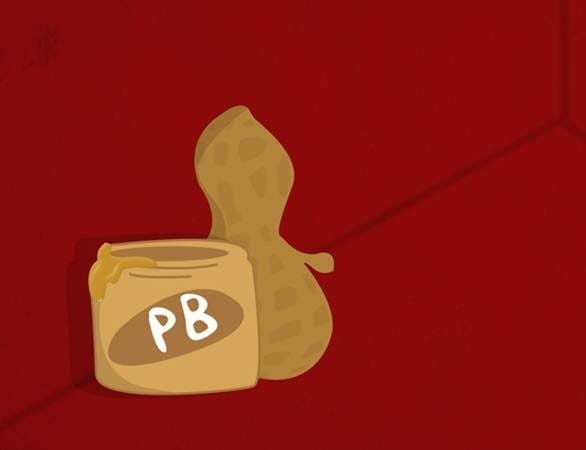
Step 29
Now its time to create outlines on the peanut. Before doing this with your pen tool take your paint brush tool and change the settings to 4px hard round brush and the foreground to #432305. Use the pen tool and create a outline.
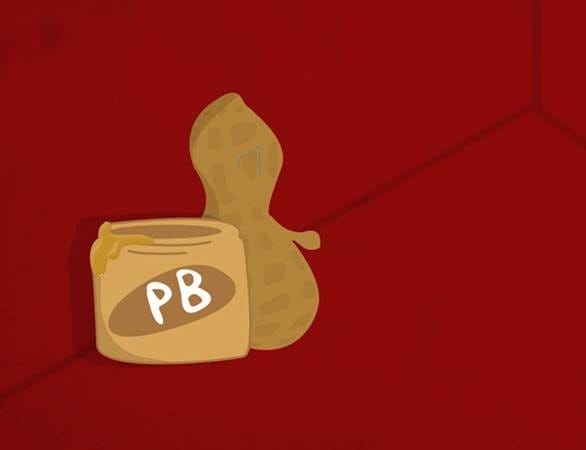
Right click the path and select Stroke Path, click ok
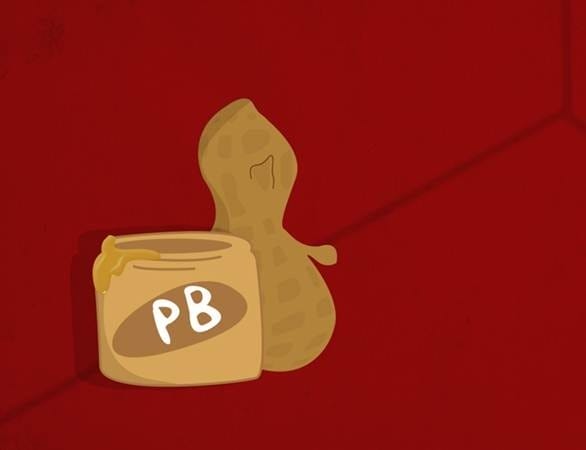
Step 30
Create the rest of the outlines and change the opacity of this layer to 75%.
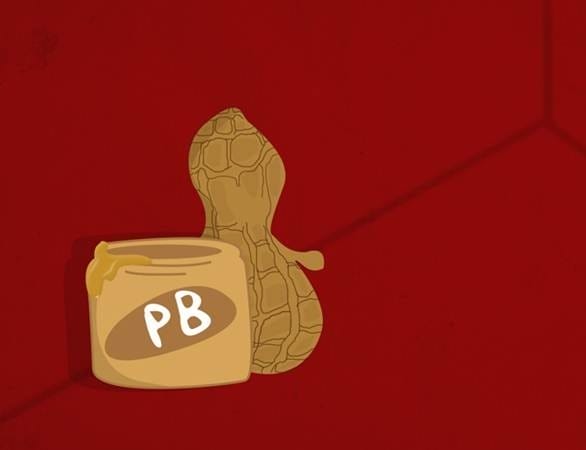
Step 31
Create a layer mask by selecting the icon that looks like a square with a circle on top. Make sure that your foreground and background is black and white. And with a soft round brush erase away some of the outlines.
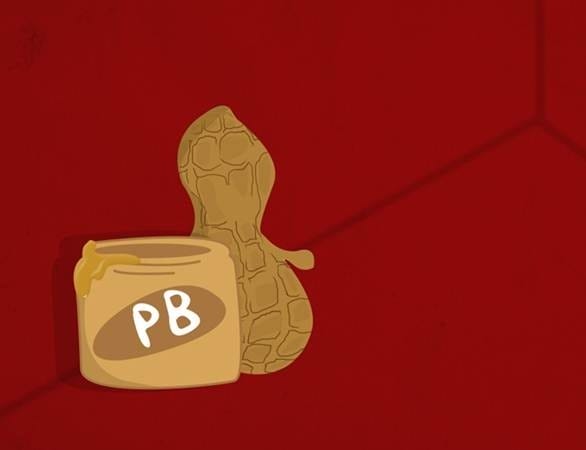
Step 32
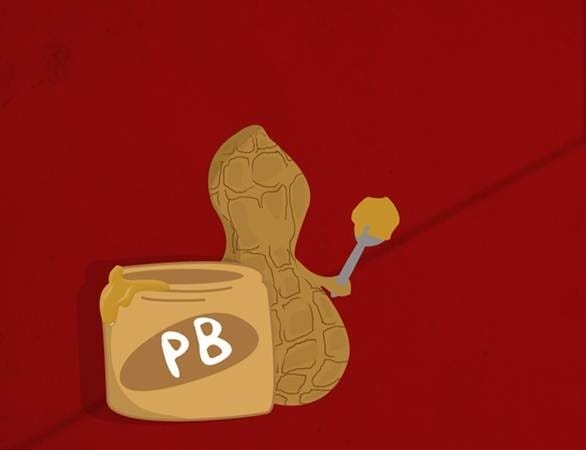
Now for the next couple of steps create a new layer for each one and use your pen tool to create the spoon, peanut butter and the hand covering up the spoon. Colors I used:
Spoon: #8d8b8b
Peanut Butter: #c6912a
Hand: #b2833b
Step 33
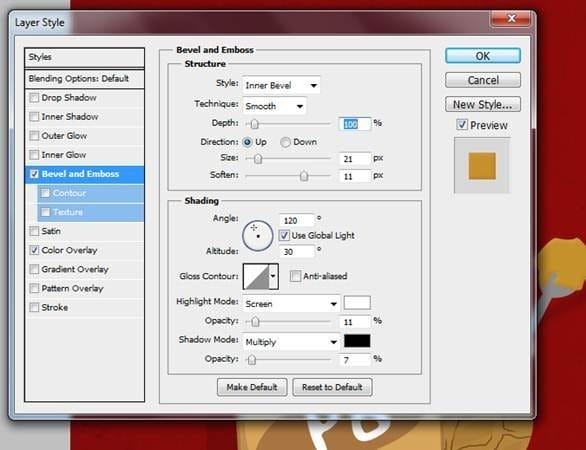
Add this layer style to the peanut butter.
Step 34
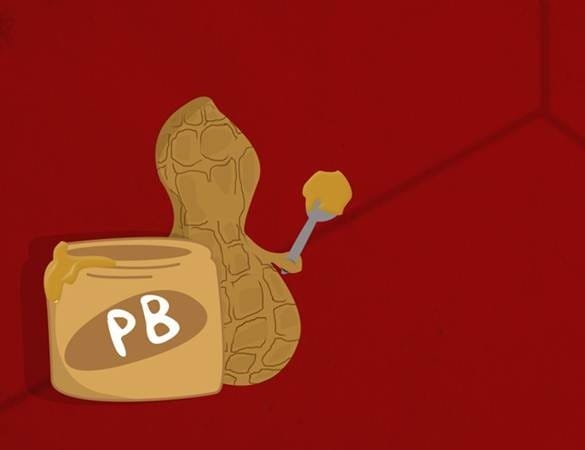
Under the hand layer, create a new layer and with a 50px soft round brush (#000000) add some shadow with the paint brush tool.
Step 35
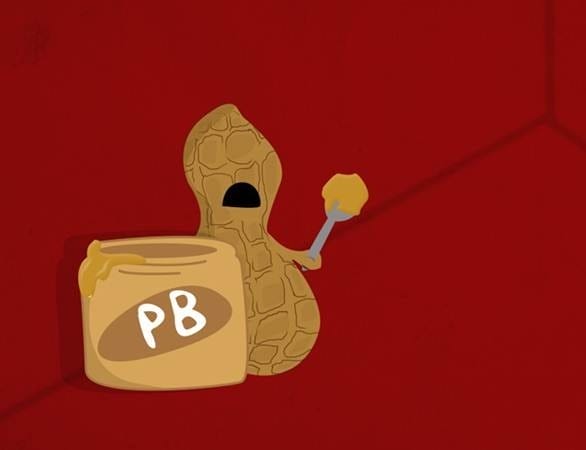
Create a new layer and with the pen tool create the mouth and the peanut around the mouth.
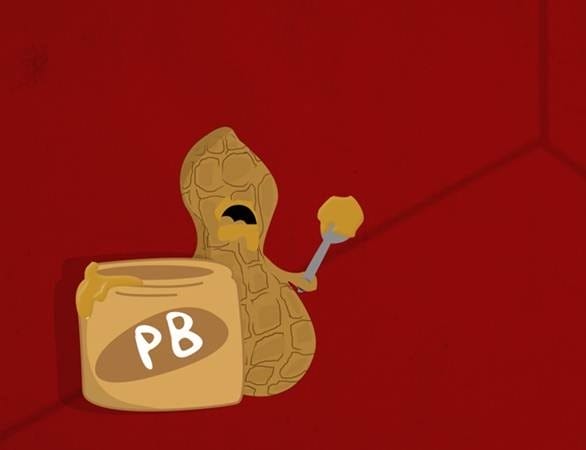
Step 36
Add some highlights.
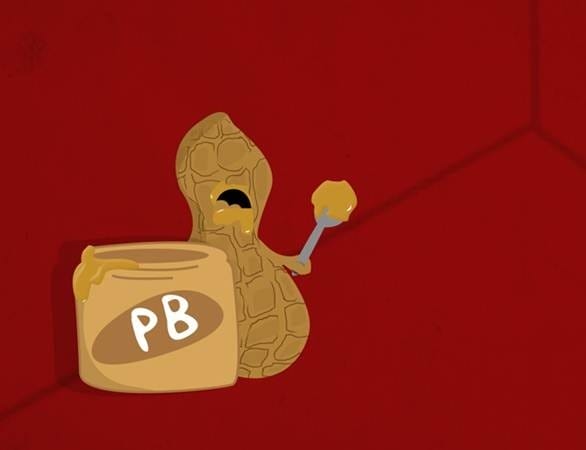
Step 37
With a 50px hard round brush use it to make the eyes and a smaller brush for the pupils.
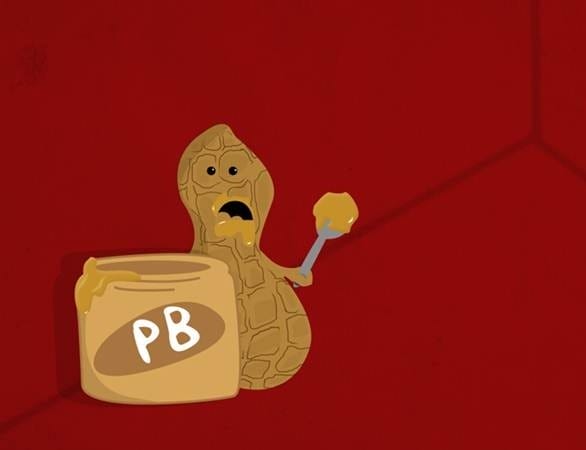
Step 38
Use the pen tool to create the eyebrows but remember to set the paint brush to a small pixel amount while using a soft round brush.
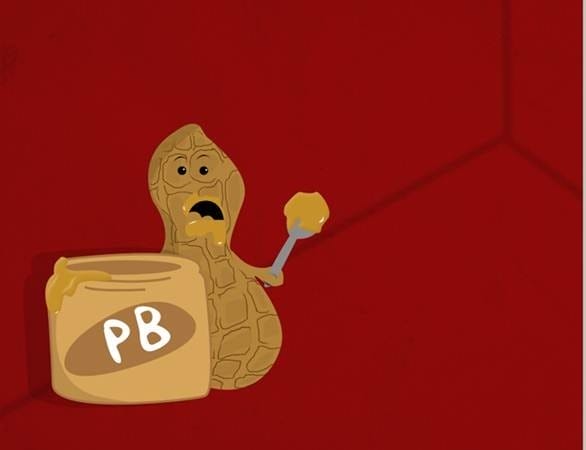
Step 39
Also use the pen tool to create the sweat beads flying off its head.
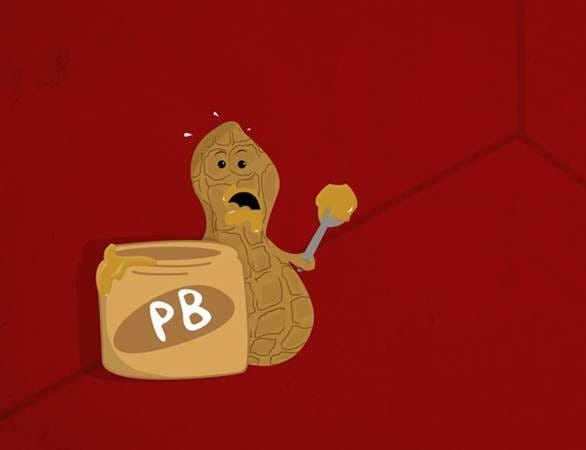
Step 40
Create the shadows of the peanut by filling them with black and changing the opacity to 14%.
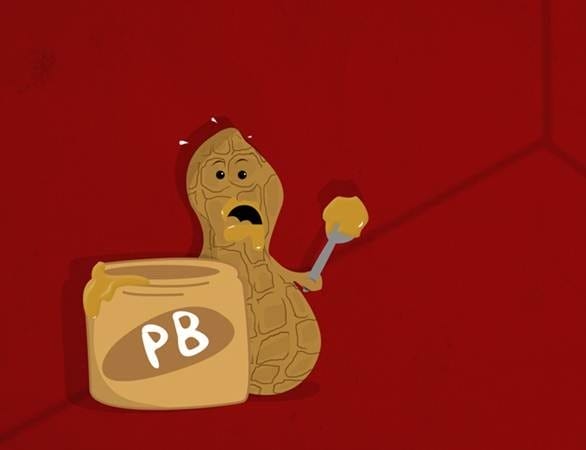
Step 41
Repeat the same steps that you used to make the first peanut to create the other two. Note: the color that I used for the child peanut is #76420d and the mother’s lips is #9d1313. Also don’t forget the shadows and placing certain layers into groups. Here is the process:
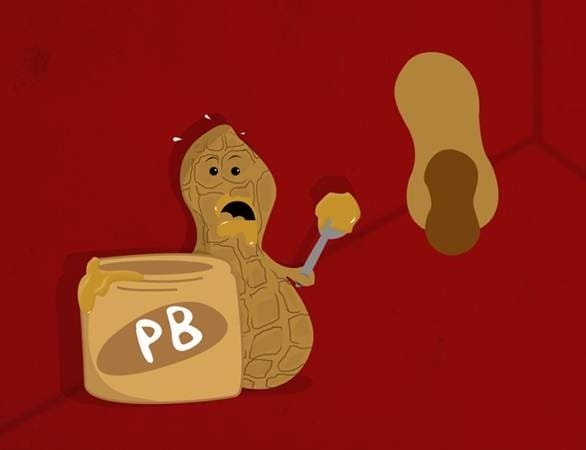
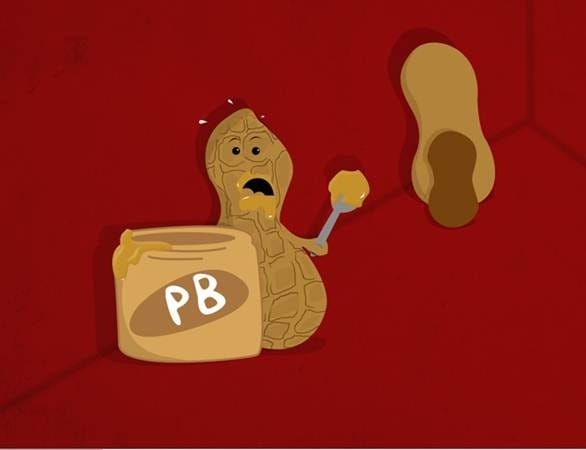
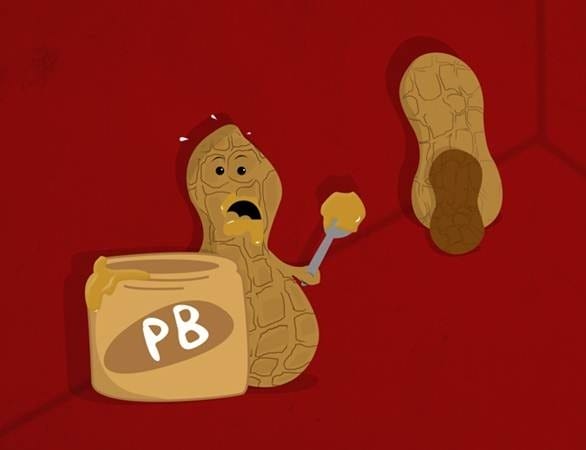
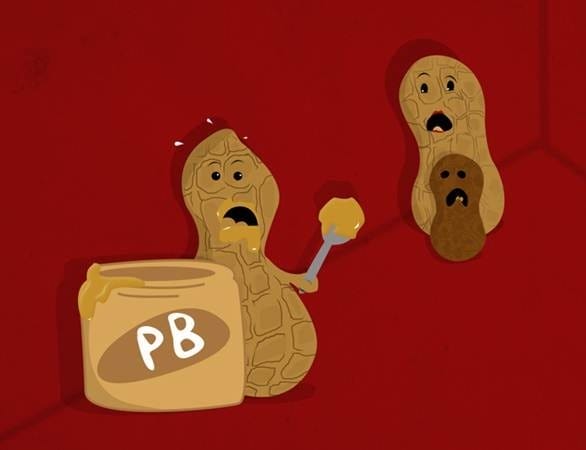
Final Results
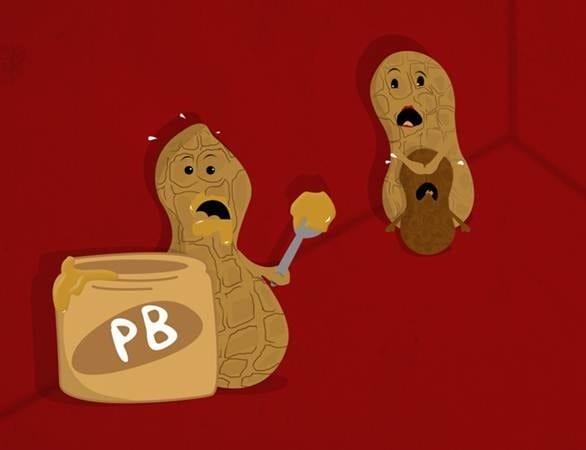
Download the PSD
Comic Illustration.zip | 15.36 MB
Download from Website
13 responses to “How to Create a Comic Illustration in Photoshop”
-
yeah i like it,you are creative
-
I love your all icon sets….and start to bookmark this!!!
-
hi I paul
-
MMMM yall should be very ashamed showin little kids to eat thier own family…..This is for all the little kids dont eat your own people like this picture is encourging to do!!Also this is very sad poor little kid forced to eat his people.
-
i like it !!!!!
-
Romans dad
-
this is great! thanks for sharing the knowledge.
-
The picture is so cute! I love it. It is very easy!
-
Great tutorial and some cool tips. Thanks for posting.
-
I like it
-
Cute picture…lots of great techniques for a beginner like me. Thanks!
-
Very good tutorial. Thank you.
-
Cute pic! Lol

Leave a Reply