Luminar AI lets you turn your ideas into reality with powerful, intelligent AI. Download the photo editor and see how you can completely transform your photos in a few clicks.
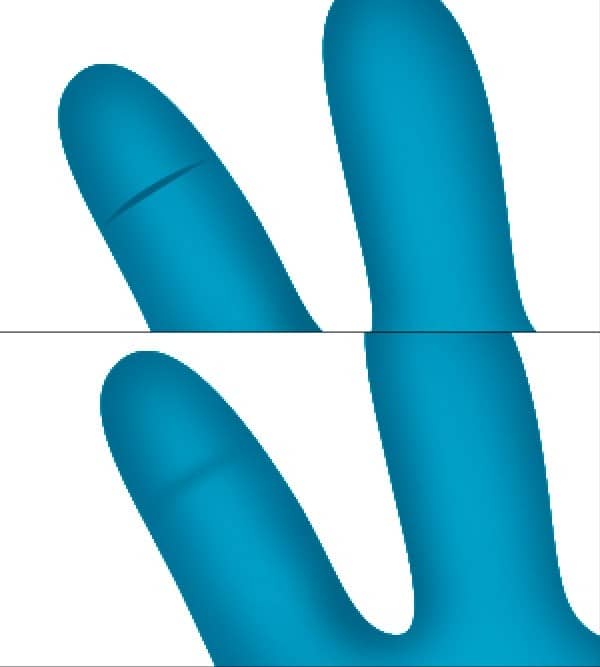
Step 37
Repeat step 36 and create more divisions in both fingers. To add lights on finger, create an ellipse of color #cfebf1 and apply gaussian blur of radius 7.5 pixels.
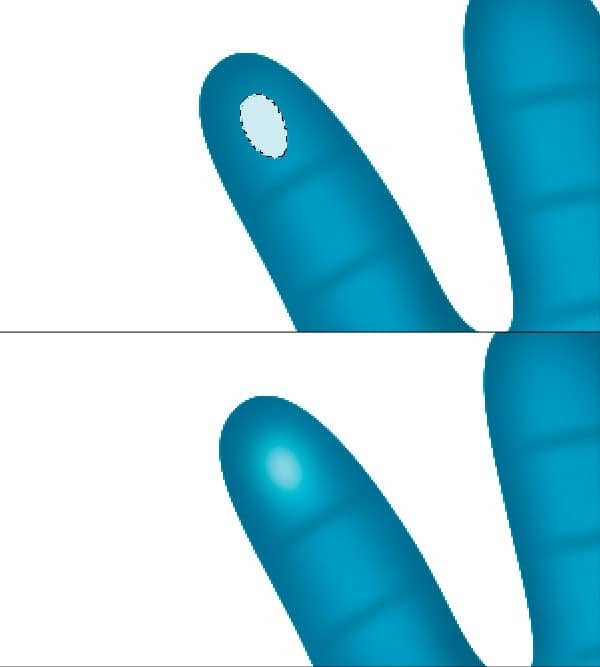
Step 38
Create more lights on finger by repeating step 37 then add lights in the hand wherever needed. Select soft brushes with some opacity to add lights on larger part like elbow.
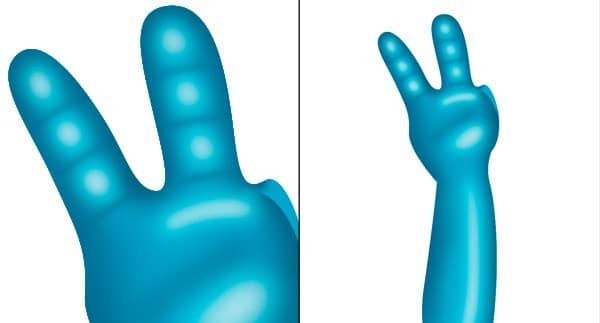
Step 39
Now create thumb by pen tool, change its color to #029fc4 then select a soft brush of color #017798 to add shadows in it. Repeat step 37 to add some lights on thumb.
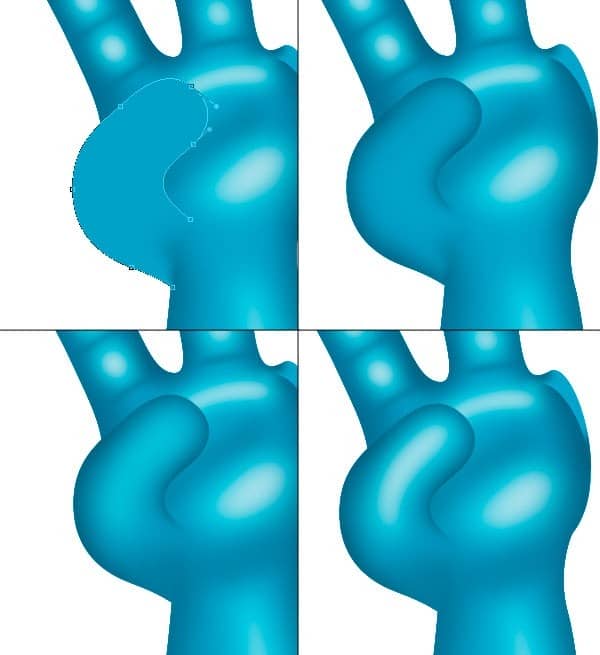
Step 40
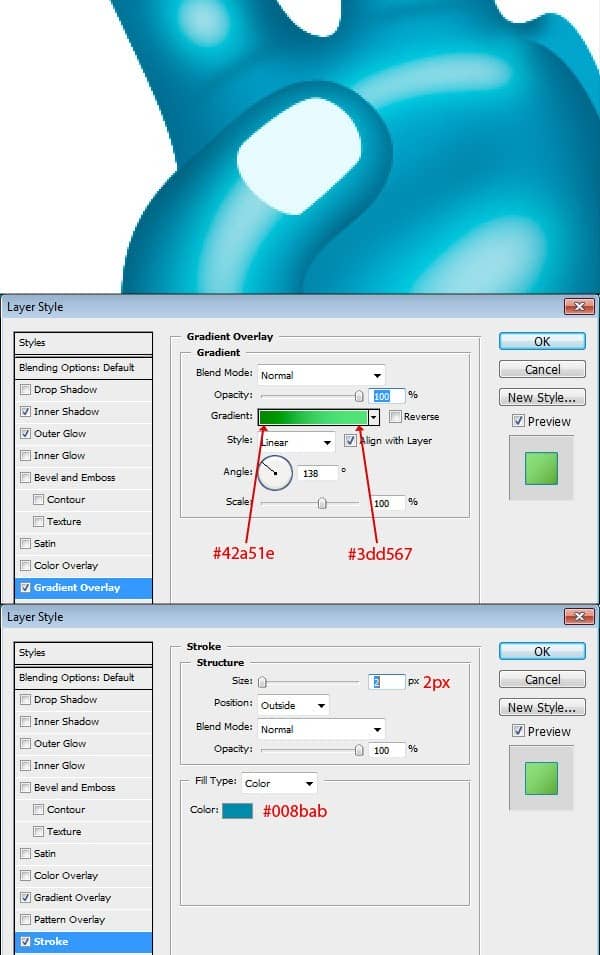
Next, we will create nail of thumb for this, create a nail shape and apply gradient layer style with colors #42a51e & #3dd567. Now add stroke layer style and add a stroke of color #008bab and size 2 pixels.
Step 41
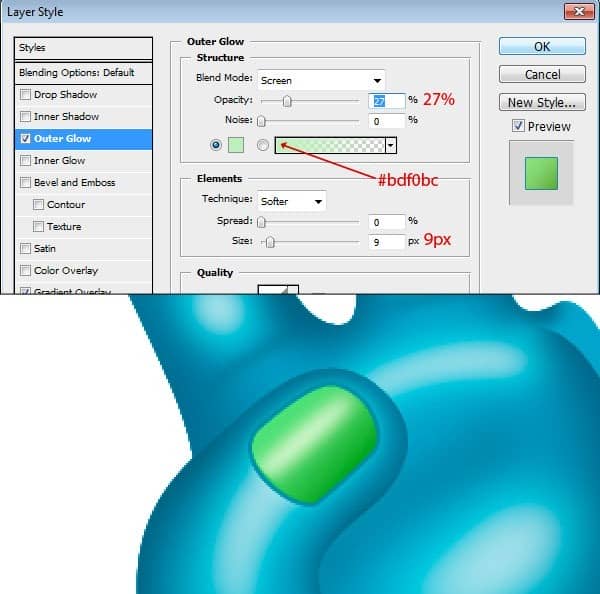
The nail look great, now add an outer glow adjustment layer with these settings. Create a new selection, fill it with color #d3fdcd and apply a gaussian blur of radius 4 pixels to add lights on nail. If everything done correctly, then nail would look like this.
Step 42
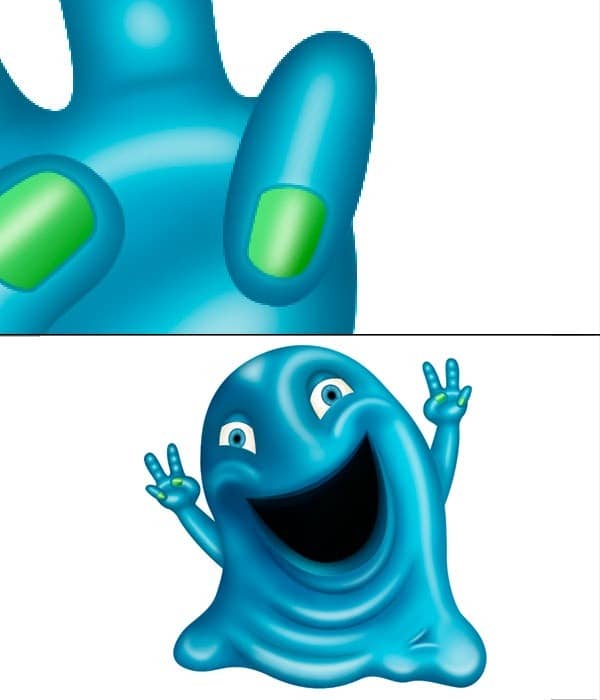
Create small finger by repeating step 39 - 41, add lights and shadows wherever needed. Group all hand layers and name it "right hand" then duplicate the group and align it at left side of character. Rename this group to "left hand".
Step 43 - Color enhancement.
It's time for some color adjustment so group all layers and name it "monster", duplicate the group and flatten it. Rename this file to "monster", duplicate this layer and set the blending mode to soft light & opacity 70%.

Step 44
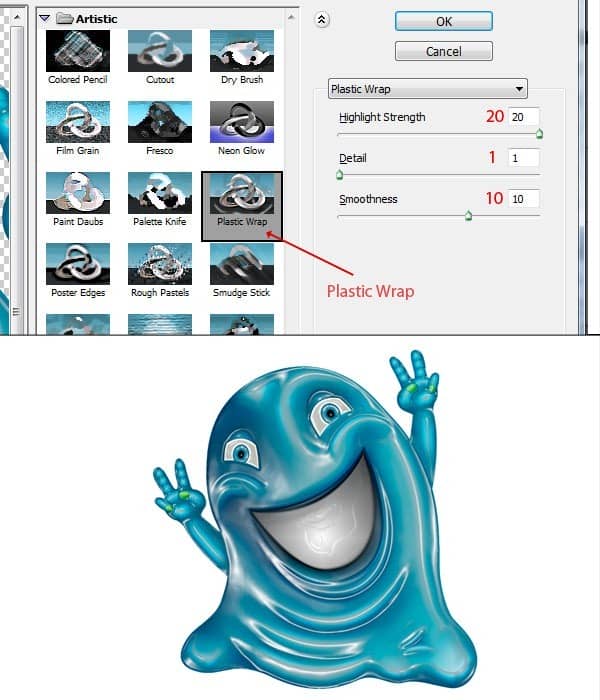
Duplicate monster layer, go to filer gallery and apply plastic wrap filter with these settings. Rename this layer to "plastic wrap".
Step 45
Select the plastic wrap layer, change the blending mode to overlay and set the opacity to 60%. This will add awesome reflections to the body of which will give it a realistic look to the character.

Step 46
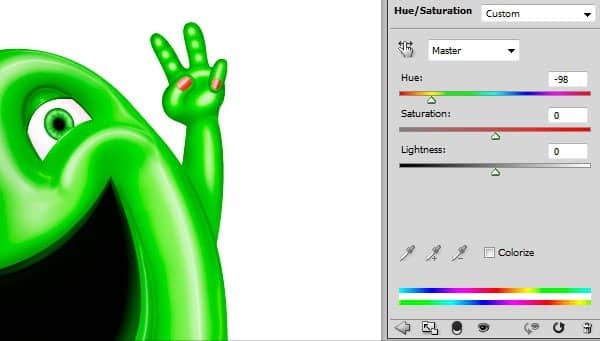
We are coming to the end of this tutorial, now we need to change the eye color. To change the eye color, add Hue - Saturation adjustment layer and change hue to -98. Name this layer to "eye coloring".
Step 47
Add a vector mask to "eye coloring" adjustment layer, select the mask and fill it with color black to hide everything. Now select a soft brush of color white and reveal the coloring to eyes.


8 comments on “How to Create a Cute Gooey Blob from Scratch Using Photoshop”
Thanks for the time you spent. really useful
Amazing turorial my friend!!Thank you very much!!!
I didn't get to try this yet, but read through the whole tutorial. I can't wait to try it. I think it's outstanding and clever use of many basic tools. I got lots of good ideas from it.
i hate this tutorial real talk
worst tutorial ever fk this shit
It is not SS-light-beams.color but it is SS-light-beams.abr that is an photoshop brush file to be import in photoshop to use. If you are using CS5 then you can just double click on brush and it will be loaded in your photoshop.
I am sorry if you found some problem while following the tutorial and understanding. I would keep in mind to create more detailed tutorials. Thanks for your feedback.
good,