Creating a realistic character from scratch is a challenge itself which requires a lot of focus on details of character like lights, shadows, reflection, etc. In this tutorial you will learn how to create a funny 3d character in Photoshop from scratch by using few most basic steps and techniques like lights, shadow, brushes, blur, etc.
Preview of Final Results
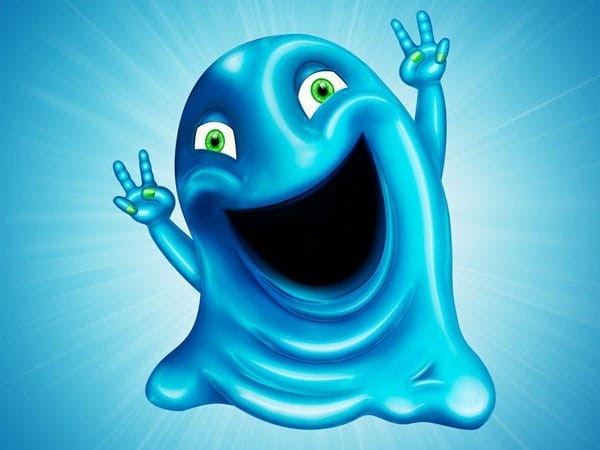
Download the PSD
Cute 3D Character.zip | 22.11 MB
Download from Website
Cute Gooey Blob Photoshop Tutorial
Step 1
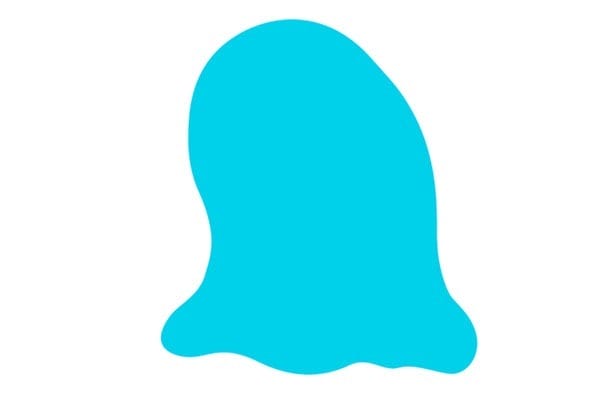
Create a new document of size 3000 x 2500 pixels and change its resolution to 300 dpi. Select the pen tool, turn shape layer on and create an outline of character. Name this layer to “Basic Shape” and change its color to #71d0e8.
Step 2
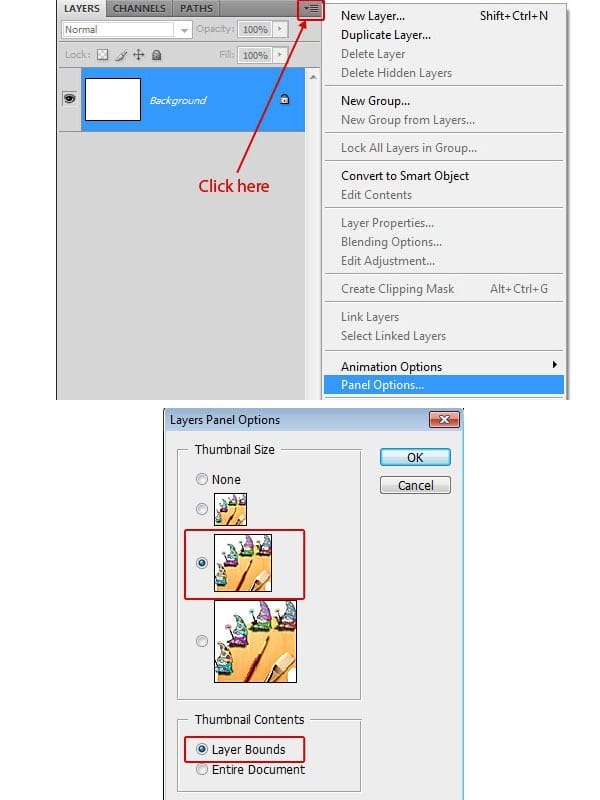
Now before going ahead with tutorial, first we will edit layer panel options for this click on top right corner of layer panel and select panel options. A layer panel option window will open then select “Layer Bounds” option in layer content section.
Step 3
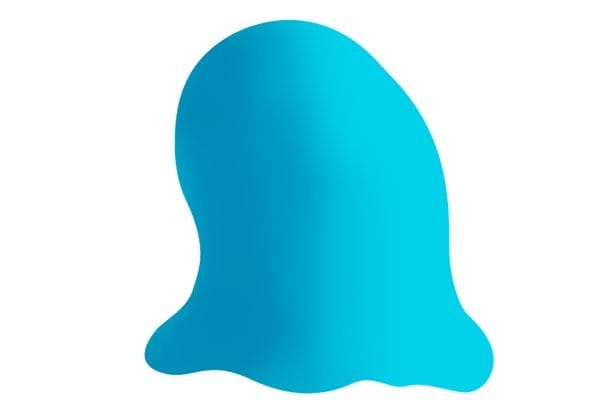
Create a new layer, select Ctrl + click on basic shape layer to get its selection. Select a soft brush of color #118ab2 and create shadows on left side of character.
Step 4
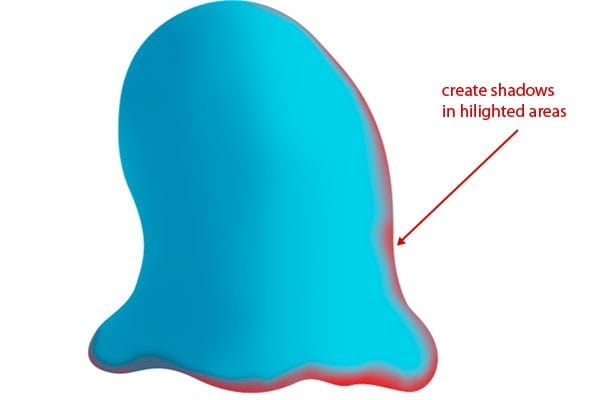
Again create a new layer, set foreground color to #1e8cb4 and start creating shadows along edges of basic shape.
Step 5
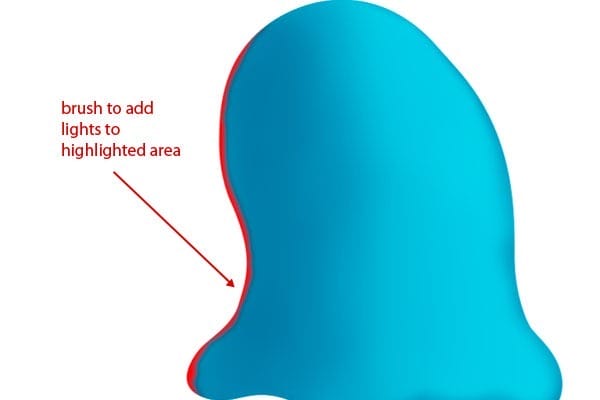
Select a soft brush of color #44b3d7 and brush to add some lights to the edges on the left part of character. However, you can use pick tool to select light and dark tone of color, which is a best way when you are using similar shades of a color. I have mentioned colors to save your time, but you can choose colors yourself.
Step 6
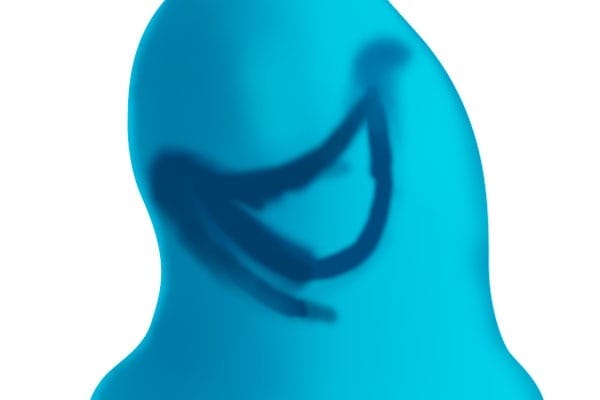
Now we will define the main parts of character, to do this, select a soft brush, change its color to #064168 and start outlining mouth.
Step 7
Select pen tool, turn shape layer on and create mouth shape and name this shape layer to “mouth”. Change its color to black.

Step 8
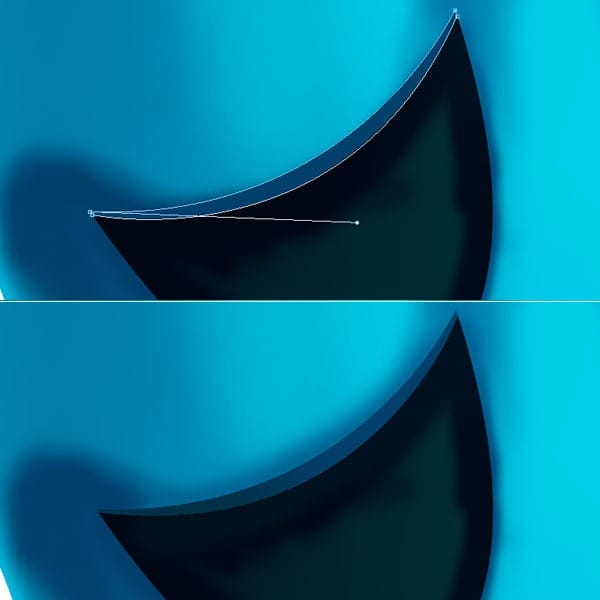
Now we have decided mouth position and it’s time to create lips of character. To do this create a shape layer, change its color to #00406c and rename this layer to “upper lip”. Add some shadows to give it more realism.
Step 9
Similarly create lower lip with shape layer and change its color to #4aabce. Add some shadows and lights wherever needed to give it depth.
8 responses to “How to Create a Cute Gooey Blob from Scratch Using Photoshop”
-
Thanks for the time you spent. really useful
-
Amazing turorial my friend!!Thank you very much!!!
-
I didn’t get to try this yet, but read through the whole tutorial. I can’t wait to try it. I think it’s outstanding and clever use of many basic tools. I got lots of good ideas from it.
-
i hate this tutorial real talk
-
worst tutorial ever fk this shit
-
It is not SS-light-beams.color but it is SS-light-beams.abr that is an photoshop brush file to be import in photoshop to use. If you are using CS5 then you can just double click on brush and it will be loaded in your photoshop.
-
I am sorry if you found some problem while following the tutorial and understanding. I would keep in mind to create more detailed tutorials. Thanks for your feedback.
-
good,
-


Leave a Reply