Luminar AI lets you turn your ideas into reality with powerful, intelligent AI. Download the photo editor and see how you can completely transform your photos in a few clicks.


Step 30
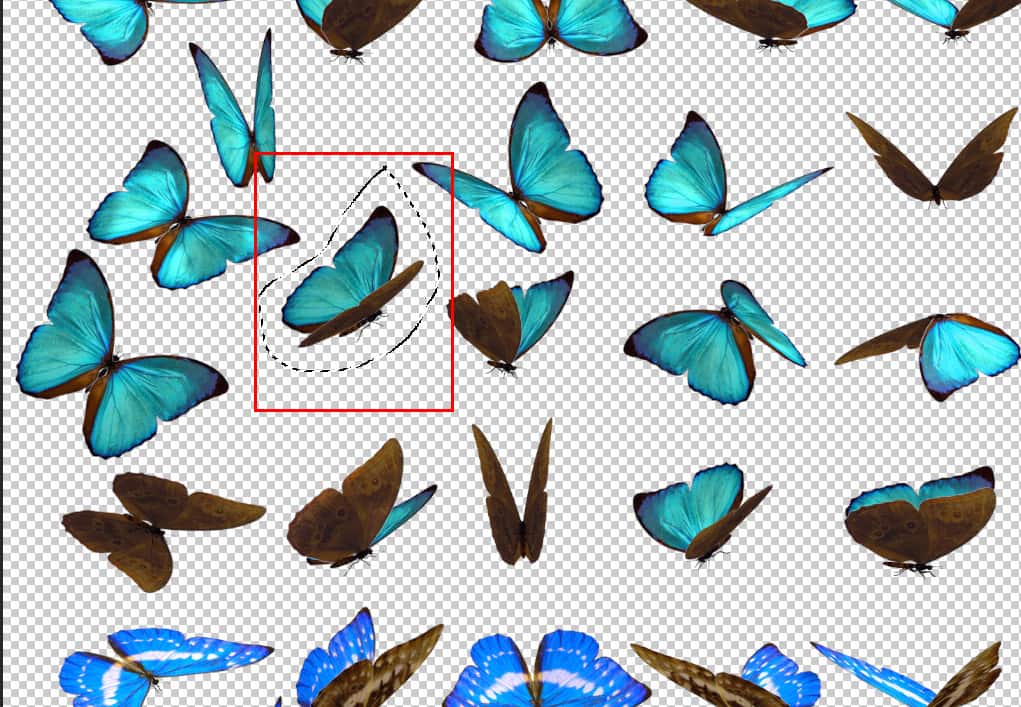
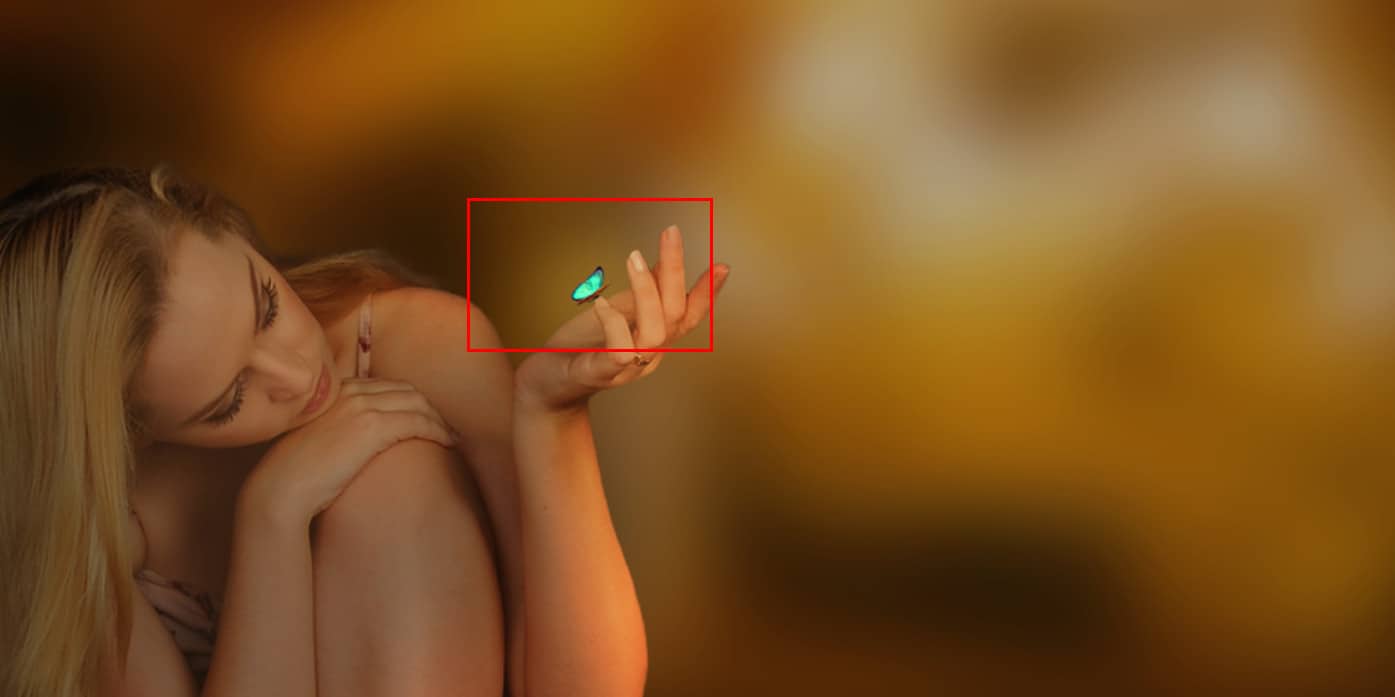
Next we will openButterfly. After you open the image, use Lasso Tool(L) and start selecting butterfly. After the selection area has been created, simply copy (Ctrl / Cmd + C) and Paste (Ctrl / Cmd + V) it to our work canvas. Then position the image with the transform tool (Ctrl / Cmd + T). Hold Alt + Shift and resterize like image below. In Photoshop CC only hold Alt to resterize al sides together.
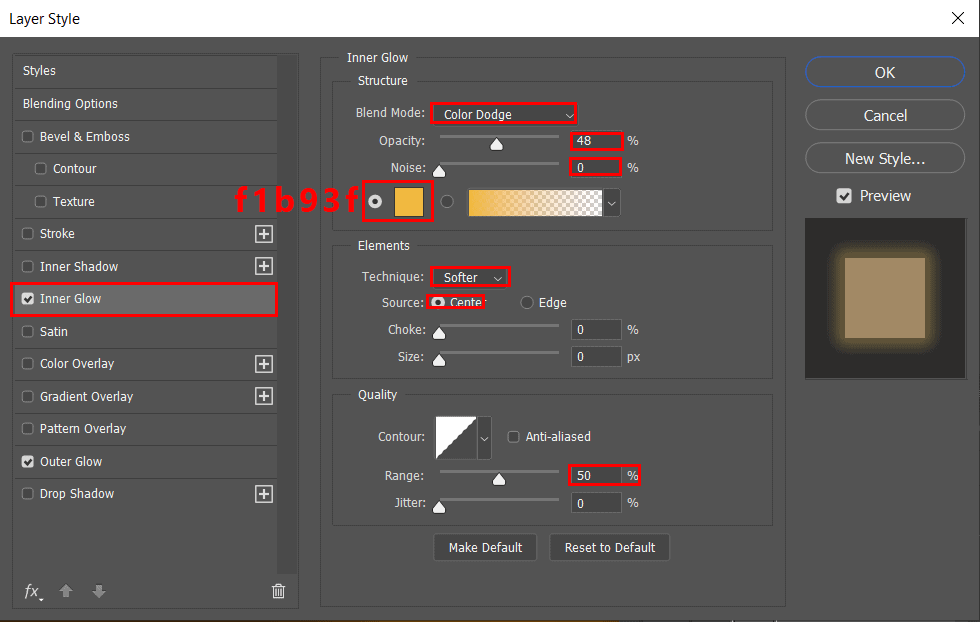
Right click again and select Blending Options. We now get an Layer Style options window.
Inner Glow
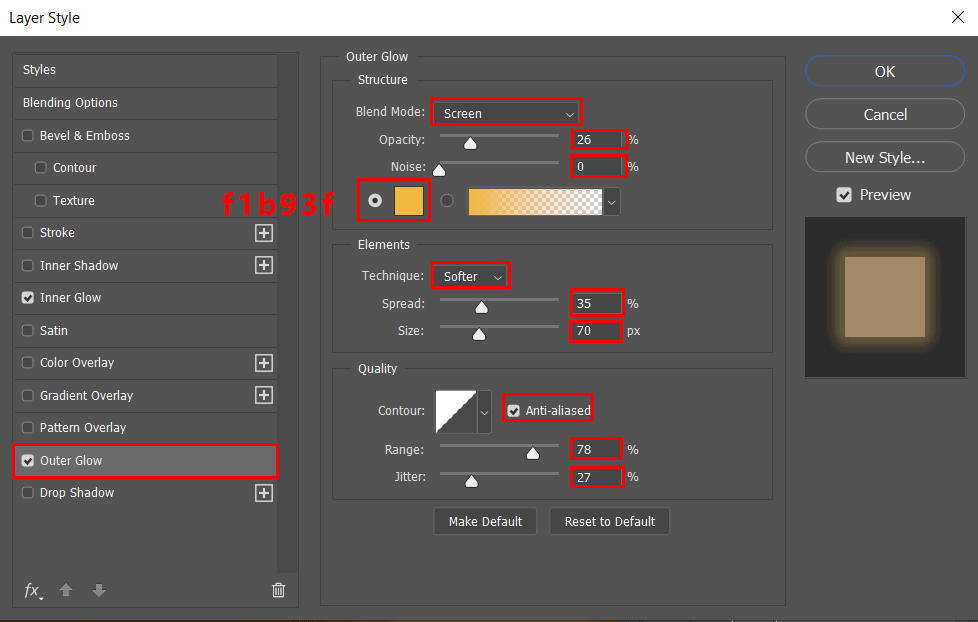
Outer Glow
Step 31
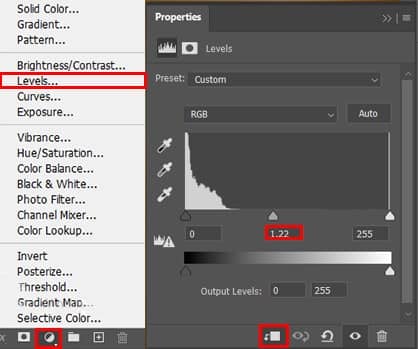
Add Adjustment Layer "Levels"
Step 32
Add Adjustment Layer "Hue/Saturation"
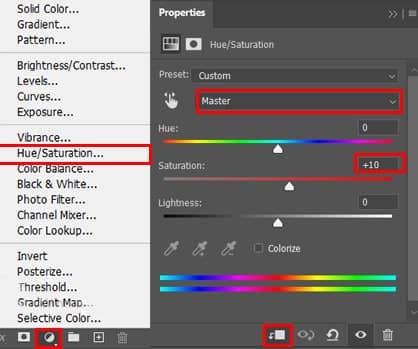
Step 33
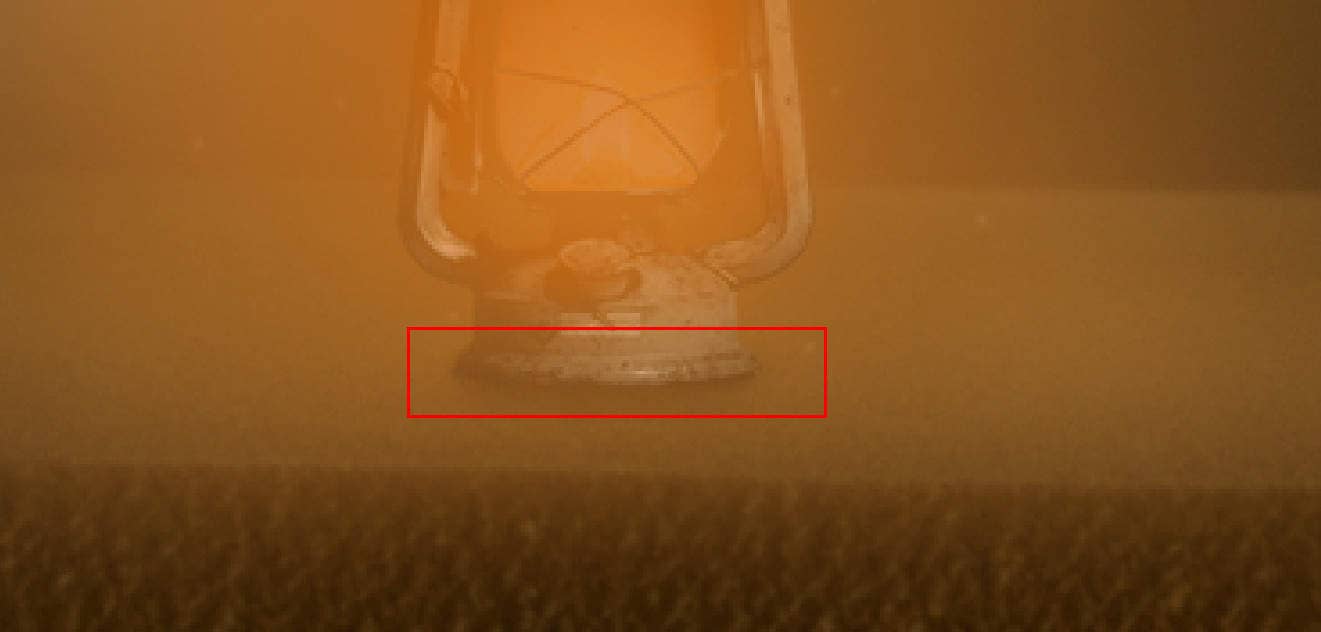
Next, we add Fog but first we need to import brushes. Select a Brush Tool(B) and right click on background. Now click on the gear icon and Import Brushes (Select a downloaded brush).
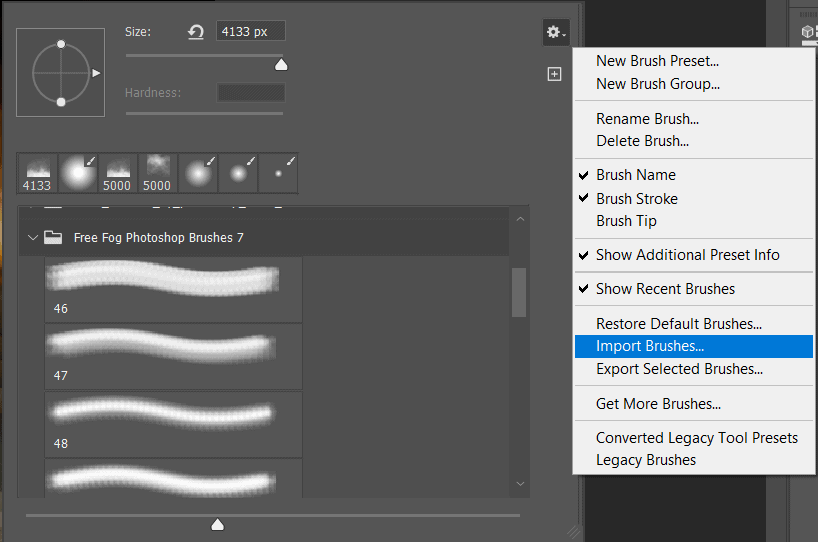
Step 34
Create a new layer with Foreground color White. Select Brush Tool(B) and right click on background to select Fog folder. Opacity for Brush set to 25% and for layer Blend mode set to Screen with Opacity 35%.
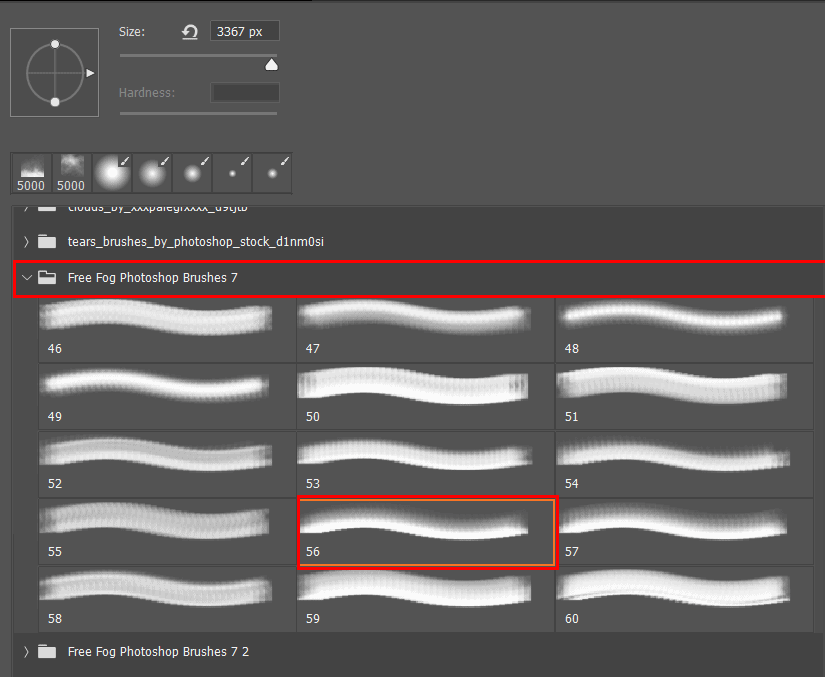
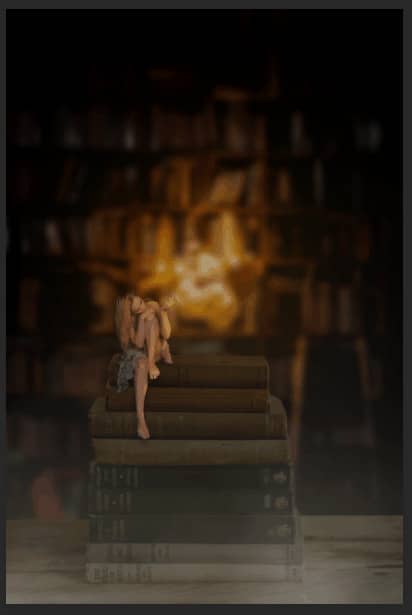
Step 35
Next, add some fire particles, After you open the image, use Rectangular Marquee Tool(M). With the Rectangular Marquee tool, drag over the area you want to select. Hold down Shift as you drag to constrain the marquee to(release the mouse button before you release Shift to keep the selection shape constrained).
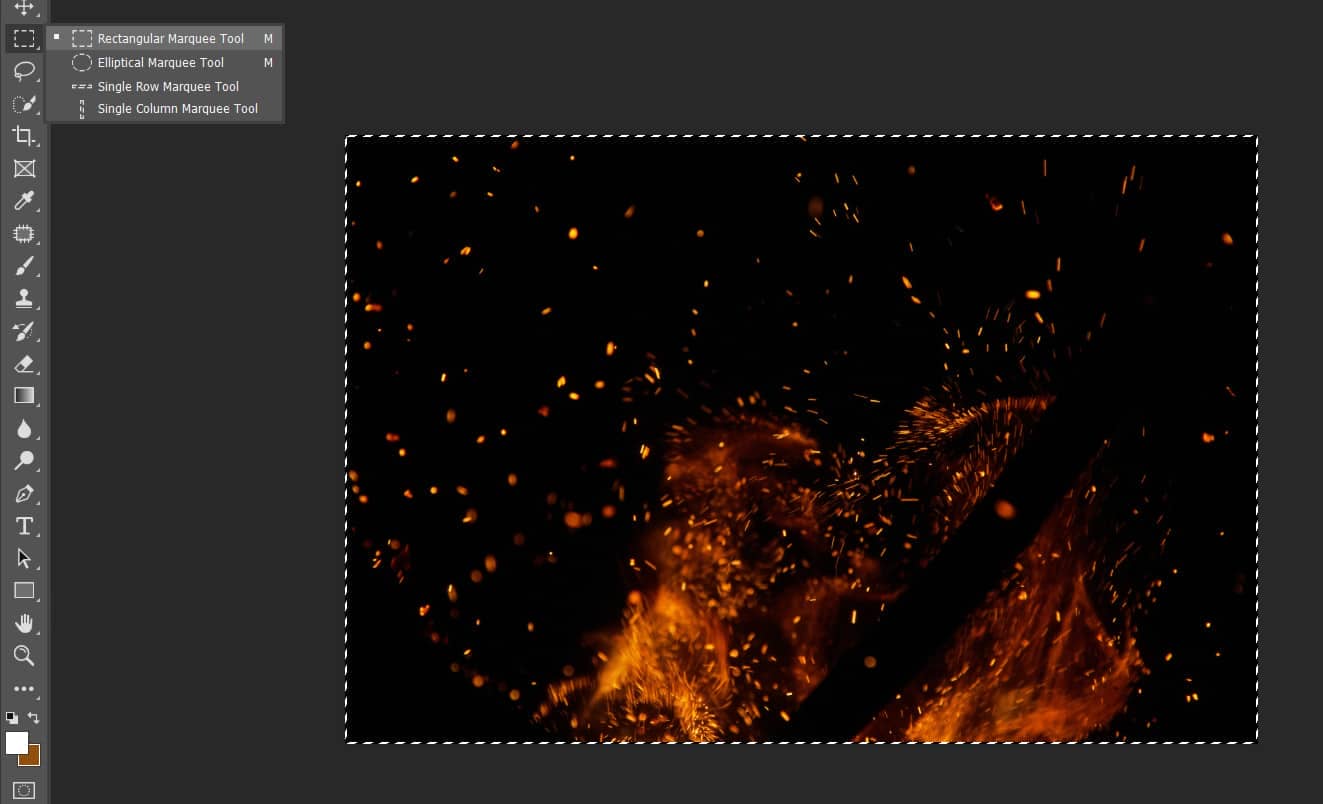
After the selection area has been created, simply copy (Ctrl / Cmd + C) and Paste (Ctrl / Cmd + V) it to our work canvas. Then position the image with the transform tool (Ctrl / Cmd + T). Hold Alt + Shift and resterize like image below. In Photoshop CC only hold Alt to resterize al sides together.
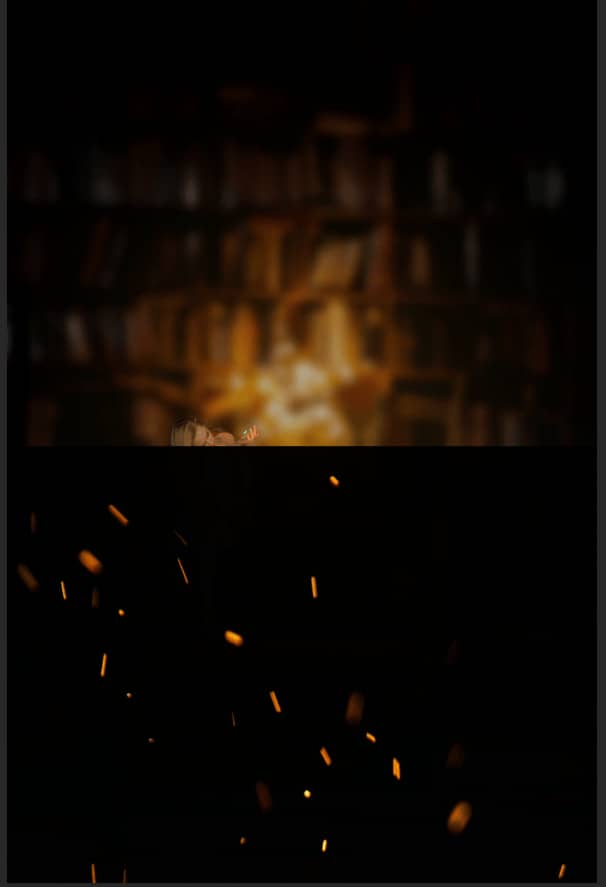
Blend mode change to Screen with Opacity 14%.
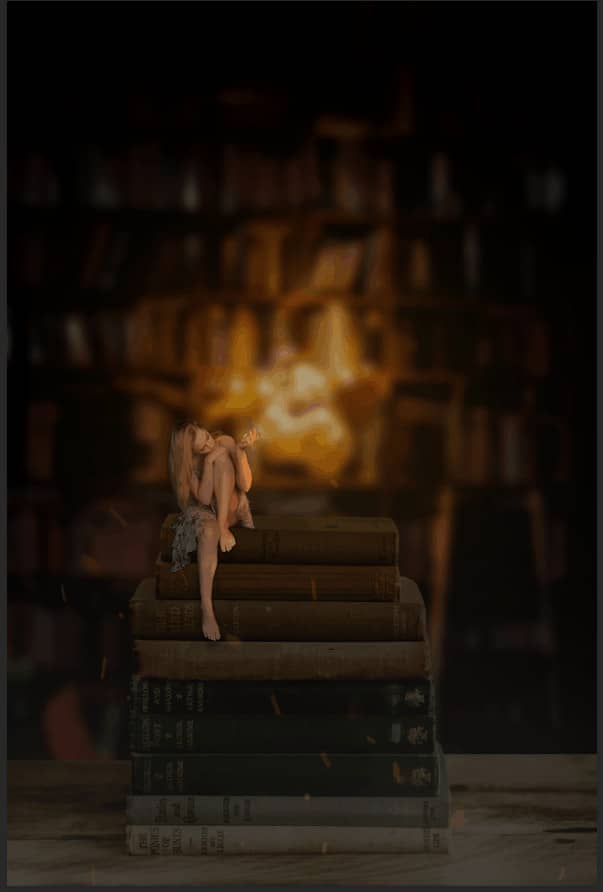
Step 36
Add Adjustment Layer "Gradient Map" Blend mode change to Hue with Opacity 85%.
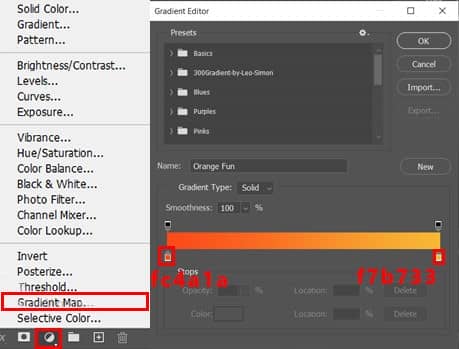
Step 37
Add Adjustment Layer "Gradient Map" Blend mode change to Soft Light with Opacity 30%
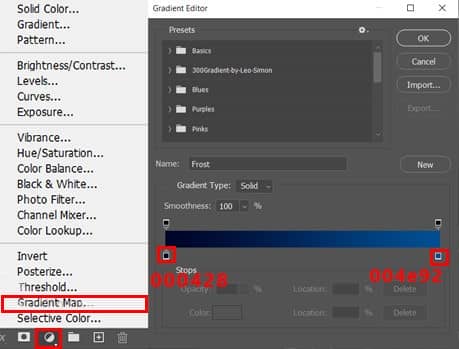
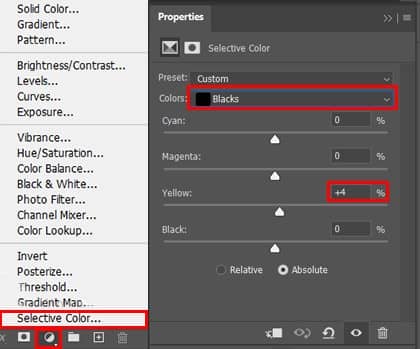
Step 38
Add Adjustment Layer "Selective Color"
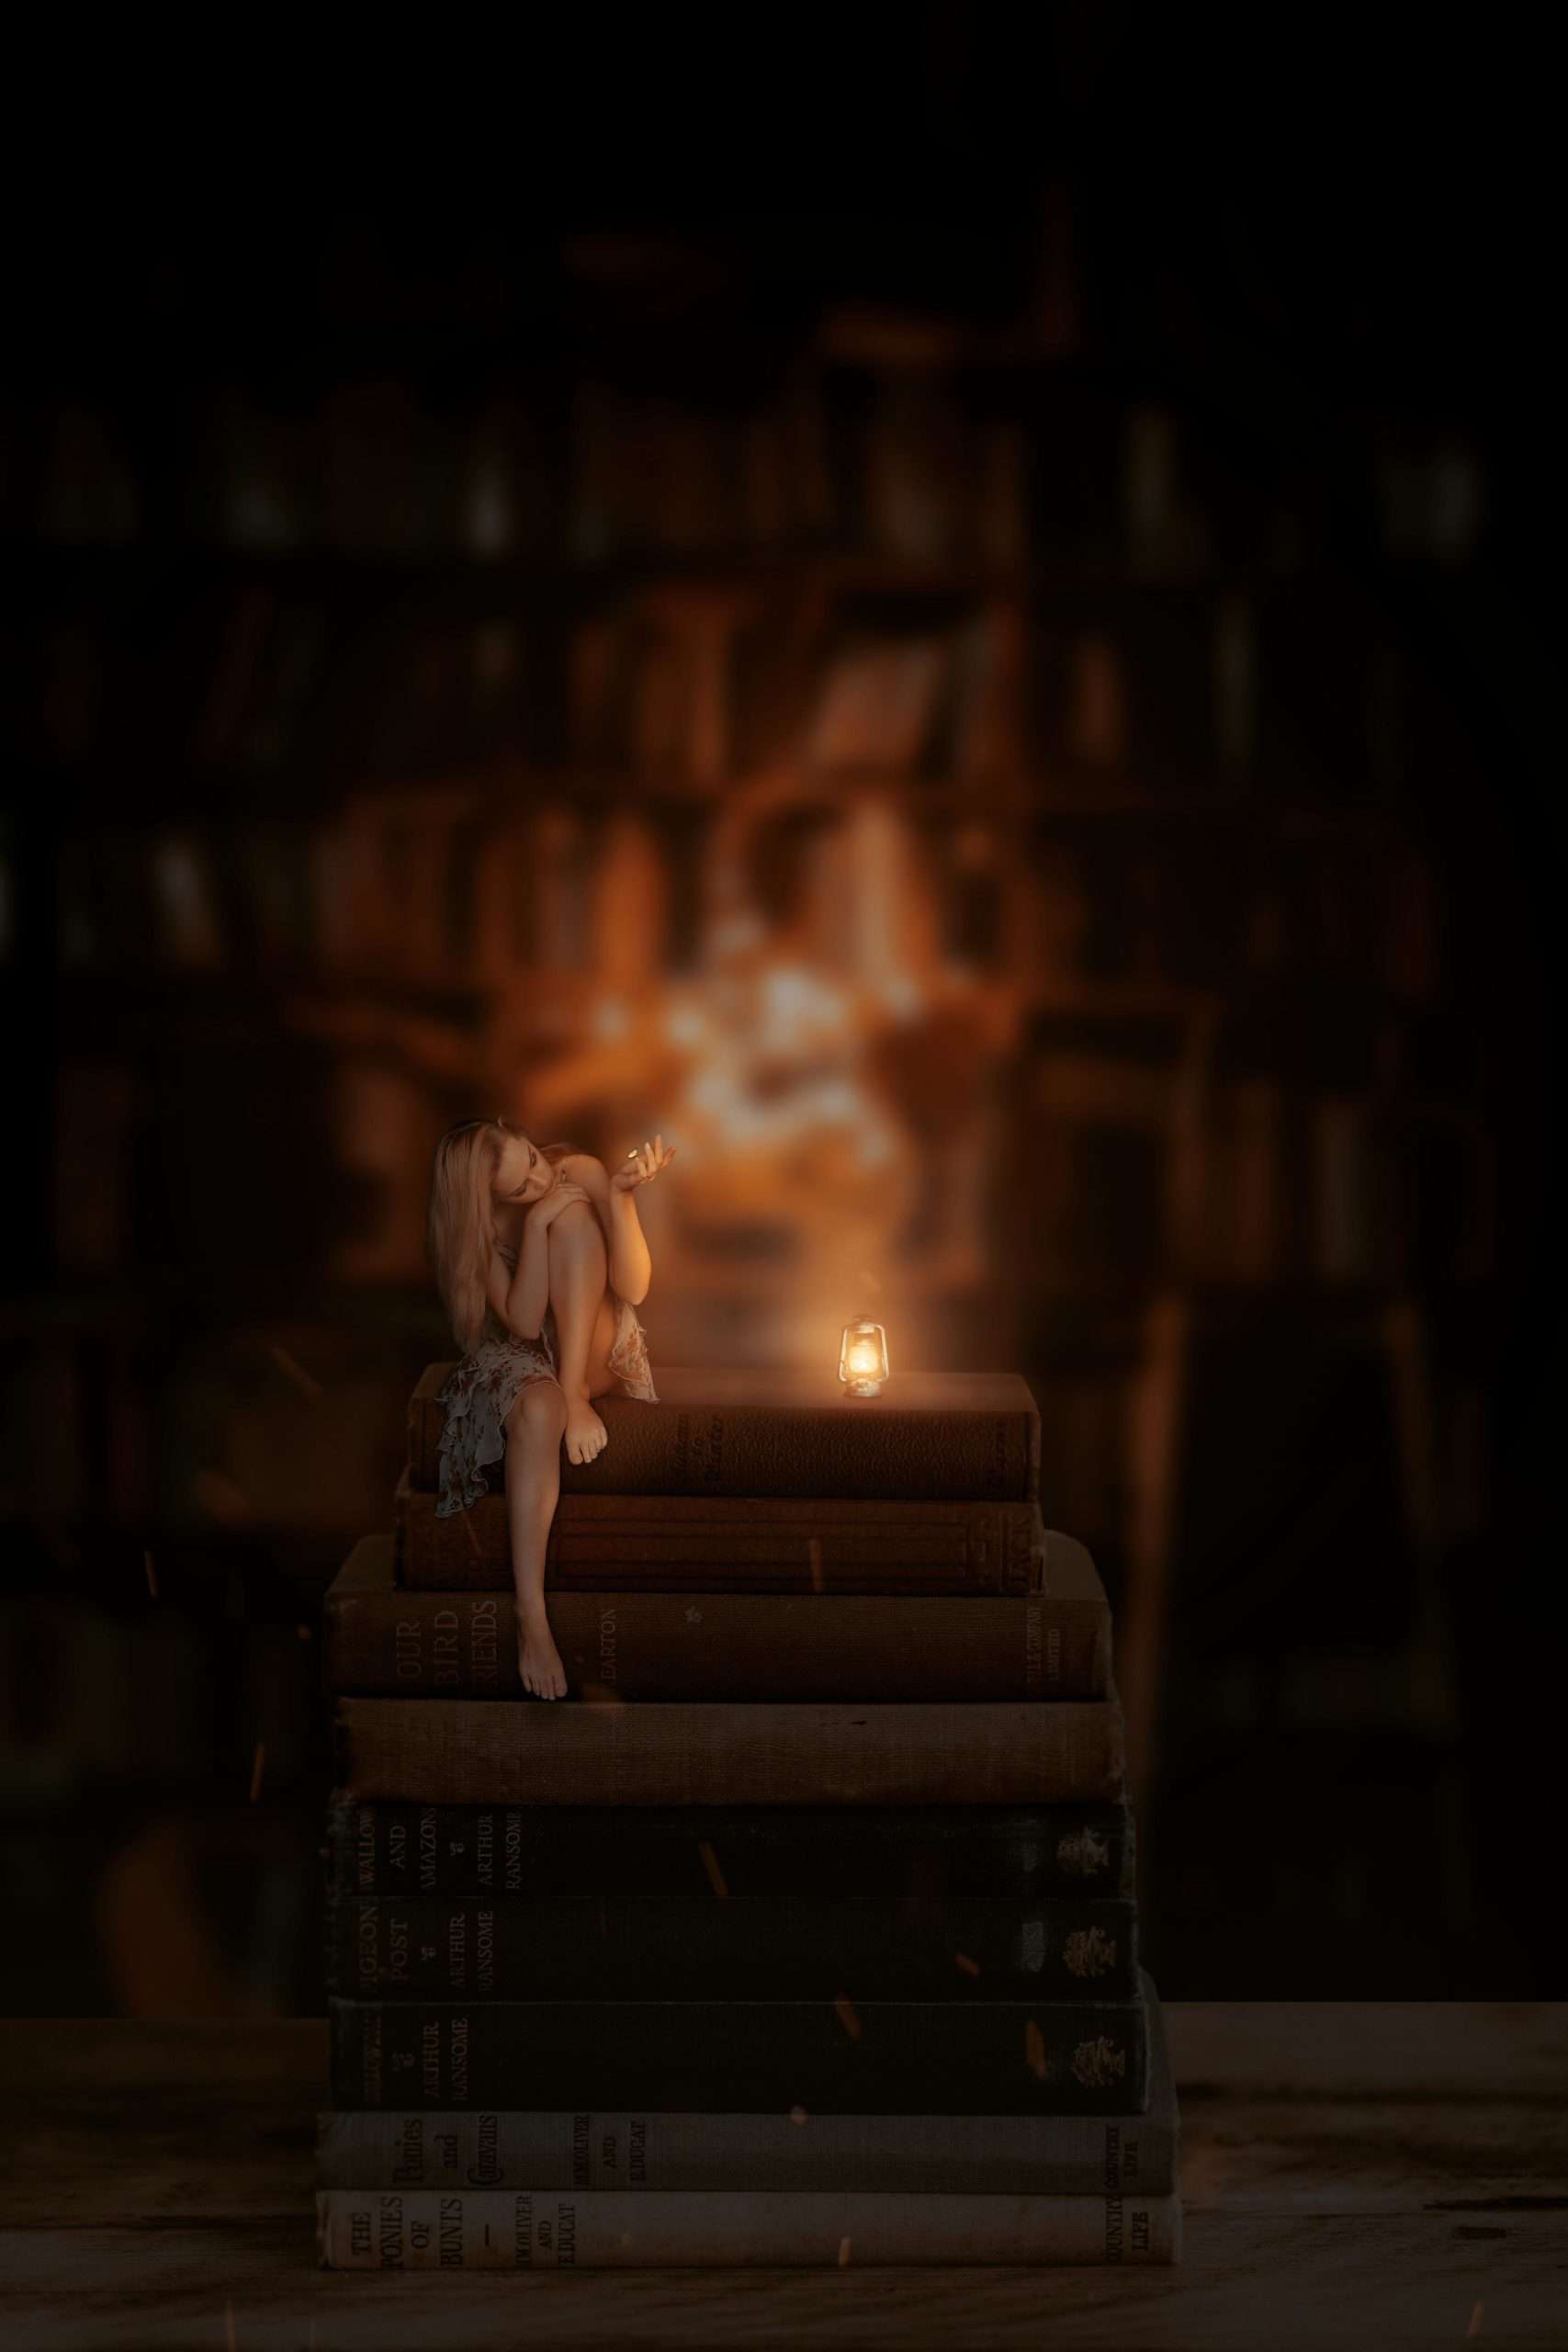
And finally, everything should look like this.

Final Results
