Luminar AI lets you turn your ideas into reality with powerful, intelligent AI. Download the photo editor and see how you can completely transform your photos in a few clicks.
Step 20
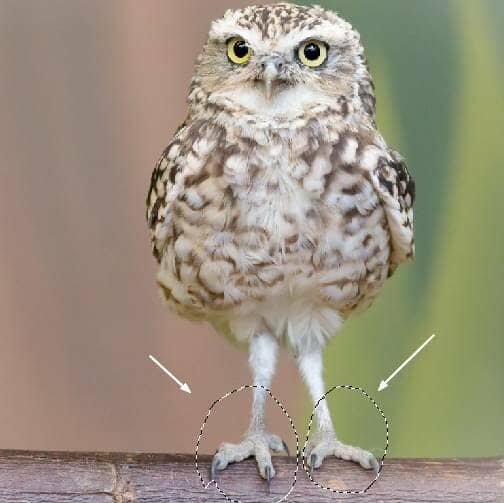
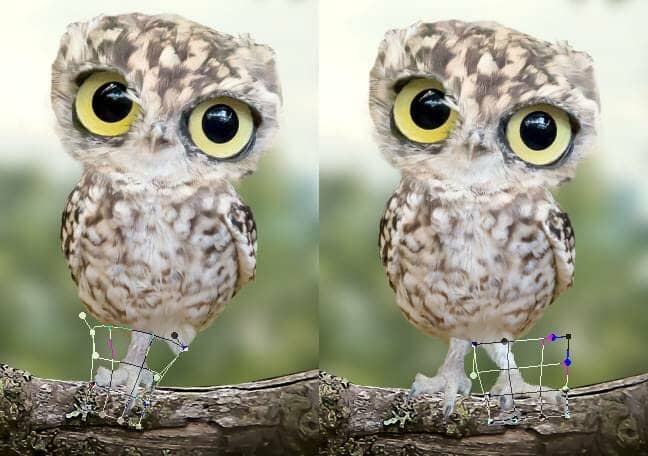
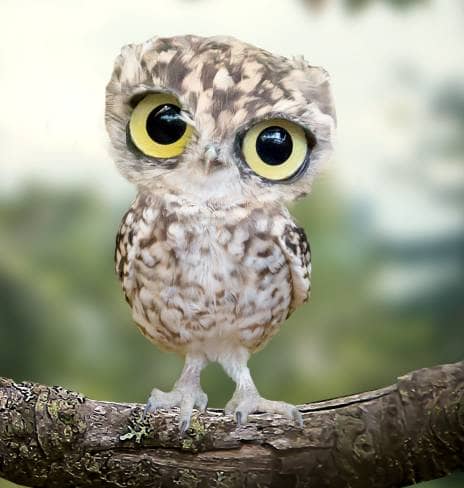
Take the lower of the owl's legs from the original to add to the new owl. Place them below the body and use Ctrl+T with the Warp mode as usual to reform the legs. Add a mask to each of these layers to blend the legs with the body.
Step 21
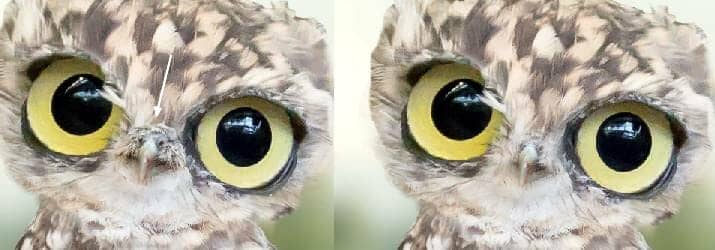
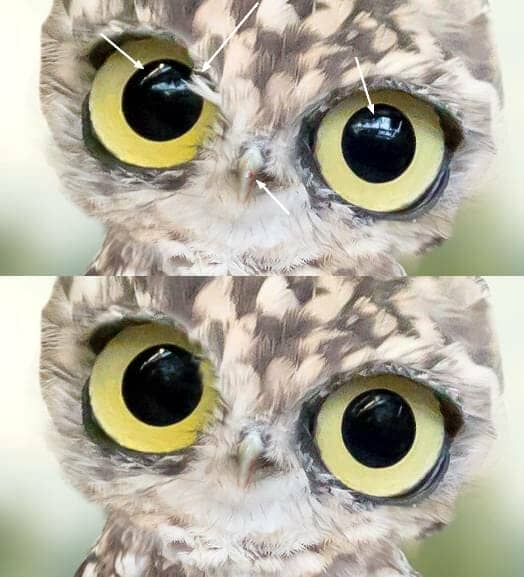
Create a new layer and use the Clone Tool (S) to remove some details around the eyes , the eyes' reflection and the small hurt on his beak.
Step 22
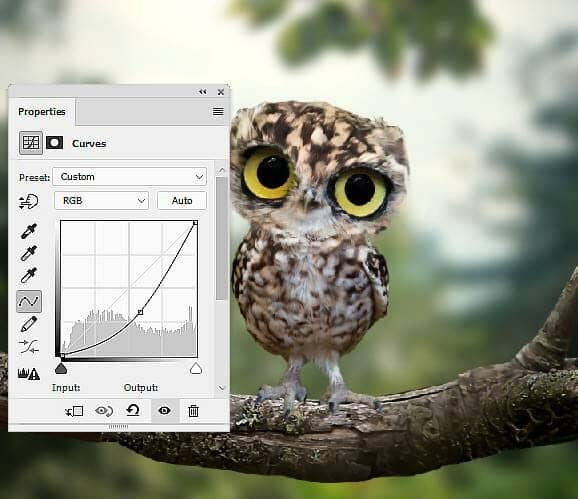
Select all of the owl layers and hit Ctrl+G to make a group for them. Change the group's mode to Normal 100% and create a Curves adjustment layer within the group to reduce the lightness of the new owl.
Step 23
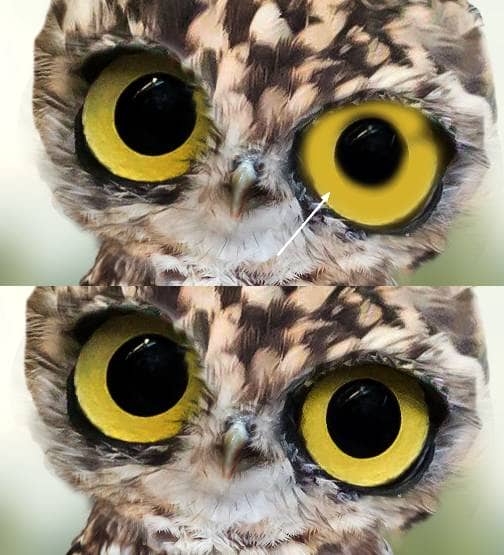
Make a new layer and use a soft brush with the color #d5b224 to paint within the yellow part of the right eye of the owl (from the viewer). Change this layer mode to Color 70% to make this eye's color fit the left one.
Step 24
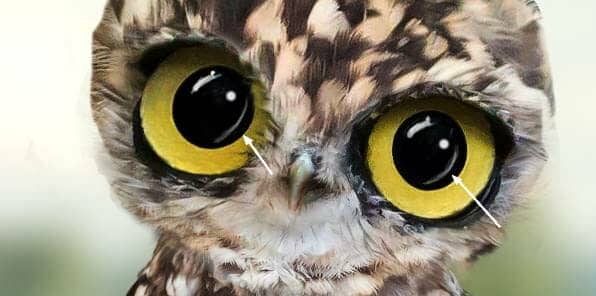
Add a new layer and and use a small brush with the color #e0e1e4 to repaint the reflection inside the eyes.
Step 25
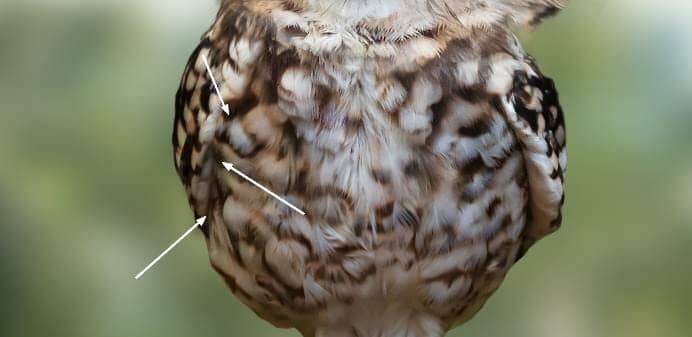
Create a new layer and use a small brush with the color #120c04 to paint shadow for the wing on the left.
Step 26
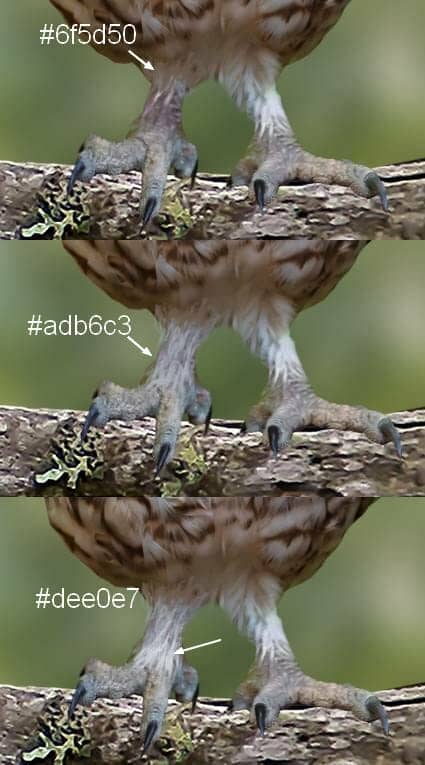
Make three layers and use a small brush with the colors #6f5d50, #adb6c3 and #dee0e7 to paint the tiny feathers on and around the left leg.
Step 27
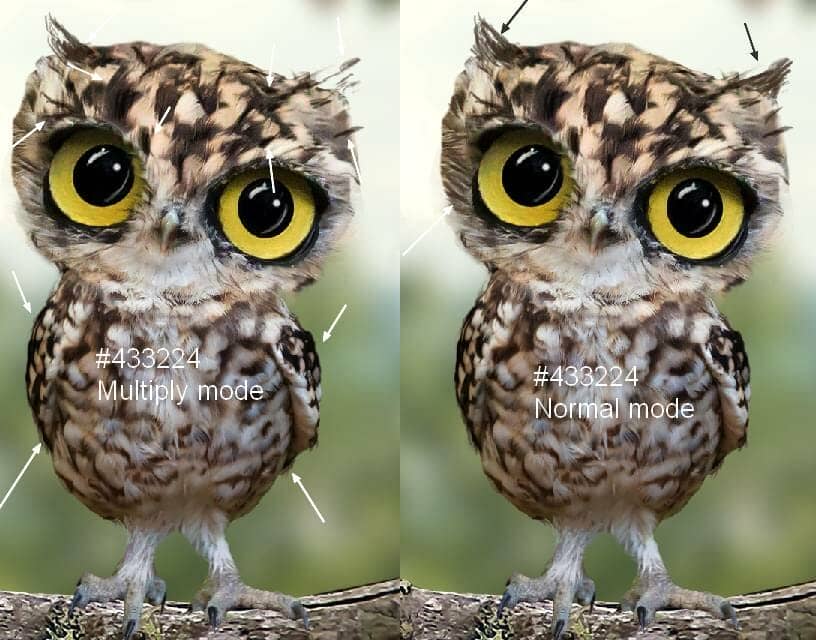
Create two layers and use a small brush with the color #433224 to paint dark feathers/details around the head and body of the owl. Change the mode of the first layer to Multiply 100% (the second one keeps Normal mode).
Step 28
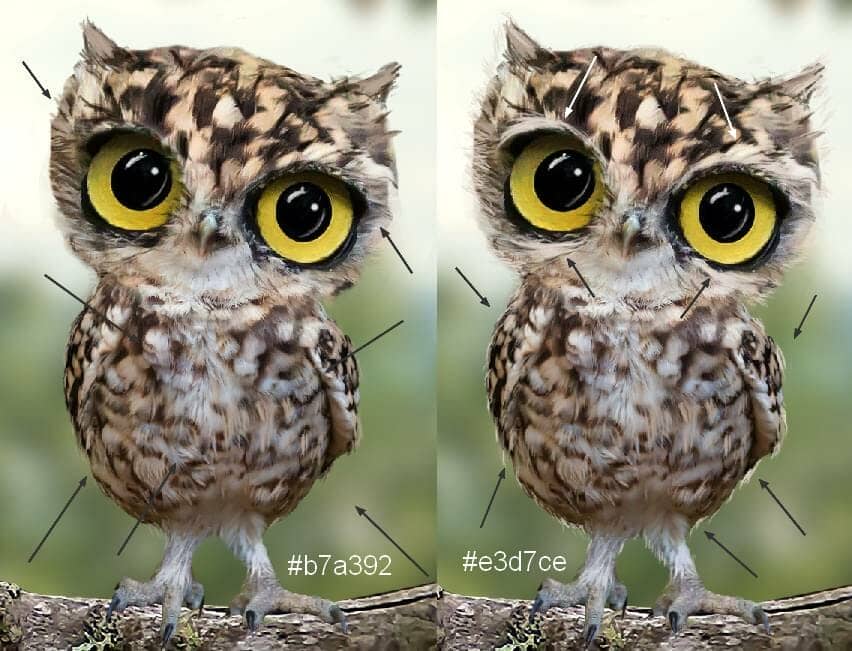
Make two layers and use a small brush with the colors #b7a392 and #e3d7ce to paint bright feathers around the eyes, on the body and the highlights around the owl.
Step 29
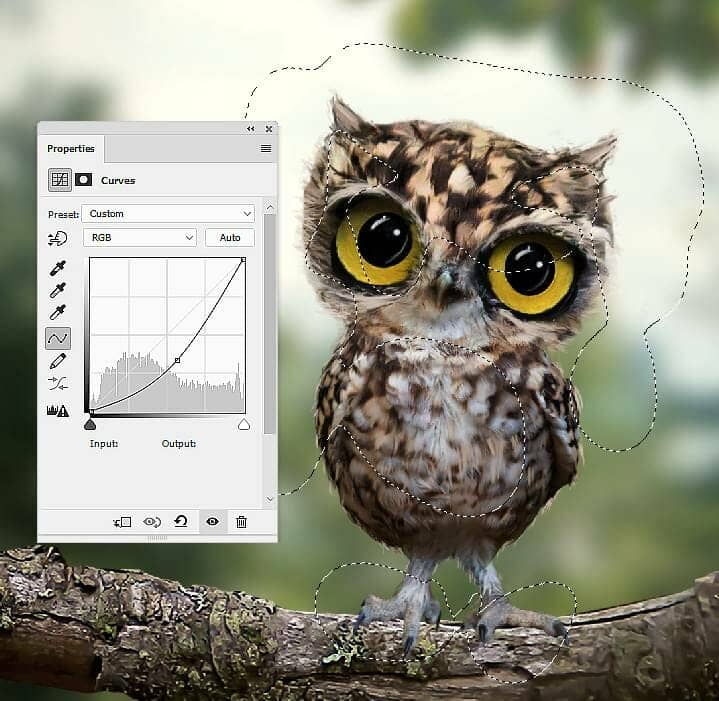
Create a Curves adjustment layer to darken the front of the owl. On this layer mask, use a soft black brush to reveal the lightness around the contour of the owl as it's illuminated by the light from the background.
Step 30
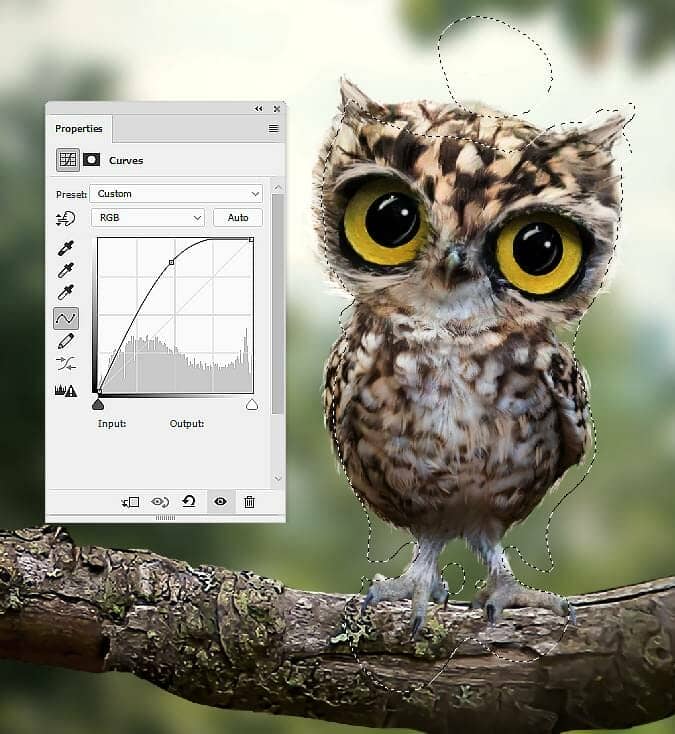
Make another Curves adjustment layer to bring more light to the owl's contour. The selected parts show where to paint on the layer mask.
Step 31
Create a new layer below the owl's group and use a soft brush with the color #130e03 to paint shadow of the owl on the branch.
