How to Create a Fantasy Owl Photo Manipulation with Adobe Photoshop

How to Create a Fantasy Owl Photo Manipulation with Adobe Photoshop

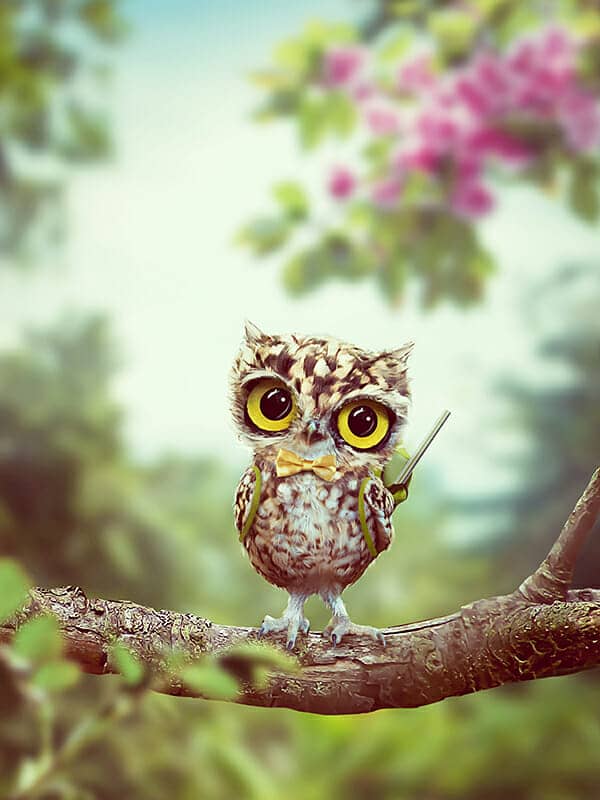
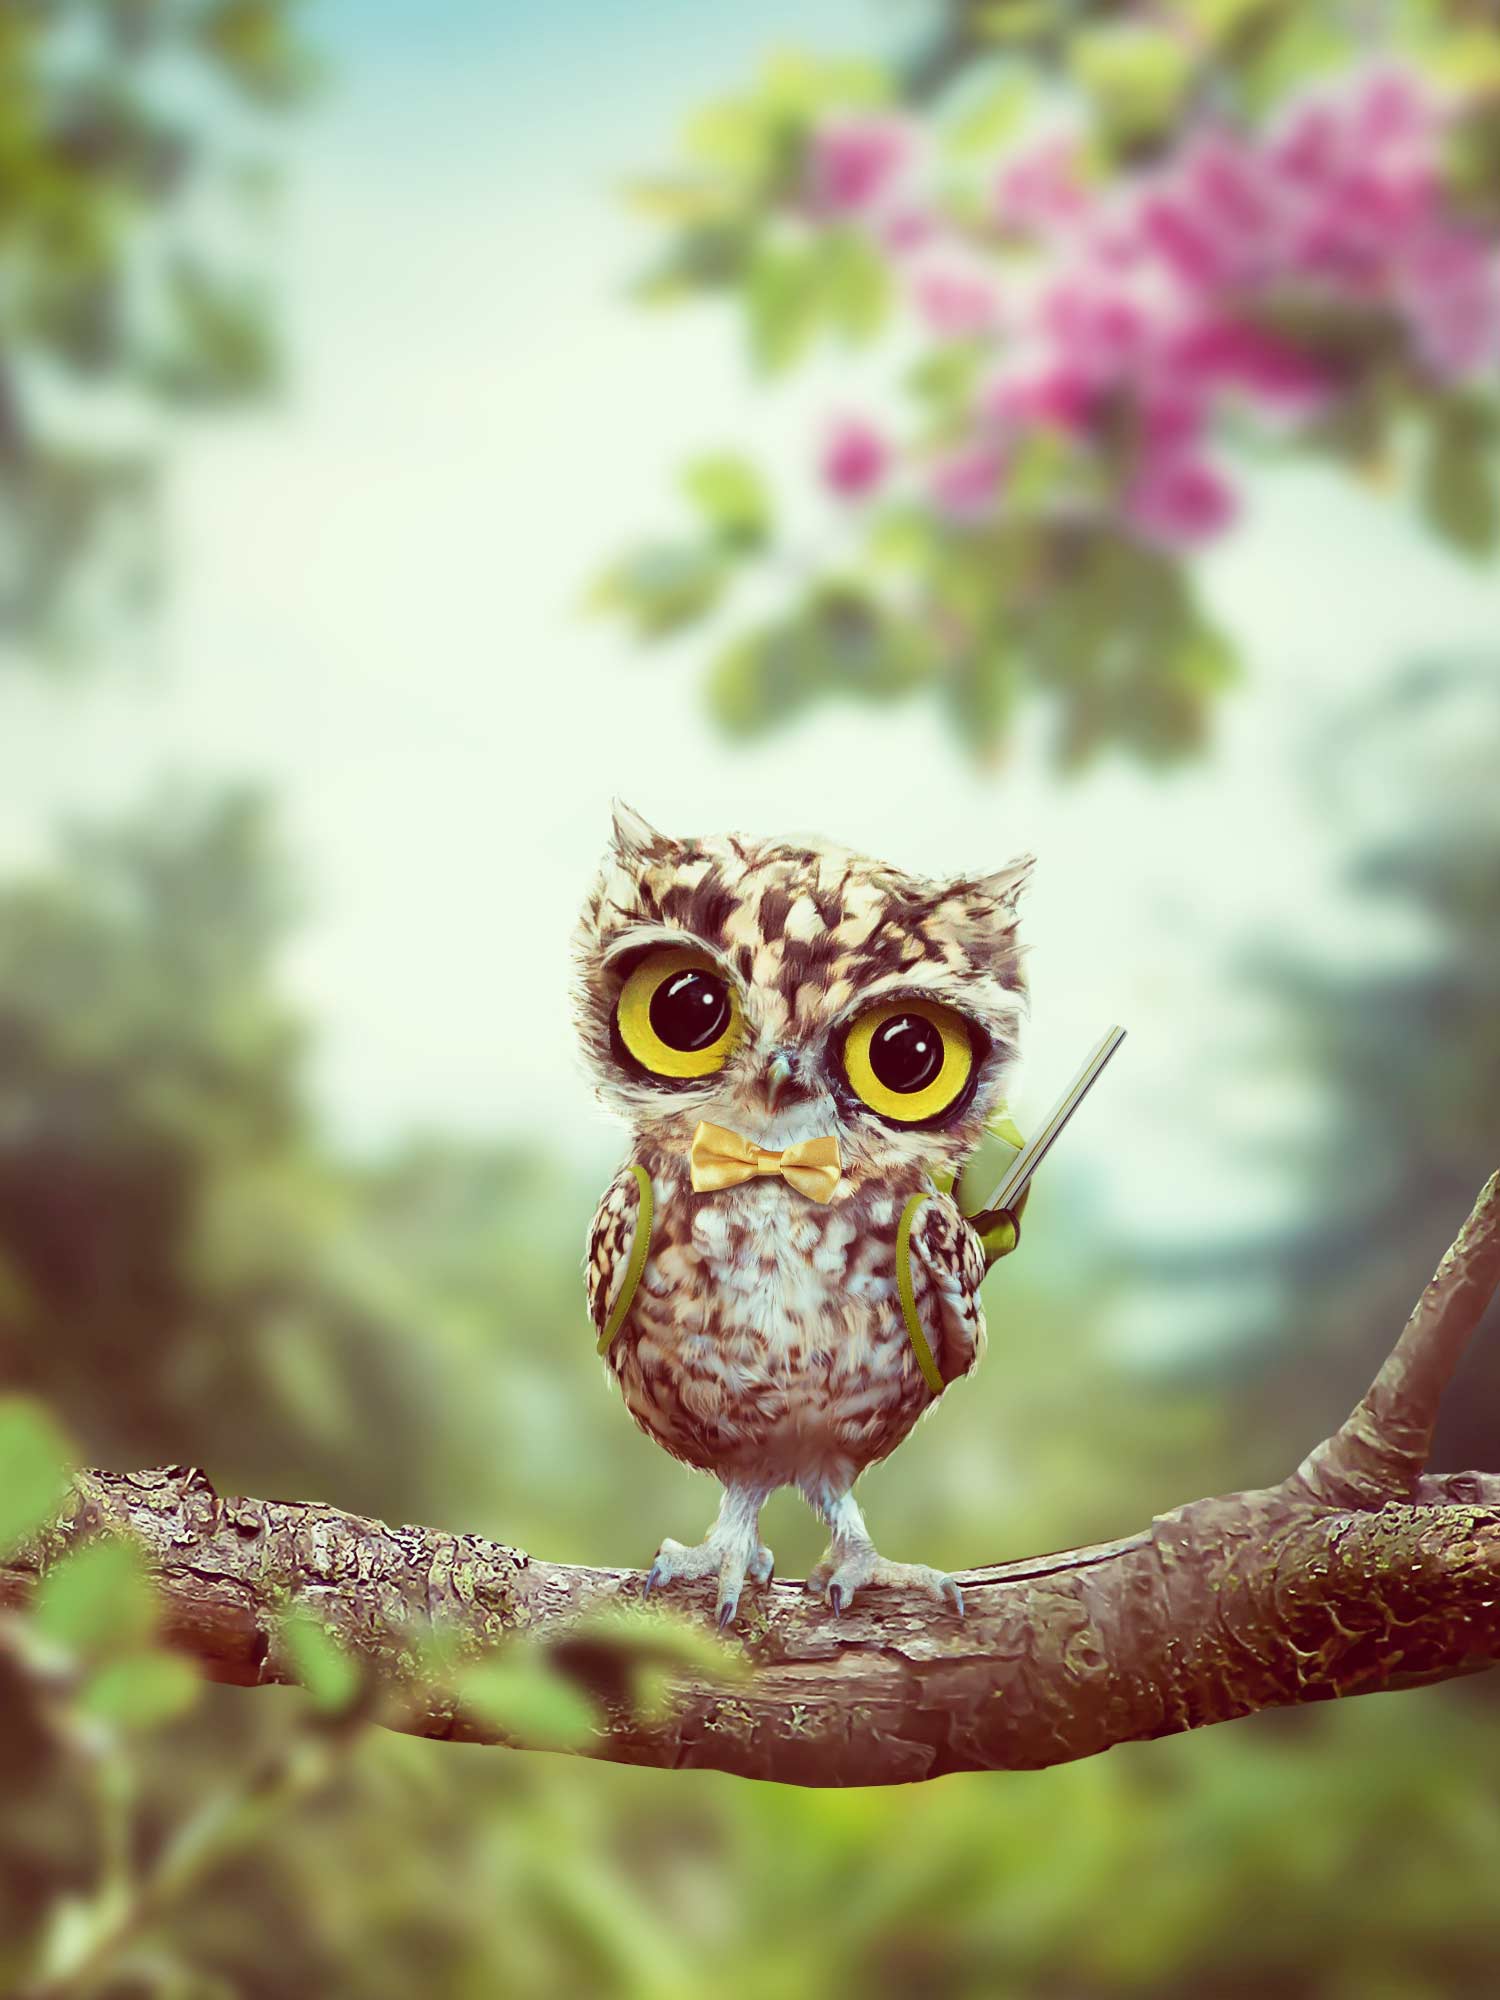
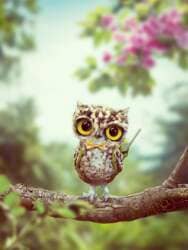
In this tutorial, I'll show you how to create a fantasy artwork featuring a cute baby owl.  First, we'll build the base scene with images of the landscape, trees, and branches. Later, we'll create a baby owl by combining separate parts from an original owl image. After that, we'll add the bow, bag, straps, and branch. We'll use several adjustment layers to enhance the final effect.

Preview of the Final Result
Tutorial Resources

Step 1

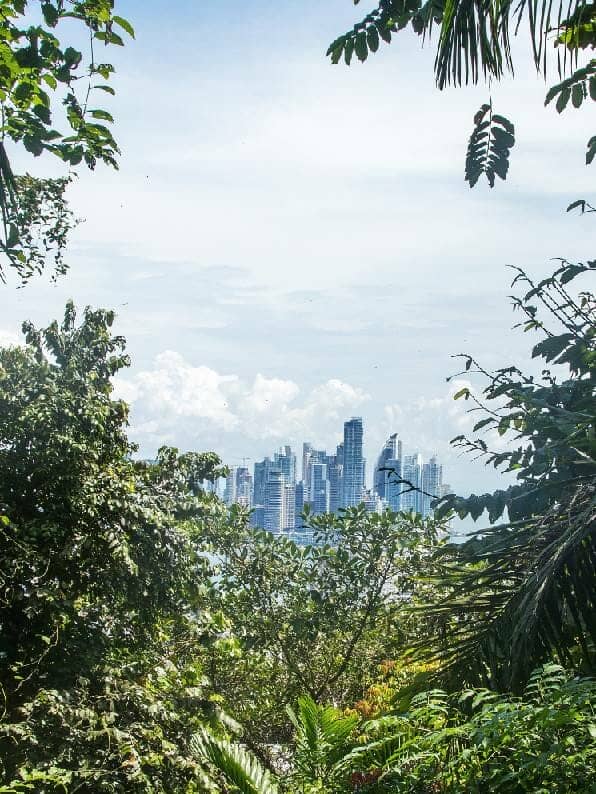
Create a new 1500x200 px document in Photoshop and fill it with white. Open the background image and drag it into the white canvas using the Move Tool (V). Convert this layer to a Smart Object

Step 2

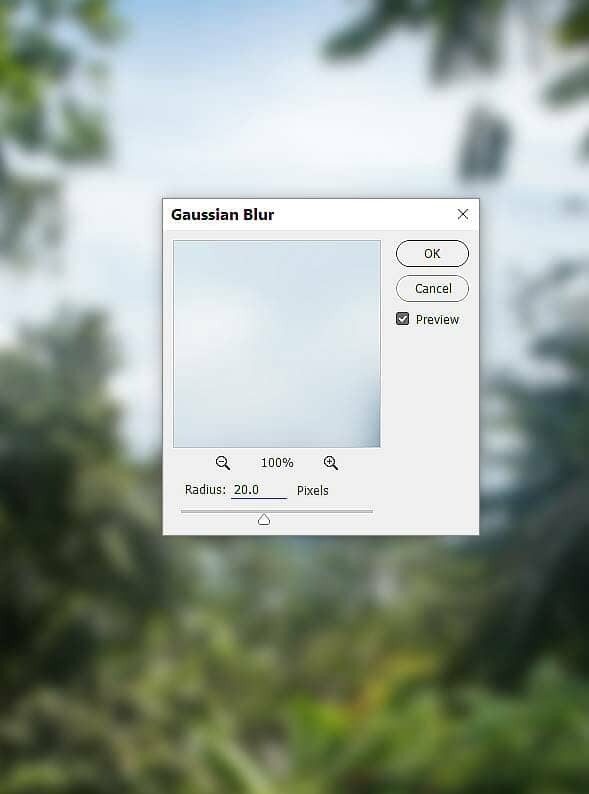
Go to Filter > Blur > Gaussian Blur and set the radius to 20 px:
Step 3

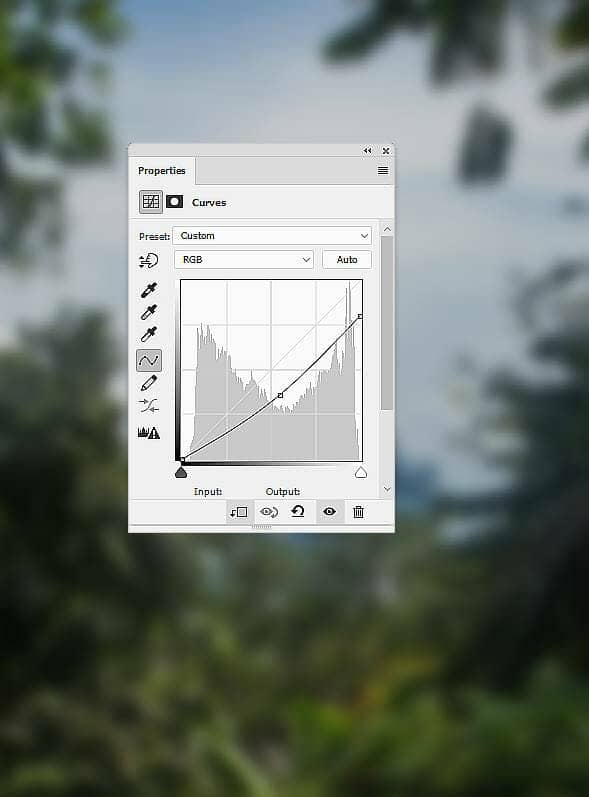
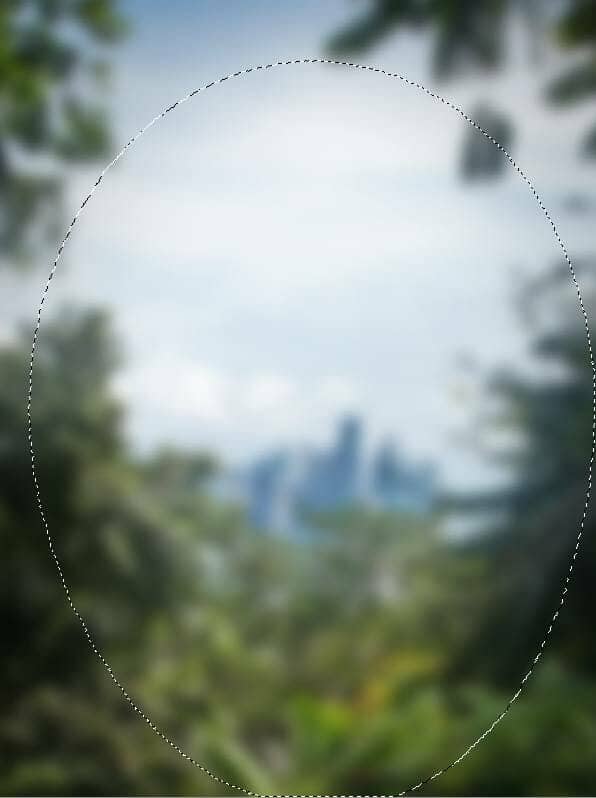
On the background layer, go to Layer > New Adjustment Layer > Curves and set it as Clipping Mask. Decrease the lightness and on this layer mask, activate the Brush Tool (B) and select a soft round one with black color. Use this brush to paint on the middle of the background to reveal the lightness there.
Step 4

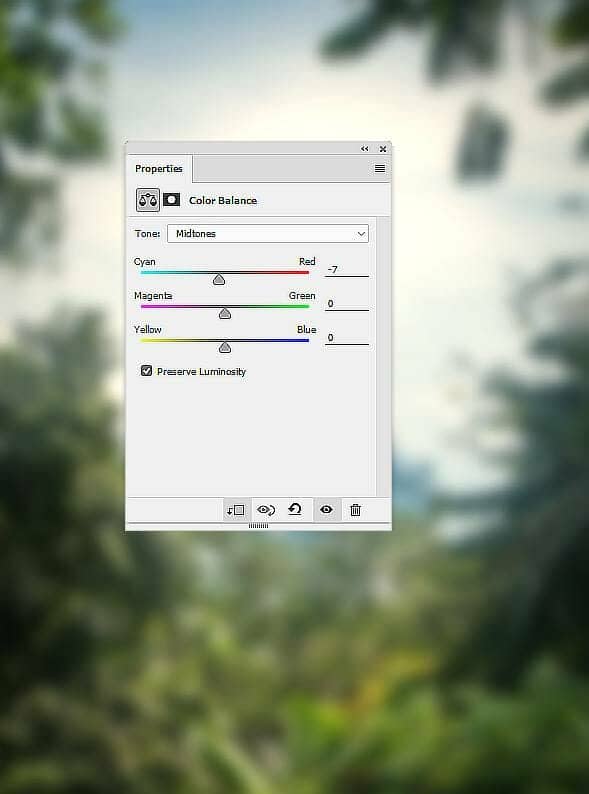
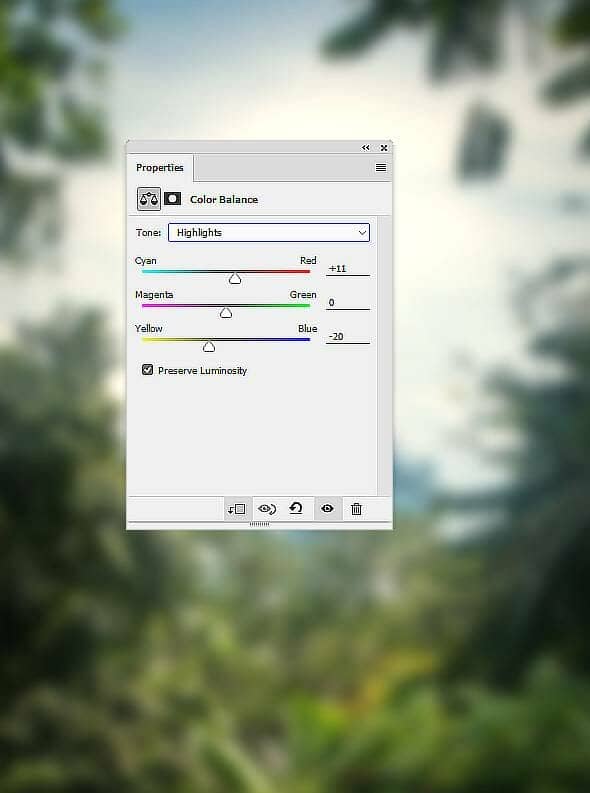
Make a Color Balance adjustment layer (set as Clipping Mask) and change the Midtones and Highlights settings:
Step 5

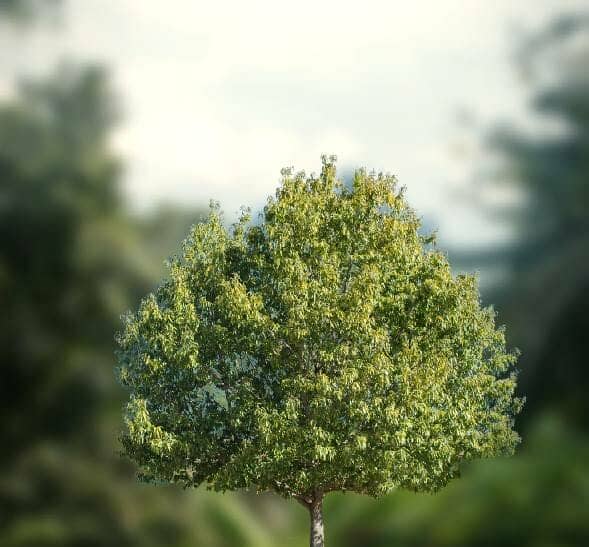
I want to hide the buildings on the far background so I place the tree over this area. Convert this layer to a Smart Object and apply a Gaussian Blur of 20 px to the tree layer.
Step 6

Click the second icon at the bottom of the Layers panel to add a mask to this layer. Use a soft black brush to erase the lower part of the tree.
Step 7

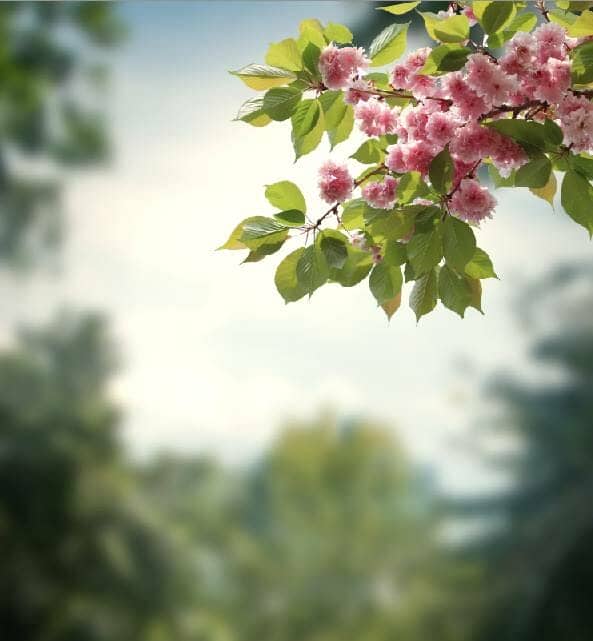
Open the branch 1 image and isolate the branch using the Magic Wand Tool (W). Place the branch 1 on the top right of the main canvas and convert this layer to a Smart Object.
Step 8

Apply a Gaussian Blur of 15 px to the branch layer.
Step 9

Create a Color Balance adjustment layer (set as Clipping Mask) to change the color of the leaves and the flowers:
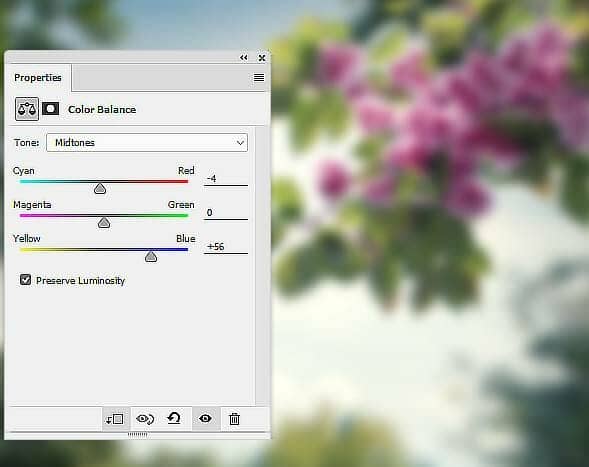
Step 10

Cut out the branch from the branch 2 image and place in in the lower of the foreground. Add a mask to this layer and use a hard black brush to refine the bottom of the branch a bit.
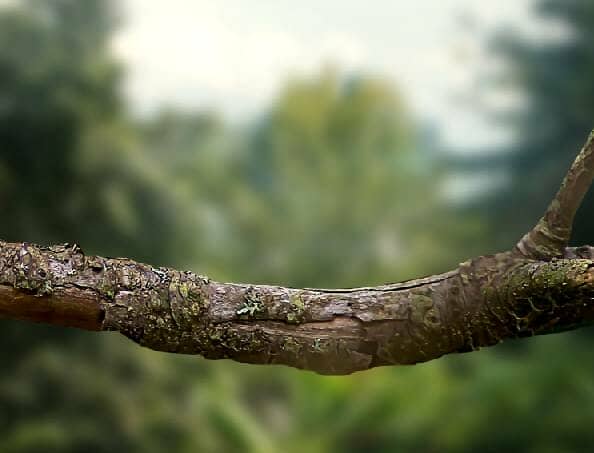
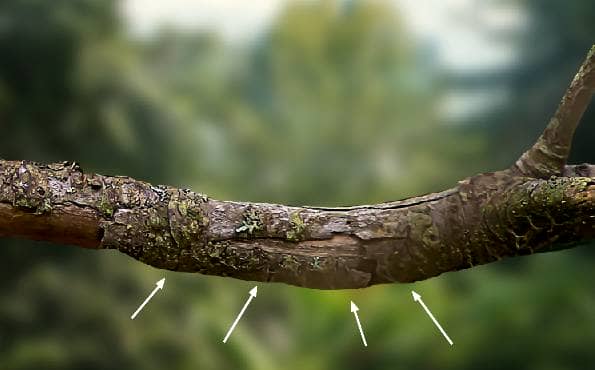
Step 11

Make a Hue/Saturation adjustment layer (set as Clipping Mask) and bring the Saturation values down to -34:
Step 12

Create a new layer, change the mode to Soft Light 100% and fill with 50% gray. Select the Dodge and Burn Tool (O) with Midtones Range and the Exposure about 15-20% to refine the light and shadow on the branch to fit the light from the background. You can see how I did it with Normal mode and the result with Soft Light mode:

Step 13

Open the owl image and use the Magnetic Lasso Tool (L) to isolate the owl from the background. Take the body of the owl and place it above the branch 2. Use the Free Transform Tool (Ctrl+T) with the Warp mode to tweak the owl's body as shown below:

Step 14

Add a mask to this layer and use a hard black brush to remove the bottom of the body and some details on the wings.

Step 15

Use the Elliptical Marquee Tool (M) to take the head of the owl from the original image to place above the owl's body in the main document. Use Ctrl+T with the Warp mode to rotate and tweak the head as the screenshot below shows. 

Step 16

Add a mask to this layer and use both hard and soft black brushes to trim the form of the head to be smaller.

Step 17

Use the Lasso Tool to take the top of the owl's head from the original image to add to the head of the new owl.  Use Ctrl+T with the Warp mode again to bend  this part to hide the beak eyes and the white feathers  above them. Add a mask to this layer and  use soft black brush to erase the hard edges and blend this part with the existing head.

Step 18

Use the Lasso Tool to take the part below the mouth in the original image to add to the area between the head and the body in the main document. Use a layer mask to erase the hard edges and blend it with the new body.

Step 19

Take the eyes from the original image to add to the new owl. Use Ctrl+T with the Warp mode to change the form of the eyes to fit the pose of the new owl. Add a mask to each of these layers and use a soft black brush to erase the hard edges and blend the eyes with the head. 

Take the beak from the original to add to the head of the new owl and make it much smaller. We're creating a baby owl and a small beak will make him much cuter . Use a layer mask to blend the beak with the existing head. 

Step 20

 Take the lower of the owl's legs  from the original to add to the new owl. Place them below the body and use Ctrl+T with the Warp mode as usual to reform the legs.  Add a mask to each of these layers to blend the legs with the body.

Step 21

Create a new layer and use the Clone Tool (S) to remove some details around the eyes , the eyes' reflection and the small hurt on his beak.

Step 22

Select all of the owl layers and hit Ctrl+G to make a group for them. Change the group's mode to Normal 100% and create a Curves adjustment layer within the group to reduce the lightness of the new owl.

Step 23

Make a new layer and use a soft brush with the color #d5b224 to paint within the yellow part of the right eye of the owl (from the viewer). Change this layer mode to Color 70% to make this eye's color fit the left one.

Step 24

Add a new layer and and use a small brush with the color #e0e1e4 to repaint the reflection inside the eyes.

Step 25

Create a new layer and use a small brush with the color #120c04 to paint shadow for the wing on the left. 

Step 26

Make three layers and use a small brush with the colors #6f5d50, #adb6c3 and #dee0e7 to paint the tiny feathers on and around the left leg.

Step 27

 Create two layers and use a small brush with the color #433224 to paint dark feathers/details around the head and body of the owl. Change the mode of the first layer to Multiply 100% (the second one keeps Normal mode).

Step 28

Make two layers and use a small brush with the colors #b7a392 and #e3d7ce to paint bright feathers around the eyes, on the body and the highlights around the owl.

Step 29

Create a Curves adjustment layer to darken the front of the owl. On this layer mask, use a soft black brush to reveal the lightness around the contour of the owl as it's illuminated by the light from the background.

Step 30

Make another Curves adjustment layer to bring more light to the owl's contour. The selected parts show where to paint on the layer mask.

Step 31

Create a new layer below the owl's group and use a soft brush with the color #130e03 to paint shadow of the owl on the branch. 

Step 32

Isolate the bow and place it onto the owl's neck. Use Ctrl+T to rotate it a bit to fit the pose of the owl and set this layer above the owl's group. Create a new layer below the bow one and use a soft brush with the color #130e03  to paint shadow for the bow.

Step 33

Make a Hue/Saturation adjustment layer (set as Clipping Mask) to change the color of the bow.

Step 34

 Add a Curves adjustment layer to make the bow darker:

Step 35

Open the bag 1 image and cut it out to move to the main document. Place it onto the back of the owl and use Ctrl+T to rotate it a bit to fit the pose of the owl. Set this layer below the owl's group.

Step 36

Create a Hue/Saturation adjustment layer to change the color of the bag.

Step 37

Make a Curves adjustment layer to darken the bag. On this layer mask, use a soft black brush to reveal the light on the contour of the bag.

Step 38

Isolate the branch 3 and place it in the bottom left of the canvas. Convert this layer to a Smart Object and apply a Gaussian Blur of 12 px to this layer. This step is to increase the depth of the scene.

Step 39

Make a Hue/Saturation adjustment layer to make the color and brightness of the branch fit the background.

Step 40

Open the bag 2 image and take two straps to add to the owl's body. Use Ctrl+T with the Warp mode to bend the straps to fit the pose of the owl.

Step 41

Create a group for the straps and use a Hue/Saturation adjustment layer to change their color.

Step 42

Make a Curves adjustment layer to darken the straps. On this layer mask, use a soft black brush to reveal the light on the top of the straps and the bottom left.

Step 43

Add a new layer below the owl's group and use a soft brush with the color #130e03 to paint shadow for the straps.

Step 44

Create a Gradient Map adjustment layer on top of the layers and pick the colors #e10019 and #00601b. Lower the opacity of this layer to 20%.

Step 45

Make a Color Balance adjustment layer and change the Midtones and Highlights settings:

Step 46

Create a Curves adjustment layer to brighten the whole scene.

Step 47

Use a Vibrance adjustment layer to enhance the final effect.

Final Result

Download the PSD

Fantasy Owl Photoshop Tutorial.zip

Leave a Reply

Your email address will not be published. Required fields are marked *

cross