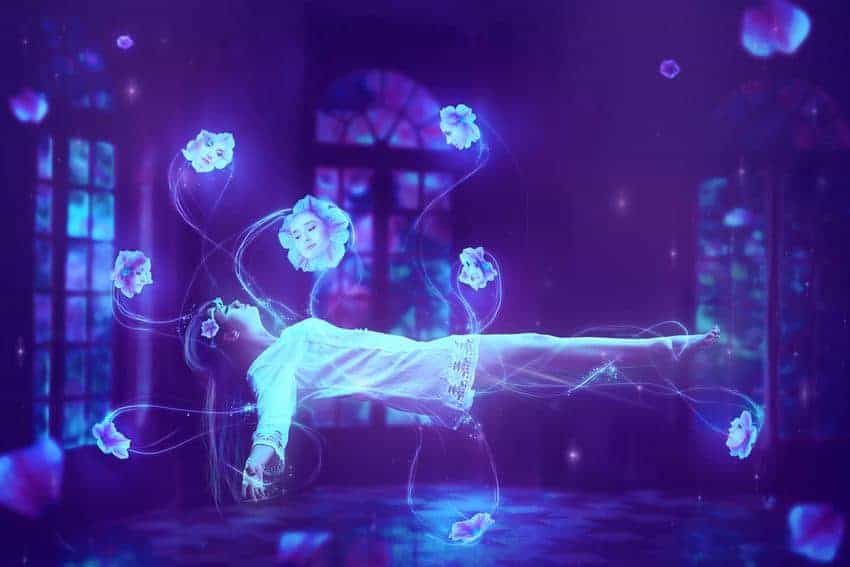
In this tutorial, I’ll show you how to create a fantasy scene featuring a floating girl and flowers with faces. First, we’ll build the base scene using a room and flower background images. After that, we’ll add the model, flowers, and petals and blend them together using adjustment layers, masking, and brushes. Later, we’ll import the different faces, paint lines and dots. We’ll use many adjustment layers and some light textures to complete the final effect.
Preview of The Final Result

Tutorial Resources
Step 1
Create a new 3408×2272 px document in Photoshop and fill it with white. Open the room image and isolate it from the background. Drag it into the white canvas using the Move Tool (V) and convert it to a Smart Object.

Step 2
On the room layer, go to Filter > Blur > Gaussian Blur and set the radius to 9 px:

On the filter mask, activate the Brush Tool (B) and choose a soft round one with black color. Use this brush to remove the blur effect on the floor of the room.

Step 3
Go to Layer > New Adjustment Layer > Hue/Saturation and set it as Clipping Mask. Bring the Saturation values down to -56:

Step 4
Create a Curves adjustment layer (set as Clipping Mask) and reduce the lightness. On this layer mask, use a soft black brush with a lowered opacity (about 30-50%) to reduce the dark effect on some areas inside the room.

Make a Levels adjustment layer with the same purpose. Use this layer mask with a soft black brush to remove the dark effect on the floor and the windows.

Step 5
Drag the background image into our main document and place this layer below the room one. Convert this layer to a Smart Object.

Step 6
Apply a Gaussian Blur of 12 px to this layer to fit the softness of the windows.

Step 7
Make a Color Balance adjustment layer and change the Midtones and Highlights values:


Step 8
Create a Photo Filter adjustment layer and pick the color #b16cf2. On the layer mask, paint on some areas to remove the effect there.

Add a Hue/Saturation adjustment layer and alter the Magentas settings:

Make a Curves adjustment layer to reduce the lightness. On the layer mask, use a soft black brush with a very low opacity (about 5-10%) to paint on some areas I feel too dark .
5 responses to “How to Create a Fantasy Floating Scene Photo Manipulation with Photoshop”
-
This looks like a great tutorial but on my Mac with Safari every image is small (approximately half the width it’s supposed to be).
-
Sorry error on our website’s end. It’s fixed now :)
-
-
Thank you, Denny Tang, That was so kind to find a similar image to use for practice….:)
-
I love your detailed instructions, but do you have another source for the floating model where I don’t have to open yet one more photo purchasing account just to practice a cool technique? It gets expensive after awhile!
-
Try using this image and rotating it 90 degrees:
https://www.deviantart.com/faestock/art/Seraphim-Stock-Reference-13-553424364
-


Leave a Reply