Learn how to create this winter scene in Photoshop. You will learn how to blend photos and textures, create a cold blue photo effect, and more!
Final Results

Tutorial Resources
- Lady – Anettfrozen
- Background 1 – Fenne-Stock
- Background 2 – Tumana-Stock
- Smoke – Autonoe
- Snow – Erykucciola-stock
Step 1 – Background
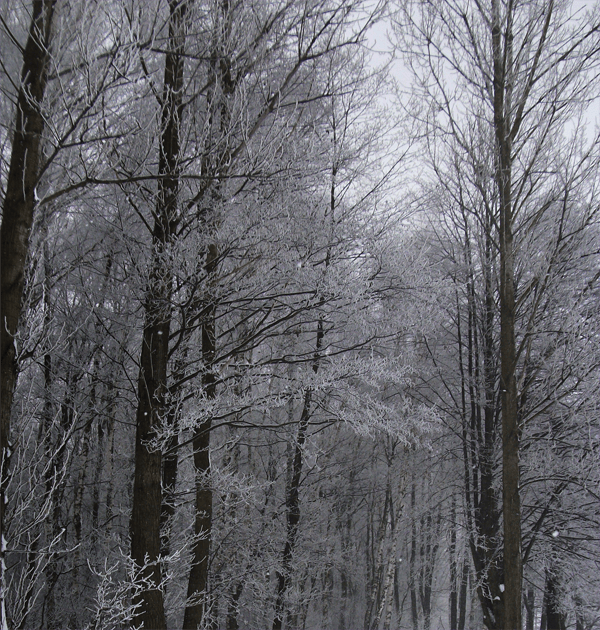
Open the ‘Background 1’ image and let’s crop the part we are interested in.

Duplicate the image and set it to Multiply. Opacity 80%.

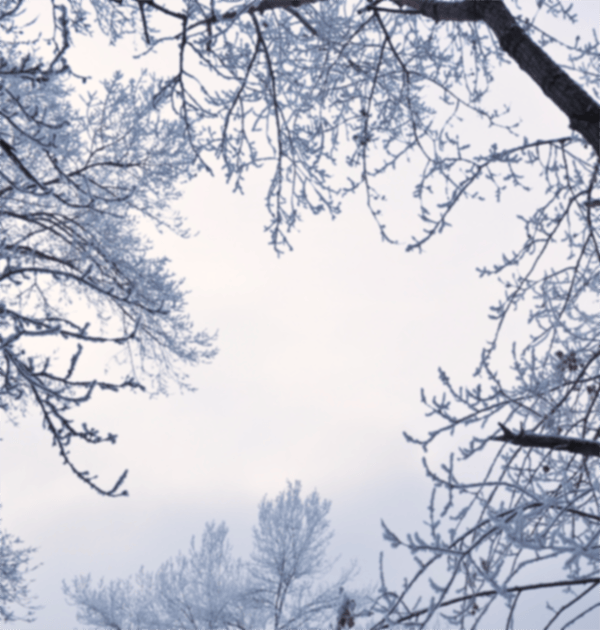
Open the ‘Background 2’ image and put it above the other layers. Delete the part with the tree (as you see below).

Set the layer to Soft Light. Opacity 50%. As you can see on top there is a part of the tree that is not well belended. Delete it with the Erase Tool or with a Layer Mask (I prefer this method because it doesn’t destroy the image).

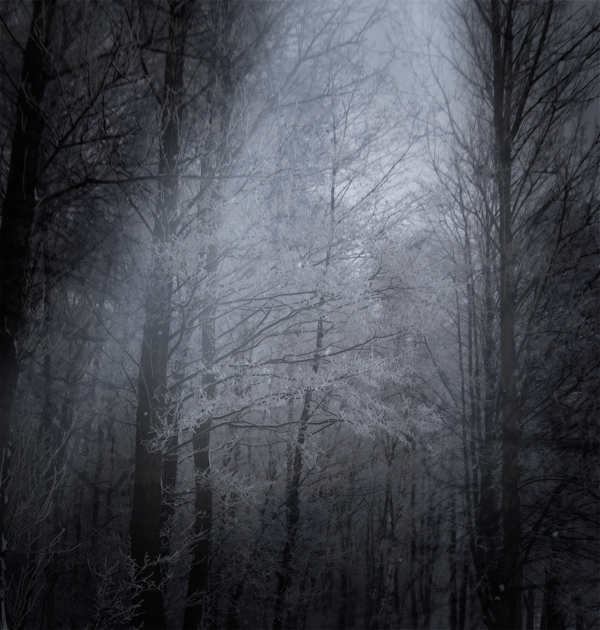
This is what you will have.

Create a new layer. Choose a big round soft brush with low Opacity and pick Black color. Paint a vignette like the one you see in the image below and add Gaussian Blur if you want.

Set the layer to Multiply. Opacity and Fill to 80%.
 b
b
We need to create a kind of ray of light. Create a new layer. You can paint it with a soft brush or use a light beams brush like this.I used this color: #ccdffb (The black background is only to make you see the light, you will not have to do it!)

I left the layer with Normal Blend but I put the Opacity at 80%. Double click on this layer and a window will pop up. Check ‘Outer Glow’. Put the color #ccdffb instead of the preset yellow.

Step 2 – Lady
Extract the Lady and put her above every layer in the position you see below. (I previously worked on her skin with the Smudge Tool and liquified a bit her face).

Add a Hue/Saturation only for the lady’s layer and set the Saturation to -60.

Create a new layer below the one with the Lady. Load the ‘Smoke’ brush and with color #999da3 paint something like the image below.

Set the layer to Linear Dodge with Opacity and Fill at 50% and this is what you’ll have so far.

Create a new layer linked only at lady’s layer (above the hue/sat we created before). Choose a soft brush with low Opacity and Flow. Pick the color #cad7e7 and paint some light at the edges of the lady.

Create a new layer above everything and let’s paint some hair to give it volume.
4 responses to “How to Create a Stunning Winter Princess Artwork in Photoshop”
-
Excellent tutorial
-
Mediocre Tutorial
-
Thanks for sharing.
-
Awesome! Excellent tutorial…Thanks for sharing.

Leave a Reply