
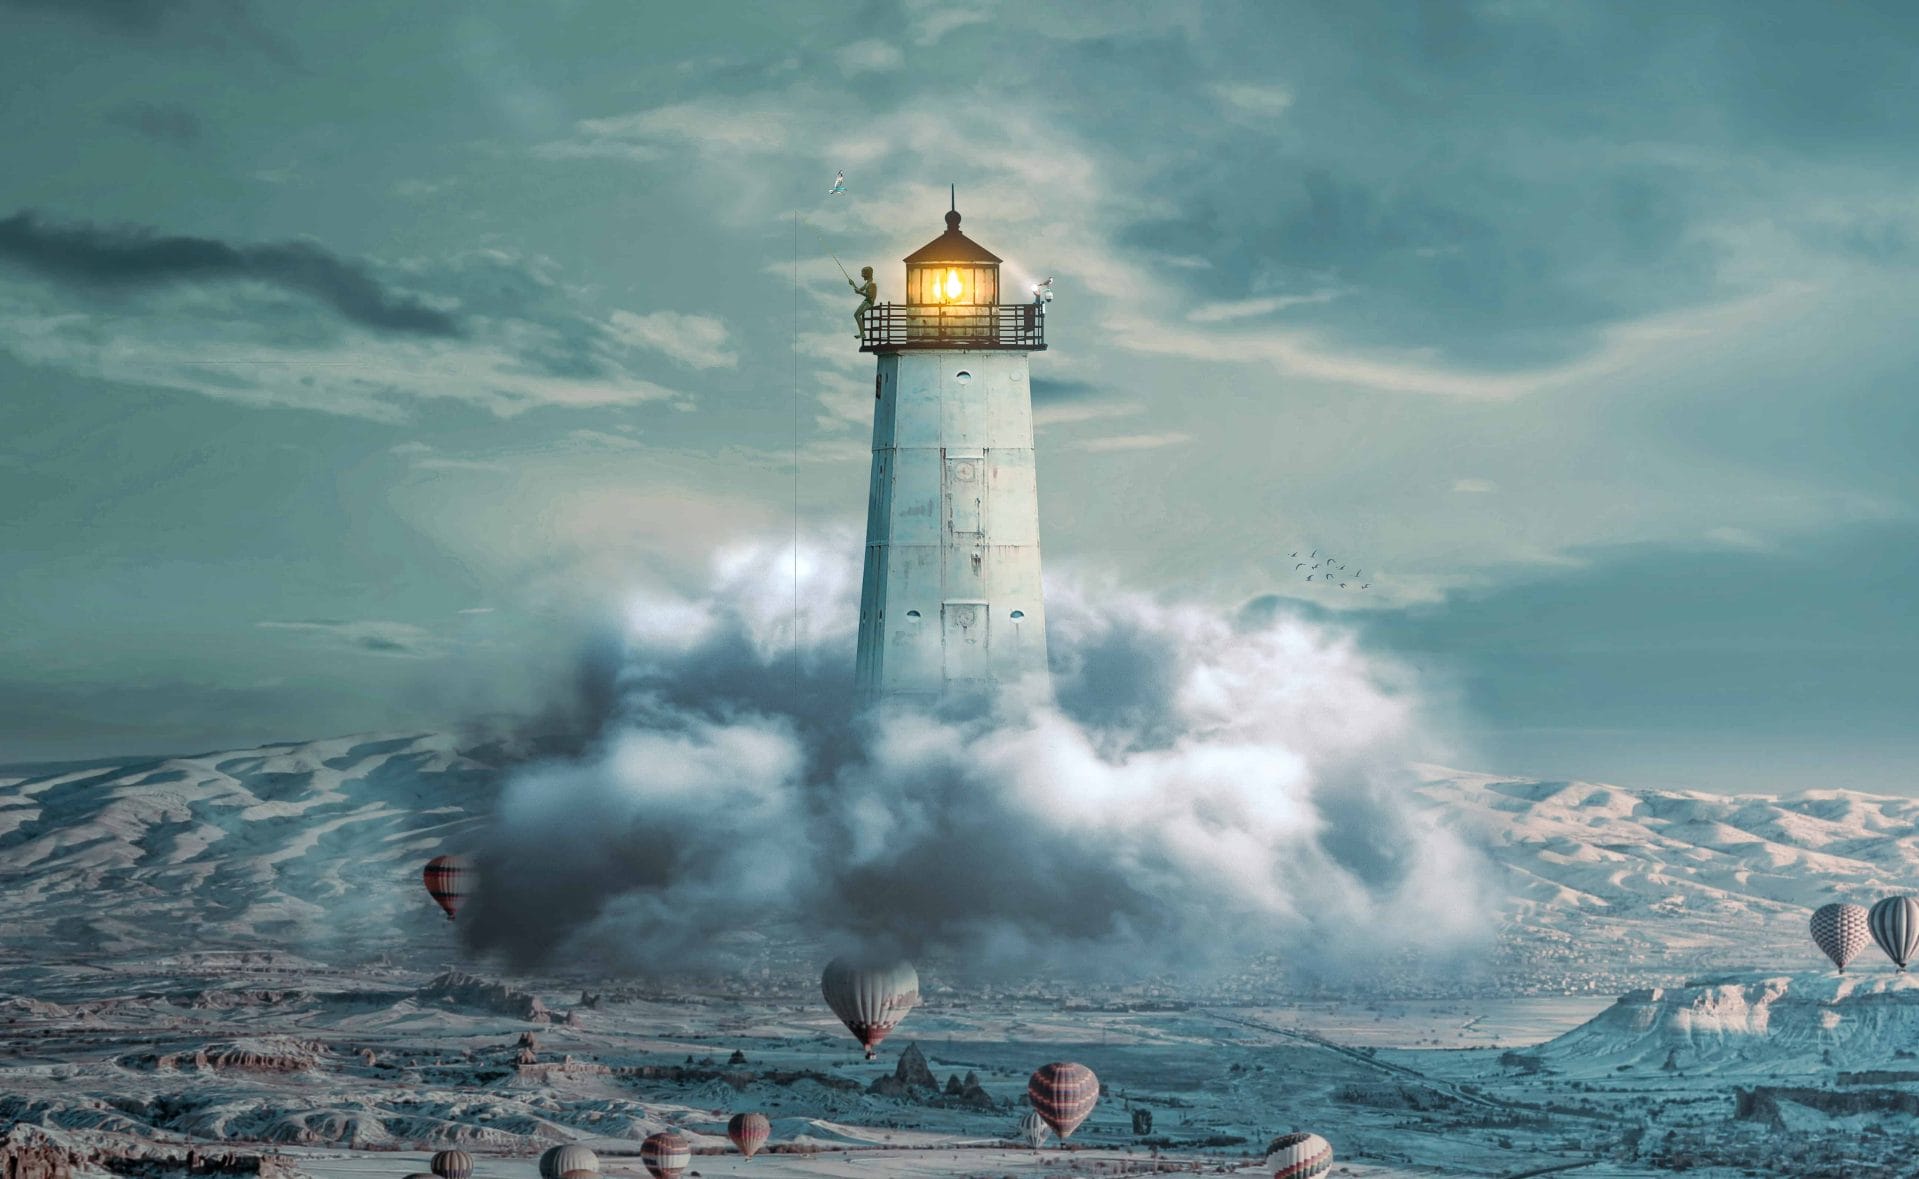
It’s about how you’re like a lighthouse, always searching far into the distance. But the thing you’re looking for is usually close to you and always has been. That’s why you have to look within yourself to find answers instead of searching beyond. In this Photoshop tutorial, we will learn how to create a Surreal scene of Light House. First, we premade a Background photo, then add a big cloud. Next, we add a lighthouse, seagulls and Boy. Then finally use Camera Raw Filter.
Preview of Final Image
Tutorial Resources
Step 1
Now, let’s start by creating a new image file, go to the Menu bar and click File > New, and then input the following values on their respective fields
- Preset: Custom
- Width: 5184px
- Height: 3184px
- Resolution: 300px
- Color Mode: RGB Color 8 bit
- Background Contents: Transparent

Step 2
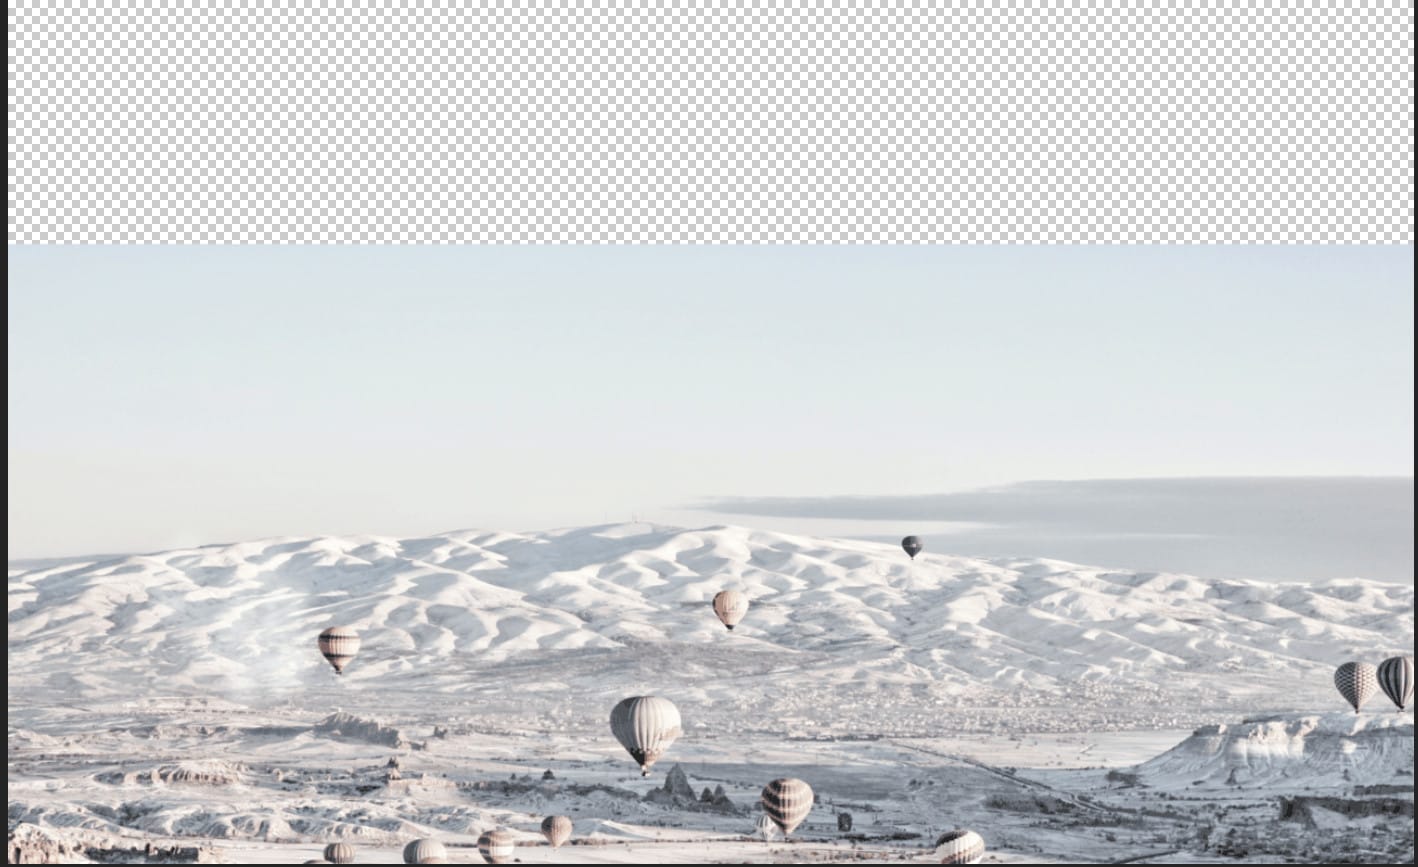
Go to File > Place and select Sky.

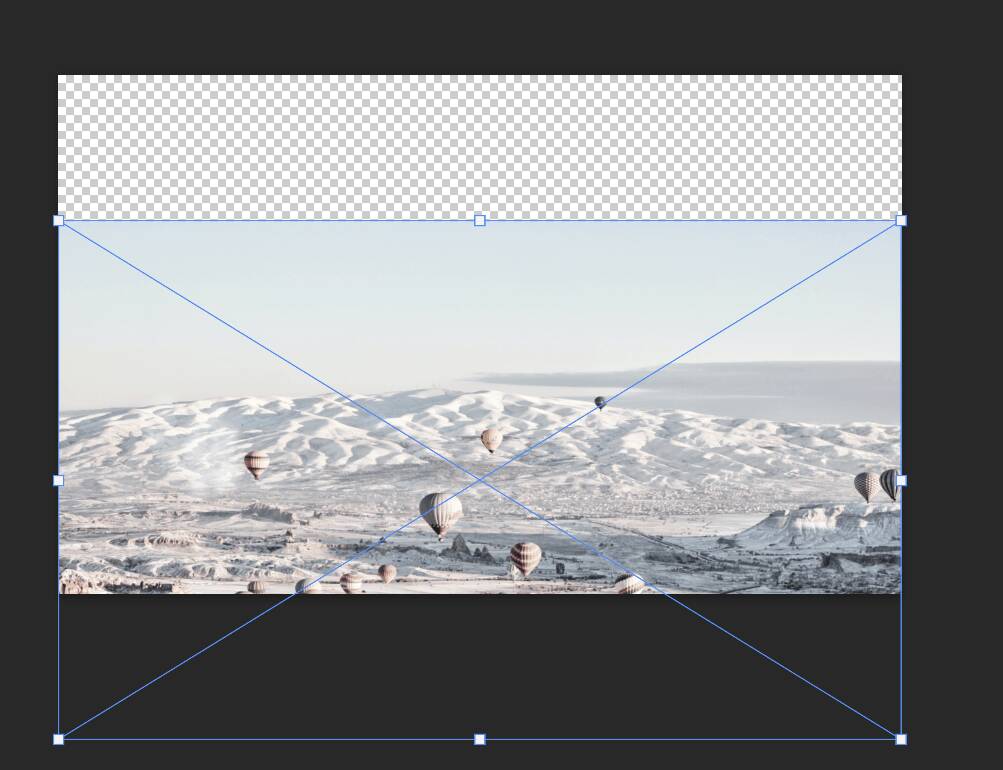
Then position the image with the transform tool (Ctrl / Cmd + T). Hold Alt + Shift and rasterize like the image below. In Photoshop CC only hold Alt to rasterize all sides together.
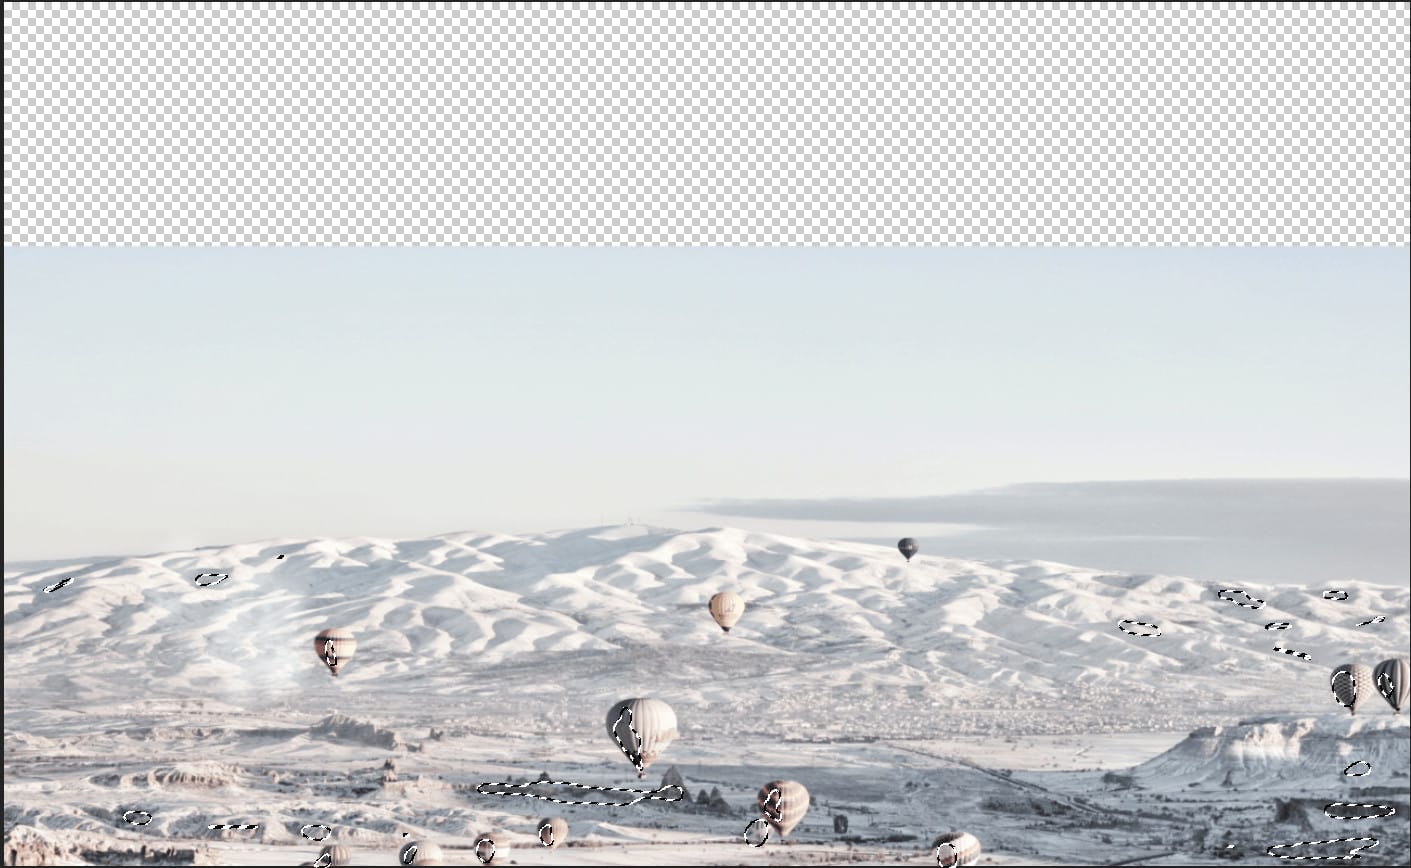
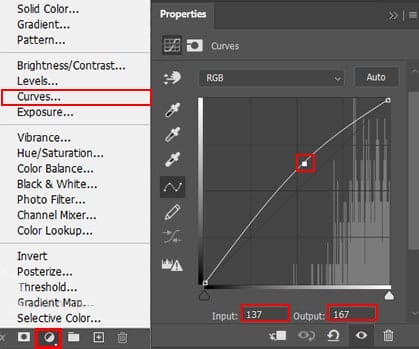
Step 3
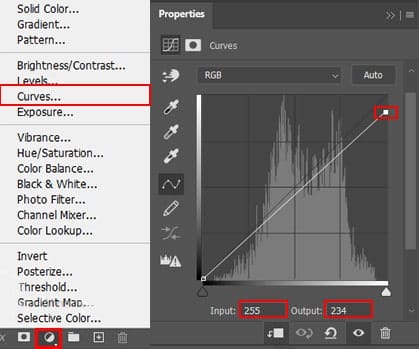
Add Adjustment Layer “Curves” and press Ctrl/Cmd + I to invert. Then use Brush Tool(B) Soft Round with foreground color white and paint on Dark parts.
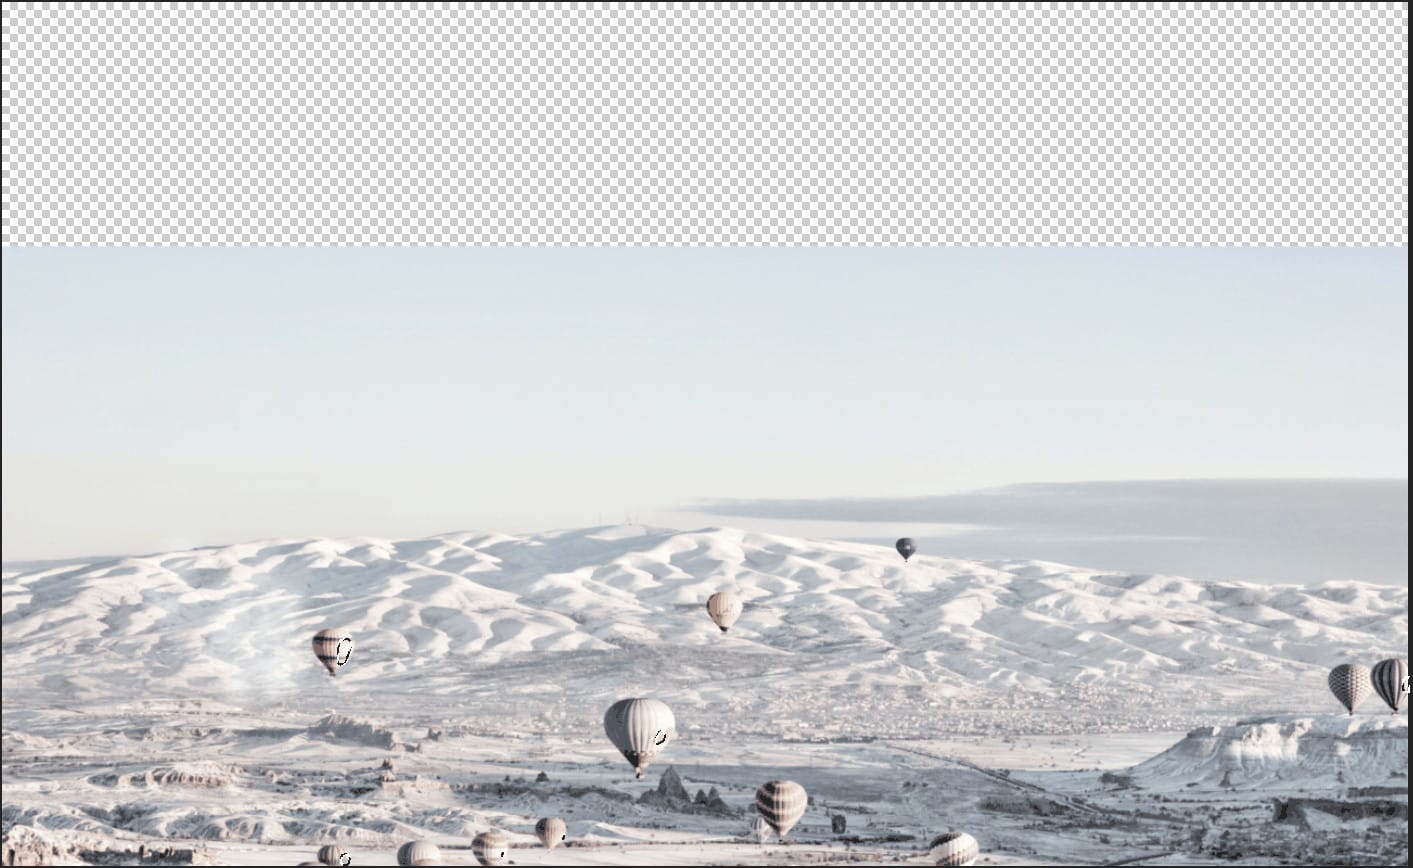
Step 4
Add Adjustment Layer “Curves” and press Ctrl/Cmd + I to invert. Then use Brush Tool(B) Soft Round with foreground color white and paint on Highlights parts.
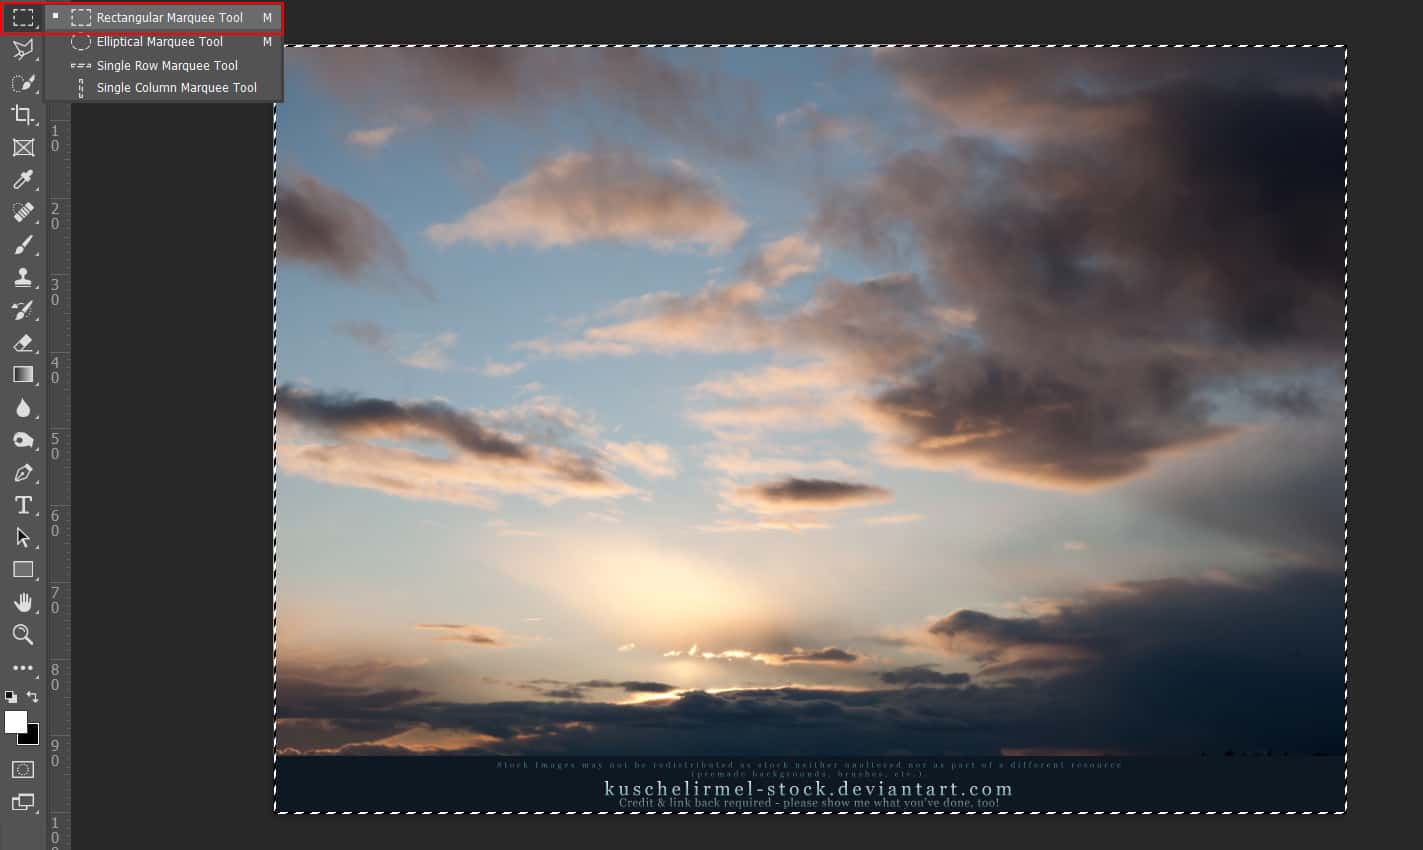
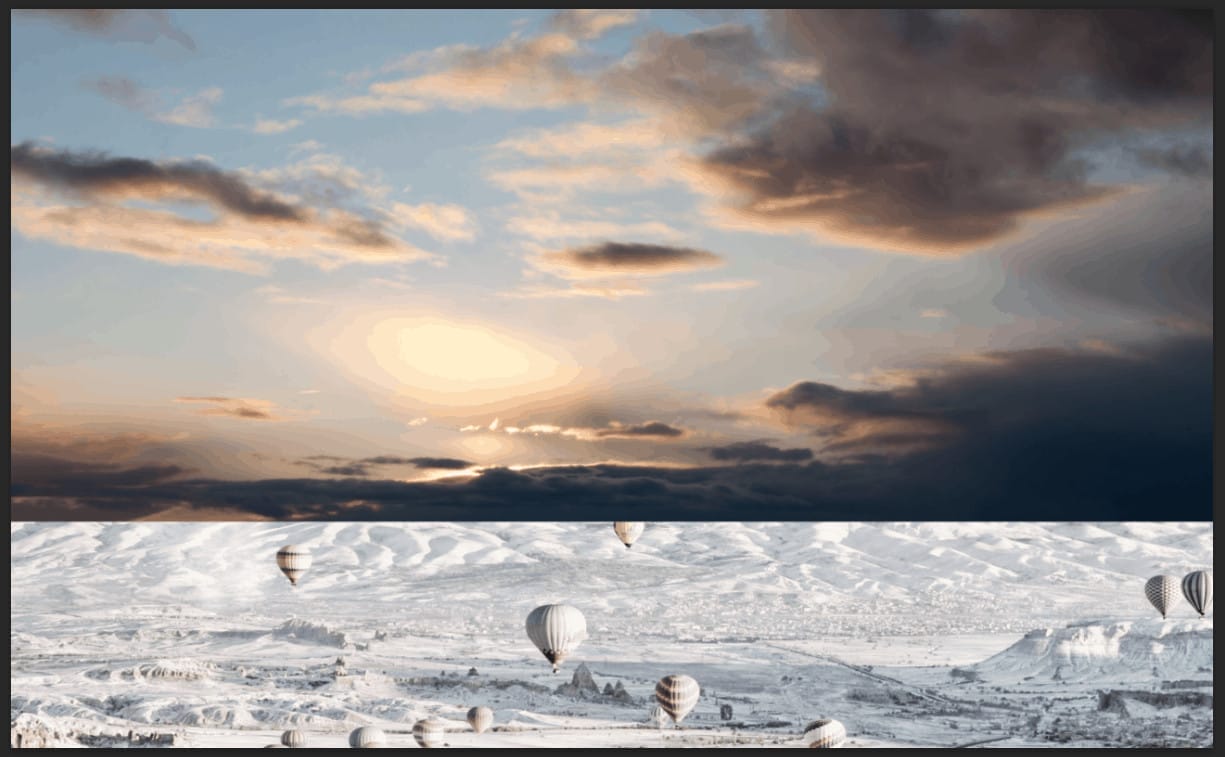
Step 5
Next we will open Sky. After you open the image, use Rectangular Marquee Tool(M). After the selection area has been created, simply copy (Ctrl / Cmd + C) and Paste (Ctrl / Cmd + V) it to our work canvas. Then position the image with the transform tool (Ctrl / Cmd + T). Hold Alt + Shift and resterize like image below. In Photoshop CC only hold Alt to resterize al sides together.
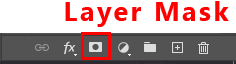
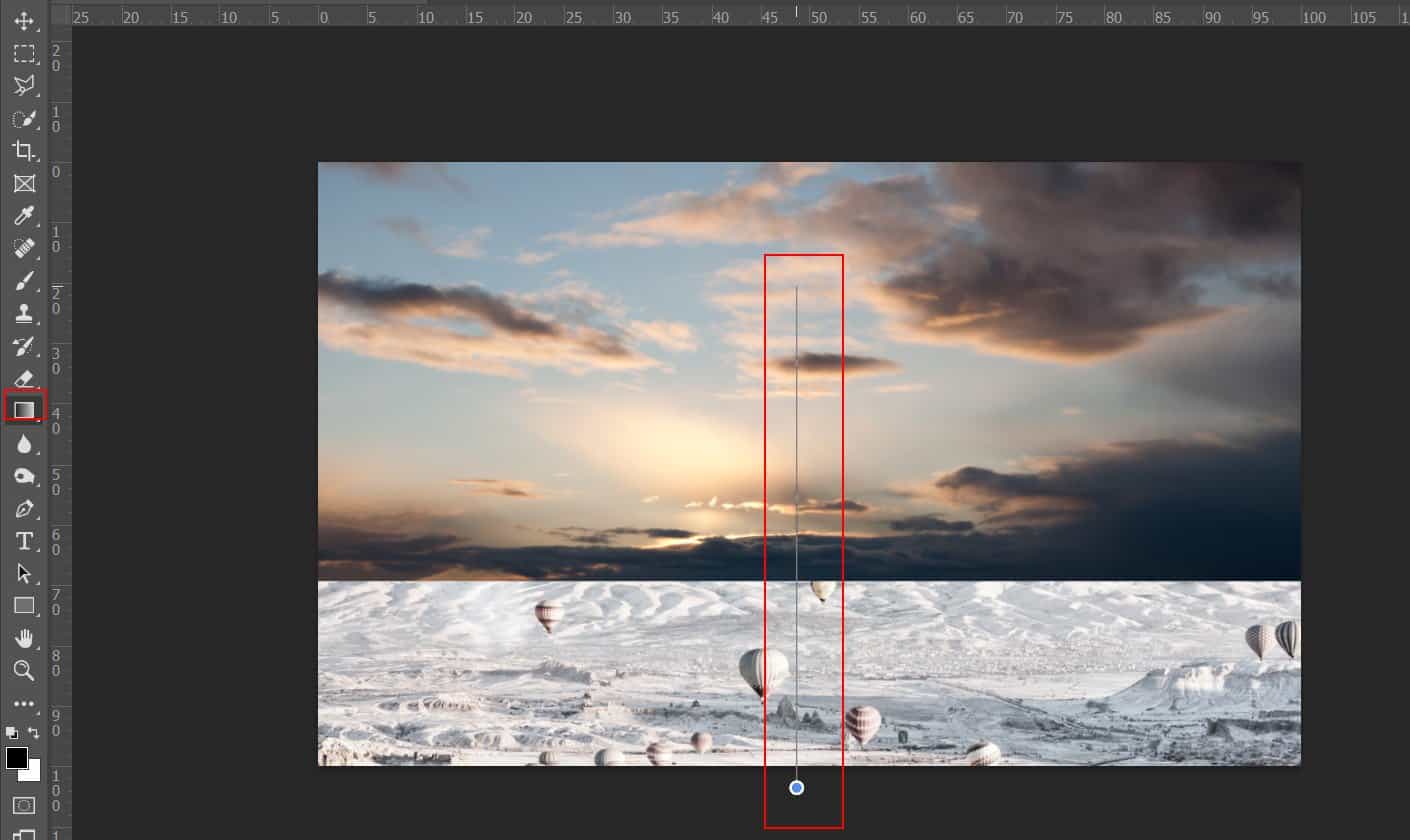
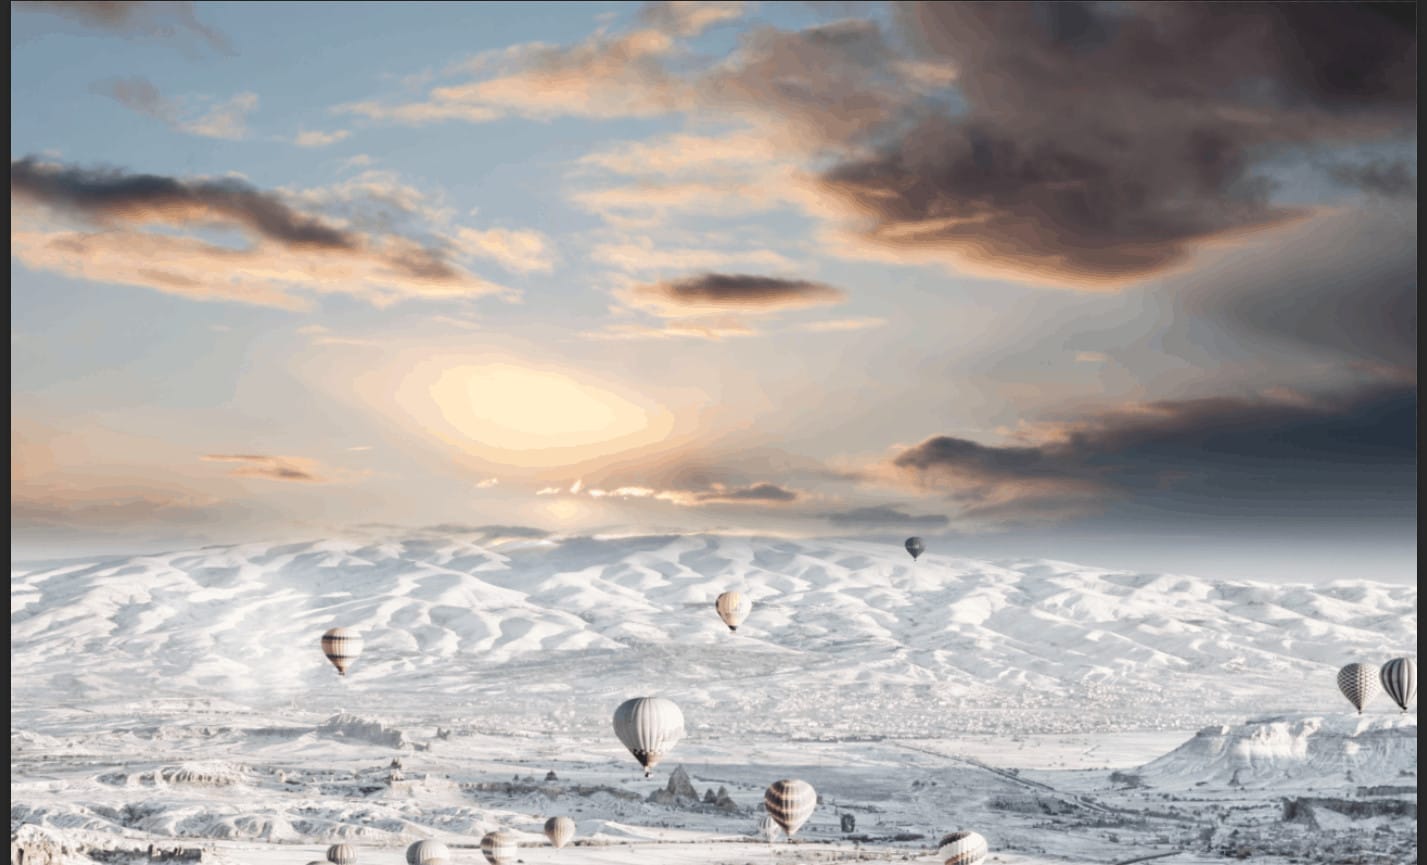
Now create a layer mask then Use Gradient Tool(G) with foreground color black/white and drag from the bottom of the image to the top as in the example you see.
Step 6
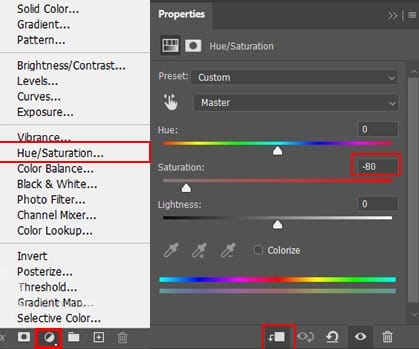
Add Adjustment Layer “Hue/Saturation”
Step 7
Add Adjustment Layer “Levels”

Step 8
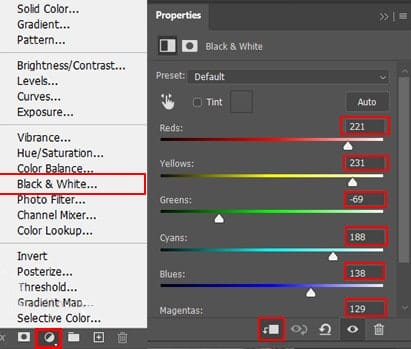
Add Adjustment Layer “Black and White”
Step 9
Add Adjustment Layer “Color Balance”

Step 10
Now select all layer (Hold Ctrl/Cmd and selecting) and put in group (Ctrl/Cmd + G). Then add Adjustment Layer “Exposure”


Step 11
Add Adjustment Layer “Curves”
3 responses to “Create a Light House on Cloud Photomanipulation Tutorial”
-

Thank you very much for this great Tutorial!
Unfortunately for now some of the single step images are not accessible; especially the ones showing which parts of the image should be masked. But this I cannot blame on you, that’s a thing of the website.
With the PSD atached, it was no problem to get a clue what has been masked and how it has been done.But there is one thing, you could improve and what, I guess not only me would appreciate: I know, the “Camera Raw” filter is a really complex thing. But for now, I’m just copying the values and shout out a “Heureka!” when it looks like your result.
Some explanation why it is something done there and what is the impact would be very helpful.Anyway! Great work and thank you for sharing! :)
-
Thanks for informing us! The images are fixed now.
-
-
Nice tutorial.
Leave a Reply