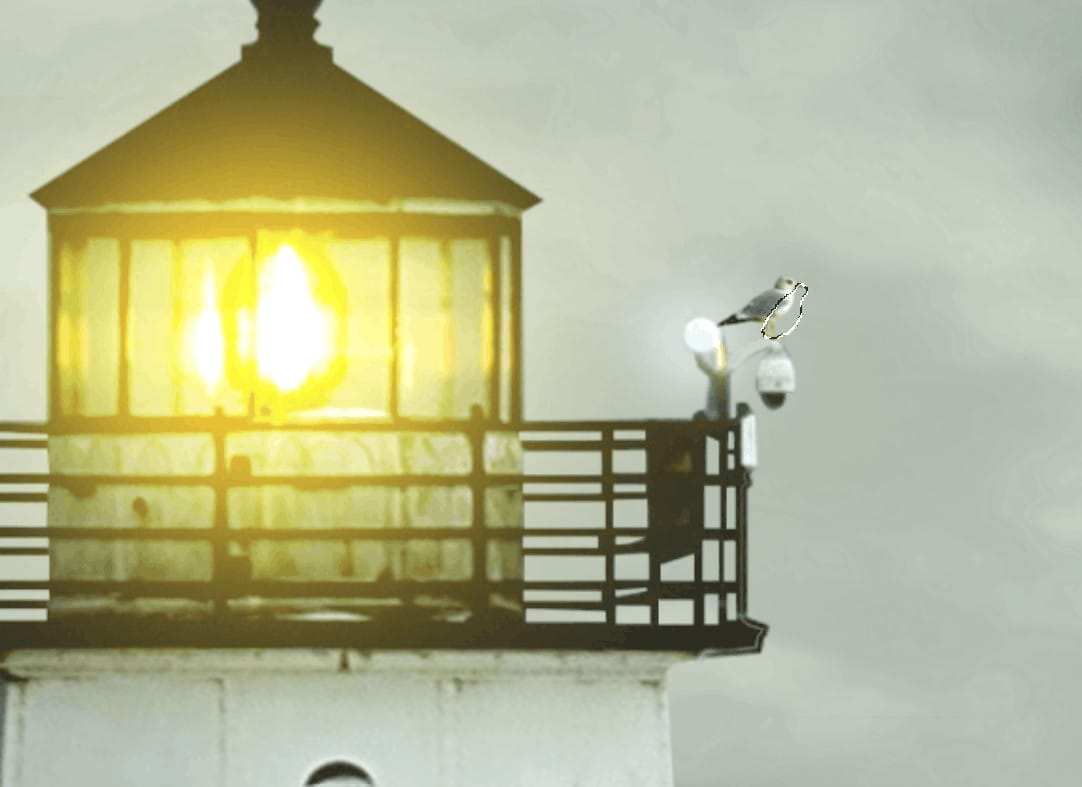

Step 23
Add Adjustment Layer “Curves” and press Ctrl/Cmd + I to invert. Then use Brush Tool(B) Soft Round with foreground color white and paint on Highlight parts.


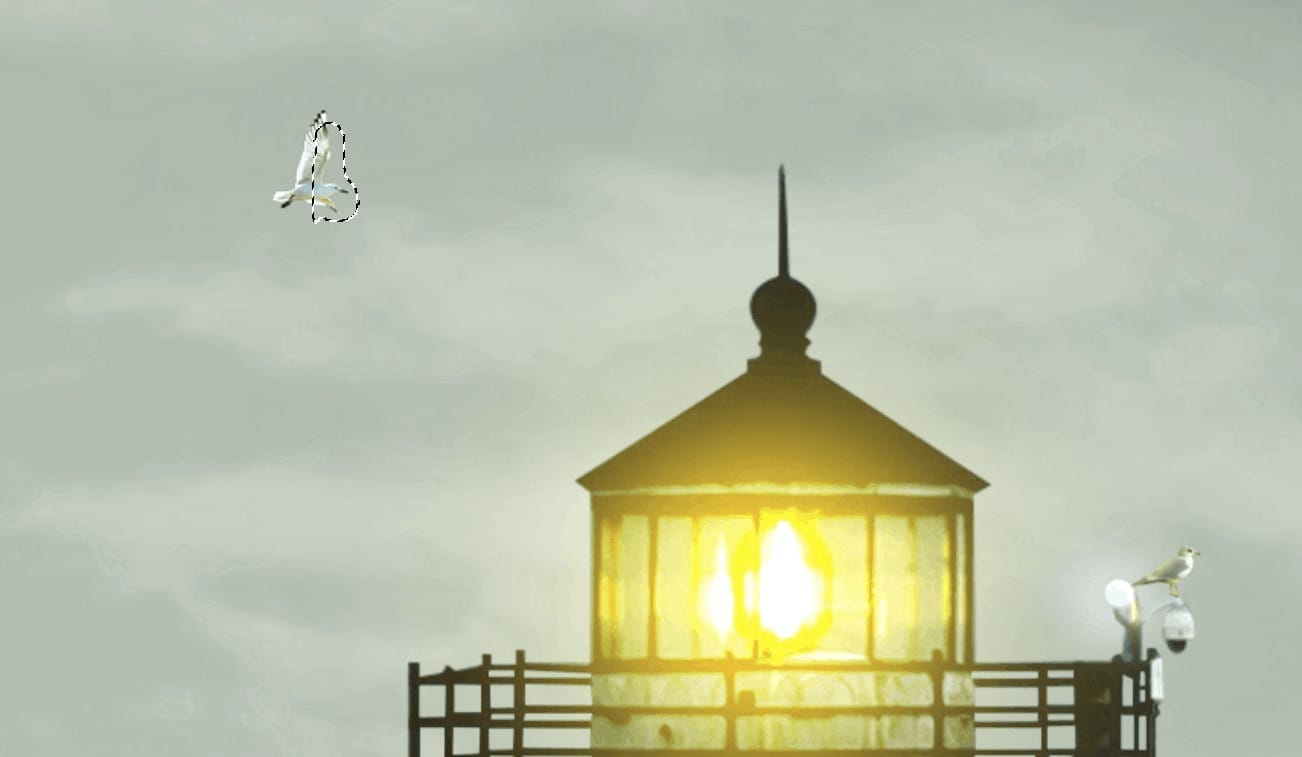
Step 24
Next open second Seagull, after you open the image, use Quick Selection Tool(W) and start selecting. After the selection area has been created, simply copy (Ctrl / Cmd + C) and Paste (Ctrl / Cmd + V) it to our work canvas. Then position the image with the transform tool (Ctrl / Cmd + T). Hold Alt + Shift and resterize like image below. In Photoshop CC only hold Alt to resterize al sides together.


Step 25
Add Adjustment Layer “Color Balance”

Step 26
Add Adjustment Layer “Curves” and press Ctrl/Cmd + I to invert. Then use Brush Tool(B) Soft Round with foreground color white and paint on Highlight parts.


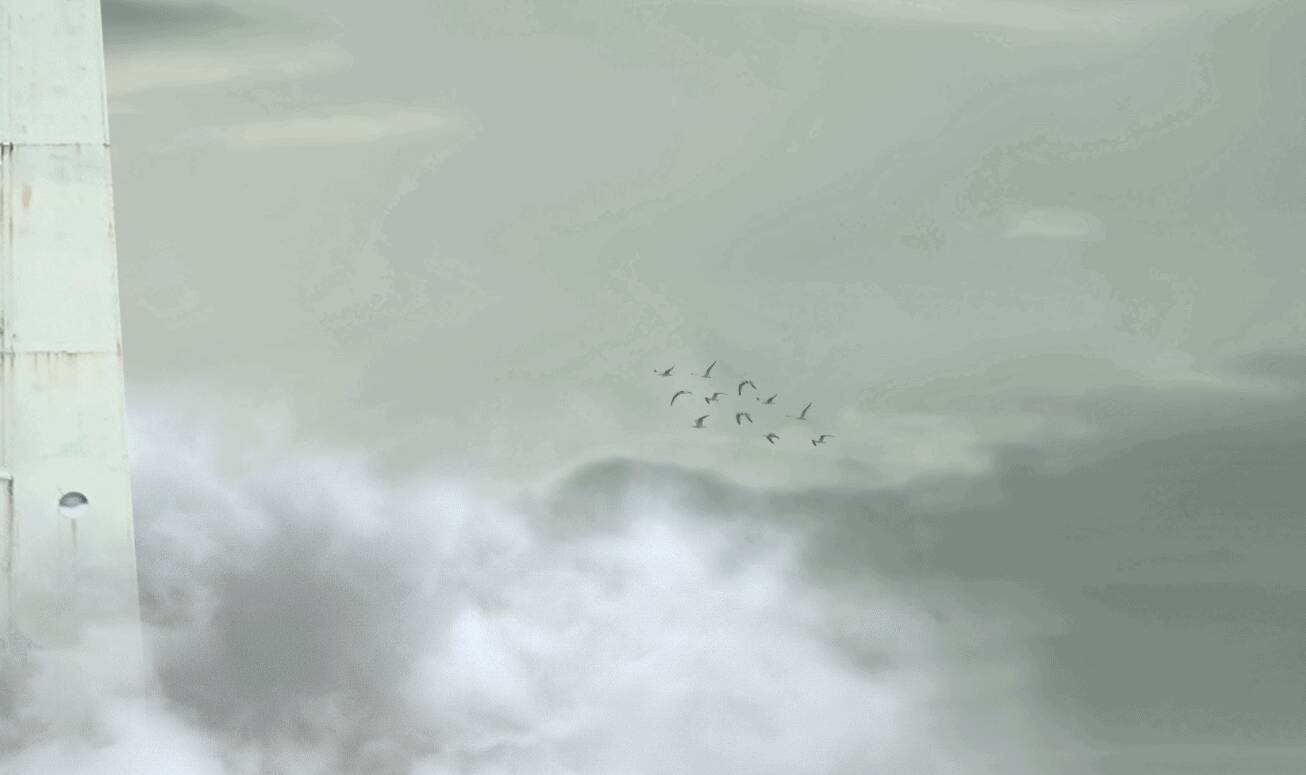
Step 27
Now open a Birds, go to File > Open and select Birds. Hold Ctrl/Cmd and click on layer to make a selection. After the selection area has been created, simply copy (Ctrl / Cmd + C) and Paste (Ctrl / Cmd + V) it to our work canvas. Then position the image with the transform tool (Ctrl / Cmd + T). Hold Alt + Shift and resterize and Rotate like image below. In Photoshop CC only hold Alt to resterize al sides together. Opacity set to 65%.


Step 28
In next step we will create a light stroke from lamp. Create a new layer and use Brush Tool(B) Soft Round with size 22px and Hardness 30%. Foreground color set to white and now paint to point A and hold Shift key then paint to B point key. See the example in picture below.

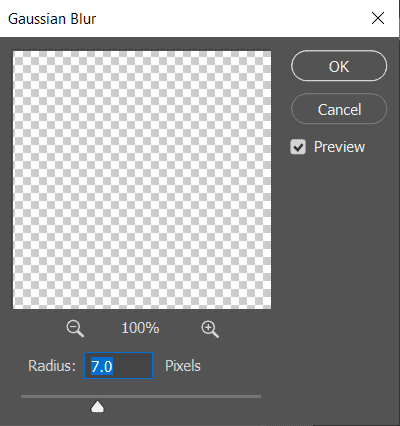
Next, Go to Filter > Blur > Gaussian Blur and set to 7px then press Ok. Opacity set to 80%.


Step 29
Now, go to File > Open and select Boy. Then use a Pen Tool (P) and start selecting. When we finish the selection press right click on mouse and “Make Selection” then create layer mask. The simplest path you can draw with the standard Pen tool is a straight line, made by clicking the Pen tool to create two anchor points. By continuing to click, you create a path made of straight line segments connected by corner points.
- Select the Pen tool.
- Position the Pen tool where you want the straight segment to begin, and click to define the first anchor point (do not drag).
- Click again where you want the segment to end
- Continue clicking to set anchor points for additional straight segments.
- The last anchor point you add always appears as a solid square, indicating that it is selected. Previously defined anchor points become hollow, and deselected, as you add more anchor points
- Complete the path by doing one of the following:
- To close the path, position the Pen tool over the first (hollow) anchor point. A small circle appears next to the Pen tool pointer
 when it is positioned correctly. Click or drag to close the path.
 - To leave the path open, Ctrl-click (Windows) or Command-click (Mac OS) anywhere away from all objects. To leave the path open, you can also select a different tool.


Feather Radius set to 0px and check Anti-alliased. After the selection area has been created, simply copy (Ctrl / Cmd + C) and Paste (Ctrl / Cmd + V) it to our work canvas. Then position the image with the transform tool (Ctrl / Cmd + T). Hold Alt + Shift and resterize like image below. In Photoshop CC only hold Alt to resterize al sides together.
3 responses to “Create a Light House on Cloud Photomanipulation Tutorial”
-
Thank you very much for this great Tutorial!
Unfortunately for now some of the single step images are not accessible; especially the ones showing which parts of the image should be masked. But this I cannot blame on you, that’s a thing of the website.
With the PSD atached, it was no problem to get a clue what has been masked and how it has been done.But there is one thing, you could improve and what, I guess not only me would appreciate: I know, the “Camera Raw” filter is a really complex thing. But for now, I’m just copying the values and shout out a “Heureka!” when it looks like your result.
Some explanation why it is something done there and what is the impact would be very helpful.Anyway! Great work and thank you for sharing! :)
-
Thanks for informing us! The images are fixed now.
-
-
Nice tutorial.


Leave a Reply